Resin prints fail halfway up because the peel and suction force created when the build platform lifts away from the FEP film eventually exceeds what the cured resin underneath can hold. The model separates from its supports, or a whole layer of it breaks away, and the print is finished. The fix depends entirely on where and how the failure shows up, so start by identifying the exact layer the print died on.
That single detail separates almost every case. A print that loses adhesion to the plate in the first minute is a different problem from one that sits there for four hours holding perfectly, then tears away at the supports. Diagnose the failure point first, and the cause is usually one of eight things you can actually change.
This guide covers why do resin prints fail halfway up, what each failure signature means, and the order to work through the fixes. It applies to SLA, DLP and MSLA printers with FEP or nFEP film, whether you slice in ChiTuBox, Lychee Slicer or PrusaSlicer.
Table of Contents
- What Does Failing Halfway Up Usually Mean?
- Why Do Resin Prints Fail Halfway Up?
- The Main Causes and Their Warning Signs
- 1. Support contact points are too weak
- 2. Peel and suction force exceed the cross-section
- 3. Lift speed, lift distance or retract profile too aggressive
- 4. Under-cured layers
- 5. Pressure trapped inside a hollow model
- 6. FEP film problems
- 7. Raft and build plate adhesion
- 8. Resin condition and room temperature
- How to Diagnose the Failure Point
- How to Fix Build-Plate Adhesion Problems
- Why Do Resin Prints Fail Halfway Up? Exposure and Z-Lift Settings
- How to Fix Machine and Environmental Causes
- A Reliable Test Print Workflow
- Frequently Asked Questions
- Is my model too large for my printer to print halfway up?
- Do I need to replace the resin when a print fails halfway up?
- Does room temperature affect resin print failures?
- Can I repair a print that failed halfway up?
- When should I replace the build plate?
- Conclusion: Fix the First Failure Point
What Does Failing Halfway Up Usually Mean?
A mid-print failure means the part stopped being held in the right position and the printer carried on printing in mid-air. The model is no longer attached to the build plate, or a section of it has broken off, and every layer after that point lands in the resin instead of on the part.
It is worth separating that from three other things people call the same failure.
- Total loss of adhesion. The part slides off or drops at the start, usually within the first few layers. Plate preparation, leveling and raft size own this one.
- Layer shifting or delamination. The part stays on the plate but a horizontal crack appears and layers start splitting. That is an exposure or bond-strength problem, not a suction problem.
- Machine malfunction. The print stopped, the Z axis threw an error, the screen blanked or the homing routine repeated. Nothing mechanical happened to the part.
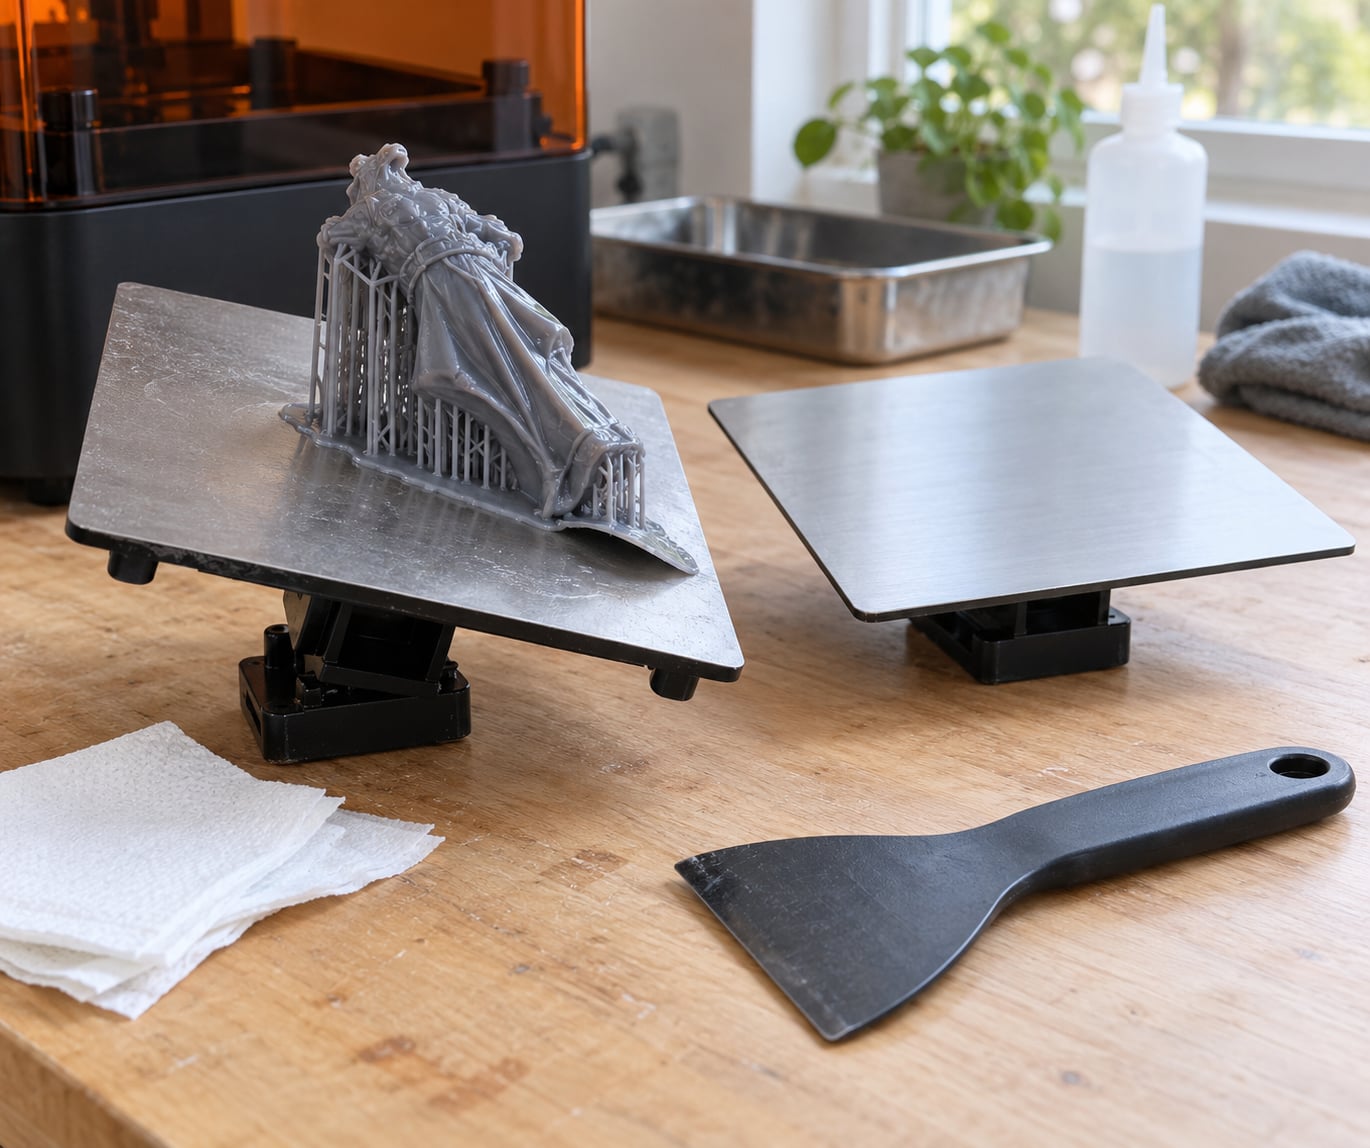
The failure this guide is about is the structural one: the part is intact but it detaches from the plate or from its supports somewhere in the back half of the print. The raft and support stubs usually stay behind on the plate, and the model itself often stays stuck to the FEP, which is the signature of this failure mode and worth confirming before you change any settings.
Why Do Resin Prints Fail Halfway Up?
Because the force needed to separate the cured part from the film grows as the print gets taller, while the strength of the connection holding it stays flat. Early layers only carry a small raft and a few supports. By the back half, the cross-section of cured resin is at its widest, the model is heavier, and the resin in the vat has cooled and thickened. Peel force climbs, and the weakest link gives way.
The weakest link is usually a support contact point or the layer directly above a wide section. Whether the model stays on the plate and the supports tear, or the model stays on the film and the raft tears, comes down to which bond is stronger: resin to plate, or resin to FEP.
| Where and how it failed | Most likely cause | First fix to try |
|---|---|---|
| Raft and support stubs on the plate, model stuck to the FEP | Support contact points weaker than the resin-to-FEP bond | Heavier support tips (0.6 to 1 mm) and tilt the model 30 to 45 degrees |
| Model stays on the plate but tears off at the supports | Suction and peel force exceed support strength | Slow the retract, add lift distance, add more medium supports on tall sections |
| Clean horizontal crack, part still on the plate | Under-cured layers, delamination | Add 0.5 s to normal exposure and one more bottom layer |
| Fails at the same height on every attempt | A specific geometry problem, usually a wide flat section or a hollow wall transition | Open the slicer layer view at that layer and look for a sudden jump in cross-section |
| Part shifts or slides but stays on the plate | Resin-to-plate bond weaker than resin-to-FEP, or the plate is not level | Re-level after homing, clean and roughen the plate, increase raft thickness |
| Fails early in the print, first 20 layers | Build plate contamination, bad leveling, Z offset off | Clean with isopropyl alcohol, re-level, run the Z-offset test |
| Fails in the back half of a long print only | Resin viscosity rising as the vat cools, or FEP tension drift | Hold the room above 25 C, close the vat lid, check FEP tension |
| Model pops off with a suction release sound | Trapped pressure inside a hollow shell with no drain holes | Add drain holes at the base and open the top |
| Print stops, machine error or screen blank | Machine fault, not a print failure | Read the printer log, check the Z lead screw and homing routine |
The Main Causes and Their Warning Signs
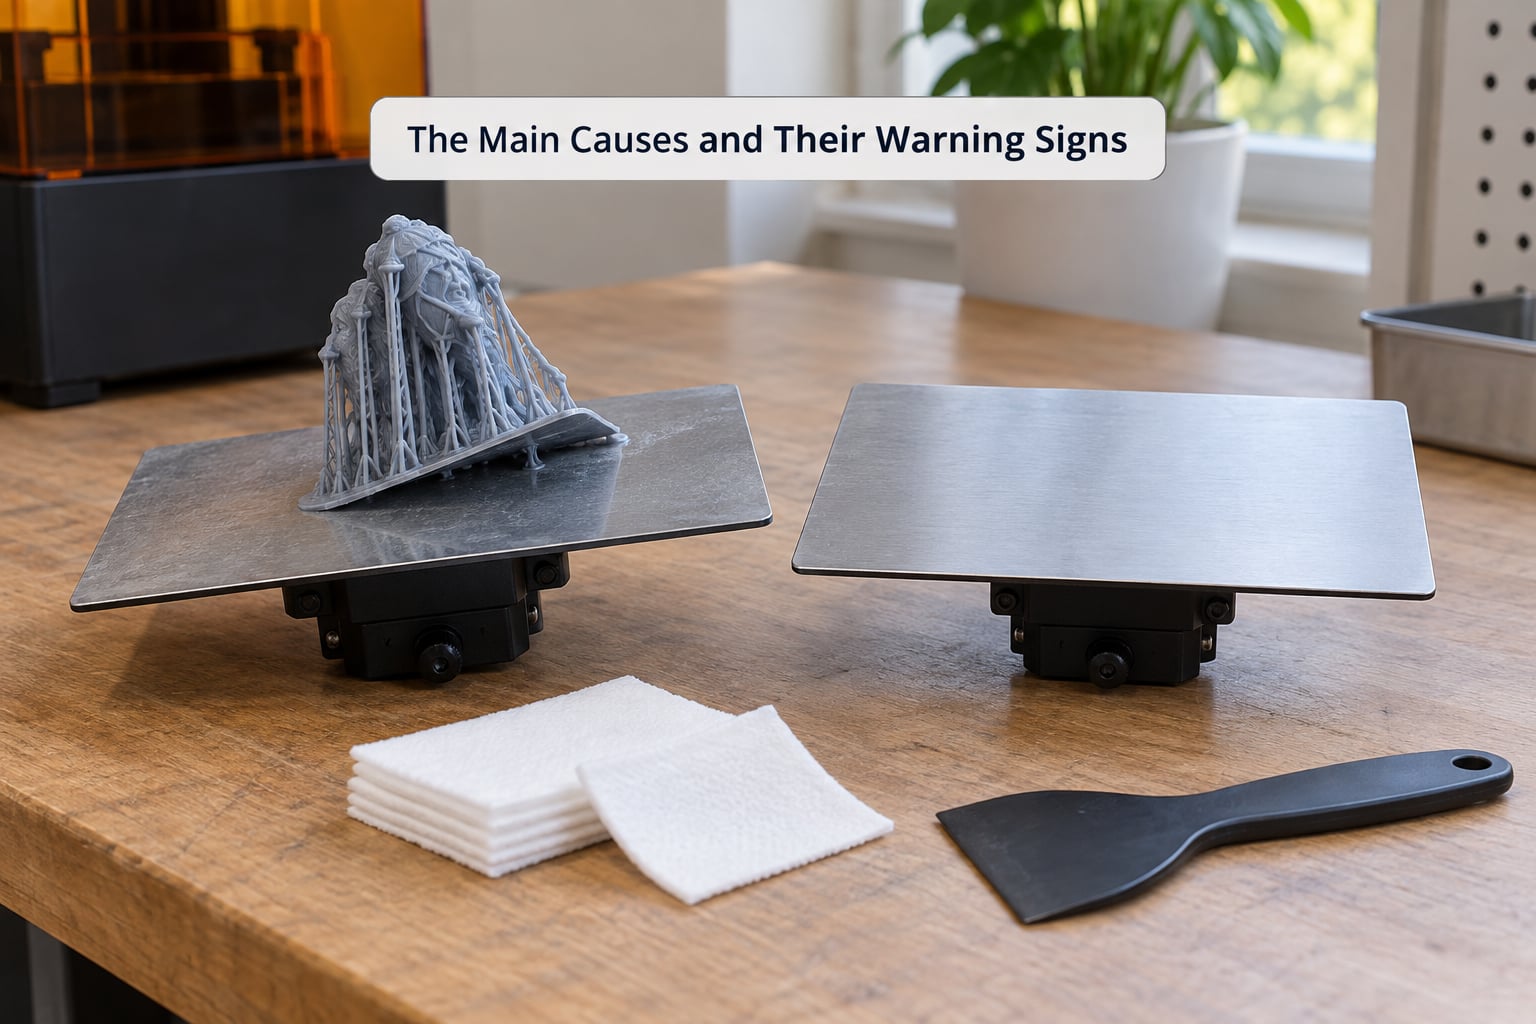
Eight causes account for nearly every mid-height failure. Work down the list in order, because the earlier ones explain more cases and cost nothing to test.
1. Support contact points are too weak
The model tears off at the supports, leaving short stubs on the plate. Tips below 0.4 mm are the first thing to change; 0.6 to 1 mm tips and 1.0 to 2.0 mm shafts hold far more peel force. Users on 3dprintingforums.com reported that heavier tips plus extra medium supports on tall sections, combined with more tilt, fixed repeated mid-print tearing.
2. Peel and suction force exceed the cross-section
Every layer has to be pulled off the film, and that force grows with the area of cured resin touching the FEP. A flat 100 mm base is far harder to lift than the same model tilted 30 to 45 degrees, where the contact breaks progressively instead of all at once. Support and orientation changes fixed this for more people than exposure changes did.
3. Lift speed, lift distance or retract profile too aggressive
A fast retract snaps the part off in one motion. Two-stage profiles help: a slow first stage breaks the bond gently, then a faster second stage clears the vat. In practice, 100 to 180 mm/min lift speed and 5 to 6 mm of lift distance is the range most people settle on. One Reddit user on r/ElegooMars found that simply adding a few millimetres of lift fixed failures caused by the film flexing more than the current lift allowed.
4. Under-cured layers
If the part stays on the plate but splits horizontally, exposure is the suspect, not adhesion. Bumping exposure up 0.5 s and slowing the retract fixed mid-print failures for users on r/PrintedMinis, and slowing the first stage of a two-stage profile helped in the same breath. Longer bottom exposure, around 60 to 80 s with 10 bottom layers, gives the raft and the first real layers more strength.
5. Pressure trapped inside a hollow model
A sealed hollow shell acts like a suction cup. Resin printing is not the only place this bites: a user on r/AnycubicPhoton fixed a halfway failure on a vacuum-suction cup by drilling holes in its base. For models, add drain holes at the base, open the top, and keep hollow walls above 2 mm. Thinner walls flex under suction and delaminate.
6. FEP film problems
Cloudy film, scratches, debris in the vat or loose tension all change how the part releases. A film with play at the screw mount has to flex further than your lift distance allows, so the part releases as a snap instead of a peel. Check tension with the bottle-cap play test, clean the film before fitting it, and consider nFEP if your film keeps clouding.
7. Raft and build plate adhesion
A thin raft, a small raft or a dirty plate all set a low ceiling for the whole print. Users on r/resinprinting reported that tightening the leveling screws immediately after homing and before starting resolved early failures. Clean the plate with isopropyl alcohol, roughen it if it is smooth, check for silicone residue, and confirm the plate sits level.
8. Resin condition and room temperature
Cold resin is thick resin. Below roughly 25 C, viscosity rises, peel force rises with it, and failures cluster in the back half of long prints. One user on r/3Dprinting identified a drop in room temperature as the trigger for otherwise semi-consistent failures. Expired or pigment-settled resin cures unevenly and bonds badly, and signs include a cloudy vat, a separated pigment layer and a sticky raft.
How to Diagnose the Failure Point
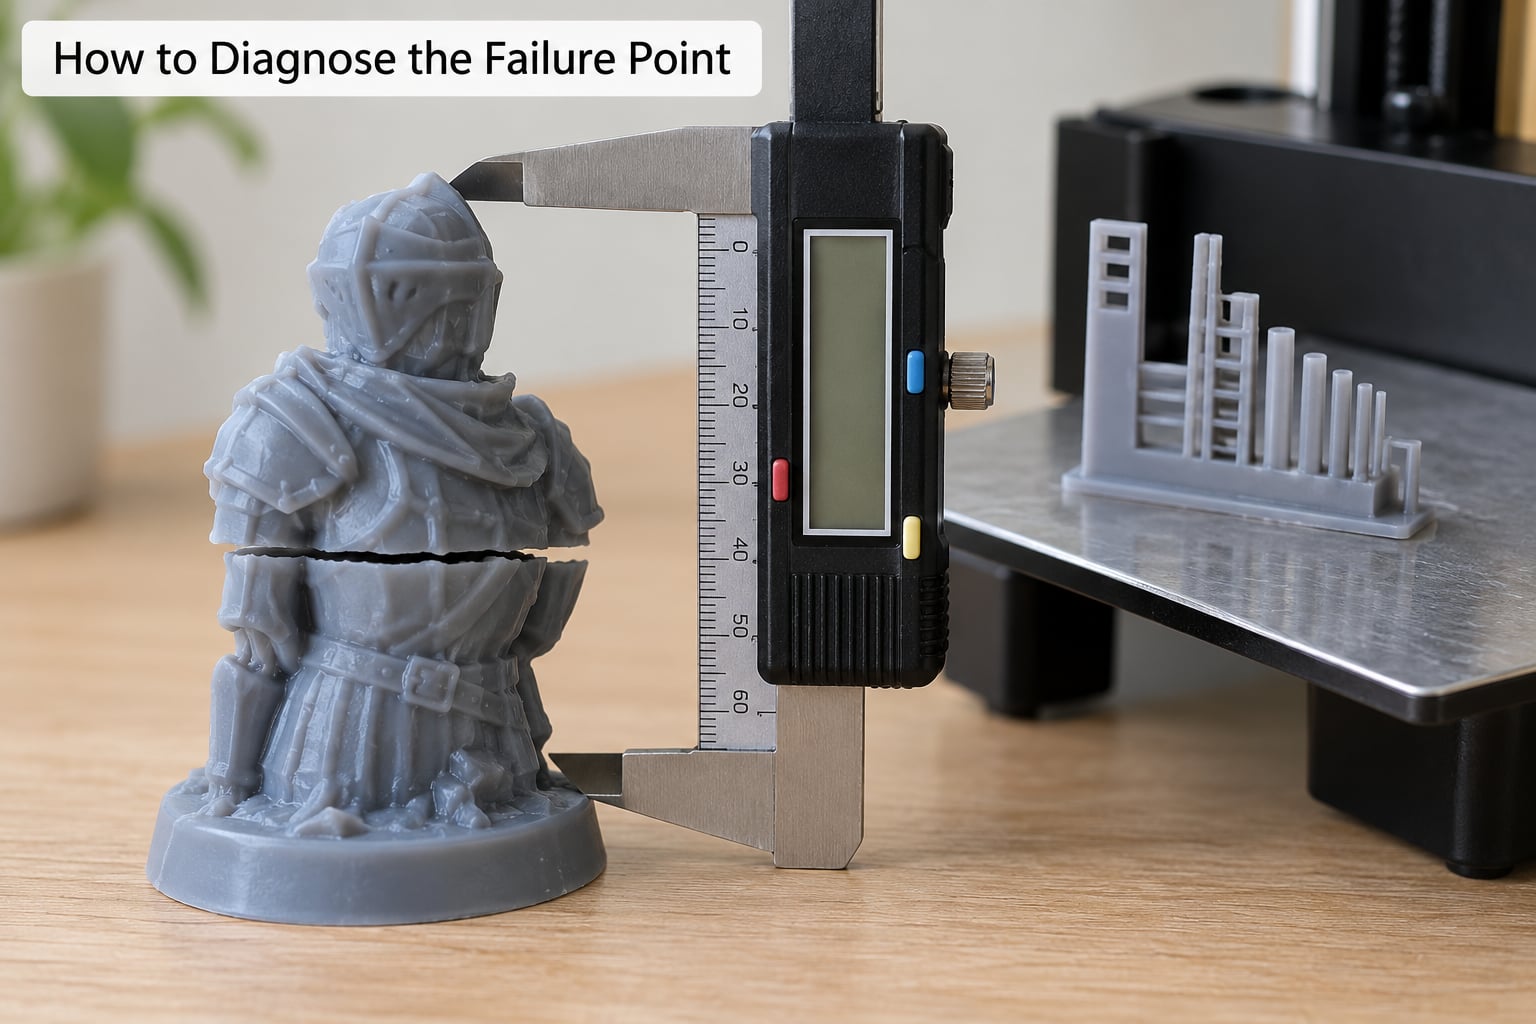
Diagnose before you re-print. Six hours of machine time and a full vat of resin is a lot to spend on a guess.
Measure the height. Use calipers on the part before you clean anything off the plate, and note the layer percentage. Ten percent into the print and sixty percent into the print are different problems.
Look at what stayed behind. Raft and support stubs on the plate with the model on the film means the support bond lost. A part still on the plate with a clean horizontal crack means delamination. A shifted part means the plate bond lost.
Check whether the height repeats. Failing at exactly the same height every time points to geometry, not randomness. Open the slicer layer view at that layer and look for a sudden jump in cross-section, a hollow transition, or an overhang that creates a large flat area against the film.
Check whether the film came with it. If the part stayed stuck to the FEP, the model-to-plate bond is the weak one. If the part came away cleanly and the film is fine, the model-to-FEP bond is the weak one. Everything else you try depends on which of those two bonds gave way.
Read the settings and the log. Compare the last successful print with the failing one. Look at exposure, lift speed, lift distance, bottom layer count and whether the Z axis homed correctly. If the machine reported a fault, stop chasing adhesion and deal with the machine.
Run a coupon. Print a small calibration shape at the same orientation and height range before retrying a tall model. Ten minutes of coupon beats six hours of guessing.
How to Fix Build-Plate Adhesion Problems
Build plate adhesion sets the ceiling for everything above it. If that bond is weak, no support change or exposure change will save a tall print.
Start with a clean surface. Wipe the plate with isopropyl alcohol and let it dry fully, every time, before homing. Any oil, fingerprint or silicone residue from a previous failed print is enough to stop the raft sticking.
Next, check the plate itself. Look for deep scratches, a cloudy patch or a silicone spot that never comes off. On a smooth plate, a light pass with 120 grit followed by 80 grit gives the raft something to grip, then clean the dust off before printing.
Then level it, and level it at the right moment. Level after the Z axis has homed, because the plate position can shift during homing. Users who tightened the leveling screws right after homing and before starting reported immediate improvement. A warped or cracked plate will never hold reliably, and a plate with a hole through it is worth replacing outright.
Finally, use a compatible adhesion method without overdoing it. A thin coat of PTFE lubricant helps a part release from the FEP instead of the plate, but excess can contaminate the resin. If parts are coming away with the raft still on the plate, the plate bond is too weak. If parts are staying on the film, use more release method or a rougher plate, not more release method.
Why Do Resin Prints Fail Halfway Up? Exposure and Z-Lift Settings
Exposure and Z-lift work together, and they pull in opposite directions. Higher exposure makes layers stronger and better bonded to each other, but it also makes the part stick harder to the film, which raises peel force. Low or inconsistent exposure leaves layers weak, and the part delaminates under a load it should handle easily.
So raise exposure in small steps, roughly 0.5 s at a time, and use the XP2 validation matrix to confirm you are in the right window rather than guessing. Keep bottom exposure around 60 to 80 s with 10 bottom layers for a tall model, since the raft and the first layers carry the entire print.
On the mechanical side, slow the retract and add lift distance. If the first stage of your two-stage profile is fast, the bond breaks violently instead of peeling. Slowing that first stage helped users on r/PrintedMinis. And if the film is flexing more than your lift distance allows, add a few millimetres, which is the single most common one-line fix in the r/ElegooMars thread on this failure.
| Setting | Useful range | Note |
|---|---|---|
| Lift speed | 100 to 180 mm/min | Slow the first stage of a two-stage profile first |
| Lift distance | 5 to 6 mm | Add a few mm if the film flexes more than the lift |
| Bottom exposure | 60 to 80 s | Confirm with the XP2 matrix rather than guessing |
| Bottom layers | 10 | These layers carry the whole print |
| Support tip diameter | 0.6 to 1 mm | Below 0.4 mm tears first |
| Support shaft diameter | 1.0 to 2.0 mm | Raises total contact strength |
| Model tilt | 30 to 45 degrees | Turns a flat release into a rolling one |
| Hollow wall thickness | 2 mm or more | Thinner walls flex and delaminate |
| Room temperature | Above 25 C | Cold resin is thick resin |
Work down this table in order rather than changing five settings at once. You want to know which change actually fixed it, because the next failure will not be identical to this one.
Orient the model with the same idea. A 30 to 45 degree tilt turns a flat, sudden release into a rolling one, and it is often the fix that works when exposure and supports have already been tried and failed.
How to Fix Machine and Environmental Causes
Resin and room temperature are the two settings people forget. Keep the room above 25 C, close the vat lid during prints, and avoid a cold window or a draught near the machine. Cold resin and a cold vat are the same problem.
Check for vibration next. A printer on an unstable surface, or one sharing a bench with something that shakes it, will fail higher in the print where leverage is greatest. Moving it to a solid, level surface is a free fix.
Then look at the Z axis. Worn linear rails, a dry lead screw or a loose Z coupler can drift a fraction of a millimetre over a long print, and that is enough to lose layer adhesion. Home the machine, check for lost steps, and follow your manufacturer’s guidance on lubrication and tension before changing anything.
Finally, rule out the machine reporting an error. Repeated homing or leveling attempts mid-print, a clogged or failed suction system on printers that use it, and a tilt mechanism that is not returning fully home all point to hardware rather than resin. Check the printer log for the exact layer and time, and treat any error message as a hardware problem until proven otherwise.
A Reliable Test Print Workflow
When you have made a fix, prove it in ten minutes rather than six hours.
- Clean and inspect. Wipe the plate, check the film for cloudiness or scratches, and clear any debris from the vat.
- Level the machine. Home first, level second, then confirm the plate sits level over the whole surface.
- Set resin temperature. Bring the vat above 25 C and let it settle before starting.
- Print a small coupon. Use a small shape at the same orientation as the real model, with the same support and exposure settings.
- Watch the first layers. Confirm the raft grips across its full area and the plate is not flexing.
- Run a medium section. Extend the coupon to a medium height so the print passes the back half, where failures usually cluster, before restarting the original model.
If the coupon survives, restart the tall print. If it fails at the same height as before, you have a geometry problem in the model, and the next place to look is the slicer layer view at that layer.
Frequently Asked Questions
Is my model too large for my printer to print halfway up?
Sometimes, but size alone is rarely the real cause. What matters is cross-sectional area, and a wide flat base needs far more peel force than the same model tilted. If the failure happens on tall parts and never on short ones, treat it as a force problem: tilt the model, slow the retract, add lift distance and strengthen support tips. Print a small coupon at the same orientation to test the fix before committing to the full model.
Do I need to replace the resin when a print fails halfway up?
Not usually. Most mid-height failures come from suction, support strength or settings, not from the resin itself. Resin only becomes the suspect if it is expired, pigment has settled out, or the vat has been open long enough to thicken. Signs of bad resin include a cloudy vat, a separated pigment layer at the bottom, and a raft that will not cure properly. Otherwise keep the resin, stir it, and top it up.
Does room temperature affect resin print failures?
Yes, more than most guides admit. Cold resin is thicker, and thicker resin needs more force to peel from the film. Keep the room above 25 C, close the vat lid, and keep the printer away from draughts and cold windows. Failures that cluster in the back half of a long print are often this cause, because the vat has cooled over several hours. Warming the room is often a bigger win than touching any slicer setting.
Can I repair a print that failed halfway up?
In some cases, yes. If the part separated cleanly at a support contact point and nothing is cracked, you can re-glue it and finish on the printer using a repair procedure that aligns the broken surfaces. If the part has a horizontal crack or delaminated layers, the bond is already broken and gluing hides the problem rather than fixing it. For a cracked part, reprinting with stronger exposure and slower retracting is the better use of your time.
When should I replace the build plate?
Replace it when cleaning and roughening no longer restore adhesion, or when there is physical damage. Deep scratches, a crack, a hole, or a permanent silicone patch that will not come off all mean the plate can no longer hold a raft. Warping counts too: a plate that will not sit level after a full re-level will fail early every time. Replacing a plate is cheaper than losing a tall print to the same cause again.
Conclusion: Fix the First Failure Point
Resin prints fail halfway up because peel and suction force grow as the print gets taller, and something weaker than that force eventually gives way. Start by measuring the failure height and checking what stayed on the plate, because that tells you which bond broke before you change anything.
Then work in order: clean and level the build plate, strengthen support tips and tilt the model, slow the retract and add lift distance, check exposure against the XP2 matrix, and hold the room above 25 C. Validate each change with a small coupon and a medium-height section before restarting the original model. That is how you stop losing resin to the same failure twice.