Most people trying to learn how to make 3D prints stronger start in the wrong place: they drag the infill slider from 20% to 80% and wonder why the part still snaps. Infill is the smallest of the four levers that actually matter. Wall count, print orientation, part geometry and material toughness do the heavy lifting. Here is the order that works, and how to prove each change with a coupon you print yourself.
This guide covers FDM and FFF printers running PLA, PETG, ABS, ASA, nylon and TPU, and it is written to be slicer-agnostic. Cura, PrusaSlicer, OrcaSlicer, Bambu Studio and Creality Print all expose the same handful of controls under slightly different labels.
One correction before we start. If your part already broke, the failure mode tells you which lever to turn. A part that snapped flat across a layer line is an orientation or bonding problem. A part that cracked at a sharp inside corner is a geometry problem. Neither is fixed by infill.
Table of Contents
- What You Need
- Step-by-Step: How to Make 3D Prints Stronger
- 1. Establish a Baseline Test
- 2. Choose a Material for the Load
- 3. Dry the Filament Before Printing
- 4. Optimize Layer Bonding and Thermal Settings
- 5. Increase Effective Wall Thickness
- 6. Improve Infill and Print Orientation
- 7. Verify the Improvement
- Common Mistakes
- Frequently Asked Questions
- What is the easiest way to make an FDM print stronger?
- Does increasing infill make a 3D print stronger?
- Is 100% infill stronger than solid walls?
- Should I use PLA, PETG, or ABS for a strong part?
- How many perimeter walls should I use for strength?
- How can I test whether my 3D print is strong?
- Conclusion
What You Need
You do not need a materials lab. You need the ability to print the same test coupon twice and measure the difference.
- A digital caliper. Cheap ones are fine. You need it to confirm wall thickness and to measure coupon deflection under load.
- A kitchen or postal scale accurate to a gram, to compare part mass between configurations.
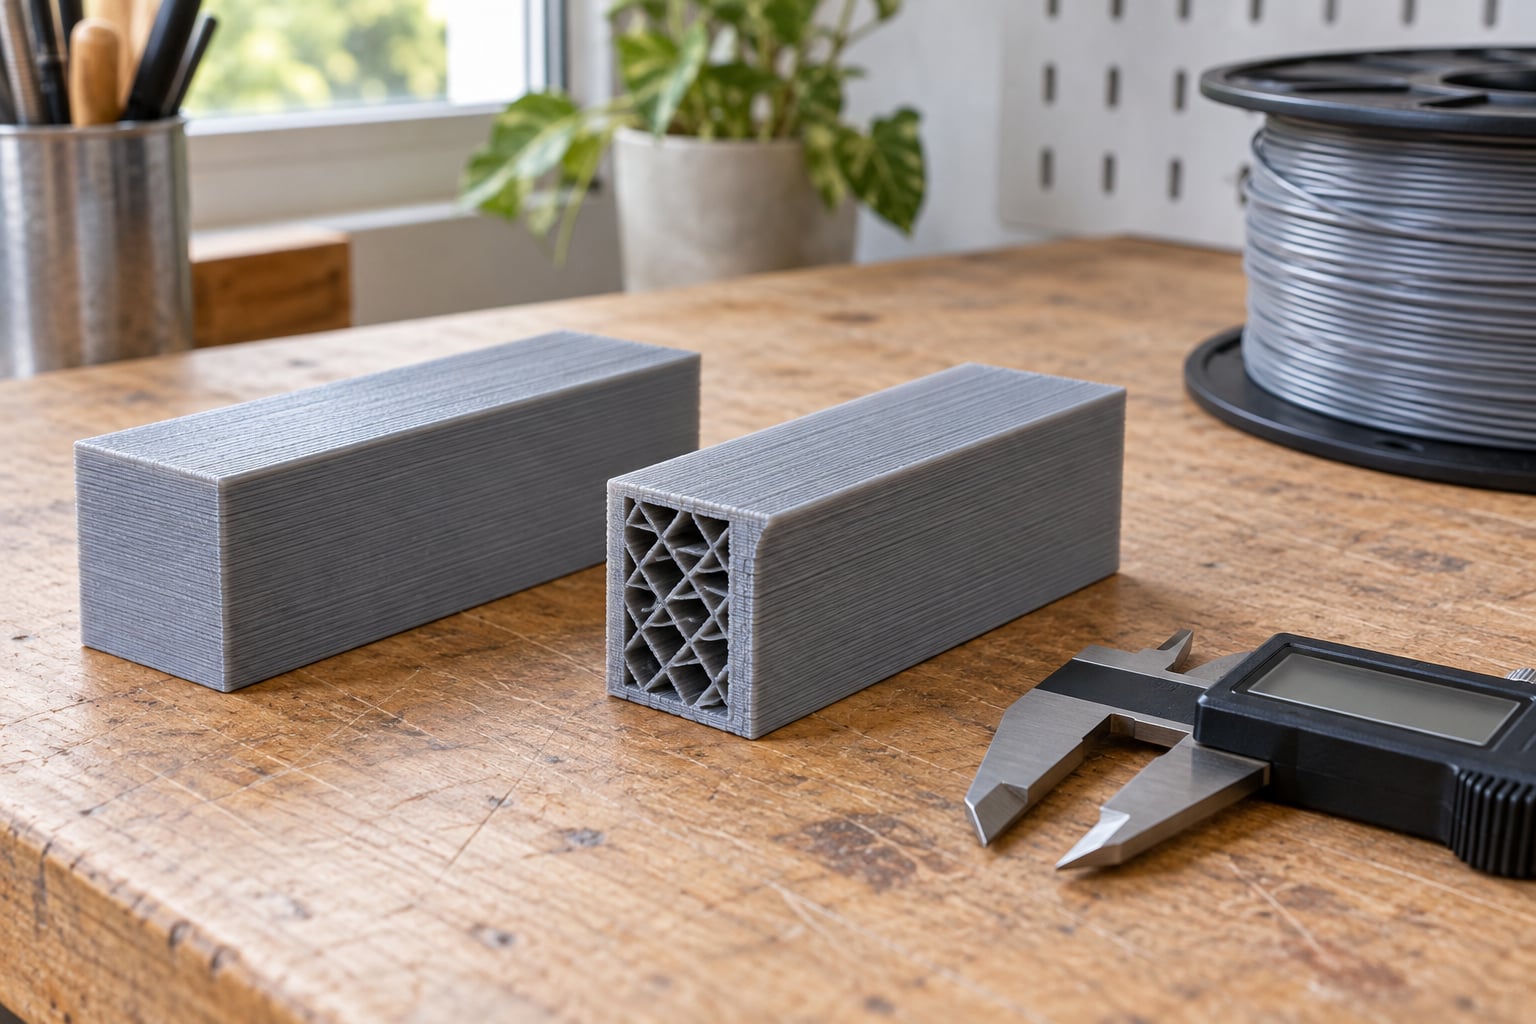
- A test coupon. A simple hook shape, a flat bar for three-point bending, or a dogbone coupon for tensile pulls. Print one before you change anything, so you have a baseline.
- A way to apply load: a spring scale, a set of weights, or a clamp and a ruler to measure deflection.
- Dry filament, plus a dryer box or a heated bed to dry it in.
- A scratch gauge or feeler gauge for checking whether wall thickness really landed where the slicer said it would.
The reason for the coupon is simple. Without one, you are guessing whether the change helped. With one, a 20% gain is a number you can see.
Step-by-Step: How to Make 3D Prints Stronger
1. Establish a Baseline Test
Print one coupon with your current settings and write down everything: material and brand, nozzle temperature, bed temperature, layer height, line width percentage, wall count, top and bottom layers, infill density and pattern, part cooling fan percentage, and orientation on the plate.
Measure the coupon’s wall thickness with the caliper. A slicer claiming 1.6mm of wall on a 0.4mm nozzle with 4 perimeters should land near 1.6mm. If it reads 1.2mm, you have found your first problem, and no amount of infill will fix it.
Weigh it, then load it. A three-point bend on a simple bar is the most forgiving test: support the ends and add weight in the middle until you hear a crack or watch the bar stop returning to flat. Record the load at failure and where it cracked.
Do the same load test on the next coupon. If you change three settings and the part survives, you will never know which one did it. That is the whole point of the baseline.
2. Choose a Material for the Load
Material choice sets the ceiling, and it is worth thinking about before you slice anything. A stronger material can still be the wrong answer for a specific load case, so match the failure mode you expect rather than picking the highest tensile number available.
- PLA is stiff and easy to print but brittle. It handles static loads in mild conditions and behaves badly near its glass transition temperature. Around 60C it starts to soften noticeably, which rules it out for a car dashboard mount or anything in a hot enclosure.
- PETG is tougher than PLA, tolerates heat far better, and has enough give to survive an impact rather than shattering. It is the sensible default for hooks, latches and clamps.
- ABS and ASA add heat and chemical resistance. ASA wins outdoors because UV exposure degrades ABS. Both need an enclosure or they will warp and crack on the plate.
- Nylon is tough, abrasion resistant and dimensionally fussy. It absorbs moisture fast, so drying is mandatory, and warping is the default unless you print in a chamber.
- TPU flexes rather than cracks, which makes it excellent where a rigid part would shatter. Members of the Shapr3D community describe it as the unsung hero when strength matters more than rigidity. It prints slowly and clogs easy, so start with 95A and slow the outer wall speed.
- Carbon fiber and glass fiber reinforced filaments are the stiffening option. The stiff fibers raise flexural modulus meaningfully compared to unfilled plastic, and they shrink less while cooling, which cuts warp. They are abrasive, so run a hardened steel nozzle and expect that nozzle to wear.
A reinforced part can be stiffer and still be weaker in tension across layers, because the fibers do nothing for interlayer bonding. Stiffness and layer adhesion are different properties, and they need separate attention.
3. Dry the Filament Before Printing
Moisture is the most underrated strength variable in this whole topic. Water in the filament turns to steam at the nozzle, and steam interferes with the new layer fusing to the one below it. You get weaker interlayer bonding and worse surface quality at the same time.
Signs of wet filament: popping or crackling during extrusion, visible bubbling or rough patches on the surface, heavy stringing, and a smell like wet cardboard when the nozzle first starts.
Drying helps most where material is hygroscopic. Typical starting points: PLA at 45 to 55C for four to six hours, PETG at 60 to 70C, ABS and ASA at 70 to 80C, nylon at 70 to 80C, and TPU at about 50C or lower if your dryer runs hot, since some TPU grades soften and stick to the spool. A dedicated dryer box is more predictable than a heated build plate, and a cardboard box on a warm not-quite-in-use printer plate works in a pinch.
Store it dry afterward. Sealed bags with a desiccant, or a dry box with a hygrometer you can read. If you pull spools straight from a humid room and print immediately, drying before the print only buys you a few hours.
4. Optimize Layer Bonding and Thermal Settings
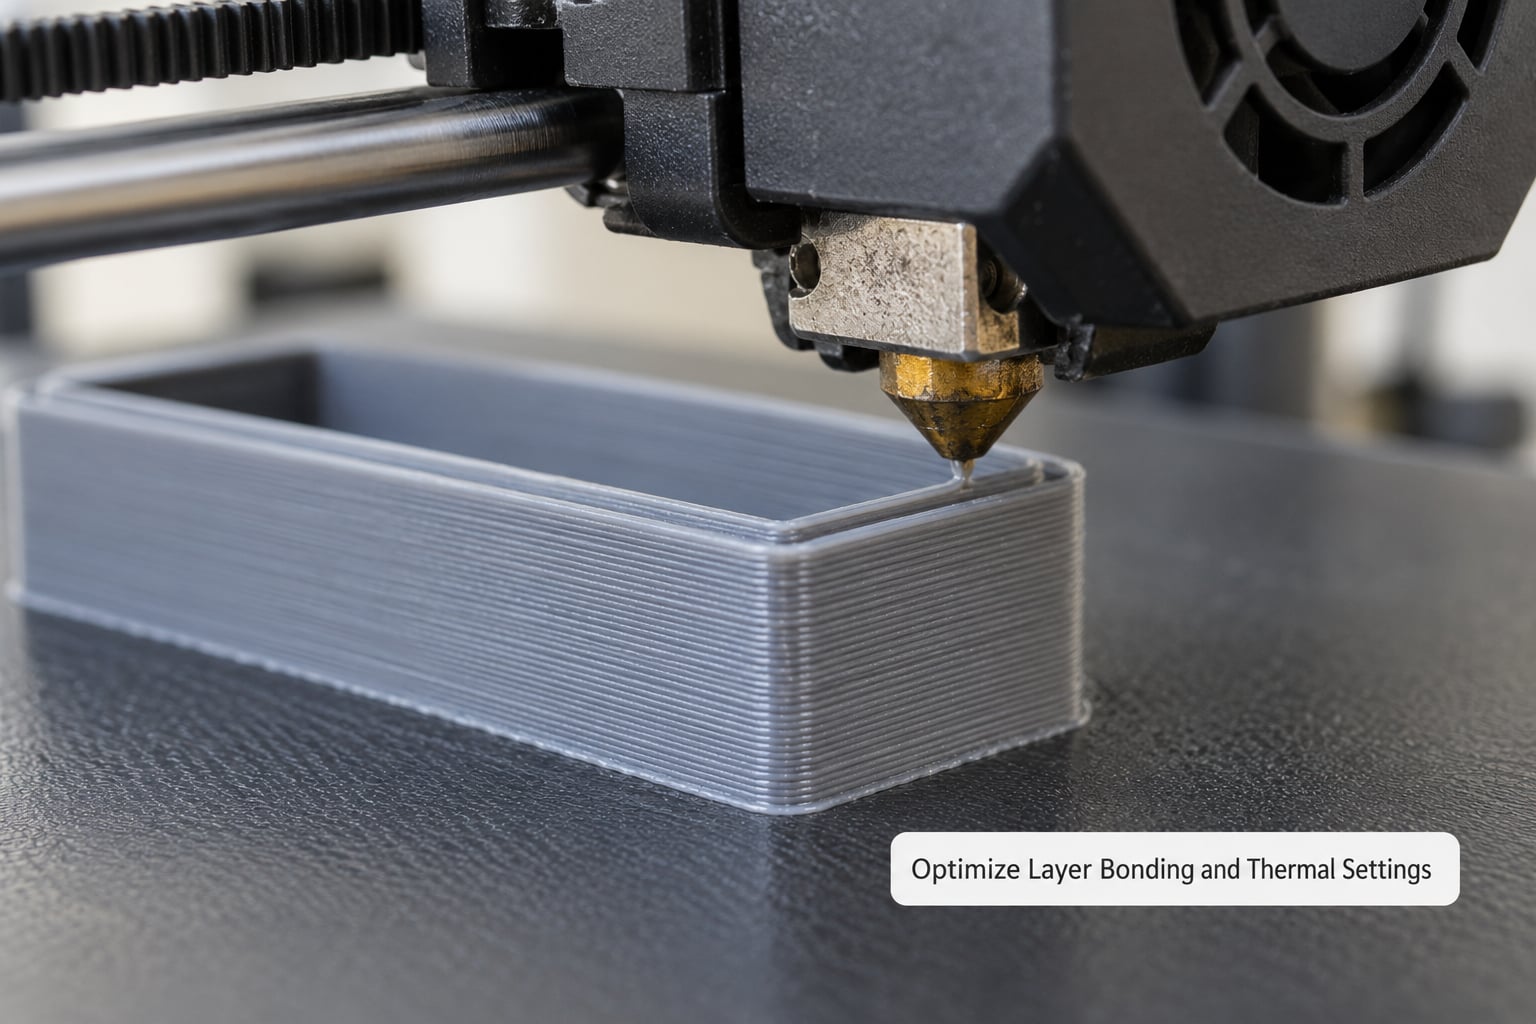
Each layer has to fuse to a partially cooled one underneath it. The hotter both surfaces are when they meet, the better the weld, which is why the default temperature profile is usually too cold for a functional part.
- Raise nozzle temperature 5 to 10C above your normal range for strength parts. The Creality community guide suggests starting around 230C for difficult layer bonding on some materials, which is high for PLA but shows how far people push it. Stay inside your filament’s stated range and watch for stringing as your ceiling.
- Cut the part cooling fan. Cooling hardens a layer before the nozzle arrives. Start around 75% for PLA, 50% for PETG, and off for ABS and ASA. Above 100% only on bridge overhangs, and only after the rest is dialled in.
- Raise bed temperature to reduce the temperature delta across the part: roughly 60C for PLA, 80C for PETG, and 100 to 110C for ABS and ASA. A warm first layer means the bottom few layers did not bond under stress.
- Slow the outer wall speed. The perimeter is the part that carries load. Slower outer walls give the plastic more time to lay down cleanly and weld to the layer below.
- Drop layer height for tall functional parts. Thinner layers give more bond surface area and generally produce stronger parts, though they cost time.
- Bump line width to 110 to 120% of nominal, and to about 130% on the first layer, so perimeters overlap and fuse instead of sitting as separate beads.
Everything here trades against something. Hotter nozzles string more, slower walls take longer, and reduced cooling can cause sagging on unsupported overhangs. Make one change at a time and keep the coupon.
5. Increase Effective Wall Thickness
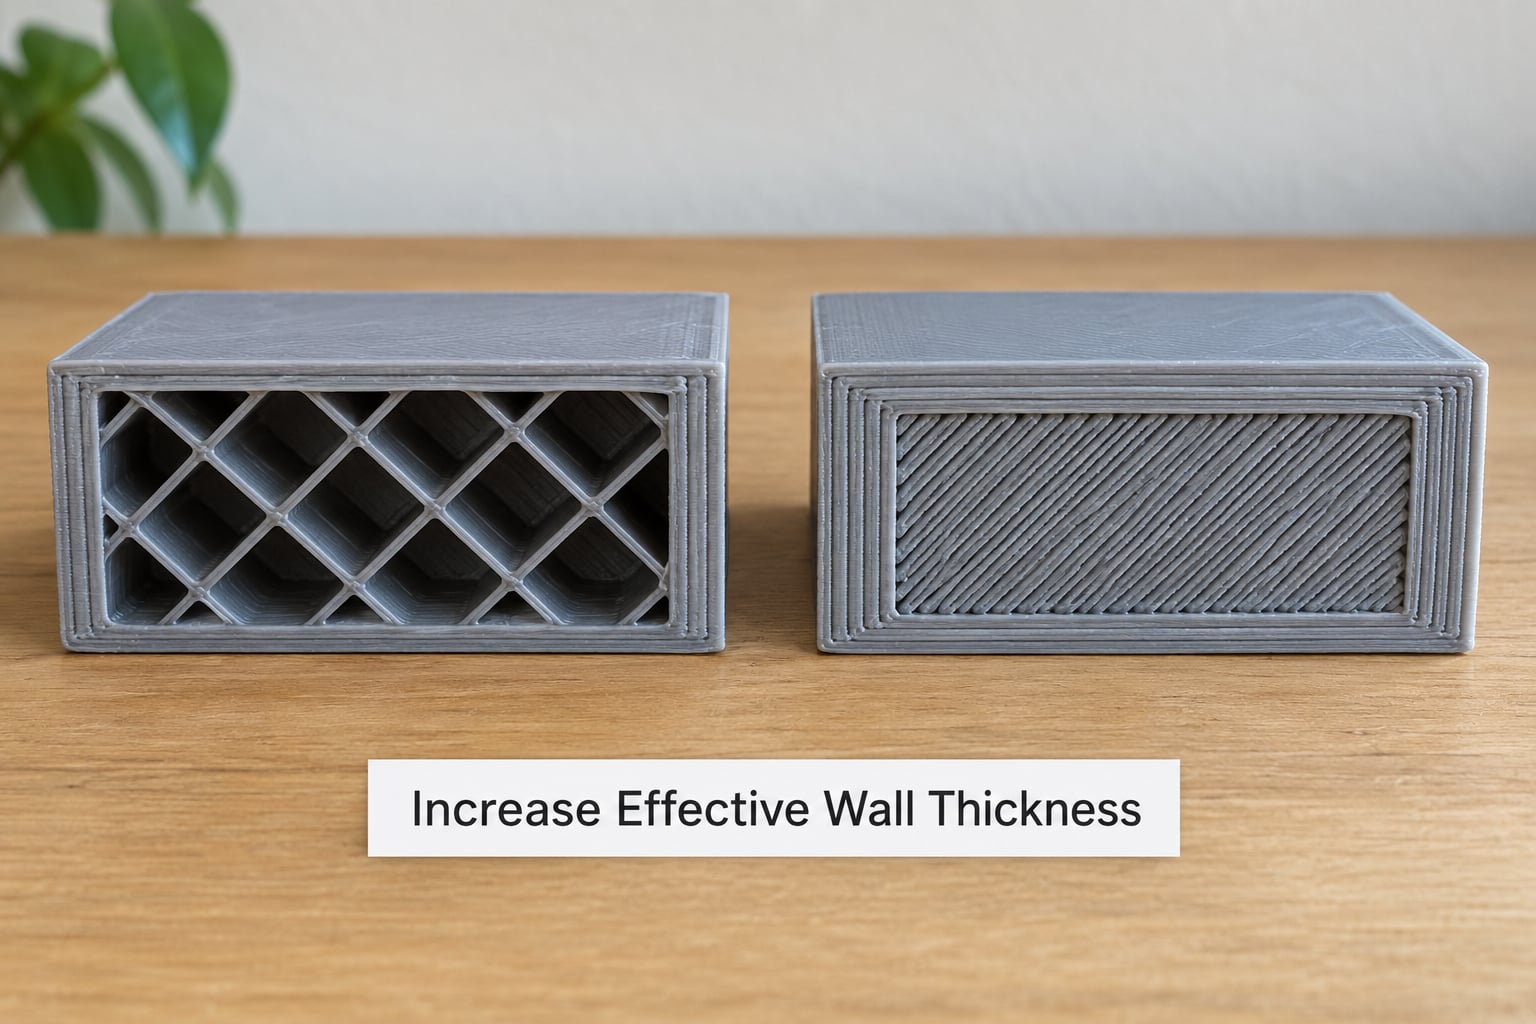
This is the lever most people skip, and it is the one with the best return. Perimeters, walls and shells are three names for the same setting, depending on which slicer you use.
On a 0.4mm nozzle, wall thickness is roughly wall count times nozzle diameter: 2 walls is about 0.8mm, 4 walls about 1.6mm, 6 walls about 2.4mm. Design in even multiples of your nozzle, since 1.2mm or 1.7mm features confuse slicers into single- or double-perimeter loops with gaps. Peer-reviewed work on FDM parts reports roughly 28% higher tensile strength and 22% higher compressive strength when shell thickness doubles from 0.8mm to 1.6mm.
Four to six walls is the useful range for most functional parts. Beyond about six, you are mostly adding print time; the interior stops being the weak link and the geometry or the orientation takes over. The community shorthand is 3 to 6 walls and up to 40% infill for high-strength parts.
Check that the slicer is actually producing what you asked for. Look at the preview in sliced view, measure with calipers, and confirm the top and bottom thickness is at least 1.2mm on a 0.4mm nozzle. Solid top and bottom layers matter more than people expect, because a thin skin fails first under bending load.
6. Improve Infill and Print Orientation
Infill is not useless. It stops a tall part from ringing, it reduces sag on overhangs, and it carries some load between walls when the walls are thin. It just is not the first thing to change.
The useful density range for functional parts is 15 to 40%, with gyroid or cubic as a solid default because they behave isotropically, meaning strength does not depend on direction the way grid or lines do. Grid and triangle are fine when the load runs along a known axis. Lines and zigzag patterns have poor layer adhesion and should be used only when the infill exists to support top layers.
Raising infill from 100% down to 20% cuts material roughly 44% and print time roughly 54%. One weight-matched pull test from CNC Kitchen found a hook printed with 5 perimeters and 10% infill was about 22% stronger than the same hook printed with 2 perimeters and 42% infill. That result keeps getting cited because it isolates the variable properly: same mass, better distribution.
Orientation is the bigger lever and the one that costs nothing. FDM parts are weakest between layers, which is anisotropy: strength differs by direction. Aim the load so it runs along the layer lines instead of peeling them apart. A hook printed flat on the bed has its layers stacked in the direction of the pull, so it snaps across them. Print the same hook standing up and the layers run along the load, and it gets dramatically stronger without a single setting change.
Orientation has been reported to account for a difference of about 55% in part strength. It is also the change people resist most, because it can blow up the print height and turn a two-hour job into a day.
Look at the part and find the load path: the route a force takes through the material. Then rotate the part so that path runs inside walls, not across layer boundaries. If you cannot get a good orientation, split the part into pieces that print in strong directions and join them with epoxy or cyanoacrylate. A glued joint along a layer line beats a broken part.
7. Verify the Improvement
Change one variable, reprint the same coupon, and repeat the same load test. Record the load at failure and the failure location.
Watch the failure location as closely as the number. A coupon that breaks along a layer line is telling you the bonding is still wrong. A coupon that snaps at a sharp corner is telling you the geometry is still wrong. Same load, different location, different fix.
Once you have a configuration that survives, note the slicer profile and save it. Reliable and repeatable beats theoretically stronger every time, because a part that varies run to run cannot be trusted with a real load.
Common Mistakes
Here are the errors that cost people the most, with the correction for each.
- Wet filament. Popping, bubbling, stringing and weak layers all trace back to moisture. Dry the spool before you touch any other setting.
- Two walls and 80% infill. This is the classic mistake. Money and hours spent on infill, with almost none of it in the walls where load actually travels.
- Sharp inside corners. A square corner is a stress riser, and a crack starts there every time. Add a fillet or chamfer of at least 1 to 2mm; the Shapr3D community names generous filleting at stress points as the single biggest strength gain in CAD.
- Designing bulk instead of ribs. Solid mass adds weight and print time. Thin ribs and gussets put material where the load runs.
- Inconsistent extrusion. Under-extruded perimeters behave like a wall with holes in it. Check flow, check the nozzle for a partial clog, and check that your line width percentage is not below 100%.
- Full fan speed on structural parts. Over-cooling hardens each layer before it bonds to the one below.
- Judging strength by appearance. A part that looks clean and feels solid in the hand can still be weak across layers. Only a load test tells you.
- Thickness at stress points only. A wall that is 3mm where nothing loads and 1mm at the bolt hole is a part that fails at 1mm. Thicken where the load enters.
Two habits will carry you further than any single setting. Thicken the part where the load enters, not everywhere. And when a part keeps failing, redesign it rather than reprinting the same geometry with a hotter nozzle, because a sharp corner fails at any temperature.
Frequently Asked Questions
What is the easiest way to make an FDM print stronger?
Increase perimeter walls to four or six and reorient the part so the load runs along the layer lines instead of peeling them apart. Those two changes do more than raising infill, and they cost nothing in material. Then bump nozzle temperature 5 to 10C, reduce the part cooling fan, and dry your filament before you change anything else.
Does increasing infill make a 3D print stronger?
A little, up to a point. Infill density mostly helps tall parts resist ringing and sagging, and it carries some load when walls are thin. The useful range for functional parts is 15 to 40%. Moving from 100% infill down to 20% cuts material roughly 44% and print time roughly 54% with little or no strength loss, because walls carry the load.
Is 100% infill stronger than solid walls?
No. One weight-matched pull test found a hook with 5 perimeters and 10% infill was about 22% stronger than the same hook with 2 perimeters and 42% infill. Another comparison had 6 walls at 15% infill matching 2 walls at 100% infill. Solid infill also slows the print down and increases warp risk, so spend that material on walls instead.
Should I use PLA, PETG, or ABS for a strong part?
Use PETG for most functional parts. It is tougher than PLA, tolerates heat better, and flexes slightly on impact instead of shattering. Choose PLA for rigid, cool-environment models where stiffness matters more than toughness. Pick ABS or ASA when the part sees real heat, chemicals or outdoor UV, and print it in an enclosure to avoid warping.
How many perimeter walls should I use for strength?
Four to six is the useful range for most functional parts. On a 0.4mm nozzle that means roughly 1.6mm to 2.4mm of solid shell, and design your model in even multiples of the nozzle diameter. Past about six walls you add print time without much gain, because the geometry and orientation become the limiting factor. Measure with calipers to confirm the shell is really that thick.
How can I test whether my 3D print is strong?
Print a standardized coupon and record the settings, then load it until it fails. A flat bar on a three-point bend rig is easiest to run at home: support both ends, add weight in the middle, and record the load and the failure location. A hook or dogbone coupon works well for pull tests. Repeat with one variable changed at a time so you know which change did something.
Conclusion
Start with the boring stuff, in this order. Dry your filament. Print one coupon with your current settings and write down the load it survives. Then add walls until you reach four or six, rotate the part so the load runs along the layer lines, raise the nozzle 5 to 10C and cut the fan. Infill comes after all of that, and 15 to 40% is usually plenty.
One change at a time. If you swap four settings and the part survives, you have learned nothing and you will not be able to do it again next month.