How many walls should a 3D print have? Three outer perimeters is the right default for most FDM prints: two for decorative models, three for everyday functional parts, and four to six for brackets, enclosures and anything that carries a load. Walls, perimeters and wall loops are three names for the same slicer setting, and once you know where it lives you can stop guessing.
- 2 walls for vases, miniatures, display models and quick prototypes.
- 3 walls for everyday parts: brackets, stands, organizers, toys, housings.
- 4 to 6 walls for load-bearing parts, snap fits, threaded inserts and high-stress hardware.
The short version: the shell does most of the structural work, so raising wall count is usually a better use of filament than dragging infill up toward 100 percent. The rest of this guide covers where the setting lives, what each extra loop actually buys you, and when to leave it alone.
Table of Contents
- What Does “How Many Walls Should a 3D Print Have” Mean?
- How Many Outer Perimeters Do You Need?
- Recommended Wall and Layer Counts at a Glance
- How Many Walls Should a 3D Print Have? Slicer Terms
- Do More Walls Always Make a Part Stronger?
- How Do Top and Bottom Layers Differ from Walls?
- What Infill Density Should You Use with More Walls?
- Which Wall Count Works Best by Material?
- How Do You Set the Wall Count in a 3D Printer Slicer?
- What Are the Best Wall Counts for Common 3D Prints?
- Frequently Asked Questions
- Are 3D print walls the same as infill?
- How many walls are best for a beginner’s 3D printer?
- Will five or more walls make a 3D print stronger?
- Why do my slicer walls look different in the sliced view?
- How many walls do I need for bed adhesion?
- What to Do First
What Does “How Many Walls Should a 3D Print Have” Mean?
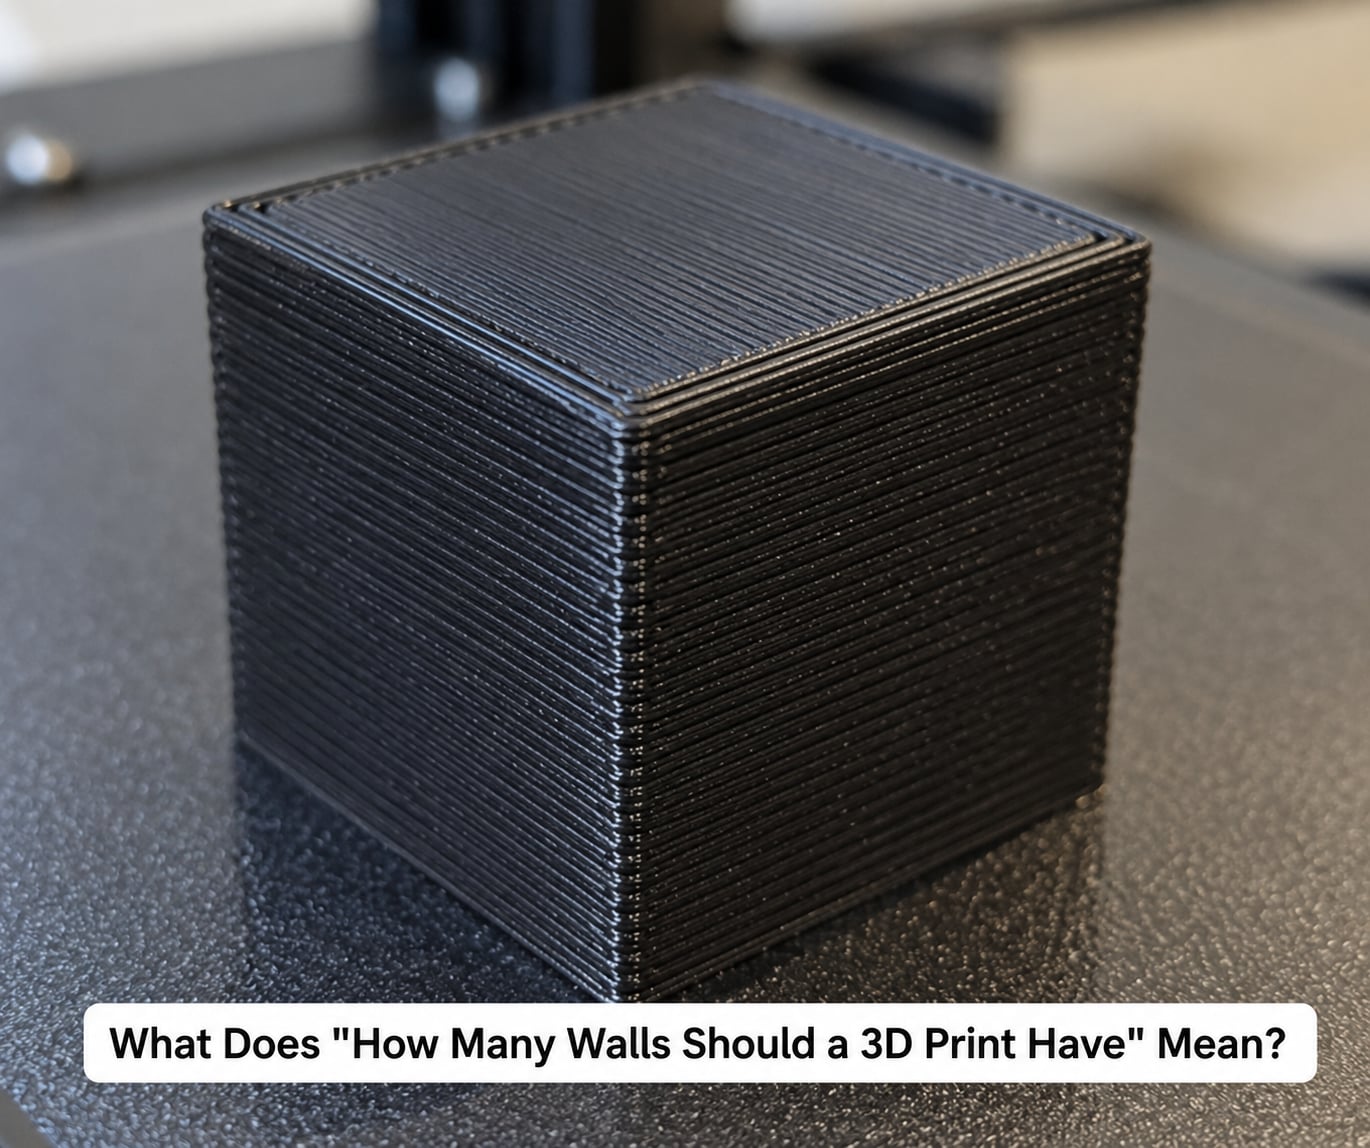
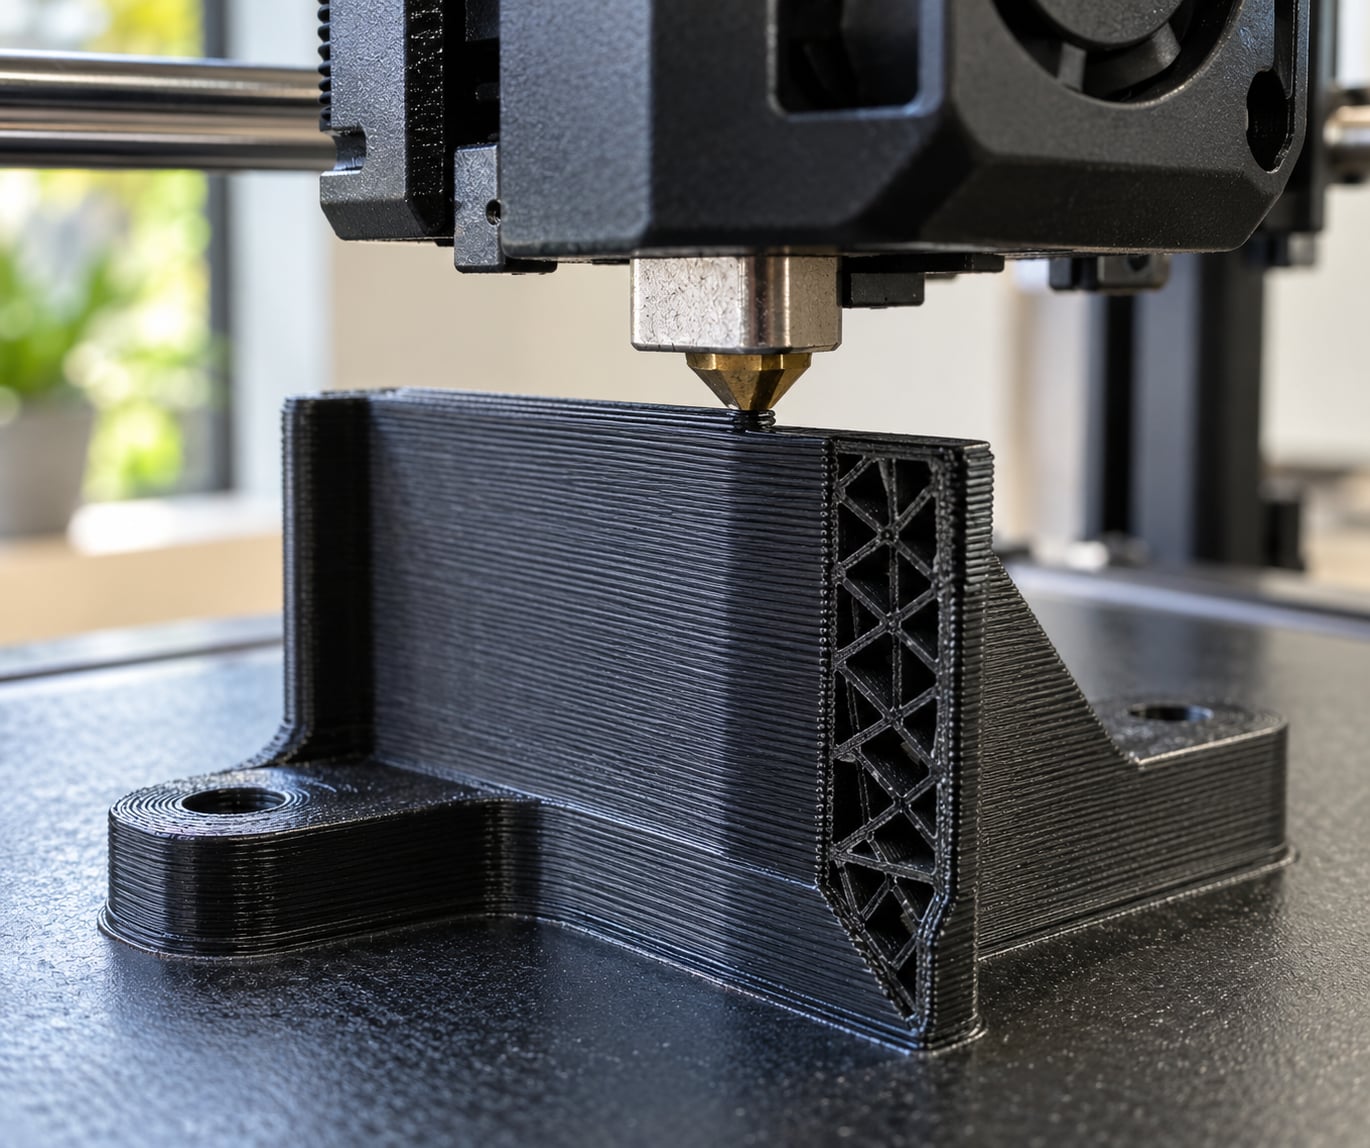
Walls are the continuous vertical lines the nozzle traces around the outside and inside edges of your model. Each pass of the nozzle is one wall, and they stack side by side to form a solid shell. Everything inside that shell is infill.
That is also why the same question comes back in different words. Cura calls it Wall Line Count, PrusaSlicer calls it Perimeters, and OrcaSlicer and Bambu Studio call it Wall Loops. Older Cura versions and some firmware use Line Count. All four names point at the same number, and the result is the same either way.
Walls are not the same thing as the solid top and bottom layers. Solid layers are horizontal sheets that cap the model at the top and bottom, and they are set separately as Top Layers and Bottom Layers. Infill is the third, completely separate setting: it fills the enclosed space between your two shells and contributes far less to real-world strength than most people expect.
So the honest answer to the question is: two to three outer perimeters for the majority of prints, with three as the number I would type into the slicer first.
How Many Outer Perimeters Do You Need?
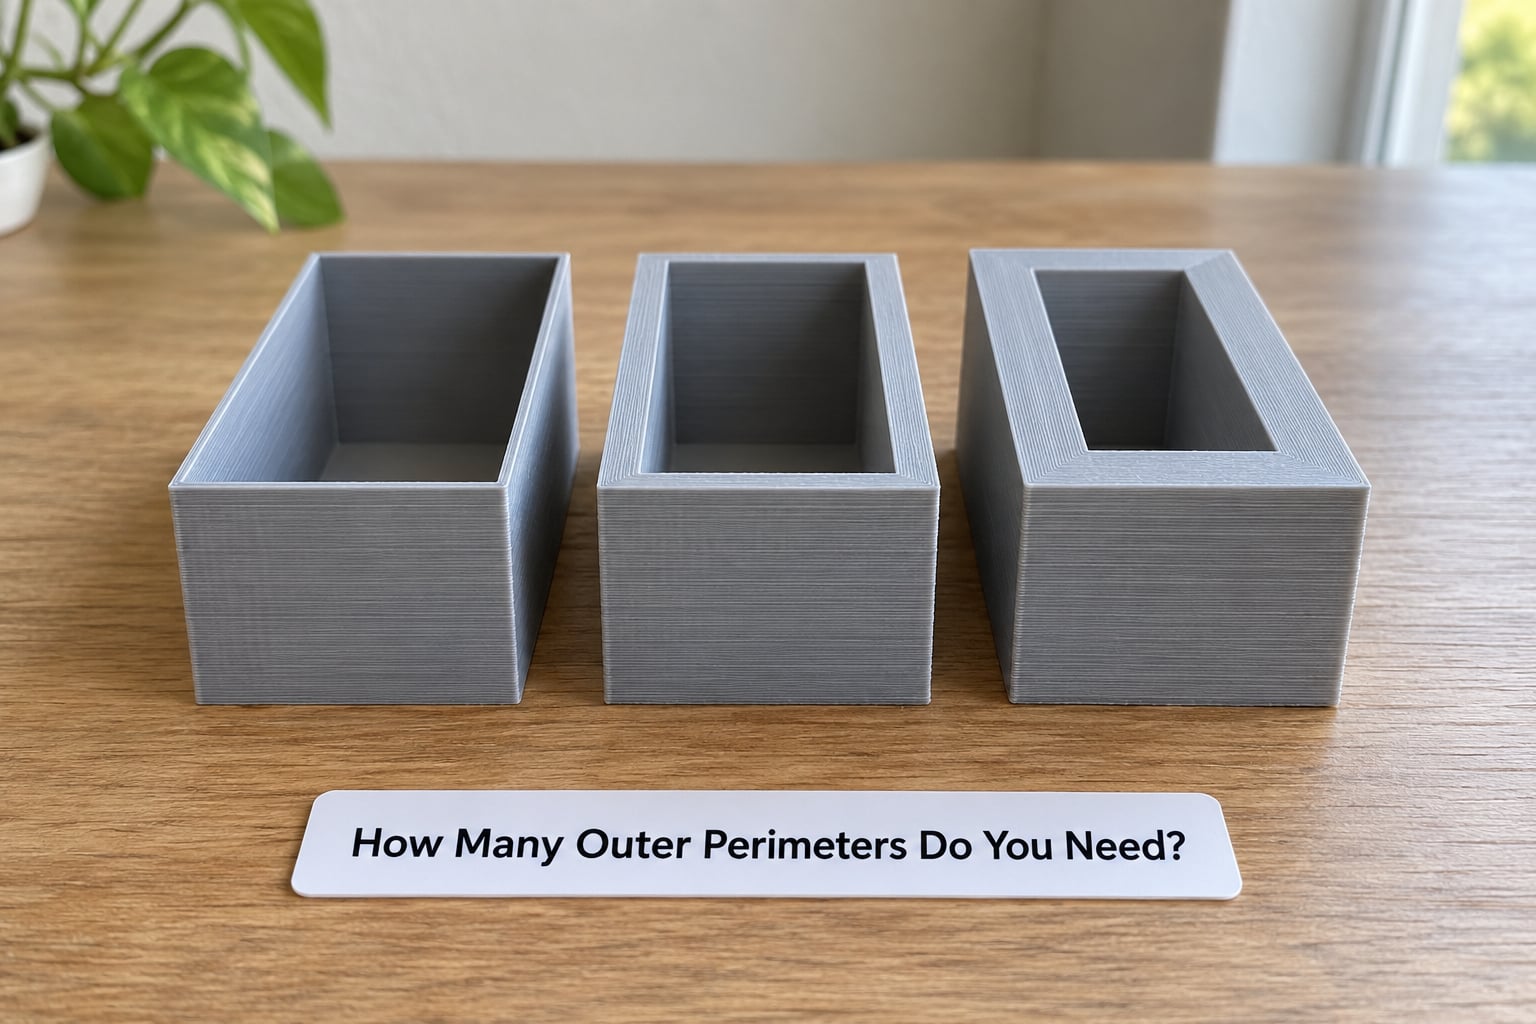
Start with the job rather than the number. A rough rule of thumb: if the part will be picked up, carried, dropped or screwed to something, it needs at least three. If it will sit on a shelf and be looked at, two is plenty.
Two walls is the minimum most slicers ship with. Two loops are enough for anything decorative, and they are enough for a phone stand or a simple prototype that lives in a drawer.
Three walls is the general-purpose answer. Three loops noticeably slow the layer down as the nozzle turns, which improves surface quality, and it stiffens the shell enough for most functional work without turning your print into a solid block of plastic.
Four to six walls is where you move into specialist territory: snap-fit arms, hook geometry, anything with a heat-set insert boss, and outdoor hardware that sees sun and temperature swings. Past four or five, you are usually better off fixing orientation and layer adhesion first.
Each extra wall changes the print in five ways, and they pull in different directions:
- Strength against bending: the outer loops sit furthest from the neutral axis, so they resist flexing best. This is where the gains are real.
- Resistance to splitting: a thicker shell is harder to crack along a layer line, which is the most common failure mode for FDM parts.
- Visible surface lines: more loops means the outer surface is printed more slowly and more accurately, so the layer lines are usually finer and tighter.
- Print time: a third wall adds roughly a third to the time of the wall loops, and perimeters are only part of the layer. The real increase is usually smaller than people fear.
- Filament use: more loops means more plastic, but far less than the equivalent infill increase.
One more detail worth knowing: most slicers print the outer wall last, not first, for a good reason. A slow, clean outer line is easier to place on top of a slightly wobbly inner line than the other way round, so you get a straighter, tidier surface.
Recommended Wall and Layer Counts at a Glance
Here is the decision table I keep coming back to. Shell thickness assumes a line width equal to your nozzle diameter, so 0.4 mm per wall on a 0.4 mm nozzle. Most slicers set the line width slightly wider than the nozzle, so real parts land a few hundredths of a millimetre above these numbers.
| Use case | Outer walls | Top / bottom layers | Shell thickness on a 0.4 mm nozzle |
|---|---|---|---|
| Vases, miniatures, display models | 2 | 4 | 0.8 mm |
| Phone stands, desk organizers, toys | 3 | 4 | 1.2 mm |
| Enclosures, boxes, camera mounts | 3 | 5 | 1.2 mm |
| Brackets and hooks under real load | 4 | 5 | 1.6 mm |
| Snap fits, latches, gears and pins | 5 | 6 | 2.0 mm |
| Heat-set insert bosses, outdoor parts | 5 to 6 | 6 | 2.0 to 2.4 mm |
Now the conversion that almost every guide skips. A bigger nozzle gives you a thicker shell for the same wall count, so you generally need fewer loops to reach the same stiffness.
| Nozzle diameter | 2 walls | 3 walls | 4 walls | 5 walls |
|---|---|---|---|---|
| 0.4 mm | 0.8 mm | 1.2 mm | 1.6 mm | 2.0 mm |
| 0.6 mm | 1.2 mm | 1.8 mm | 2.4 mm | 3.0 mm |
| 0.8 mm | 1.6 mm | 2.4 mm | 3.2 mm | 4.0 mm |
There is a rule that explains why some people end up with 4 walls by accident. If a section of the model is thinner than your wall count multiplied by the line width, the slicer cannot fit that many loops inside it, so it automatically fills the region solid. A 0.4 mm nozzle at 5 walls needs 2 mm of space, and any rib narrower than that quietly becomes a solid bar. This is usually helpful, but it is worth previewing so it does not surprise you.
How Many Walls Should a 3D Print Have? Slicer Terms
Beginners rarely struggle with the concept. They struggle with finding the control, because each slicer names it differently and buries it in a different place.
| Slicer | Setting name | Where it lives |
|---|---|---|
| PrusaSlicer | Perimeters | Print Settings, in the main parameter list under Perimeters |
| OrcaSlicer | Wall Loops | Strength tab, first field |
| Bambu Studio | Wall Loops | Strength tab, first field |
| Cura | Wall Line Count | Settings, Printer, then in the search box type wall |
The defaults are not the same across these programs, and they change between versions, so read the number your slicer actually shows rather than assuming. What matters is the value, not the label.
Do More Walls Always Make a Part Stronger?
More walls help, but they are not a magic number, and they cannot rescue a badly designed part. Understanding why keeps you from over-printing in the wrong direction.
The standard explanation is the I-beam analogy. Bend a plain slab and it deforms easily. Move material to the outer faces, away from the middle, and the same material becomes dramatically stiffer, because stiffness scales with the square of the distance from the neutral axis. Perimeters are the flanges; infill is the web between them.
Destructive tests of printed suspension brackets show the pattern clearly. A thin shell with very low grid infill gives way early. Raising infill to near-solid on the same thin shell does hold more weight, but the part becomes heavy and slow. The sample that stood out combined a thicker shell with a moderate gyroid infill: it outlasted the others by a wide margin, and it used less filament and less machine time than the near-solid version.
That is the case for walls over infill, and it is why the prevailing advice in the r/3Dprinting community is that infill is a poor way to add strength to a part. The same community raises the same caveat every time, which we will get to shortly.
Now the limits. Extra walls do not help much against:
- Layer adhesion. A part splitting cleanly between two layers is failing at the bond, not the shell. Raise the temperature, slow the outer wall, or reduce the layer height instead.
- Bad orientation. A bracket printed flat with the load perpendicular to the layers will be weak no matter how many loops you add.
- Unsupported spans. A bridge that sags creates a permanent weak line that the shell cannot fix.
- Sharp internal corners. They concentrate stress and crack first, and a thicker wall just makes the crack bigger.
One more thing thick walls genuinely do help with: they forgive small errors. Forum members regularly note that thicker walls make a print more tolerant of minor extrusion and flow problems, because there are more lines to carry the load if one of them comes out thin.
How Do Top and Bottom Layers Differ from Walls?
Walls run vertically, following the outline. Solid top and bottom layers run horizontally, sealing the part off. They control different failures, which is why you tune them separately.
For most functional parts, four solid layers at the top and bottom is a solid starting point. Push to five or six where the surface matters, where a hole passes all the way through, or where the part gets screwed, clamped or inserted into something. That last case is important: a bolt passing through a part with only two solid layers will split that section, because the threads bite into thin material.
Thin parts, like a phone case or a small clip, need the same care. A top surface spanning a wide gap dips in the middle unless the infill underneath can hold it up, which is a bridge problem rather than a wall problem. Bump the solid layer count or reduce the span before you add loops.
What Infill Density Should You Use with More Walls?
Treat wall count and infill density as partners. The shell carries the load; infill stops the inside of the part from collapsing and supports the layers above it.
Decorative parts: 0 to 15 percent is fine. Gyroid or lightning patterns work well here because they print fast and still brace the interior.
Functional prototypes: 15 to 30 percent with a three-wall shell. This is the sweet spot most people land on, and a 30 to 40 percent gyroid with three to six outer walls is a common go-to recipe for strong parts, far below the 100 percent infill folklore.
Enclosures and larger parts: 20 to 40 percent. Past roughly 80 percent, the gains flatten out and you are mostly paying for time and plastic.
Load-bearing parts: raise the wall count first and infill second. If you have a shell of four to six loops, going from 20 to 60 percent infill will buy you much less than the two extra walls would have.
Zero and very low infill do come with a real problem, and it is the one thing walls do not solve. With no internal structure, wide top surfaces dip downward between their perimeter supports, and the top skin can look fine from above while hanging in the middle. Fix it with skin edge support where your slicer offers it, by adding a few extra infill layers near the top, or by raising the top layer count. Slicers with a top solid infill setting handle this automatically.
Which Wall Count Works Best by Material?
Material changes how much the extra loops are worth, mostly because of layer adhesion and brittleness rather than the wall count itself.
PLA prints beautifully at three walls and has plenty of stiffness in the shell. It is the most brittle of the common filaments, so parts that get dropped or knocked should go to four walls and benefit more from a slower outer wall speed than from more loops.
PETG is the all-rounder. Three walls is a solid default and four is worthwhile for anything that takes a shock. PETG sticks to itself well, so a good outer wall speed matters more than wall count for layer strength.
ABS and ASA need every bit of help with layer bonding because of warping. Four walls is a reasonable minimum for functional work, and enclosure drafts will affect both settings.
TPU is flexible, so bending strength is rarely the problem. Three walls is enough; thin walls and good first-layer adhesion matter much more here.
Filled and fibre-reinforced filaments change the picture. The abrasive filler wears nozzles and stiffens everything at once, so a thicker shell mainly adds brittleness and time. Two or three walls is usually plenty, and the reinforcement is doing the work.
Whatever the material, follow the filament maker’s own temperature, speed and dimensional guidance. Profiles from the manufacturer are a better starting point than any generic wall count table.
How Do You Set the Wall Count in a 3D Printer Slicer?
It takes about a minute once you know the menu. The order matters more than the number.
- Load the model and pick the profile. Set the material and nozzle first, because line width drives everything downstream.
- Set the wall count. PrusaSlicer: Print Settings, then Perimeters. OrcaSlicer and Bambu Studio: the Strength tab, Wall Loops. Cura: Settings, Printer, and search for wall to jump straight to Wall Line Count.
- Set the solid top and bottom layers. Four each is a sensible default; go to five or six for anything with a hole or a visible face.
- Choose the infill. 15 to 30 percent gyroid for functional parts, lower for decorative ones.
- Preview before you print. Use the layer preview to check the shell, and look at thin ribs to see whether they have auto-solidified as expected.
- Print a small test coupon rather than the full part, especially on a new material or a new wall count.
While you are in the preview, it is worth knowing what wall count is not responsible for. Gaps between vertical lines are almost always an extrusion or flow problem: check that the nozzle is clear, that the line width matches the real extrusion, and that flow is calibrated. A bulge that appears only when the print reaches the solid layers is usually a seam or a retraction artefact in the top skin, not a shell problem.
If the walls are uneven or the nozzle drags on infill, lowering the wall count slightly and raising the infill can be a fair trade. Just make sure the pattern is not grid, which tends to scrape.
What Are the Best Wall Counts for Common 3D Prints?
- Desk organizers and trays: 3 walls, 4 top and bottom layers. Plenty of stiffness for the weight involved, and the surface looks clean.
- Phone and tablet stands: 3 walls, 4 solid layers. Angled parts benefit from four solid layers so the leaning face stays flat.
- Enclosures and covers: 3 walls, 5 solid layers. Screw bosses inside should be local islands of solid material rather than a global wall count increase.
- Hooks and hangers: 4 to 5 walls. The load runs through the curved section, and a thicker shell there resists splitting along the curve.
- Gears, pins and dowels: 4 walls, low infill. A solid pin prints faster and stronger than a thin one full of infill, so raise the geometry rather than the density.
- Brackets and mounts: 4 to 5 walls, 20 to 30 percent infill. Orient the part so the load runs along the layers, not across them.
- Vases and decorative shells: 2 walls and 0 percent infill, with vase or spiral vase mode if your slicer has it.
- Miniatures and figures: 2 to 3 walls, very low infill, fine layer height. Wall count matters less here than layer height and the outer wall speed.
- Prototypes: 3 walls, 15 to 20 percent infill. Fast enough to iterate on and strong enough to handle.
- Heat-set insert bosses: 5 to 6 walls, or a locally thickened boss. An M3 insert needs roughly 6 mm of surrounding material to hold torque without stripping.
Frequently Asked Questions
Are 3D print walls the same as infill?
No. Walls are continuous perimeter paths printed around the outside and inside edges of a model, while infill fills the enclosed space between them. Perimeters form the structural shell and carry most bending and impact loads, whereas infill braces the interior and stops the part from collapsing under its own weight. Most makers use 3 walls with 15 to 30 percent infill rather than 2 walls with 100 percent infill.
How many walls are best for a beginner’s 3D printer?
Start with 3 outer perimeters and 3 or 4 solid top and bottom layers. That setup is easy to print on most FDM machines, gives you a clean visible surface, and is meaningfully stronger than the two-wall default without doubling your print time. Leave infill somewhere between 15 and 30 percent, and change only one setting at a time while you learn what your machine does.
Will five or more walls make a 3D print stronger?
Five or more perimeters help with impact, splitting along layer lines and repeated handling, but they add time without fixing every weakness. A part that snaps between layers is failing at the bond, not the shell, so raising the temperature or slowing the outer wall speed will help more than adding loops. Check orientation, unsupported bridges and layer adhesion before pushing wall count past four or five.
Why do my slicer walls look different in the sliced view?
The preview usually shows perimeter paths, solid top and bottom layers, infill, and the brim or skirt together, so the shell can look thicker than the number you set. To see the wall count on its own, temporarily enter a very high count such as 100, which collapses the infill region solid and makes the outer shell obvious. Remember that the same trick turns any feature thinner than your wall count multiplied by line width into solid material.
How many walls do I need for bed adhesion?
Wall count has almost nothing to do with bed adhesion. First-layer failures come from a dirty or unlevelled build plate, wrong Z offset, a bed temperature that is too low for the filament, or poor first-layer flow. Once that first layer sticks, extra perimeters add little to adhesion. Fix the surface, the offset and the temperature first, then set 3 walls for the rest of the print.
What to Do First
Open your slicer, set 3 outer walls, 4 solid top and bottom layers and a 15 to 30 percent gyroid infill, then print a small coupon and handle it. That is the combination that works for most parts without wasting filament on a hollow-looking solid block.
If it fails, look at where it broke. A crack along a layer line means adhesion or orientation, not wall count. A crack across a thin rib means the geometry needs more material, and you can thicken that rib locally instead of raising the wall count for the whole part. Walls are the efficient lever, but they are only one of several.