Rough top surfaces are almost always one of a handful of things, and you can usually fix them in the slicer before you ever touch sandpaper. The short version: cut your layer height, give the top at least four solid layers, set the seam where nobody looks, and then turn on ironing with a tested flow rate. If the print is already finished, wet sanding and filler primer will get you a long way. Below is the full diagnostic order I work through, from identifying the defect to post-processing a part you already printed.
Ironing, by the way, is a slicer feature that sends the nozzle over the finished top layer a second time at the same Z-height. It re-melts the ridge peaks with nozzle heat and squeezes a small amount of fresh filament into the valleys between extrusion lines, which flattens the surface without adding height. Understanding that is the difference between tuning ironing and just cranking numbers until something looks different.
This process works on common FDM machines, and resin printers follow a different logic entirely, so the settings and symptoms vary a lot by hardware. The diagnostic habits are the same, though, and the fix almost never lives in the printer itself. It lives in the slicer and the filament.
Table of Contents
- What You Need Before You Fix a Rough Top Surface
- Step-by-Step: How to Get Smooth Top Surfaces on 3D Prints
- Identify the Surface Defect Before Changing Settings
- Check Bed Adhesion and the First Layer
- Tune Nozzle Temperature and Cooling
- Adjust Slicer Top-Layer and Wall Settings
- Fix Z-Banding, Motion, and Extrusion Consistency
- How to Get Smooth Top Surfaces on an Existing Print
- Run a Controlled Test Print
- Common Mistakes That Ruin an Otherwise Good Top Layer
- Frequently Asked Questions
- What is the best slicer setting for smooth top surfaces on 3D prints?
- Can I sand a 3D print to make the top surface smooth?
- Why are the tops of my 3D prints rougher than the sides?
- How do I know when a rough top surface is caused by a worn nozzle?
- Does filament type affect the smoothness of a 3D print top?
- Conclusion
What You Need Before You Fix a Rough Top Surface
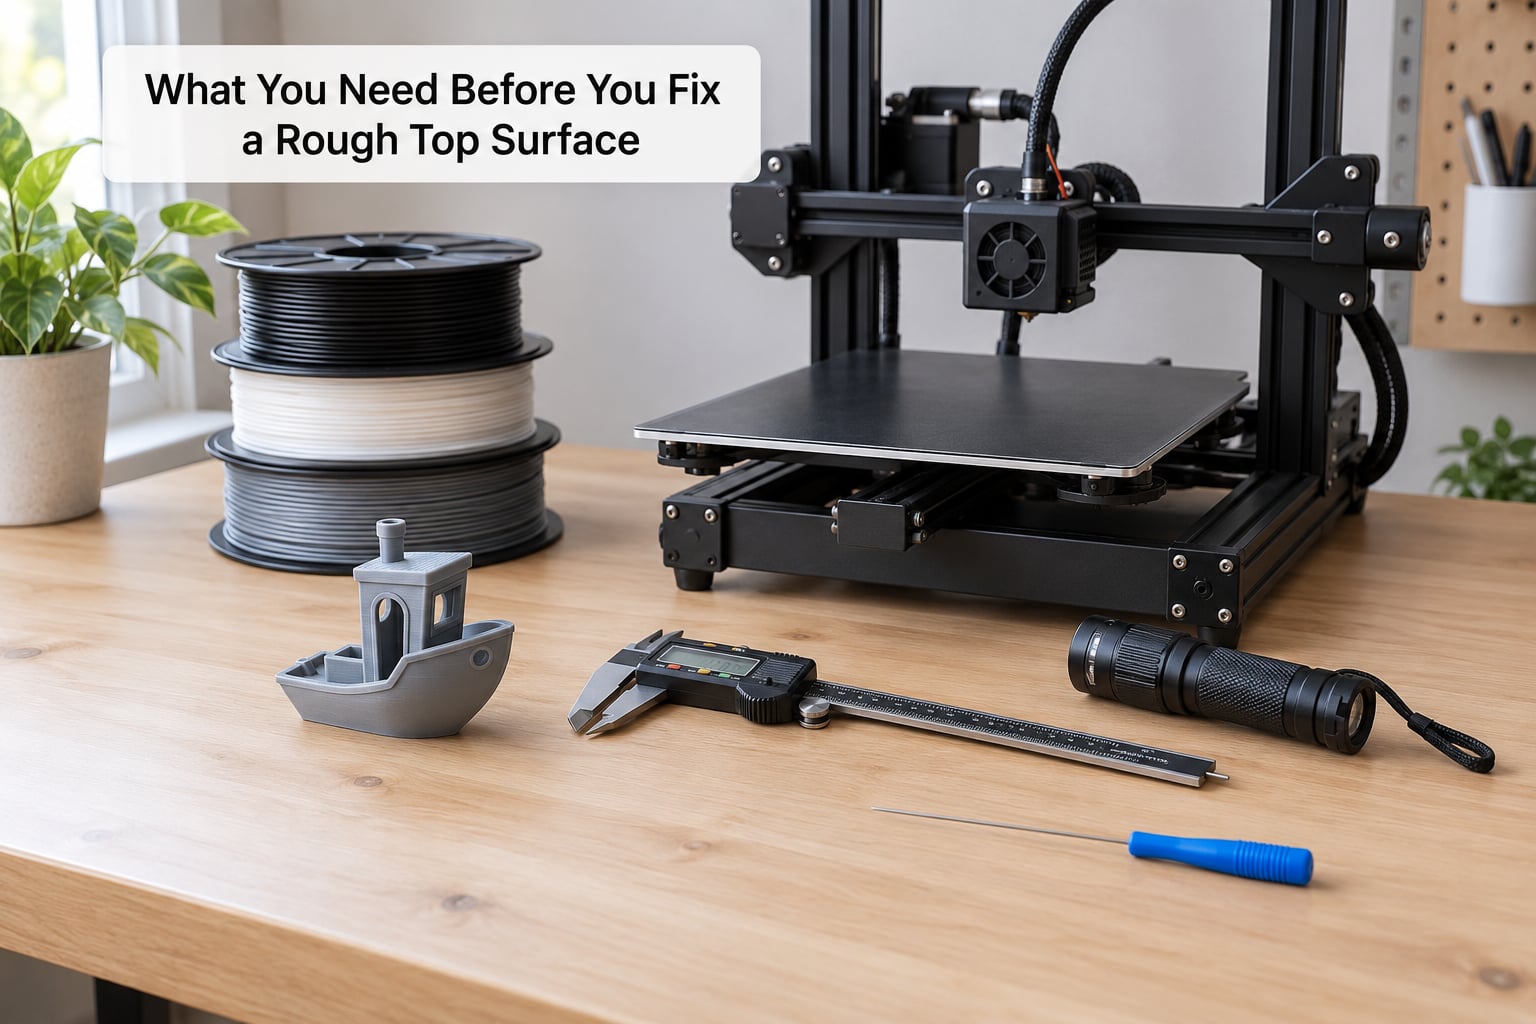
You do not need much, and most of it you already own. The point of the list is to make sure you are not tuning slicer settings while a dirty plate or a chipped nozzle is quietly wrecking the print.
- Your printer, bed and nozzle in known condition. A clean glass or textured plate, a level bed, and a nozzle that is not visibly worn, chipped or clogged.
- Dry filament of the exact type you plan to test with. A filament dryer, a dehydrator, or a spool that has been sealed with desiccant since it was opened.
- Your slicer at its current version. Bambu Studio, OrcaSlicer, PrusaSlicer and Cura all ship ironing or smooth-top-surface options, though the names and menu paths differ.
- A caliper or steel rule for measuring layer height and confirming Z-offset changes.
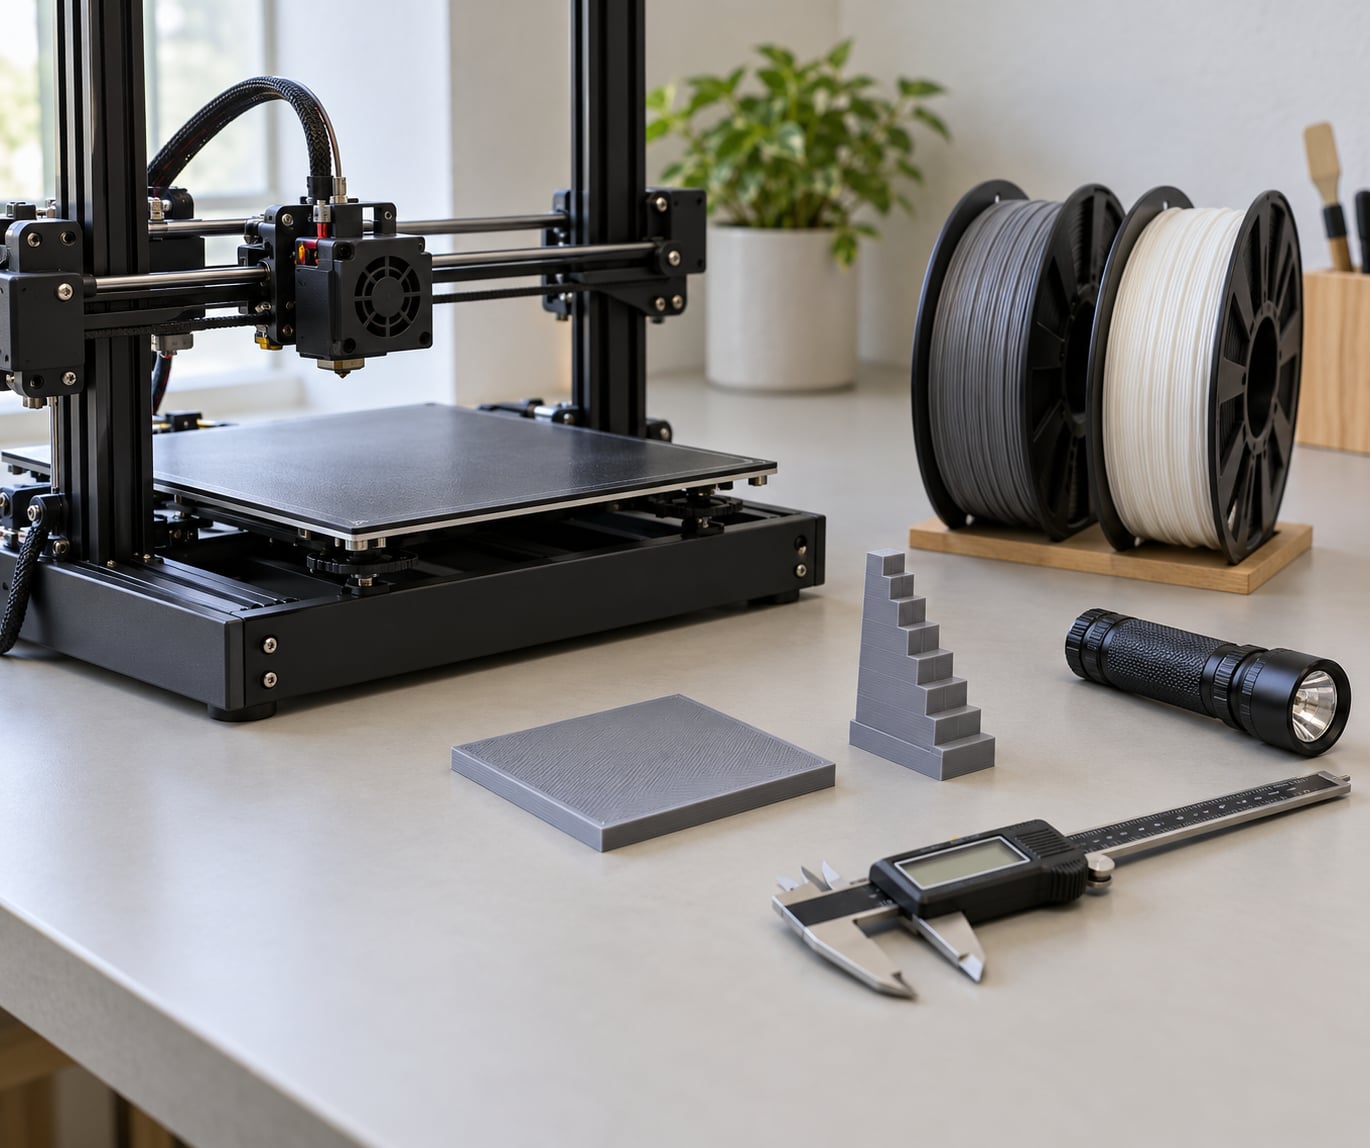
- A flashlight held low across the surface. Raking light turns faint ridges, ripples and pinholes into something you can actually see and diagnose.
- A small nozzle-cleaning tool or brass wire brush for removing a skin that has built up on the tip.
- For post-processing: sandpaper from around 120 to 1000 grit, a spray filler primer, and a wet sanding setup with a bowl of water and a paper towel.
- Respirator and gloves if you plan to sand, spray primer or work near acetone. Resin prints need a full fume setup; that is a different process with different risks.
The single most useful habit here is keeping a small calibration model ready. A flat plate with a few test squares, a small tower and a thin wall gives you every surface condition worth checking in about fifteen minutes of printing.
Step-by-Step: How to Get Smooth Top Surfaces on 3D Prints
Work through these in order. Each step assumes the previous one is already correct, and each one changes a single variable. That discipline is what separates a real fix from guessing.
Identify the Surface Defect Before Changing Settings
Rough tops look similar from above and come from completely different causes. Hold the part at eye level and shine your flashlight along the surface at a shallow angle, then match what you see to the list below.
| What you see | What it usually means | Where to go next |
|---|---|---|
| Even, regular ridges running the full width of the part | Normal layer lines. Ridge height scales directly with layer height and extrusion width. | Lower layer height, enable ironing |
| The whole surface is wavy in bands, one band per few millimetres of Z | Z-banding from inconsistent Z motion, a warped or dirty plate, or a lead screw or nut that has loosened. | Motion and hardware step |
| Small round holes or gaps you can see light through | Too few top solid layers, or the infill pattern is not providing support under the skin. | Top-layer settings step |
| Regular ripples or scallops on an otherwise flat face | Z-offset too low, so the nozzle is dragging through fresh plastic, or the seam is landing in a visible spot. | Bed adhesion and Z-offset step |
| Wrinkled or bark-like patches near edges | Edge overflow where plastic is pushed past the perimeter, often from excessive flow or a cold nozzle. | Temperature and cooling step |
| One raised lump, ridge or zit line crossing the face | The seam, or a retracting filament changeover, landing on a visible surface. | Seam placement and retraction |
| One area is rougher or duller than the rest | Wet or inconsistent filament, or a nozzle that has picked up a skin and lost flow partway through. | Filament and nozzle condition |
| Roughness that gets worse toward the end of the print | Nozzle heat buildup, a skin forming on the tip, or ironing flow set too high for the material. | Temperature step, then the ironing calibration test |
If your surface is a mix of these, fix the most severe one first. A wavy plate ruins everything above it, so no slicer setting will rescue that print.
Check Bed Adhesion and the First Layer
Bed problems rarely stay on the bottom of the part. A part that lifts at one corner, warps during a long top surface, or sits at a slight angle will finish with a top face that is out of flat no matter how good your skin settings are.
Clean the plate with isopropyl alcohol and a lint-free cloth, then level the bed with a paper or feeler test at all four corners plus the centre. On a mesh or textured plate, follow the manufacturer’s first-layer procedure rather than a generic paper test. The goal is a first layer that comes free with a gentle peel and does not need a spatula.
Then check Z-offset. Print a single-layer square in the centre of the plate and measure the width of the extruded line. Wider than expected means the nozzle is too low; narrower means too high. A nozzle that sits too low smears the first layer, and that smear propagates as a lifted, slightly tilted top face on tall parts.
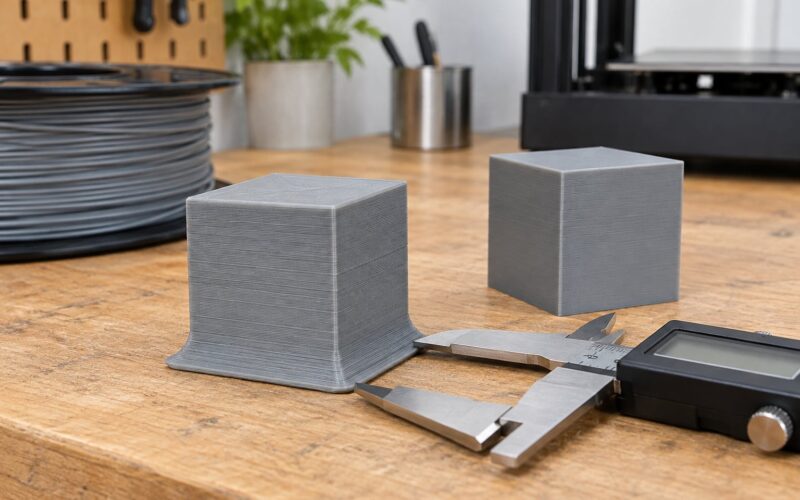
Watch for elephant foot, the slightly rounded overhanging edge at the bottom of a part. It is not a top-surface problem, but it is what many beginners mean when they say the part looks rough. Slicers handle it with an elephant-foot compensation setting, usually worth 0.1 to 0.2 mm on a typical FDM machine.
Tune Nozzle Temperature and Cooling
Temperature controls whether the plastic flows into a flat ribbon or piles up. Too cold and you get visible gaps, ridges and under-extrusion lines. Too hot and the plastic slumps, the edges bulge, and the top surface picks up a soft, smeared texture instead of crisp lines.
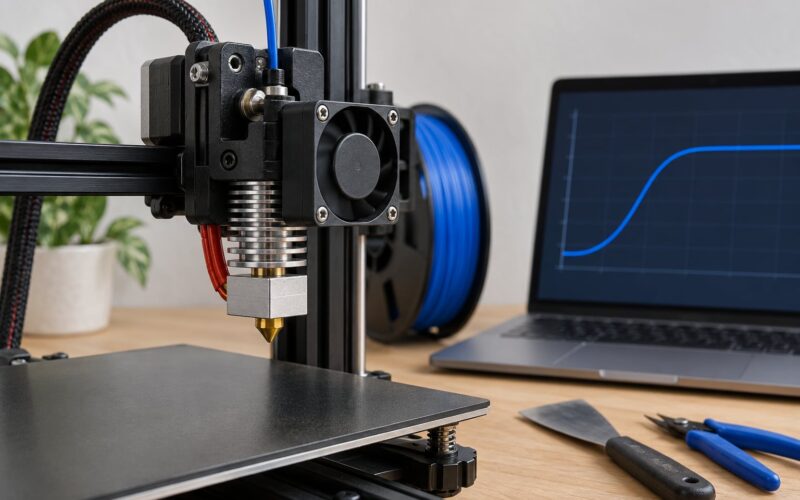
Run a temperature tower: a small model with a low block for each temperature, printed in one go with no cooling. Use a sensible range for your material rather than a random one. PLA is usually 195 to 215 degrees Celsius, PETG 225 to 250, ABS and ASA 240 to 260, and TPU sits in the low 220s but needs slow speeds and low fan.
Look at the top of each block under raking light. The right temperature is the lowest one where the surface has no gaps, no stringing and no visible seam lump. Colder is usually the better answer, because a lower temperature also means less warping and less nozzle buildup over a long print.
Cooling is the second half of this step, and it is a genuine trade-off. The part fan solidifies the small overhangs at the end of each extrusion so the next layer can sit on them, which is what gives you a flat top. Turn the fan off completely and the new layer sinks into the soft one below, causing exactly the ripples and wrinkles people mistake for a bad first layer. Full fan on a small top surface does the opposite problem: it chills the layer before it can bond, and you get pinholes. Most people land somewhere between 30 and 60 percent on the final layer and reduce fan speed for the first few layers of solid top surface.
Change one thing at a time here. Two degrees of nozzle temperature and a fan speed change in the same print is two variables, and you will not know which one helped.
Adjust Slicer Top-Layer and Wall Settings
This is where most of the visible improvement comes from, and it costs nothing but print time.
Top solid layers. Four is the practical minimum, and five is better if the part will be painted. Each solid layer is only about as wide as your nozzle, so the top of a part with two top layers exposes infill edges and pinholes. If your infill is sparse or gyroid, add an extra layer of solid infill directly under the skin so there is continuous material to sit on.
Layer height. Measured FDM surface roughness varies by more than a factor of eight depending on layer height, and layer height accounts for roughly 80 percent of that variation. Dropping from 0.2 mm to 0.12 mm is roughly a 60 to 70 percent increase in print time for the part, so it is a real cost, but it is the single most reliable cosmetic improvement available. 0.16 mm is a sensible middle ground for most display pieces.
Seam placement. Put the seam on a back face, a bottom edge, or inside a recess. In PrusaSlicer and OrcaSlicer you can also align it to a corner, and align the seam to an object so it disappears inside a model rather than crossing a face. Scarfing or painting a seam away is a slicer feature in OrcaSlicer and PrusaSlicer that varies the seam angle across a surface so the eye stops catching it.
Wall order and counts. The infill is printed before or after the perimeters depending on your setting. Printing infill first and perimeters last keeps the outside wall as the final deposition, which gives a cleaner visible surface. Three or four perimeters also give the top layer more material to fuse with.
Line width and overlap. Slightly wider external perimeters and a small overlap into the adjacent line reduce the micro-voids you can see under raking light. 10 to 15 percent extra overlap is usually enough.
Ironing. Enable it, set a speed, set a flow, and pick a pattern. The three parameters that matter are the ironing flow rate (the extra material laid down on the second pass, typically 8 to 12 percent for PLA), the ironing speed (20 to 25 mm/s is a good starting point, slower is easier on the nozzle), and the line spacing, or stepover, between ironing passes. Spacing tighter than your nozzle diameter is what fills the valleys. Ironing pattern options include monotonic, which sweeps in one direction only, 45 degree, and grid or cross-hatch. Monotonic at 45 degrees is the most common choice, because a single consistent direction leaves a uniform satin sheen rather than a crosshatch you can see.
Set an ironing inset of roughly 0.1 to 0.2 mm so the nozzle does not push plastic over the outer edge of the part. That inset is where lip bulge comes from when it is too small or zero.
| Material | Ironing flow | Ironing speed | Line spacing | Fan on top layers | Notes |
|---|---|---|---|---|---|
| PLA | 10 to 12 percent | 20 to 25 mm/s | 0.08 to 0.10 mm | 30 to 50 percent | Best behaved. Start here. |
| PLA silk, matte or silk plus | 12 to 15 percent | 15 to 20 mm/s | 0.08 mm | 20 to 40 percent | Hardest to bring to a gloss. r/3Dprinting threads regularly call silk PLA the toughest finish; more flow and slower passes help. |
| PETG | 5 to 8 percent | 20 to 25 mm/s | 0.10 mm | 50 to 70 percent | Low. Higher flow gives the blobs people complain about in r/FixMyPrint. |
| ABS and ASA | 8 to 10 percent | 20 to 30 mm/s | 0.10 to 0.12 mm | 0 to 20 percent | Needs an enclosure. Warping ruins the top before ironing even starts. |
| TPU | 0 to 4 percent | 10 to 15 mm/s | 0.15 mm or wider | 30 to 60 percent | Ironing often causes a wobble. Keep speeds low and flow near zero. |
| Nylon | 3 to 6 percent | 15 to 20 mm/s | 0.12 mm | 20 to 40 percent | Dry filament is the priority. Wet nylon foams and no setting fixes it. |
These are starting points, not answers. Forum consensus is consistent that there are no universal ironing settings, because the flow that works on a well-tuned machine at 45 percent will blob on another. The r/3Dprinting crowd regularly posts starting points far above the slicer defaults, which tells you the useful range is wider than the factory number suggests, but it also tells you to test on a tile rather than on a six-hour print.
| Slicer | Where the setting lives |
|---|---|
| Bambu Studio | Filament settings, Quality section, for Layer Height, Top Surface, Wall Order and Seam. Ironing is under Quality, labelled Ironing, with Flow, Spacing, Speed, Pattern and Angle. |
| OrcaSlicer | Strength or Quality tab for top layers and wall order; Ironing sits in the Quality tab with Type, Flow, Speed, Spacing, Inset and Angle. Seam placement is under Shell. |
| PrusaSlicer | Print Settings for top solid layers, perimeters and seam. Ironing is in Print Settings, then Ironing, with Type, Speed, Flow, Spacing, Inset and Angle. |
| Cura | Quality tab for Top Layers, Wall Order and Seam. Ironing is an experimental feature in Settings, Experimental, Enable Ironing, with Flow, Speed, Spacing, Inset, Pattern and Angle. |
Menu names shift between versions, so if a label is missing in your build, search the slicer for the words rather than hunting through tabs.
Fix Z-Banding, Motion, and Extrusion Consistency
Z-banding is a hardware symptom, not a slicer one. If the surface waves in a band that repeats every few millimetres of height, no amount of ironing flow will hide it, because the nozzle is genuinely changing height as it moves.
Start at the machine. Confirm the bed is tight and the frame is square. On a belt-driven Z axis, check the tensioners and tighten until there is no visible deflection when you push the bed up. On lead screws, back off the anti-backlash nut until it is snug, then check for a bent screw or a dry nut. Binding in the Z axis is a common result of a warped or dirty plate pushing into the screw as the nozzle rises.
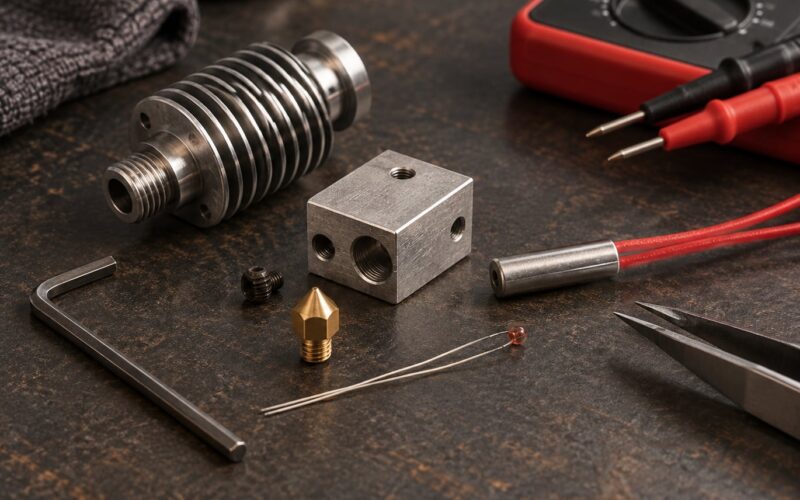
Then look at the nozzle. A brass tip that has been abraded by a hard or glass-filled filament has a visibly rounded, wider opening, and it drags a small skin of plastic. A partially clogged nozzle reduces flow and then releases it in surges, which shows up as a surface that is smooth for a while and then suddenly rough. A needle-valve nozzle is the usual culprit for a single raised zit on the top face: a strand of filament is pushed through the tiny gap between the valve and the seat, or a flake of old plastic has settled on the seat.
Take the nozzle off and check it under a flashlight. A clean sharp tip should look sharp. Run it through a flame briefly or soak it in hot water with a mild detergent, then re-prime and wipe the tip with a piece of paper while it is hot. If it still drags or has a lump on it, replace it, and replace the spring while you are in there.
Finally, check the filament itself. A worn or nicked feeder gear, a PTFE lining that has gone soft at the hot end, or a spool that has been cross-wound can all produce inconsistent extrusion. Push filament by hand through the extruder: it should take steady force, with no silent slipping and no sudden give.
How to Get Smooth Top Surfaces on an Existing Print
You can improve a finished part, but you cannot correct a serious dimensional fault by sanding. A wavy, warped or under-extruded part will still be wavy after you spend a Sunday with abrasives. Post-processing works on a print that is dimensionally correct but cosmetically textured.
Wet sanding is the most predictable method for PLA, ABS and ASA. Wet the surface, work with 180 to 220 grit to level the ridges, then step up through 320, 400, 600 and 1000. Keep the sandpaper moving and keep the part wet so the plastic dust becomes slurry instead of airborne powder. A rigid sanding block beats your fingers by a wide margin, because it stays flat and levels rather than following the ridges.
Dry sanding suits PETG and TPU, where water is not welcome. Stay coarser, around 120 to 220 grit, and work slowly to control the heat. Use a respirator and a vacuum; plastic dust is the one hazard in this whole process that people take too lightly.
Scraping and filling. A card scraper shaves a PLA top face flat quickly, and filler primer handles the small pits the scraper leaves. Two thin coats of filler primer, each sanded back to 400 grit, will smooth out pinholes that no slicer setting could close.
Painting. High-build primer does the smoothing and the painting in one pass, and it is the fastest route to a display finish on a part with small layer lines.
Heat polishing works only on compatible materials, and only with a controlled setup. A heat gun held at a distance moves the part under a slow, even sweep. It is a technique for experienced hands: too much heat and the surface deforms, and any moisture in the filament turns the surface into a bubbled mess.
Acetone vapour smoothing gives a genuinely glass-like finish on ABS and ASA, and forum consensus treats it as the only truly polished option for those materials. It requires a sealed chamber, ventilation and care with a highly flammable solvent. It does nothing useful on PLA or PETG.
Put on a respirator whenever you sand, and never sand ABS, ASA or styrene-based materials indoors without extraction. A cheap bench vacuum with a fine filter takes care of most of the risk.
Run a Controlled Test Print
Once you have narrowed it to a likely cause, prove it on a test before committing to a long print. Print a small model with dedicated top surfaces: a flat plate, a small tower, a thin wall and an overhang, so one print tests several conditions at once.
Change one setting. Run four short plates with ironing flow at 6, 9, 12 and 15 percent, all else identical, and pick the lowest value that closes the valleys without bulging. This is the fifteen-minute calibration most guides skip, and it is the reason your first ironing attempt on a real part often fails.
Record what you changed and what happened. After a handful of these you will know your machine and your filament well enough to skip straight to the right settings, and you will stop treating slicer defaults as final. Note also the print-time cost: ironing typically adds 10 to 20 percent, while dropping to a 0.12 mm layer height adds 60 to 70 percent. Knowing the cost lets you spend it where the part actually needs it.
Common Mistakes That Ruin an Otherwise Good Top Layer
Adding nozzle temperature to solve a rough top. More heat softens the whole layer and often makes it worse, and it brings warping with it. If you see gaps between lines, the nozzle is too cold or under-extruding. If you see soft, smeared plastic, go cooler. Change five degrees, not twenty.
Setting the part cooling fan to maximum. Full fan on a top surface stops the layer from bonding to the one beneath it, and pinholes appear. Full fan off lets each new layer sink into the last, which causes ripples. The answer is a middle value, usually 30 to 60 percent on top layers, and a slower top surface speed so the plastic has time to settle.
Adding extra top layers to fix a wavy surface. More top layers add material, not flatness. If the underlying layers are rippling, the extra layers ripple too. Wavy means fix Z-offset, belts, tension or warping first.
Sanding a warped or contaminated print. If the part is out of flat, sanding flattens the high spots and leaves the low ones, and the part ends up thinner and still uneven. Post-processing a bad part wastes material and time. Fix the print first.
Changing five slicer settings at once. This is the biggest time sink in the hobby. You end up with a surface that looks better and no idea which change did it, so you cannot repeat it. One variable, one print, one conclusion.
Leaving the seam on a visible face. A seam is a small bump where the nozzle starts and stops. On a display part, put it on the back or the bottom. This costs nothing and removes a defect people spend an hour sanding off.
Setting an ironing inset of zero. The nozzle then rides the outer edge and pushes plastic past it, creating a lip that is worse than the roughness you started with. Leave 0.1 to 0.2 mm.
Ironing on sloped tops, small prints or tall thin towers. A slope turns the ironing pass into stair-step dragging, a small face gives the nozzle nowhere to go, and a narrow tower can wobble into a layer shift. Turn ironing off for those and use post-processing instead.
Forgetting to dry the filament. Moisture in PLA, PETG and especially nylon causes popping, stringing, rough patches and a dull surface. Most “my printer is bad” complaints I have chased down ended with a wet spool. Dry it, seal it, and test again before touching settings.
Two maintenance habits prevent most of these. Wipe the nozzle tip with a paper towel every few prints, while it is hot, before a skin has time to build. And keep a spare nozzle and a spare PTFE-lined hot end assembly on hand, so a worn part is a two-minute swap rather than a troubleshooting session.
Frequently Asked Questions
What is the best slicer setting for smooth top surfaces on 3D prints?
There is no single setting, but the combination that works most often is four to five top solid layers, a layer height of 0.12 to 0.16 mm, the seam moved to a hidden face, and ironing enabled with a flow rate of 8 to 12 percent at 20 to 25 mm/s. Start from those numbers and test on a flat calibration tile. The right flow depends on your nozzle, filament brand and machine, so treat the range as a starting point rather than a finished answer.
Can I sand a 3D print to make the top surface smooth?
Yes, on any print that is dimensionally correct. Wet sanding works well on PLA, ABS and ASA, stepping from about 180 grit up through 1000, while dry sanding suits PETG and TPU. Keep the sandpaper flat on a rigid block, keep the part wet, and wear a respirator. Sanding cannot fix a warped or wavy part, because it levels the high spots and leaves the dips untouched.
Why are the tops of my 3D prints rougher than the sides?
The top is a single flat ribbon of plastic deposited last, with no later layer pressing against it to fill the gaps, so every ridge stays visible. Side walls hide much of the same texture because vertical ridges run along the surface rather than across your line of sight. Four or five solid top layers instead of two, plus ironing, closes the difference quickly. A lower layer height helps both surfaces, but it is the top where the change shows most.
How do I know when a rough top surface is caused by a worn nozzle?
Look for a surface that starts smooth and turns rough partway through the print, which points to plastic building up on the tip and stealing flow. Take the nozzle off and check it under a flashlight for a rounded or chipped opening, or for a lump of skin. Dragging across a fresh layer, and a single raised zit on the top face from a needle valve or a flake on the seat, are both common signs. A clean that does not fix it means replace the nozzle and the spring.
Does filament type affect the smoothness of a 3D print top?
Yes, a lot. PLA irons well at 10 to 12 percent flow, PETG blobs above about 8 percent, and TPU usually prefers ironing off entirely because the pass makes a narrow tower wobble. Silk and matte PLA variants are the hardest to bring to a gloss and need slower passes and more flow. ABS and ASA need an enclosure to stop warping, and nylon only finishes well when the spool is bone dry. Match the settings to the material, not the other way around.
Conclusion
Start with the surface pattern, not the settings. Look at the part under a raking light, decide whether you are seeing layer lines, Z-banding, pinholes, edge overflow or a seam, and that single observation tells you which of the steps above applies.
Then check the two things that ruin everything downstream: a clean, level first layer and a nozzle that is not worn or skinned. Change one setting, print a small flat test, and look again.
There is no universal answer here. The best combination depends on your defect, your filament, your machine and how finished the part needs to look. A functional lid needs four top layers and a hidden seam. A showpiece might justify 0.12 mm layers, ironing, and an evening of wet sanding and filler primer.