If your first layer comes out thin, the nozzle is sitting too far above the build plate. Instead of a flat ribbon of plastic that fuses into a solid base, the filament lands as a small round bead that never merges with its neighbours, so the layer looks skinny, wavy or gappy. In most cases the fix is a small Z-offset correction, a cleaner plate, or one temperature change, and it takes about ten minutes.
The word “thin” gets used for two different problems, and mixing them up wastes an afternoon. One is a thin bead across the whole print, which points at the nozzle-to-bed gap. The other is a single perimeter line where the model wall was too thin for the nozzle, which points at the slicer or at under-extrusion. Sorting out which one you have is the first ten minutes of this whole guide.
If you only change one thing, run a 100 mm single-line test print and look at it before you touch any other setting. A test line tells you in about four minutes whether the problem is height, flow, speed or the plate, and it keeps you from chasing three variables at once.
Table of Contents
- What You Need
- Step-by-Step
- Step 1: Check the first-layer preview in your slicer
- Step 2: Verify the nozzle and first-layer height
- Step 3: Clean and level the build surface
- Step 4: Set the correct first-layer temperature and flow
- Step 5: Adjust flow or extrusion calibration
- Step 6: Test adhesion and repeat the first layer
- Common Mistakes
- Frequently Asked Questions
- Why is my first layer so thin?
- Can a 0.4 nozzle print at 0.1 layer height?
- Should I squish my first layer?
- What causes bad first layers in 3D printing?
- How do I increase first layer adhesion?
- Why is my PLA first layer thin on one side only?
- Conclusion: Start With the Simplest Fix
What You Need
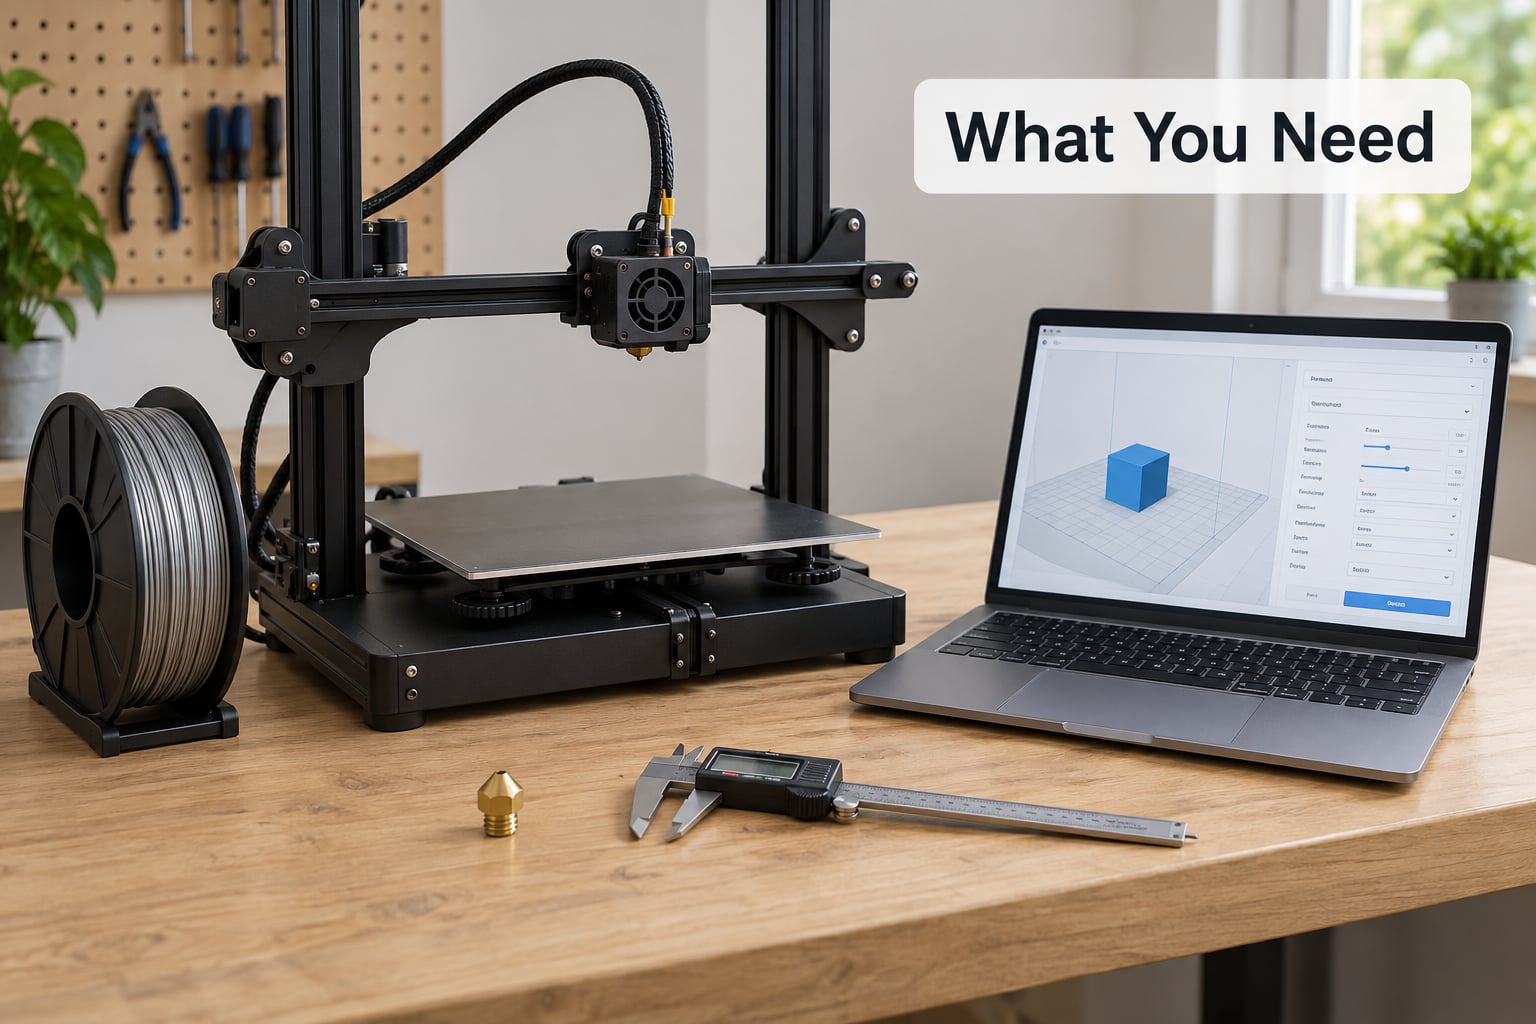
None of this needs specialist kit. Everything below uses the printer you already own plus three cheap items.
- A clean, flat build surface. Glass, smooth PEI or textured PEI all work, provided they are free of grease, dust and fingerprints.
- Isopropyl alcohol at 90% or higher and a lint-free cloth. 70% leaves water behind and streaks the plate.
- A digital caliper to confirm your filament diameter is really 1.75 mm and not a fat 1.78 mm spool.
- Your slicer’s settings screen with the first-layer preview open, so you can compare the numbers against the model.
- Spare filament of the type you are about to print. Switching spools changes diameter and moisture, and you want one variable at a time.
Also worth having: a piece of plain printer paper for the paper test, a fine needle or cleaning needle for the nozzle, and somewhere the printer can sit without a draft across the bed. Temperature drift of a few degrees changes flow more than most people expect.
Step-by-Step
Start here is the symptom map. Find the row that matches your print, then go to the step listed in the last column. Changing everything at once is the single most common reason a printer stays broken for months.
| What you see | Most likely cause | Where to look |
|---|---|---|
| Thin, rounded lines that do not touch each other, print sticks fine | Nozzle-to-bed gap too large | Step 2 |
| Thin lines with visible gaps, corners lift later in the print | Bed not level, or a tilted/warped plate | Step 3 |
| Thin and bumpy, texture looks like ripples | Z-offset not saved, or mesh and Z-offset fighting each other | Step 2 |
| Thin on one side, normal on the other | Bed slope, or one Z-screw loose | Step 3 |
| Thin, stringy, occasional blobs | Under-extrusion or damp filament | Step 5 |
| Every layer thin, including the top of the print | Nozzle diameter or flow multiplier wrong in the slicer | Step 5 |
| Single hairline wall on an otherwise fine print | Model wall thinner than the extrusion width | Step 1 |
Step 1: Check the first-layer preview in your slicer
Before you touch the printer, slice the model and look at the bottom layer alone. You are checking four numbers, and none of them should be guesses.
- Nozzle diameter. If you physically changed nozzles and the slicer still thinks it is a 0.4 mm, every line width and height will be miscalculated.
- Layer height versus nozzle. A 0.4 mm nozzle at 0.1 mm layer height asks for a four-to-one squish ratio. That is the direct answer to “can a 0.4 nozzle print at 0.1 mm?”, and the honest answer is yes, but not well.
- Line spacing. Adjacent first-layer perimeters must overlap. If the preview shows separate parallel lines with daylight between them, the problem is extrusion width, not Z.
- First layer speed and fan. These should be slower and fully off.
That preview also catches the confusion nobody warns you about. If your model’s wall is thinner than the extrusion width, the slicer prints it as a single perimeter with no infill, because it cannot fit a second line. The result looks like a hairline or a loose string even on a perfect bed. Fix it by setting the nozzle diameter down, or by thickening the wall in your model to at least two extrusion widths.
Step 2: Verify the nozzle and first-layer height
The nozzle-to-bed gap, or Z-offset, is the distance between the tip of the nozzle and the plate at the moment the first line is laid down. For a 0.4 mm nozzle, a working gap is roughly 0.1 mm. That sounds impossible until you picture a 0.4 mm tall bead being flattened into a ribbon about 0.2 mm thick and a little wider than the nozzle. That flattening is what people call squish, and it is what welds the bead to the plate.
If the gap is too large, the bead stays round. Round beads do not merge, so the layer reads as thin lines rather than a sheet.
| Nozzle diameter | Useful first layer height | Target Z-gap |
|---|---|---|
| 0.2 mm | 0.1 mm | 0.05 mm |
| 0.4 mm | 0.2 mm | 0.1 mm |
| 0.6 mm | 0.2 to 0.25 mm | 0.15 mm |
| 0.8 mm | 0.25 to 0.3 mm | 0.2 mm |
Budget beds are often warped, which is why owners of machines like the Ender 3 and Neptune 4 usually do better at 0.2 mm first layer than at 0.1 mm. A taller bead has more plastic to give, so a slightly uneven plate matters less.
Lower the Z-offset in steps of 0.05 mm and print a test line each time. Big jumps are how people drag the nozzle through the plate or grind debris into a PEI sheet. If you are on a printer with a probe, remember the probed value and the Z-offset are two separate offsets and both get applied; setting both to correct for the same error leaves you exactly where you started.
Where you set it depends on the machine, and menu names shift between versions:
- Bambu Studio and OrcaSlicer: use the Z-offset calibration button in the toolbar before the print starts, then save to the machine profile. The wizard runs a line test and asks whether the line is flat or bumpy.
- PrusaSlicer: use the calibration wizard for machines with a built-in probe, or Control > Baby Stepping Z for manual machines, moving in small increments and repeating the test line.
- Cura: Printer Settings > Machine Settings > Printer > Z Offset, or run the Z Offset Wizard plugin for an automated pass.
- Klipper: the M291 command opens the Z_ENDSTOP_ADJUST prompt. Save with M500 so the value survives a restart.
Two habits from the forums are worth copying. Set the offset while the bed and nozzle are already at printing temperature, because a cold plate expands after you level it and shifts the gap underneath you. And if the test line shows a raised edge where the nozzle starts and stops, the nozzle is too low rather than too high, which is the opposite failure wearing the same “thin” language.
Step 3: Clean and level the build surface
Thin lines that will not improve with Z-offset changes are usually a surface problem. Finger oils from handling the plate, a thin layer of PLA from a previous print, and dust all reduce adhesion, and a bead that barely sticks looks like a bead that never got squished.
Wipe the plate with 90% isopropyl alcohol and let it dry fully. For a heavily used textured PEI sheet, warm water with dish soap and a stiff brush works better than alcohol, which can leave a film on textured coatings. Avoid bare hands on the print area afterwards; that is how the oils get there in the first place.
Then level it, and check the centre as well as the four corners. Corner-only leveling hides a dished plate, which is a common shape for warped budget beds. The paper test is the standard manual method: slide a sheet of paper under the nozzle at each point and adjust until it drags lightly with a gentle scrape, not a hard pull.
For a manual machine, work in a consistent order, back corner first, then the remaining corners in turn, then repeat the cycle. Going around twice settles the frame. For a probed machine, run the mesh or level routine, and if your printer is fitted with an enclosure, run it closed. Probing with the door open gives you a mesh for a room temperature the print will not happen at.
If one side prints thin while the rest is normal, treat that as a tilt problem rather than an offset problem. Put a spirit level or a phone level straight across the plate, or print a wide single line and check whether it looks narrower at one end. A loose Z-screw on one corner or a plate sitting on two shims will do it.
Step 4: Set the correct first-layer temperature and flow
The first layer needs to be molten enough to bond to the plate, so temperature matters as much as height. Follow the range printed on your filament spool, because brands vary by more than you would expect, and use the middle of that range as your starting point.
| Material | Nozzle temperature | Bed temperature | First layer notes |
|---|---|---|---|
| PLA | 200 to 215 C | 55 to 60 C | Easy to stick; if it will not bond, suspect height before glue |
| PETG | 235 to 250 C | 70 to 80 C | Grips smooth PEI too well; add a release agent or use a sheet liner |
| ABS | 240 to 260 C | 90 to 100 C | Needs a heated bed and ideally an enclosure |
| ASA | 240 to 260 C | 90 to 100 C | UV stable, same handling demands as ABS |
| TPU | 225 to 235 C | 30 to 45 C | Slow the first layer well below print speed |
| Nylon | 250 to 270 C | 70 to 80 C | Must be dried; absorbs moisture within hours of opening |
Two first-layer flow settings do most of the work. Set the first layer extrusion width to 120 to 150 percent of nozzle diameter, which is 0.48 to 0.6 mm on a 0.4 mm nozzle, so neighbouring lines overlap. And set the cooling fan to zero for the first layer. A fan blasting hot plastic out of a small gap slows it enough to lose adhesion.
Add a brim of 5 to 8 mm when the base area is small relative to the height, such as a tall narrow part. A raft also works but it adds separation between raft and part, which is another reason the first layer looks thin if the raft is set to lift.
Step 5: Adjust flow or extrusion calibration
If the first layer is thin across its whole width and later layers look normal, height is not the problem. You are under-extruding, and the bead that lands on the plate is smaller than the slicer expects.
Measure the filament with calipers in three places, away from the outer layer of the spool. If it reads 1.78 mm instead of 1.75 mm, that is about 3 percent too much plastic going through a hole calibrated for 1.75 mm, which shows up as thin lines everywhere rather than only at the bottom. Dry filament is the other half of this: moisture makes the flow irregular, so the first layer comes out patchy while the rest of the print settles down once the material is warm and dry.
Use the slicer’s flow or extrusion multiplier rather than a fixed percentage borrowed from another printer. Print a single-wall calibration block, measure a line with calipers, compare against the requested width, and adjust in small increments. If the first layer alone is light while everything above is correct, lower the first layer flow multiplier by a few percent rather than changing the global setting.
For multi-material printers, run the extrusion or flow test after every filament change, including after a manual spool swap. A new profile with the wrong flow value produces exactly this symptom and looks like a bed problem for weeks.
Step 6: Test adhesion and repeat the first layer
A healthy first layer is a continuous sheet, not a set of lines. Look for four things on your test line: the bead is flat and slightly wider than the nozzle, neighbouring lines overlap with no daylight, the corners form a continuous curve rather than four separate arcs, and the surface shows faint ridges from the nozzle tip rather than a rounded profile.
Print a single 100 mm line with nothing else on the plate. That isolates height, flow and speed from every other variable in the model. If the line is flat and consistent, your settings are right and any remaining problem is in the model or the surface.
Then run a small 20 mm square with the same settings. Change one thing between attempts: Z-offset, then first layer speed, then flow. Printers have enough interacting settings that changing three at once tells you nothing about which one mattered. Most of the time it takes two or three test lines to land it.
Common Mistakes
Setting the Z-offset on a cold printer. The plate expands when it heats up and the gap you measured is no longer the gap you get. Level with the bed at temperature, close the door, and wait a few minutes for the whole frame to settle.
Lowering the offset too far. The opposite failure: the nozzle drags, the line looks flattened and scraped, corners bulge, and on a textured PEI sheet the tip can wear the coating. Pull the offset back up in 0.05 mm steps until the nozzle stops touching the print.
Cleaning with 70% alcohol. The water content leaves streaks that reduce adhesion. Use 90% or higher and let the plate dry completely before heating it.
Leaving the first layer speed and fan at print defaults. 15 to 25 mm/s for the first layer with the fan at zero costs nothing and fixes more thin first layers than any other single change.
Applying mesh and Z-offset on top of each other. Both correct for height. If you used the mesh to fix tilt and then also drop the Z-offset, you have lowered the nozzle twice. Fix mesh first, save it, then dial in Z-offset on a flat, even surface.
Skipping a nozzle inspection. A partially blocked nozzle reduces flow and leaves the line thin and bumpy at the same time, no matter how well the bed is set. Pull the filament, heat to printing temperature, and push a cleaning needle through gently from the top. Replace rather than reuse a nozzle that has been run with abrasive filament.
Printing damp filament. Bubbles and moisture make the first layer patchy. Dry nylon, PETG and TPU properly, and keep PLA in a dry box or sealed bag with desiccant.
Frequently Asked Questions
Why is my first layer so thin?
The nozzle is sitting too far above the build plate, so the filament lands as a round bead instead of a flat ribbon and the lines never merge. The usual fix is to lower the Z-offset by 0.05 mm at a time until a test line comes out flat and slightly wider than the nozzle. If lowering it does not change anything, check the plate is clean and level.
Can a 0.4 nozzle print at 0.1 layer height?
It can, but it is a bad idea. A 0.4 mm bead compressed into a 0.1 mm layer is a four-to-one squish ratio, so very little plastic touches the plate and adhesion suffers. Most printers do better at a 0.2 mm first layer, which halves the ratio. Raise the first layer height, widen the first layer extrusion to about 0.5 mm, and turn the fan off.
Should I squish my first layer?
A moderate squish is what you want, meaning the line comes out flat and a little wider than the nozzle with no ridges from a dragging tip. For a 0.4 mm nozzle, aim for a Z-gap near 0.1 mm. Push much further and you get over-extrusion, bulging corners, a scraped bed surface, and a damaged nozzle.
What causes bad first layers in 3D printing?
The common causes are a nozzle-to-bed gap that is too large, a dirty or uneven build plate, bed temperature below what the filament needs, an overly fast first layer with the cooling fan running, under-extrusion from wet or oversize filament, and a partially blocked nozzle. A tilted plate shows up as a first layer that is fine on one side and thin on the other.
How do I increase first layer adhesion?
Slow the first layer to 15 to 25 mm/s, set the cooling fan to zero, widen the first layer extrusion to 120 to 150 percent of the nozzle diameter, and use the bed temperature printed on your filament spool. Add a brim for parts with a small footprint. Keep the plate clean with 90 percent isopropyl alcohol and avoid touching the print area.
Why is my PLA first layer thin on one side only?
That pattern points to bed slope rather than Z-offset. Check the plate with a spirit level, confirm the four Z-screws are tight, and confirm the plate is seated flat with nothing under one corner. Re-run the level or mesh routine, then repeat a single-line test at both ends of the plate to confirm the gap now matches.
Conclusion: Start With the Simplest Fix
Open the slicer and confirm the nozzle size, first layer height and first layer speed are what you think they are. That takes a minute and rules out the most common misconfiguration.
Next, clean the plate with 90 percent isopropyl alcohol, level it with the bed already hot, and check the centre rather than only the corners.
Then print a single 100 mm line and adjust the Z-offset in 0.05 mm steps until the bead is flat and slightly wider than the nozzle. Only after that does it make sense to touch temperature or flow, and then change one variable per test print.