PETG is chemically resistant, which means acetone, isopropyl alcohol and most household cleaners will not touch it. To smooth PETG prints without chemicals you have three real routes: mechanical abrasion with wet sanding, controlled heat that re-melts only the outer skin, and physical coatings such as filler primer or epoxy.
Start with wet sanding if you want a matte surface and control, heat if you want gloss and have a flat part with no thin features, and filler plus primer if the layer lines are deep or the print has support scars to hide. Give yourself an afternoon for a small part and a full weekend for anything with tight radii.
Table of Contents
- What You Need
- Heat sources
- Abrasives
- Cleaning supplies
- Filler, coatings and finishing
- Protection
- Step-by-Step: How to Smooth PETG Prints Without Chemicals
- Step 1: Choose the Right Smoothing Method
- Step 2: Clean and Inspect the PETG Print
- Step 3: Apply Heat Carefully
- Step 4: Smooth Mechanically with Progressive Abrasion
- Step 5: Finish and Evaluate the Surface
- Common Mistakes
- Frequently Asked Questions
- Can I smooth PETG without acetone or other chemicals?
- Is a heat gun safe for PETG prints?
- What is the best sandpaper grit for smoothing PETG?
- Does heat smoothing make PETG stronger?
- Can I use a heat bed instead of a heat gun to smooth PETG?
- Why does my PETG print look worse after sanding?
- Conclusion
What You Need
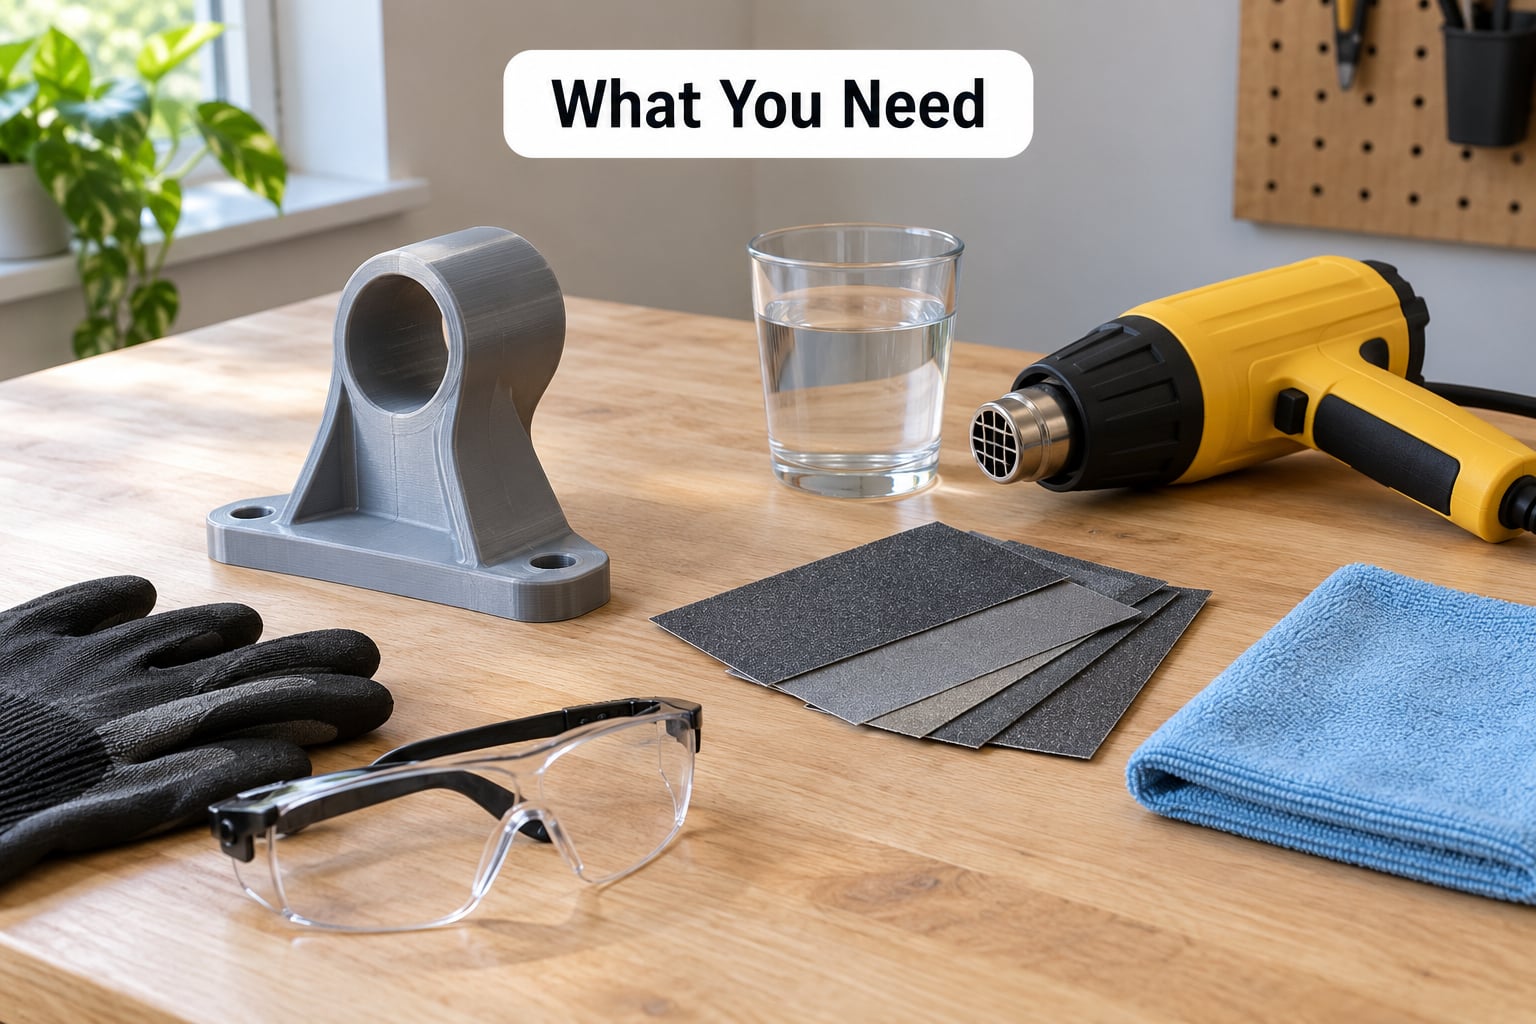
The tool list is short and most of it you probably already own. Pick the method first, then gather only what that method needs.
Heat sources
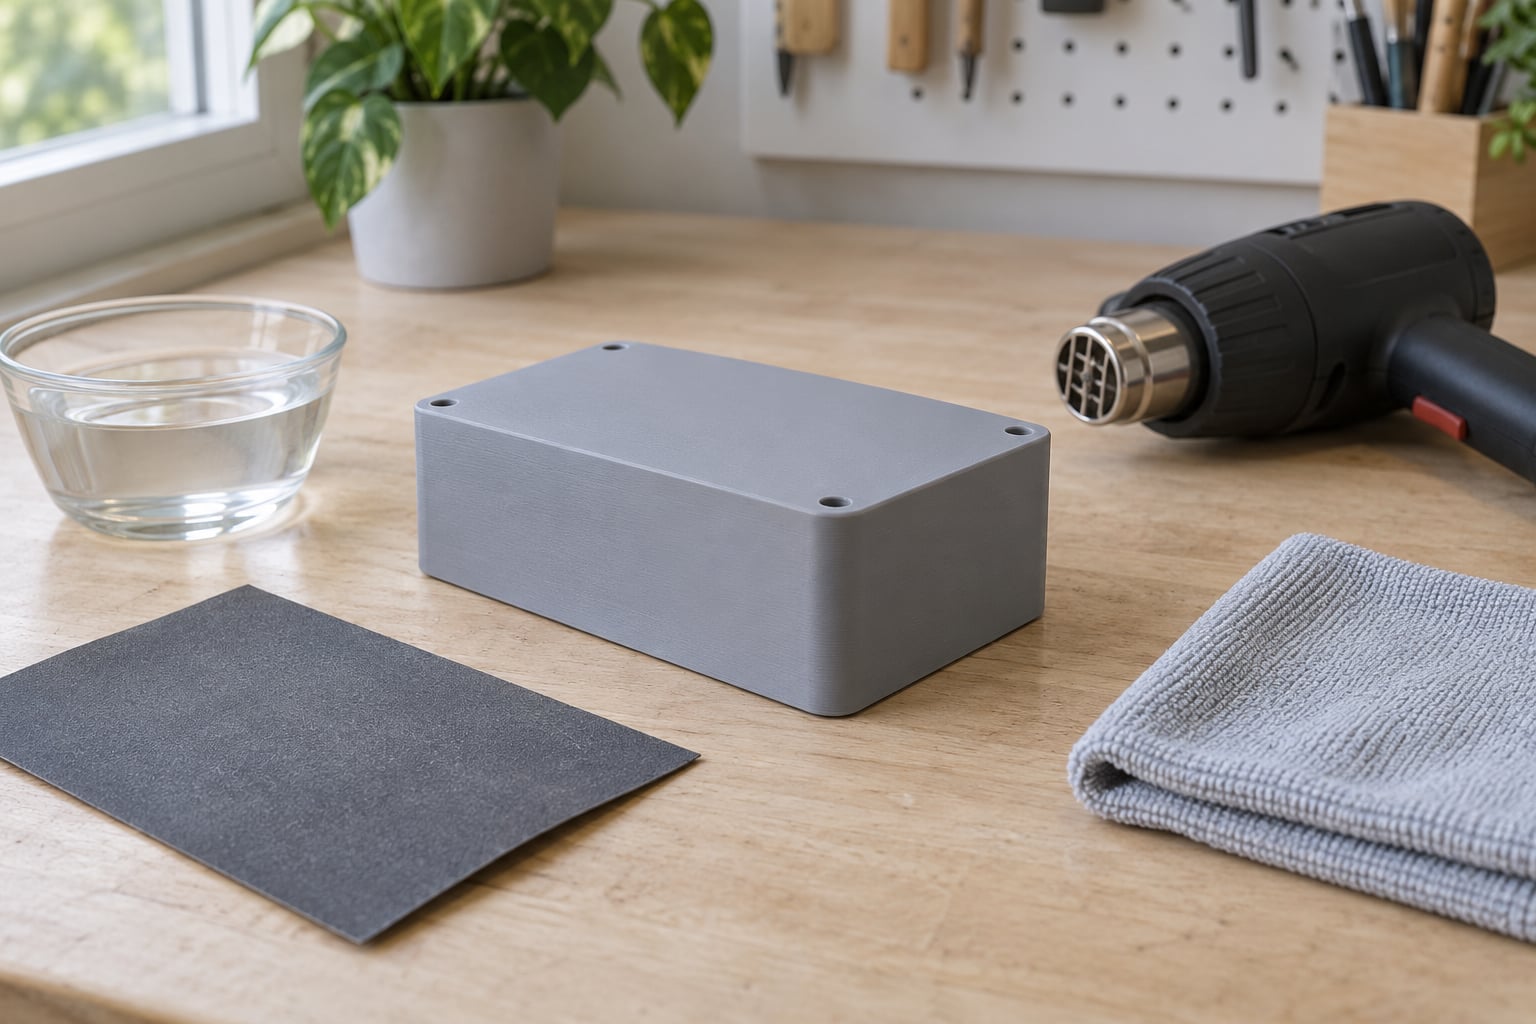
A temperature-controlled heat gun is the useful one, because a dial you can actually set beats guessing with a cheap fixed-temperature unit. An infrared thermometer helps you confirm the surface is in range instead of trusting the nozzle setting.
Your printer’s heated bed also works as a heat source. It is slower and gentler than a gun, which makes it a reasonable stand-in for small flat parts.
Abrasives
You need a progression from coarse to fine: 100, 150, 220, 400, 600, 1000 and 2000 grit sheets, plus a sanding block so pressure stays even. A handful of sanding sponges handles curved and concave surfaces where paper wraps badly.
For tight radii, cones and sanding drums on a rotary tool reach where paper cannot follow the curve. Keep the speed low and use a cutting-style disc for shaping rather than a grinding stone, which generates heat quickly.
Cleaning supplies
Warm water, a drop of dish soap, a spray bottle, a soft nylon brush and a microfiber cloth. Soap lubricates the wet surface and keeps debris from settling into the print as you work.
Filler, coatings and finishing
Polyester filler or filler primer handles support scars and deep layer valleys. Epoxy resin gives the deepest gloss. Linseed or mineral oil with a cloth gives a satin, natural-looking burnish on non-gloss parts.
Protection
An N95 respirator matters more on PETG than many people expect, because fine PETG dust is a respiratory irritant and dry sanding generates a lot of it. Add nitrile gloves, eye protection and a dust mask or extraction fan if your bench is indoors.
A 30 x 30 x 3 mm test coupon with a 5 mm radius edge, printed in the same material and layer height as the real part, is the cheapest insurance in this whole process. Every method below goes on the coupon first.
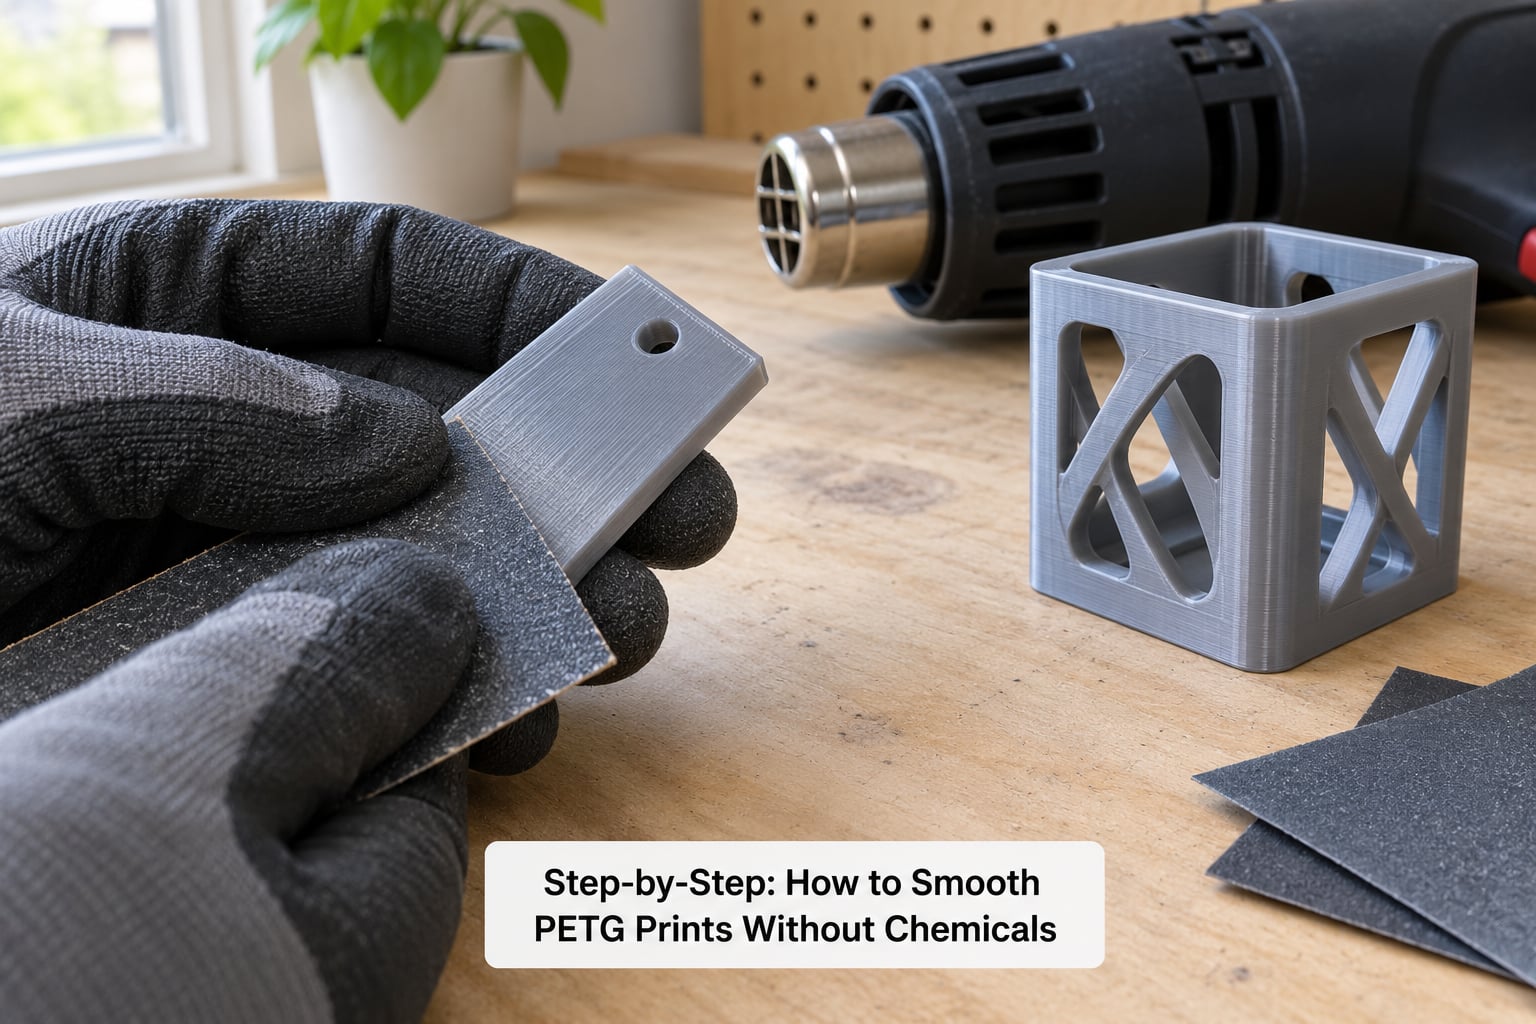
Step-by-Step: How to Smooth PETG Prints Without Chemicals
Step 1: Choose the Right Smoothing Method
Match the method to the surface you actually want, not to the shiniest option available.
- Matte, even surface on a flat panel — wet sand to 1000 or 2000 grit. Avoid heat, which turns flat panels glossy and uneven.
- Gloss on a simple solid part — a heat sweep, then a light 1000 grit knock-down. Avoid heat on parts with thin walls, embossed text or overhangs.
- Support scars and deep valleys — filler primer, sand back, repeat. Abrasive alone only rounds a scar without filling it.
- Tight radii and curves — wet sand on a sanding sponge, or work with a sanding drum. Keep power tools off full speed near the bed.
- A functional fit surface where dimensions matter — filler primer only, then a light 400 grit pass. Avoid any coarse grit, and avoid heat altogether.
Skip heat entirely when the part has thin unsupported features, a long overhang, embossed lettering or a snap-fit that depends on an exact tolerance. PETG softens early, and heat has no undo.
Before post-processing, check whether you can reduce layer lines in the slicer instead. An ironing pass re-melts the top of each layer before the next one is laid down, and on Bambu Studio, PrusaSlicer, OrcaSlicer or Cura it is a few clicks in the experimental or surface settings. The catch users on forums raise constantly is time: ironing can add two hours or more to a large print, so it suits smaller parts and quick prints.
Step 2: Clean and Inspect the PETG Print
Wash the print in warm water with a drop of soap and rinse. Dirty or oily plastic will polish to a dull, patchy finish no matter how careful you are afterwards.
Inspect the surface before touching an abrasive. Zits, seam blobs and stringing all stand proud of the surface and drive the first grit straight through your budget. Flush cutters or a heated tool will melt them flush without touching the surrounding wall.
Support removal is the fiddly part with PETG because of its interlayer adhesion. Leave a support gap of about one layer height, 0.1 to 0.25 mm, when you slice, and warm stubborn roots with a heat gun before levering them, which softens just enough to release cleanly.
Step 3: Apply Heat Carefully
Heat smoothing works because PETG’s outer skin softens well below its melting point near 250C. Surface tension pulls the softened layer flat, then it re-solidifies glossier than it started.
Start around 180 to 200C at the nozzle, hold the gun 150 to 200 mm away, and move constantly. Never park the gun in one spot and never watch the surface while the gun is on it. Look at the part from the side, or use the infrared thermometer to read the surface temperature without standing in the exhaust.
Work in short sweeping passes of a few seconds, then let the part cool to room temperature before you look at it. A part that has not fully cooled can look worse than it is. Stop as soon as the lines go glossy and shallow; further heat only buys you slumping, drooping overhangs and lost detail on embossed features.
The result is genuinely good on flat walls and curves. It is bad on anything that needs to stay dimensionally exact.
Step 4: Smooth Mechanically with Progressive Abrasion
Wet sanding is the most reliable method you have, and it is slower than most guides admit. The water does three jobs at once: it lubricates the paper so grit stays cutting, it carries debris away, and it pulls heat out of the surface so PETG never softens and gums up.
- 0.3 mm layers and above — start at 100 grit, stop at 600 for a matte finish.
- 0.2 mm layers — start at 150 grit, stop at 1000 for a satin finish.
- 0.12 mm layers and finer — start at 220 grit, stop at 2000 for a smooth, near-gloss surface.
The rule is simple. Each layer line is a ridge about as tall as your layer height, so a 0.28 mm layer line needs a coarser grit to level than a 0.12 mm one. Start one step too fine and you will waste an hour making no progress.
Soak the paper for a few minutes, keep a spray bottle or running water over the area, and use circular or back-and-forth motion under light pressure. Sanding straight back and forth along the layer lines cuts grooves into each ridge and makes the texture look worse, which is the single most common complaint in the r/3Dprinting threads on this. Dry sanding is what turns PETG gummy and smears the ridges flat instead of removing them.
Cool the part every few minutes if it warms under your hand. Rinse and change paper when the grit turns to paste; a loaded sheet stops cutting and starts burnishing.
Curves need a sanding sponge or a drum. Work along the curve with the sponge, follow it rather than cutting across it, and check your progress against the printed layer lines instead of your eye, because your eye lies about even surfaces.
Step 5: Finish and Evaluate the Surface
Experienced makers work a repeating cycle rather than one long pass: sand, fill, sand, fill, then finish. Thin coats of filler primer dry in 15 to 20 minutes, then get sanded back with 320 to 400 grit to level, then a second coat follows if the valleys are still showing.
When you want the deepest gloss, a thin epoxy coat is the step after sanding, not instead of it. Sanding first means the resin sits on a flat surface and cures glassy rather than shrinking into every layer valley and looking orange-peel.
For a satin finish with no gloss at all, burnish the sanded surface with a thin coat of linseed or mineral oil worked in with a cloth. The oil darkens the plastic slightly and evens out the sheen. It is not a coating and it will not protect anything, so keep oiled parts away from heat and food contact.
Check the result under diffuse light first, then with a raking light held at a low angle across the surface. Raking light is the only honest way to see whether a flat wall is actually flat, and it exposes the ripple that a straight-on look hides.
Finally, check fit before you commit to a sealant. Test the part against what it mates with, and measure anything dimension-critical with calipers. Coating adds thickness, and it adds it unevenly.
Common Mistakes
- Holding the heat gun still — you get a soft slump or a burn-through. Sweep constantly, 150 to 200 mm distance.
- Gun too close — fine detail blurs and edges melt. Pull back to arm’s length and recheck the coupon.
- Dry sanding PETG — friction heat gums the surface and smears ridges. Wet the surface and keep the paper lubricated.
- Sanding along the layer lines — you cut cross-scratches that emphasise the texture. Use circular motion, following the curve.
- Starting too fine — hours of work with no visible change. Match the starting grit to layer height.
- Checking before the part cools — you judge a finish that has not set yet. Cool to room temperature before evaluating.
- Over-sanding — rounded edges, lost detail, holes in thin walls. Stop at the grit that matches your finish goal.
Two more worth naming. Dark marks on white or translucent PETG are usually grit that got dragged across the surface dry, so they are a wet-sanding problem rather than a material one. And a part that looks worse after sanding is nearly always the result of skipping the cooling pause, then adding a second pass over a surface that had not finished hardening.
Frequently Asked Questions
Can I smooth PETG without acetone or other chemicals?
Yes, and it is the standard approach. Acetone, isopropyl alcohol and plastic cleaners leave PETG untouched because the polymer resists them. Mechanical abrasion, controlled heat and physical coatings are the three routes that work. You lose nothing important by skipping solvents, since the ones that actually affect PETG are dangerous to handle.
Is a heat gun safe for PETG prints?
It is safe if you keep it moving and respect the distance. Start around 180 to 200C at the nozzle, hold the gun 150 to 200 mm away, and sweep in short passes. PETG softens well below its melting point near 250C, so heat is less dangerous on it than on PLA and far safer than the solvents. The real risk is parking the gun in one spot and slumping the part.
What is the best sandpaper grit for smoothing PETG?
Match your starting grit to layer height: 100 grit for 0.3 mm layers and above, 150 grit at 0.2 mm, and 220 grit at 0.12 mm or finer. Then work up through 400, 600, 1000 and 2000. Sand wet, in circular motion. Stop at 600 for a matte finish, 1000 for satin, or 2000 for near-gloss.
Does heat smoothing make PETG stronger?
No. Heat smoothing only affects the outermost skin, and it can reduce interlayer adhesion if you push the temperature high enough to let layers shift. It improves looks, not strength. In fact a heavily heat-treated part sometimes snaps at a layer boundary, so treat heat as a surface finish and leave strength decisions to your slicer settings.
Can I use a heat bed instead of a heat gun to smooth PETG?
Yes, and it is gentler. Lay the print on the bed, set it near 80 to 100C, and let the heat soak rather than blasting it, checking every minute or so. It takes longer and it only works well on flat parts, but you cannot scorch a wall or slump a thin feature when the heat comes from below.
Why does my PETG print look worse after sanding?
Usually one of three things. You sanded dry, so friction heat gummed the ridges and smeared them flat. You sanded parallel to the layer lines, cutting grooves that emphasise the texture. Or you judged it before it cooled. Wet sanding, circular motion and a full cool-down solve nearly every case. Persistent lines after 1000 grit need filler, not more abrasive.
Conclusion
For most PETG prints, wet sanding to a target grit is the safest first choice. It will not surprise you, it will not slump your part, and the grit you stop at is the finish you get.
Add heat only for flat parts where gloss matters more than dimension, and add filler primer whenever support scars or deep valleys survive the abrasive. Whatever route you take, print a small coupon first, because the failure modes on a test piece cost an hour instead of a weekend.
Your first move: print a 30 x 30 x 3 mm coupon, wet sand it through the grits matched to your layer height, and see how far 600 grit gets you before committing to anything harder.