To glue 3D printed parts together you need one of three adhesive families: cyanoacrylate (CA, or super glue) for fast rigid joins, two-part epoxy for the strongest load-bearing bond, or solvent welding such as 3D Gloop! and acetone that chemically fuses matching plastics into one solid piece. Most assemblies take under ten minutes plus cure time, and the whole job is beginner-friendly as long as you clean the surfaces first.
The part that actually decides whether a joint holds is preparation, not the adhesive brand. Fingerprints, skin oils, release agent and glossy layer lines all sit on the surface and stop any glue from wetting the plastic properly. Get that right and even the cheap options behave like good ones.
One more thing worth sorting out before you reach for a bottle: a printed-in joint, a heat-set threaded insert or a self-tapping screw will usually outlast an adhesive on the same part, and it stays serviceable. Glue makes sense when the shape doesn’t allow a mechanical fastener, when you’re joining pieces that were too big for the build volume, or when you’re repairing a cracked or delaminated print.
Table of Contents
- What You Need
- Step-by-Step
- Step 1: Choose the Right Adhesive
- Step 2: Clean and Prepare the Bonding Surfaces
- Step 3: Apply the Adhesive and Align the Parts
- Step 4: Clamp, Cure, and Test the Joint
- Common Mistakes
- Frequently Asked Questions
- What is the best glue for PLA 3D printed parts?
- Can you glue ABS and PETG 3D printed parts together?
- Does sanding 3D printed parts before gluing make the bond stronger?
- How long should I leave glued 3D printed parts before using them?
- Is there a waterproof or heat-resistant glue for 3D printed parts?
- Can glued 3D printed parts be separated again?
- Conclusion
What You Need
Most of this list is cheap and most of it is optional, so don’t let a missing specialty item stop you.
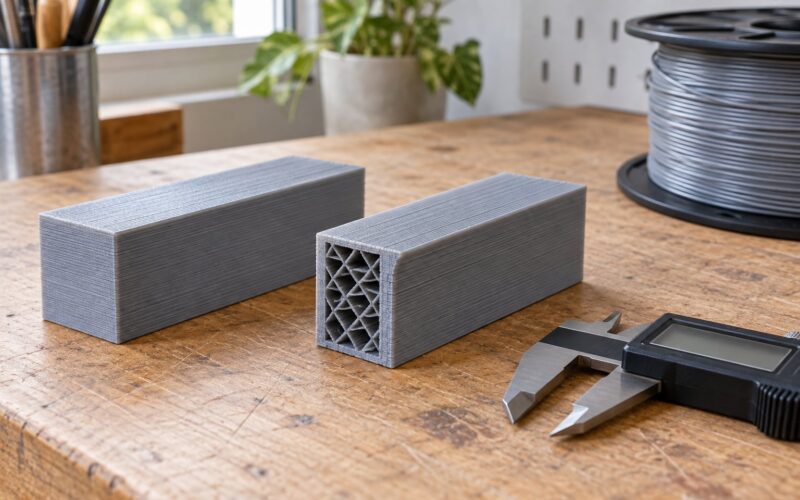
- The printed parts themselves, printed with enough perimeters and infill that the joint area has real material behind it. Thin single-wall shells delaminate no matter what you bond them with.
- An adhesive matched to the material — CA glue, two-part epoxy, or a solvent cement for the filament.
- Isopropyl alcohol (90% or higher) and clean lint-free cloths or cotton swabs for degreasing.
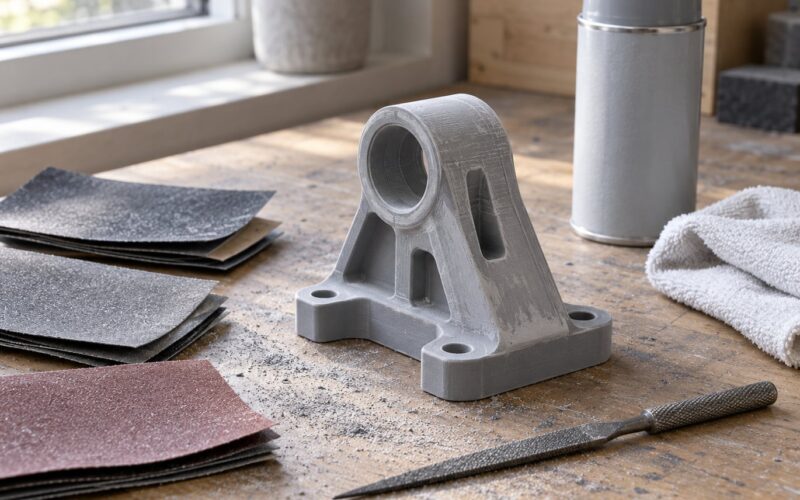
- 150- to 220-grit sandpaper or a nylon scuffing pad to break the gloss on the mating surfaces.
- Masking tape, spring clamps or a printed jig to hold alignment while the adhesive cures.
- Nitrile gloves and eye protection. CA glue bonds to skin faster than you can pick it off, and epoxy resin is an irritant before it cures.
- Optional: a CA activator or kicker spray, a pinch of baking soda, a scrap printed coupon for testing, and a small fan or open window for ventilation.
Ventilation matters more than people expect. CA vapour polymerises in the air and settles on nearby surfaces as a fine white frost, and acetone or solvent cement gives off genuinely harmful vapour. Work away from flames and sparks, since solvents are flammable, and never use solvent-based adhesives next to a hot-end, heated bed or soldering iron that has not cooled.
Step-by-Step
Step 1: Choose the Right Adhesive
Match the adhesive to the material first, then to the job. Most printed parts only need a rigid, gap-filling bond with a fixture holding them square for 15 to 30 minutes, and all three main families handle that.
| Material | Best adhesive | Why | Watch out for |
|---|---|---|---|
| PLA | CA gel or epoxy | CA grabs instantly; epoxy fills small gaps | Acetone barely softens PLA, so solvent welding is unreliable here |
| ABS / ASA | Acetone or ABS slurry | Dissolves the surface and welds it chemically | Heavy vapour, warping if you soak too long |
| PETG | Two-part epoxy, or CA with activator | PETG’s chemical resistance defeats most glues | Skip sanding fuzz; clean with alcohol instead |
| TPU | Contact cement, E6000, or flexible CA | Needs a flexible adhesive that grips rubbery surfaces | Rigid CA makes a brittle joint that peels apart |
| Nylon | Two-part epoxy with a plastic primer | Nylon is chemically inert and moisture-sensitive | Dry the parts fully before bonding |
| Resin (SLA/DLP) | CA gel, epoxy, or UV resin with a UV light | Resin dusts off cleanly and glues well | Supports are brittle, so support scars decide the joint |
Three questions come up constantly here. Is gel or liquid super glue better for 3D prints? Gel, for assembly work. Liquid CA runs into gaps and wicks into infill, which starves the joint of the thin glue film it needs; gel stays where you put it, gives you seconds of working time, and the Prusa forum crowd has largely settled on a named gel such as Loctite Ultra Gel Control after generic superglues let them down.
Does the strongest option always win? No. Epoxy gives the best long-term strength, but it needs a full cure of 12 to 24 hours and a mixed batch is wasted if alignment fails. CA holds in seconds but can be brittle and turns brittle plastic into a crumbly blob when you flood it. For a load-bearing bracket, epoxy or a solvent weld. For a cosplay prop, CA gel is fine.
Can you glue different materials to each other? Yes — two-part epoxy is the general answer, because it bonds to most substrates. PLA to TPU and ABS to PETG both work with epoxy. Solvents do not cross materials; acetone will not touch PETG or TPU at all.
Whatever you choose, the adhesive’s own instructions and the filament’s technical data sheet take priority over anything here. Different formulations cure differently, and a product labelled for plastic is not automatically right for a 3D print.
Step 2: Clean and Prepare the Bonding Surfaces
Wipe both mating surfaces with isopropyl alcohol and a clean lint-free cloth until there is no grease, dust, fingerprint, loose powder or release agent left. Two passes is normal. If the joint area looks chalky or slightly hazy, that is a contamination problem, not a material problem, and no adhesive will fix it.
Fresh FDM prints come out with a slightly glossy, compressed surface that glue struggles to wet. Lightly scuff the bonding area with 150- to 220-grit sandpaper, or a nylon pad on a rotary tool, to create mechanical tooth for the adhesive to hold onto. You want a matte scuff, not a deep scratch. Then clean again with alcohol to remove the sanding dust, because dust is exactly what you just removed from the surface.
One material-specific note: PETG fuzzes when you sand it, and that fuzz keeps lifting away from the joint. On PETG, skip abrasive paper and rely on thorough alcohol cleaning instead. On resin prints, wipe off uncured resin residue first — once it cures, alcohol removes it easily, and cured dust cleans off with a soft brush.
You will know the surfaces are ready when they look evenly matte and feel slightly tacky from the scuffing, with no fingerprints or visible powder.
Step 3: Apply the Adhesive and Align the Parts
Dry-fit the parts first, without any adhesive, and check that they seat fully before anything is applied. Most disappointing joints are fit problems that were blamed on the glue. If the parts rock or leave a visible daylight, no adhesive will make that joint as strong as the plastic around it.
Then apply a thin, controlled amount. Run a fine bead along one surface, or dot a small amount at each fastener location. For epoxy, mix resin and hardener at the ratio the manufacturer states and use it while it is still pourable. Less is more: a thick CA blob cures into a hard lump that concentrates stress and cracks the surrounding PLA, and it sands down slower than the print does.
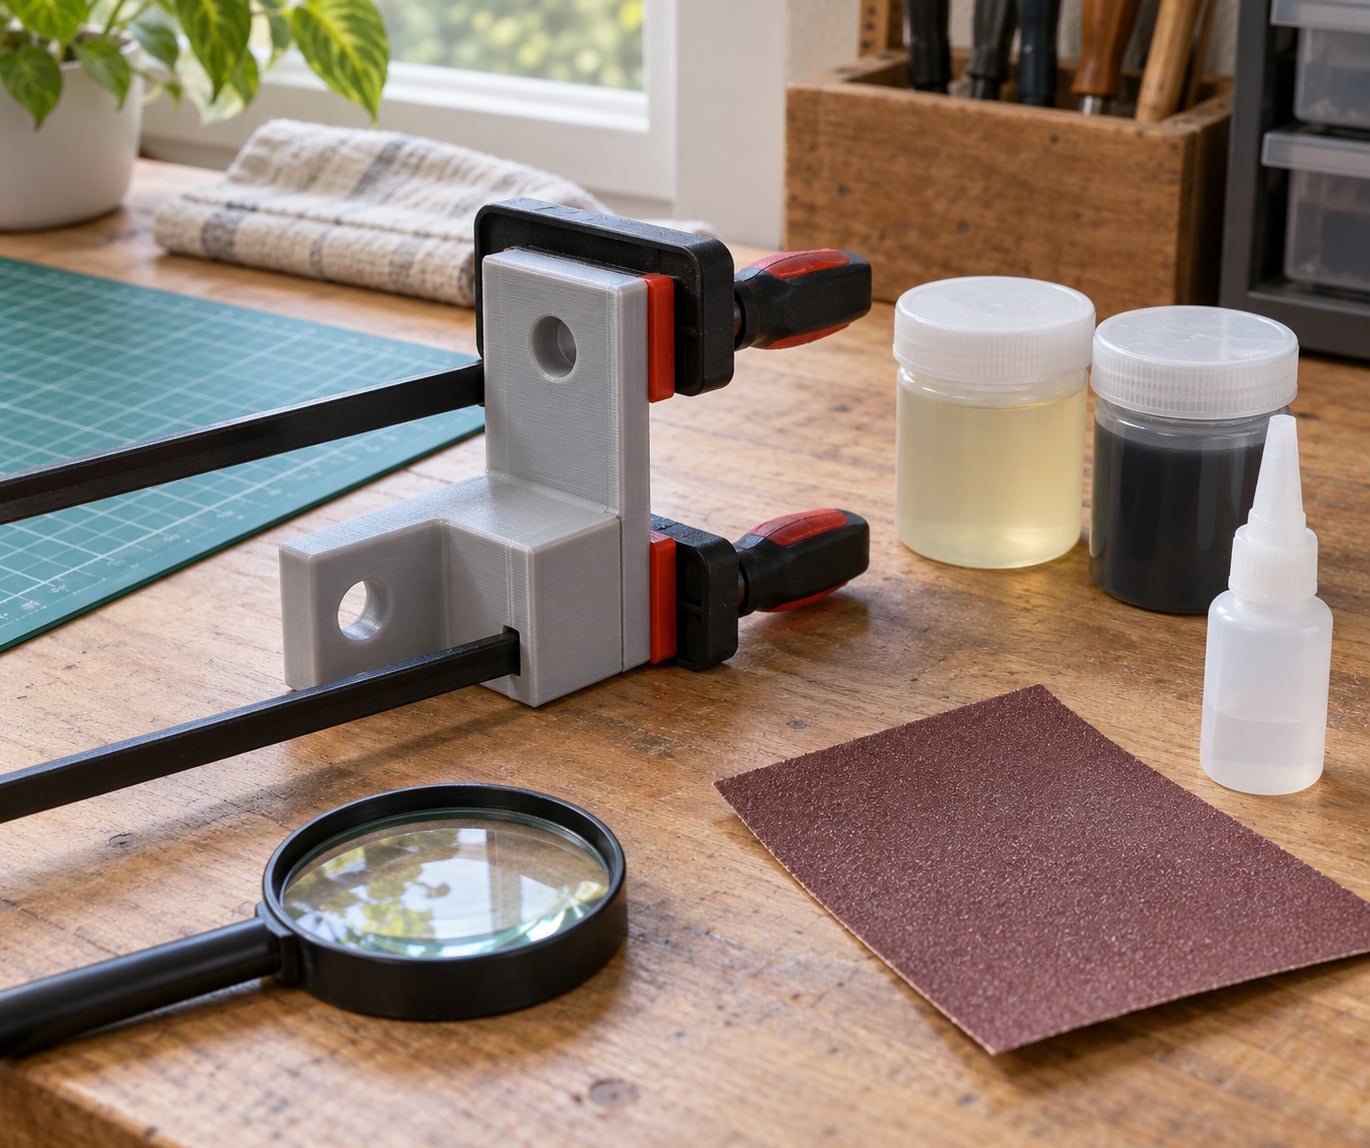
Seat the parts immediately and hold them in position. Use a jig or a printed alignment guide, spring clamps, elastic bands or masking tape pulled tight. Position is everything, because a joint that sits 2 degrees off square turns every future load into peel stress rather than shear, and peel is where adhesives fail.
If you need more than a few seconds to line things up, use gel CA, epoxy, or spray a CA activator on one side first. Accelerator drops the set time to a couple of seconds, which is great when you have four parts to assemble at once and a disaster if you are working alone on a large assembly.
Step 4: Clamp, Cure, and Test the Joint
Keep the clamps on for the handling cure time — typically 15 to 30 minutes for CA and 30 to 60 minutes for epoxy. Handling strength means it can be moved, not loaded. Full cure is the point at which the adhesive has finished polymerising, and that is usually 24 hours for CA and 24 to 72 hours for epoxy. Do not rush this stage; parts that fail are almost always parts that were tested early.
While the joint cures, wipe away squeeze-out with a damp cloth before it sets. Once it hardens, CA residue scrapes off a hard plastic but can haze a finished surface, and cured epoxy needs a scraper or a file. Keep the wipe rag away from any bare skin you care about.
When the clock is up, test gently before loading the part. A light twist by hand tells you whether alignment held. For a real answer, print a small coupon, glue two halves together, and pull the halves apart — a destructive test on a scrap print tells you more than any product claim, and it costs a few minutes of filament.
Once the joint passes, finish the seam if appearance matters. Knock the bead down with 180- to 220-grit paper, fill small gaps with a two-part epoxy filler putty or a paste made from the print’s own material and a solvent, then sand flush and paint. A chemical smoothing pass with a vapour-smoothed surface is the alternative if you want to avoid sanding a fine detail print.
Common Mistakes
Nearly every failed 3D print joint falls into one of these buckets, and the fix is usually cheaper than the replacement part.
| Symptom | Cause | Fix |
|---|---|---|
| White chalky frost around the joint | CA vapour cured in the air, usually from poor ventilation | Work outside or with a fan; wipe with alcohol, or hide it under filler putty |
| Part snaps at the seam, not in the glue line | Too much adhesive, brittle CA, thin walls, or layer lines as a crack starter | Scrape the bead back, use a thin CA film or epoxy, add perimeters around the joint |
| Parts will not stick at all | Oils, dust, cured resin dust, or release agent on the surface | Degrease with isopropyl alcohol, scuff glossy areas, clean again |
| Joint peels apart after a few weeks | Rigid adhesive on PETG or TPU, or no mechanical interlock | Switch to two-part epoxy or a flexible adhesive and add printed pins or a scarf joint |
| Cloudy or smeared surface near the joint | Glue wicked into infill or was applied over uncured resin | Use gel CA, fill the area with epoxy, or print with solid top and bottom layers |
| Joint cracks during use, not during gluing | Delaminated layers, insufficient infill, or an applied load the print could not carry | Reprint with more perimeters and a solid infill; treat the joint as the weak point it is |
| Layers separating before you glue anything | Poor layer adhesion from low bed temperature, fast cooling or contamination | No adhesive is a repair here; reprint dry and clean at higher temperatures |
Two failure modes deserve an explanation, because they are the most confusing. Frosting happens when CA vapour meets moisture in the air and polymerises before it lands anywhere useful, which is why a well-ventilated bench produces cleaner joints than a closed desk. Joints that snap at the plastic mean the adhesive was fine — the surrounding print was the weak point, usually because of a thin wall or a cold layer bond, and no glue strength fixes that.
If you keep hitting failures, change the joint rather than the glue. Printed alignment pins, dowel holes or a scarf joint take the shear load in the plastic itself and leave the adhesive doing nothing but keeping the parts together. Heat-set threaded inserts or self-tapping screws into printed bosses let you disassemble the assembly later. Design the joint before the print, not after it fails.
And if two parts simply do not fit, that is a modelling or calibration problem, not an adhesive problem. Fix the scaling or clearances in the model before you mix anything.
Frequently Asked Questions
What is the best glue for PLA 3D printed parts?
CA glue is the usual answer for PLA because it grabs in seconds and holds well on a properly prepared surface. Gel formulations are easier to control than liquid. Use two-part epoxy instead when the joint carries real load or has small gaps to fill, and allow it the full 24 hours. Avoid acetone-based solvent welding on PLA, because acetone barely attacks the polymer and the result is unreliable.
Can you glue ABS and PETG 3D printed parts together?
Yes, but not with solvent. Acetone welds ABS beautifully and has no effect on PETG, so a mixed join needs an adhesive that works on both: two-part epoxy is the most reliable choice, and flexible epoxy if the joint will flex. Clean both surfaces with isopropyl alcohol, scuff them lightly, and clamp square while the epoxy cures.
Does sanding 3D printed parts before gluing make the bond stronger?
Usually yes on PLA, ABS and resin, because a fresh FDM surface is slightly glossy and glue does not wet it well. A light scuff with 150- to 220-grit paper gives the adhesive something to grip. Clean the dust off with isopropyl alcohol afterwards. Skip sanding on PETG, which fuzzes, and just degrease it thoroughly.
How long should I leave glued 3D printed parts before using them?
Treat 15 to 30 minutes as handling time only, not strength. CA reaches most of its strength after 24 hours, and two-part epoxy keeps building for 24 to 72 hours depending on the product. Keep the clamps on for the handling period, then leave the joint unloaded until full cure. Testing early is the most common reason a bond fails.
Is there a waterproof or heat-resistant glue for 3D printed parts?
Two-part epoxy is the usual answer for both, since it does not soften with water or moderate heat and bonds well to most plastics. Contact cement and E6000 are flexible and reasonably heat tolerant but weaker in shear. Check the adhesive’s stated temperature range against the actual service temperature, since the printed plastic is often the weak link before the glue is.
Can glued 3D printed parts be separated again?
Sometimes, and the answer depends on the adhesive. A solvent weld between two ABS parts can be softened again with acetone and worked apart. CA usually shatters the print or the glue line instead, and cured epoxy will need mechanical help. If you may need to take the assembly apart, use screws into printed bosses or threaded inserts instead of glue.
Conclusion
Work through this in order: identify the printed material, pick an adhesive that suits it and the load, clean both surfaces with isopropyl alcohol, apply a thin controlled amount, align the parts square, clamp, and leave it alone until full cure. That sequence handles almost every 3D printed joint you will run into.
Try the procedure on a scrap coupon first, especially if the joint is load-bearing or you have never worked with epoxy. It costs a few minutes of filament and saves the part you actually care about.