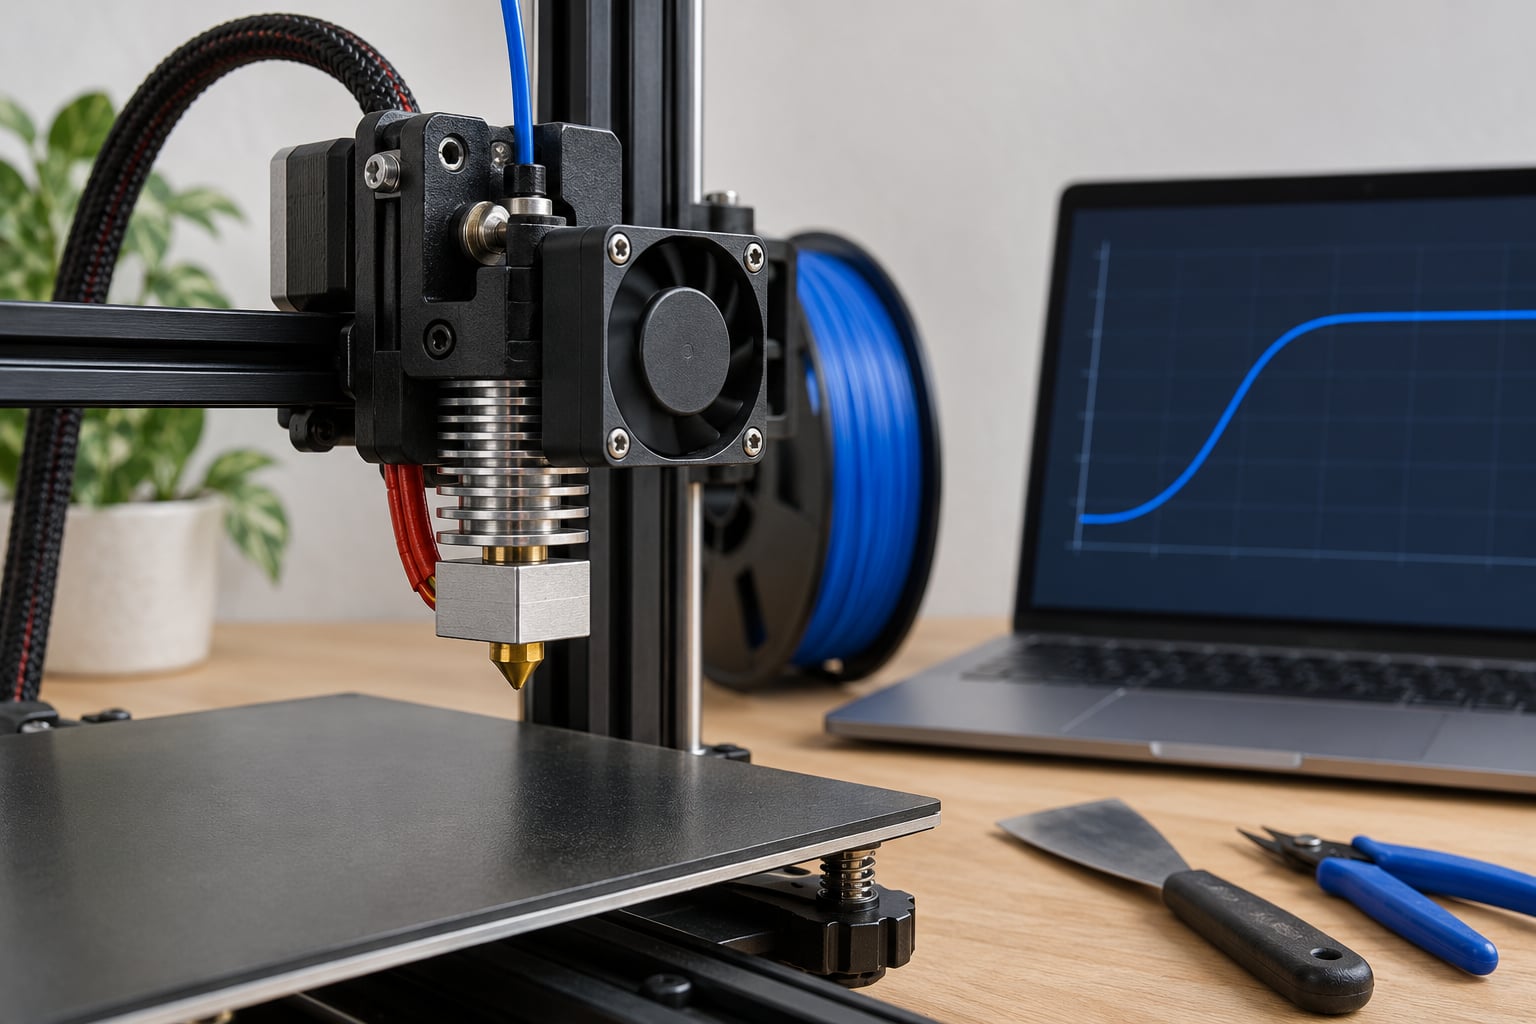
PID tuning for a 3D printer hotend is the process of measuring how your heater responds to power and then calculating three numbers, Kp, Ki and Kd, that tell your firmware how hard to push the heater toward the temperature you set. Get those numbers right and the nozzle holds temperature to within a degree or two. Leave them at factory settings and it swings by five or ten, which shows up as banding, stringing and layers that bond differently from one side of the print to the other.
It takes about twenty minutes end to end, and most of that is waiting while the hotend runs through its heating cycles. The hard part is not the command, it is knowing when a tune is actually finished and saved.
If you are starting from scratch, this guide walks through the whole process: what you need on the bench, the exact Marlin and Klipper commands, a table for reading the results, and what to do when the temperature still oscillates after a tune that technically succeeded.
Table of Contents
- What You Need Before You Start Tuning
- Step-by-Step PID Tuning for a 3D Printer Hotend
- How PID Tuning Changes Hotend Temperature
- Step 1: Verify temperature control and safety limits before tuning
- Step 2: Warm the hotend up before you start
- Step 3: Run the autotune on a Marlin hotend
- Step 4: Read the results before you accept them
- Step 5: Apply and save the values
- Step 6: Verify with a real print temperature
- How to Run Autotune in Klipper
- Which Commands to Use on Other Firmware
- What Temperature Should You Tune At?
- How to Tune Manually When Autotune Is Not Enough
- Common Mistakes That Ruin a PID Tune
- Frequently Asked Questions
- Do I need to tune PID on every 3D printer hotend?
- How long does PID tuning usually take?
- Can I copy PID values from another printer or hotend?
- Why does my hotend temperature oscillate after PID tuning?
- What temperature should I use for the PID autotune test?
- Will PID tuning improve print quality?
What You Need Before You Start Tuning
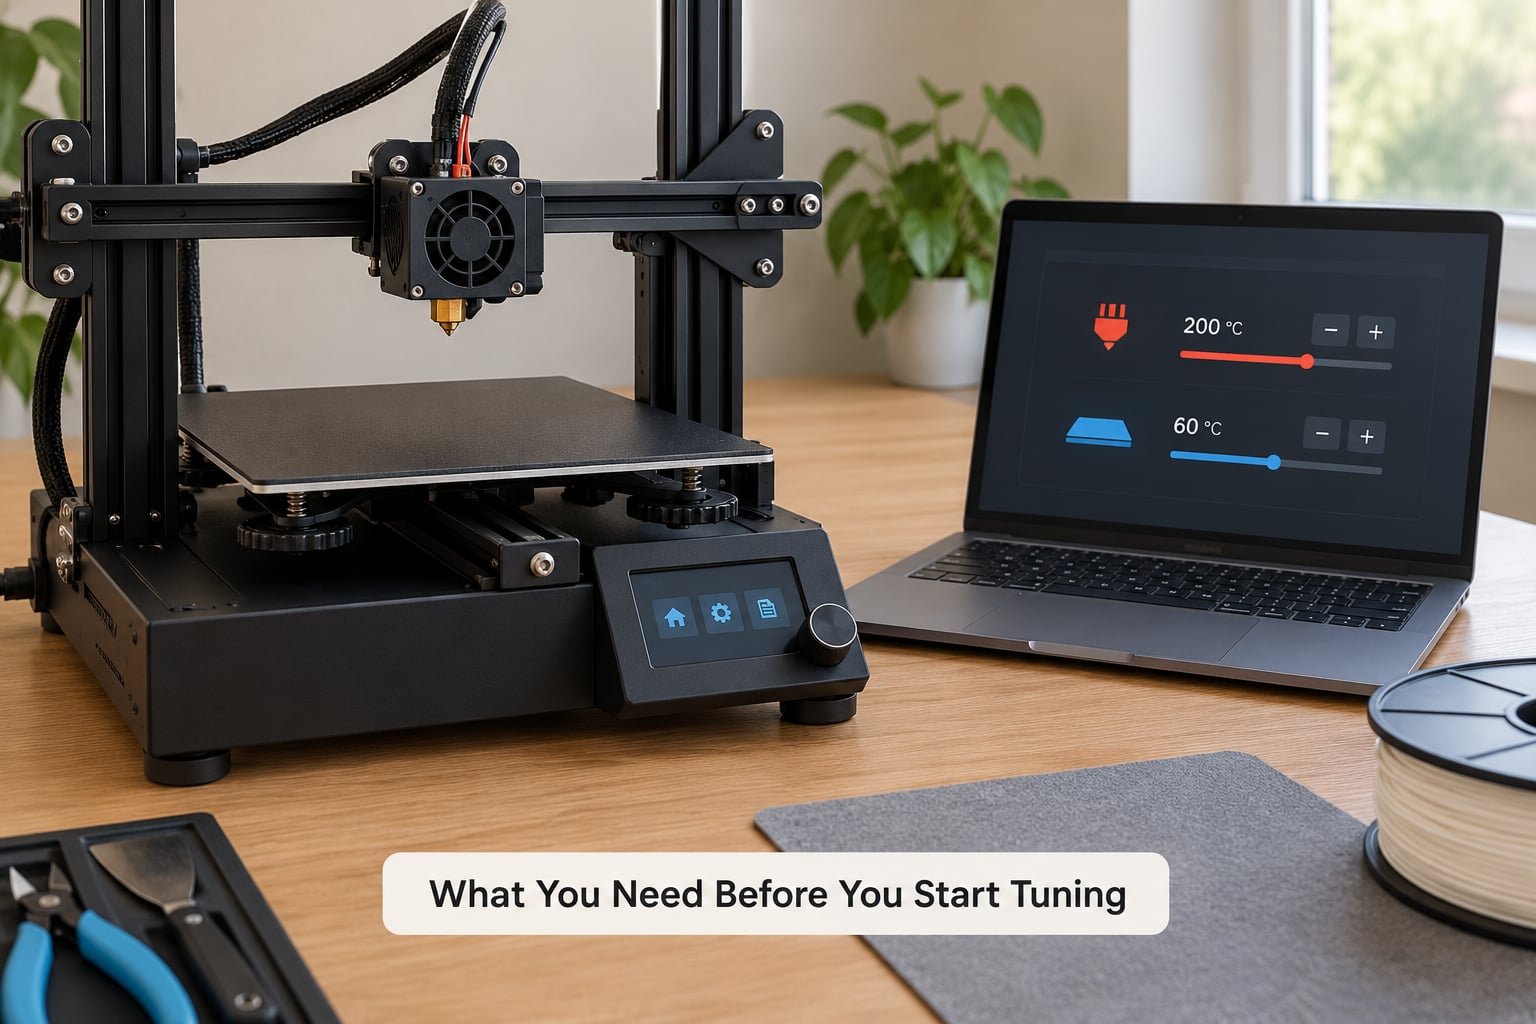
You need five things, and three of them are already on your printer.
- Your printer with a working hotend. The heater cartridge must heat and the thermistor must report a plausible temperature. A cold-blocked nozzle or a loose thermistor will produce garbage gains no matter how careful you are.
- A way to send G-code. That is Pronterface, OctoPrint, Duet Web Control, Mainsail, Fluidd, or the terminal tab in your slicer. Every printer and firmware combo has one; the exact path depends on your setup.
- Somewhere to see the temperature curve. OctoPrint’s temperature graph, Klipper’s graph in Fluidd or Mainsail, or the graph in your host software. Autotune output tells you the numbers, but only a graph tells you whether the tune settled.
- A filament loaded. You need roughly a metre of filament in the extruder so the hotend behaves the way it will during a print, and the same filament you plan to use.
- The printer’s safety information. Your firmware’s maximum temperature setting, the thermal runaway protection status, and whether your board runs a watchdog. Check this before you send anything to the printer.
Two more conditions matter more than most people expect. Run the part cooling fan at full speed for the entire hotend tune, because a fan blasting the heat break pulls heat off the block and the tune has to account for that. And keep the enclosure roughly as closed as it will be during printing. Tuning with the door wide open on a printer that normally runs enclosed gives you values that do not hold up in real use.
Step-by-Step PID Tuning for a 3D Printer Hotend
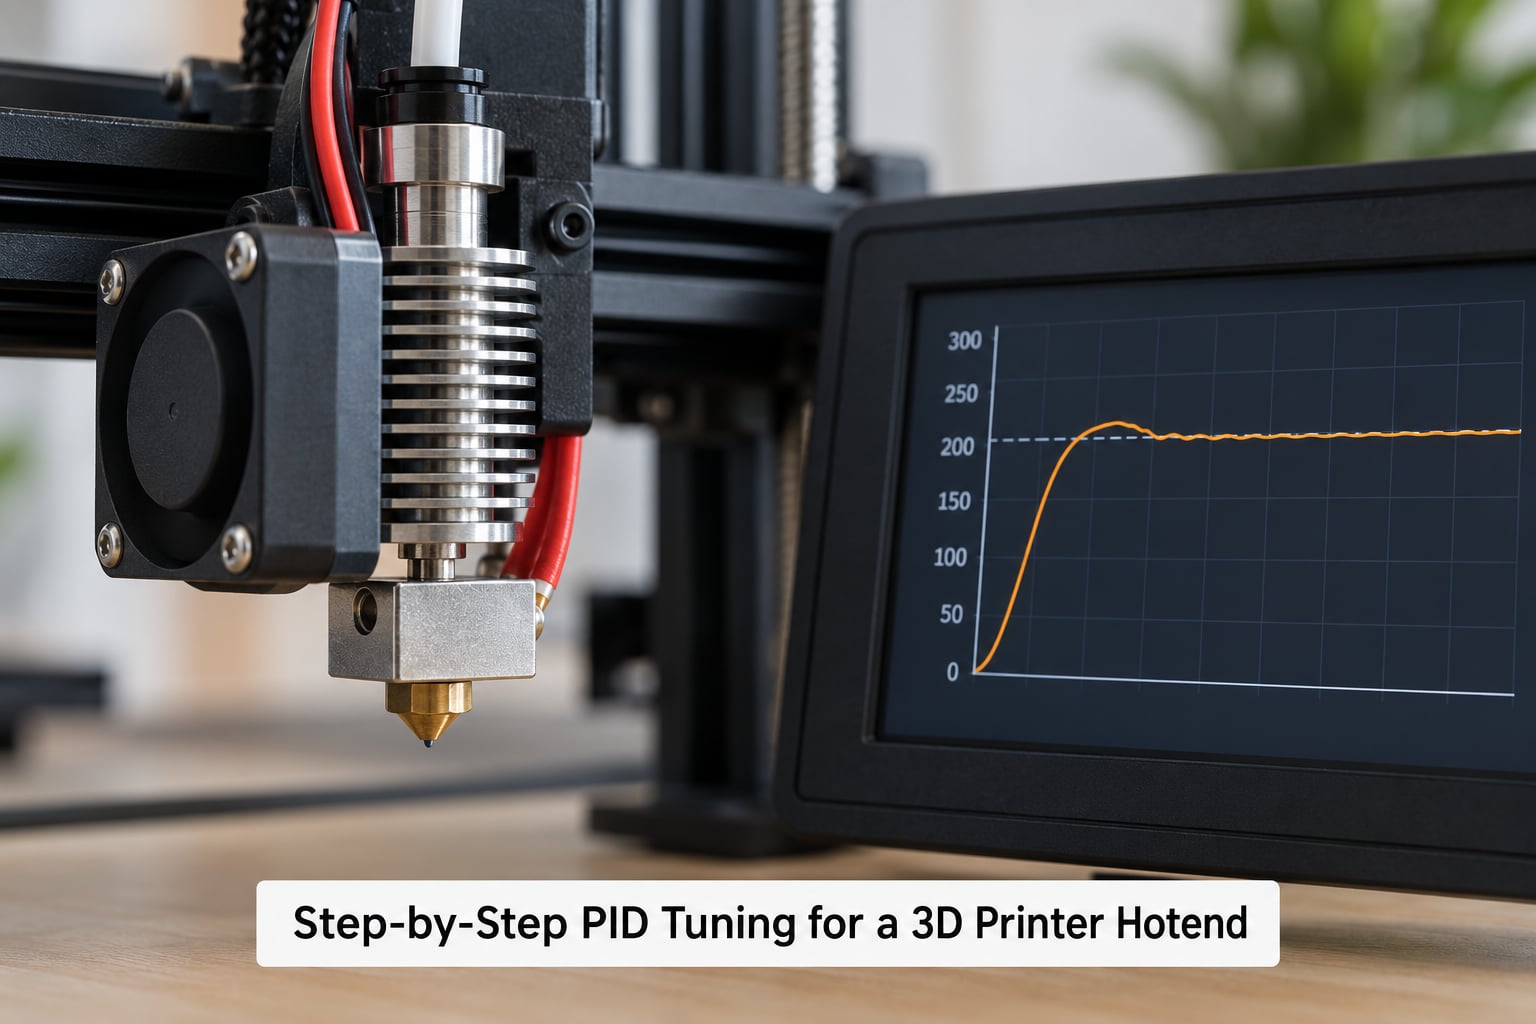
The process has six stages: check the machine, warm it up, run the autotune, read the resulting curve, write the numbers in, and save them so they survive a power cycle.
How PID Tuning Changes Hotend Temperature
Without PID control, firmware uses one rule: full power until the target is reached, then full off. The nozzle overshoots while the heater and block keep cooking past the target, undershoots while everything cools, and you get a repeating sawtooth of maybe plus ten, minus eight degrees. That swing changes filament viscosity between layers, and a 10 degree swing across one print is enough to change extrusion width, corner sharpness and layer adhesion.
PID replaces that single rule with three terms calculated every time the firmware polls the thermistor.
- P (proportional) reacts to the current error. The further the temperature is from the target, the harder the heater is driven. Too much P means the nozzle slams past the setpoint and rings; too little means it crawls upward and takes forever.
- I (integral) accumulates the error over time and fixes the leftover shortfall a proportional-only loop can never close. Too much I causes the slow breathing oscillation that shows up a minute or two after the heat-up; too little leaves a steady-state error where the nozzle parks a degree or two below target forever.
- D (derivative) watches how fast the temperature is moving and damps the response before overshoot happens. Too much D makes the nozzle sluggish and slows heat-up; too little lets each correction ring out into an overshoot.
| Term | What it does in practice | Too high looks like | Too low looks like |
|---|---|---|---|
| Kp | How aggressively the heater is driven for a given temperature error | Ringing, overshoot on first approach, temperature bouncing after reaching target | Slow climb to temperature, sluggish response to any drop |
| Ki | Corrects the permanent offset between measured and set temperature | Slow breathing cycle around the target, worse at higher temperatures | Steady-state error; nozzle settles below the setpoint |
| Kd | Damps the approach by reacting to the rate of change | Noticeably slower heat-up, sluggish recovery from a cool layer | Overshoot on the first approach, ringing right after reaching target |
One useful sanity check: hotend gains and bed gains are not interchangeable. A bed is a big, slow, heavily insulated mass, so its Kp and Ki run much higher than a hotend’s while its Kd sits in a similar band. If you paste hotend numbers into a bed slot you will get slow warm-up and a wide swing across a large surface.
Step 1: Verify temperature control and safety limits before tuning
Set the hotend to 200 degrees from cold and watch the reported temperature for a minute. It should climb past 200 by a few degrees, settle back, and hold within about two degrees. If it climbs without settling, stops responding, or reports a temperature that changes wildly while the heater is off, fix that first.
Then confirm your firmware’s maximum temperature limit. In Marlin this is MAXTEMP in Configuration.h; Klipper raises max_extruder_temperature in the printer config. A typical hotend limit sits somewhere in the 240 to 300 degree range depending on the heater and what is fitted. Do not raise this limit to make a tune succeed, and check the value is sensible before you send any heating command.
Thermal runaway protection needs to be active. On Marlin it is WATCHDOG combined with the thermal runaway feature in Configuration.h; on Klipper, leave watchdog alone. If protection is disabled, stay in the room during the whole tune. A heater that keeps full power with no thermistor feedback melts a PTFE-lined hotend in under a minute, and that is not a theory I want anyone testing.
Step 2: Warm the hotend up before you start
Heat the hotend to about 150 degrees and leave it there for a minute or two, with the part cooling fan running. This soaks heat into the block and the heater’s surroundings, which is what most real printing looks like. The block, the heater cartridge, the aluminium mount, the frame and the air around them all reach a steady state together.
Skipping the soak produces a tune dominated by heat escaping into a cold block. That is exactly the overheat case where you have U1 in some Marlin builds to catch a runaway attempt, and it is why autotune sometimes refuses to complete.
Step 3: Run the autotune on a Marlin hotend
Marlin is the firmware on most Creality Ender and Prusa-style printers, and it tunes the hotend with the M303 command.
Send this in the G-code terminal:
M303 E0 S210 C8E0 is the hotend index, S210 is the target temperature in degrees, and C8 is the number of full heating cycles. Eight cycles is the standard for a hotend; the bed usually gets fewer. With the heater starting at 150 degrees, an eight-cycle hotend tune takes roughly ten to fifteen minutes depending on wattage and thermal mass.
While it runs, do not touch the printer. Watch the temperature graph and let it complete through all eight cycles. Interrupting it gives you partial data and a bad tune.
When it finishes, the terminal prints a setpoint line for every cycle, then a final block with the calculated values:
pid: min 20.00, max 235.00
@: 22.00 1.080 114.00
Those three numbers are your Kp, Ki and Kd. The @: line is the authoritative one, and later cycle blocks usually give a slightly better fit, so take the final block from the end of the output rather than the first one you see scroll by.
If your build supports it, add the U1 flag to apply the results automatically to RAM:
M303 E0 S210 C8 U1Applying to RAM still does not persist the values across a power cycle, so the save step later still matters.
Step 4: Read the results before you accept them
Two numbers tell you whether the tune is worth keeping: maximum overshoot and steady-state error.
A good hotend tune overshoots the target by no more than two or three degrees on the first cycle, then settles within about one degree. Overshoot of four or five degrees on cycle one is normal from cold, because the firmware has no idea how much stored heat is in the block; what matters is that overshoot shrinks cycle by cycle.
Steady-state error is how far the last two or three cycles sit from the setpoint on average. Anything within about a degree means the integral term is doing its job. If the last cycles sit consistently three degrees low, the tune is not finished and you should not apply it.
A run where every cycle is identical with no overshoot at all usually means the heater never really cycled, which points at a thermistor problem or a stuck heater rather than a bad tune.
Step 5: Apply and save the values
Type the numbers in yourself with M301. Using the example above:
M301 P22.00 I1.08 D114.00Then read back what the firmware thinks is loaded with:
M503M503 reports the PID values currently held in memory. This is the check people skip, and it is the one that tells you whether your numbers went in correctly.
Finally save them to EEPROM:
M500M500 writes everything in RAM to the board’s EEPROM so it survives a power cycle. Skip this and the tune is gone the next time you switch the printer off, which is the single most common reason people report that PID values will not stick.
If you are not sure whether your build supports EEPROM at all, send M501 to read the stored values. Marlin prints an error like “EEPROM not available” on boards without it, and in that case the values have to go into Configuration.h and the firmware needs reflashing. That is also the fix in cases where someone flashed new firmware and the previously tuned values vanished.
Step 6: Verify with a real print temperature
Set the nozzle to your normal print temperature and watch it hold. This step catches the case where the autotune looks fine but the values are not actually loaded, which people running Ender machines describe as seeing not a whole lot of change and being unable to tell whether the tune took.
If it holds within two degrees through a full bed-sized print, you are done. If it still swings, work through the troubleshooting table later in this guide.
How to Run Autotune in Klipper
Klipper uses a G-code command with named arguments rather than Marlin’s single-letter syntax. Klipper PID tuning is the same underlying idea, just a different spelling.
Warm the hotend to about 150 degrees first, with the part cooling fan running, then send:
PID_CALIBRATE HEATER=extruder TARGET=210HEATER=extruder selects the hotend, and TARGET=210 sets the temperature in Celsius. Klipper runs its heating and cooling cycles, prints the results directly with named gains, and warns you if the tune produced a negative D value, which usually means the test conditions were poor.
Unlike Marlin, Klipper writes the results into printer.cfg automatically, so the values are applied immediately. You still have to save them to disk:
SAVE_CONFIGWithout SAVE_CONFIG, the values live in memory until the next printer restart and then vanish. Klipper will remind you on shutdown that there is unsaved config, which is its way of saying exactly this.
For the heated bed, change the heater name:
PID_CALIBRATE HEATER=heater_bed TARGET=60
SAVE_CONFIG
Run the hotend and the bed as separate sessions, never at the same time. Two heaters fighting each other corrupt both measurements, and the bed takes a long time to complete its cycles.
Which Commands to Use on Other Firmware
The autotune command name depends on your firmware, and pasting the wrong one is the most common reason a tune appears to do nothing.
| Firmware | Hotend autotune | Bed autotune | Save |
|---|---|---|---|
| Marlin | M303 E0 S210 C8 | M303 E-1 S60 C5 | M500 (verify with M503) |
| Klipper | PID_CALIBRATE HEATER=extruder TARGET=210 | PID_CALIBRATE HEATER=heater_bed TARGET=60 | SAVE_CONFIG |
| Smoothie | M303 E1 S210 C8 | M303 E1 S60 C5 | Configuration saved on the host |
| Repetier | M303 E0 S210 C8 | M303 P1 S60 C5 | Store settings in EEPROM |
| RepRap / Duet | M303 E0 S210 C8 | M303 B S60 C5 | M500 |
| Bambu Lab, Prusa firmware | Menu-driven calibration on the printer screen | Same menu flow | Stored automatically |
Note the bed index differences: E-1 in Marlin and RepRap, E1 in Smoothie, P1 in Repetier, B on Duet. On a multi-extruder machine each hotend has its own index, so E0, E1, E2 and so on, and each one needs its own tune and its own M301 line.
What Temperature Should You Tune At?
Tune at the temperature you actually print at, because heater output and heat losses both change with temperature. Running a single tune at 210 and printing PETG at 240 leaves you with values that were never measured for that range.
- PLA prints around 200 to 215 degrees. Tune at your usual PLA temperature.
- PETG runs 230 to 250 degrees. Tune again at your PETG temperature if you switch materials regularly.
- ABS and ASA need 240 to 260 degrees and usually an enclosure. Tune at the high end, because gains measured at 200 tend to be sluggish at 260.
Tuning at 260 when you only ever print PLA leaves you with high Ki values that can cause a slow breathing cycle at lower temperatures. One tune per filament you actually use is the honest answer.
How to Tune Manually When Autotune Is Not Enough
Autotune models your heater as a simple first-order system, which is not always true. When the results feel wrong, adjust the numbers by hand, one at a time.
Raise Kp in steps of about 20 percent until the heat-up feels fast. Then raise Ki until the average of the remaining oscillation sits on the target rather than below it, which is the method that comes up repeatedly in MakerForums threads. Only then bring Kd up to damp whatever ringing is left. Change one parameter at a time and give each change a full heat-up and cool-down cycle to settle.
Write the values in with M301, save with M500, and record them somewhere outside the printer. Manual values that suit one machine rarely transfer to another.
Common Mistakes That Ruin a PID Tune
Most failed tunes come from the machine rather than the command. Here is what goes wrong and what to do instead.
- Setting an unsafe maximum temperature. Raising
MAXTEMPormax_extruder_temperatureto get an autotune to finish is how you damage a heater block. Fix: leave the limit at the manufacturer’s value and lower the target temperature instead. - Tuning a cold or partly blocked nozzle. A clog changes the thermal mass the firmware is measuring. Fix: clear the nozzle, do a cold pull, and confirm extrusion is clean before tuning.
- Judging the tune during heat-up. The first climb always overshoots; that is not a failure. Fix: read overshoot and steady-state error from the final cycles only.
- Tuning with the part cooling fan off. The values will not hold during a print, where the fan is always on. Fix: run the fan at full speed for the whole session.
- Tuning a part cooling fan pointed at the block. A misaligned fan blowing straight onto the heater block makes the temperature unstable no matter how good the gains are. Fix: correct the duct or fan alignment before tuning, not after.
- Changing several variables at once. A different nozzle, a silicone sock and a new fan in one weekend means one tune cannot explain the result. Fix: one hardware change, then one tune.
- Copying values from another printer. Values from a forum post describe someone else’s heater cartridge, block and airflow. Fix: use them as a starting point only, then tune your own machine.
- Forgetting the save command. Tuning looks perfect until the next power cycle. Fix: run
M500on Marlin orSAVE_CONFIGon Klipper, then confirm withM503or by reading your printer config file. - Leaving the printer unattended. Fix: stay nearby for any autotune, with thermal runaway protection enabled.
| Symptom | Likely cause | Fix |
|---|---|---|
| Temperature swings 5 to 10 degrees after a successful tune | Part cooling fan off during tuning, or fan aimed at the block | Re-tune with the fan at full speed, or fix the duct first |
| Values reverted after switching the printer off | Save command never sent | Run M500 on Marlin or SAVE_CONFIG on Klipper |
| Set temperature reads 0 during the tune | Normal Marlin behaviour while M303 runs its own profile | Nothing to fix; the nozzle will visibly heat |
| Autotune finishes but prints feel the same | Values never applied, or EEPROM was cleared by a reflash | Send M503 to confirm, re-apply with M301, then M500 |
| Bed overshoots and never recovers below setpoint | Bed tuned without the chamber in its usual state, or a low Ki | Re-tune with the enclosure as you run it and raise Ki gradually |
| Nozzle parks below the setpoint at steady state | Ki too low | Raise Ki in small steps until the last cycles centre on target |
| Reported temperature is erratic while the heater is off | Loose or failing thermistor | Check the connector and replace the thermistor, then re-tune |
One last check before you call it done: if the tune completed with no overshoot on any cycle, or the numbers came back with a negative derivative value in Klipper, the heater was probably barely switching on. That points at the heater cartridge, the wiring or the thermistor rather than the tuning itself.
Frequently Asked Questions
Do I need to tune PID on every 3D printer hotend?
Not always. Factory default values usually work well enough for consistent prints, so tuning is a refinement rather than a requirement. It becomes worthwhile when the nozzle temperature visibly swings more than about two degrees, when layers look uneven or stringing appears mid-print, or after you change a nozzle, heat block, silicone sock, fan or thermistor. Multi-filament printers gain the most from it, since each temperature range wants its own values.
How long does PID tuning usually take?
Ten to fifteen minutes for a hotend using eight cycles, plus a few minutes to enter and save the values and confirm them with M503. A bed tune takes longer, usually twenty to thirty minutes, because the mass is greater. Preheating the hotend to about 150 degrees before you start saves time overall, since fewer cycles are wasted on the initial climb.
Can I copy PID values from another printer or hotend?
Only as a starting point. Kp, Ki and Kd depend on your heater cartridge wattage, block size, thermistor placement, insulation and airflow, so values tuned on a different machine will rarely be optimal. Some community guides do publish working values for common printer models, and they will get you in the right ballpark faster than factory defaults. Treat them as a baseline, then run your own autotune.
Why does my hotend temperature oscillate after PID tuning?
Most often the tune ran with the part cooling fan switched off, or with the fan aimed directly at the heat block, so the values do not match printing conditions. Other causes include a loose or failing thermistor, a blocked nozzle changing the thermal mass, or heat creep from a cold chamber. Re-tune with the fan at full speed and the enclosure as you normally run it before suspecting the hardware.
What temperature should I use for the PID autotune test?
Use the temperature you actually print at. PLA is usually tuned around 200 to 215 degrees, PETG around 230 to 250, and ABS or ASA between 240 and 260. If you switch filament types regularly, run one tune per temperature range rather than a single tune at a middle value, because heater output and heat loss both change as the setpoint rises.
Will PID tuning improve print quality?
It improves consistency rather than raw resolution. A stable nozzle temperature means filament viscosity and extrusion rate stay the same from the first layer to the last, which reduces banding, stringing and uneven layer bonding. It also makes jams less likely at high temperatures. Tuning will not fix mechanical problems such as a loose belt, a warped bed or an under-extruded filament, so check those before blaming the control loop.
Start by running one autotune on the temperature you print at most often, with the part cooling fan running the whole time, then send M500 or SAVE_CONFIG before you switch anything off. That single tune, saved properly, fixes more banding and stringing than almost any other hour you can spend on a printer.