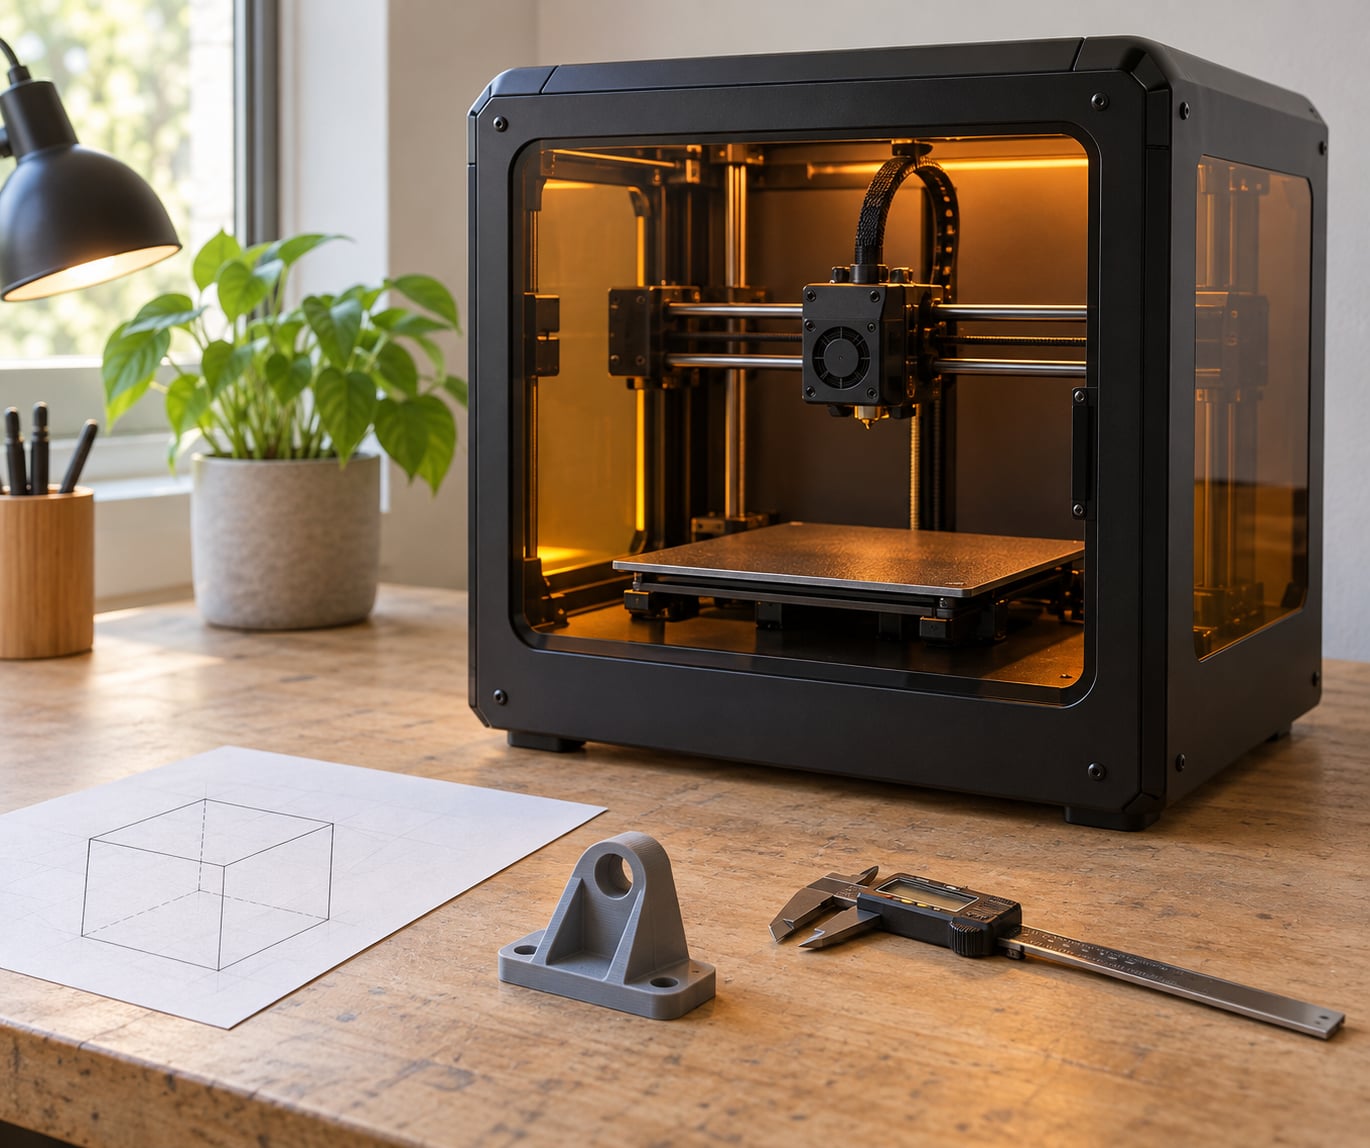
Build volume is the maximum three-dimensional space a 3D printer can produce a part in, quoted as X × Y × Z in millimetres, where X and Y are the build platform’s width and depth and Z is the maximum print height. To compare 3D printer build volumes properly, you work from your own part’s measurements and check the usable space inside the machine, not the headline number on the spec sheet.
The gap between those two numbers is where most buying mistakes happen. A machine listed at 256 × 256 × 256 mm will not hand you 256 mm of clean, level, supported space in every direction, and it will not hold as many parts on one plate as the multiplication suggests.
This guide walks through the comparison in six steps, starting from the largest part you print every month rather than from a brand’s product page. It also covers the litre maths, the parts that quietly shrink usable volume, and what else changes when the hardware gets physically bigger.
Table of Contents
- What You Need
- Step-by-Step: How to Compare 3D Printer Build Volumes
- 1. Measure the largest part you print every month
- 2. Check the nominal X × Y × Z and convert it to litres
- 3. Work out the usable printable area, not the travel range
- 4. Compare XY area and Z height separately, then test orientation
- 5. Allow for accessories, no-go zones and post-processing
- 6. Compare what the number does not tell you
- Common Mistakes
- Frequently Asked Questions
What You Need
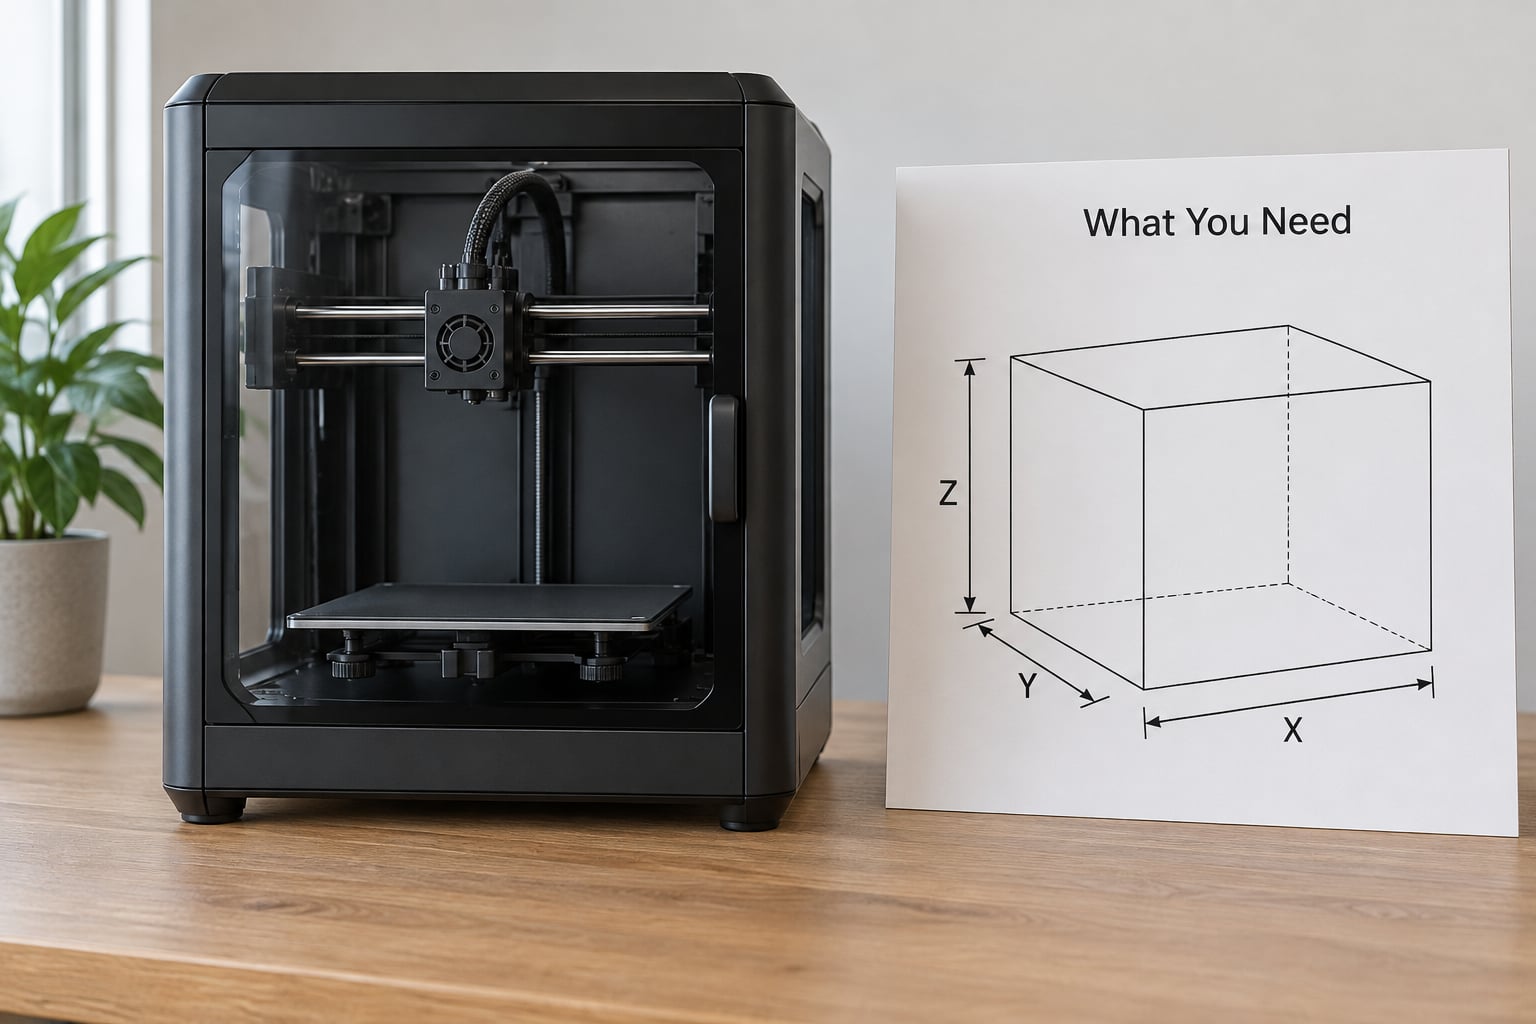
Before comparing anything, collect the same set of numbers for every machine on your shortlist. Skipping a field is what turns a comparison into a preference.
- Nominal build volume — the manufacturer’s X × Y × Z in millimetres.
- Usable printable area — the space left after frame clearance and platform margins.
- XY area and Z height as separate figures, since they constrain different kinds of work.
- Bed type and surface — textured PEI, smooth PEI, glass or a flexible spring steel build plate.
- Height clearance — space above the plate for the gantry, gantry rail, probe and any purge line.
- Enclosure and heated chamber details — closed frame, chamber temperature ceiling, and what filament that unlocks.
- Machine footprint — the outer dimensions, not the build volume. They are unrelated numbers.
- The dimensions of your largest routine part, plus the largest one you might print occasionally.
Build volume by machine class
Here is a brand-neutral reference so the millimetre figures land in context. Litres are the geometric envelope: X × Y × Z ÷ 1,000,000.
| Machine class | Typical X × Y × Z (mm) | Litres | What it suits |
|---|---|---|---|
| Compact FDM | 180 × 180 × 180 | 5.8 | Small parts, accessories, single figures |
| Desktop resin | 143 × 89 × 162 (class) | 2.1 | Miniatures, jewellery, high detail |
| Entry desktop FDM | 220 × 220 × 250 | 12.1 | Everyday hobby and functional prototypes |
| Wide desktop FDM | 250 × 210 × 220 | 11.6 | Flat panels and wide parts despite a lower Z |
| Enclosed cube FDM | 256 × 256 × 256 | 16.8 | The most common all-rounder for cosplay and props |
| Large-format FDM | 390 × 390 × 340 | 51.7 | Full-size props, shells, armour, jigs |
| Industrial class | 400 × 400 × 400 and up | 64 and up | Single-piece parts where splitting is unacceptable |
Step-by-Step: How to Compare 3D Printer Build Volumes
1. Measure the largest part you print every month
Take the part you print most often, not the one you made once. Measure its longest, widest and tallest dimension as it will sit on the bed, and write the numbers down.
Add roughly 20% headroom to each. That covers the supports underneath, the brim or skirt around it, and the margin the machine needs to find the edges of the plate. If a part is 180 mm long, treat 216 mm as your real requirement.
Forum consensus lands in the same place: measure the largest part you print monthly, add about 20% headroom for orientation and supports, and that figure is your minimum build volume. The part you print once a year is not what should size your machine.
Then decide whether you need one large part or several smaller ones. Ten parts at 40 mm each fit happily on a 220 mm plate through simple nesting, and nobody has to glue anything afterwards.
2. Check the nominal X × Y × Z and convert it to litres
Find the manufacturer’s advertised X × Y × Z and compare it directly with your required numbers. If your part needs 230 mm in one direction and the plate is 220 mm, that machine is out regardless of how good it is otherwise.
Multiply the three numbers to get the geometric envelope in litres. A 220 × 220 × 250 mm machine works out at 12.1 litres. A 256 × 256 × 256 mm machine comes to 16.8 litres.
Volume scales as a cube, not linearly. Doubling every edge multiplies capacity by eight. That is why the jump from a 270 × 270 × 256 mm machine to a 390 × 390 × 340 mm one feels transformative: 18.7 litres against 51.7 litres is roughly 2.8 times the capacity, and the second machine is far heavier to move, level and heat.
That cubic relationship is also why cost per litre is a useful shortcut. Divide what you paid for the machine by its litres and you get a comparable figure across brands. It is not the whole decision, but a 300 mm printer that costs less per litre than a 250 mm one has already made a defensible argument for itself.
3. Work out the usable printable area, not the travel range
Rated build volume is a machine travel figure. Usable build volume is what remains once the frame, the gantry, the probe, the skirt and the bed mesh take their share. Several things shrink it:
- Platform margins — you need clearance at all four edges for the brim, skirt or raft and for the print head to decelerate safely.
- Frame clearance — X and Y travel limits sit inside the outer frame, not on it.
- Probe and nozzle offsets — a smart probing system scans a grid, so the extreme corner of the plate often has the least reliable compensation data.
- Bed levelling confidence — a big plate is harder to level accurately, so people leave a safety border they do not need on a small one.
- No-go zones — dual-nozzle and multi-tool machines physically cannot print under part of the gantry, so the rated X × Y overstates the real plate.
A realistic rule: subtract 10 to 20 mm from X and Y on a desktop machine before you lay parts out, and subtract more if the machine is large-format.
4. Compare XY area and Z height separately, then test orientation
Litres hide the difference that matters most. XY area decides how many parts fit on one layer and what the largest flat footprint can be. Z height decides whether your part fits upright at all.
| Rated X × Y × Z (mm) | Usable after orientation, supports and margins | Typical loss |
|---|---|---|
| 256 × 256 × 256 | ≈ 235 × 235 × 240 with supports and edge margin | Under 10% |
| 220 × 220 × 250 | ≈ 200 × 200 × 235 | Around 8% |
| 390 × 390 × 340 | ≈ 360 × 360 × 320, and less on corners | 8-12% |
| 143 × 89 × 162 resin | Plate area is the binding constraint, Z rarely is | Varies by layout |
A tall, narrow machine can have a bigger litre figure and still fit fewer parts side by side. That is not a flaw in the machine, it is just a different shape of capacity. Compare the XY square area, not the litres, when your work is batches of small parts.
Orientation changes everything. A 400 mm helmet shell fits a 256 mm plate in one orientation and needs splitting in another. Test it in your slicer rather than guessing: place the model, let it generate supports, then rotate the whole assembly and see which version clears the frame.
5. Allow for accessories, no-go zones and post-processing
Some of the machine’s nominal volume is spoken for by hardware. Nozzle clearance from the previous layer, a purge line parked at the edge of the plate, a tool changer or a camera arm all claim space that the spec sheet does not mention.
Resin printers add a different constraint. A build plate of 143 × 89 × 162 mm sounds restrictive next to a 220 mm FDM plate, but resin needs a tilt basket so the part does not peel off, and washing and UV curing capacity can become the real bottleneck once you are producing more than a handful of pieces.
On FDM machines, ask whether the toolhead is direct drive or Bowden, and whether the enclosure has a genuine chamber heater. Both affect which parts you can print, not just how big they can be.
6. Compare what the number does not tell you
Build volume says nothing about accuracy, surface finish or speed. Put it alongside the rest before you decide.
- Bed material and rigidity — a warped plate turns usable area into wasted filament.
- Thermal control — a heated chamber is what lets you print ABS, ASA, nylon and fibre-filled composites in a large volume. Without one, that volume may be unusable for engineering materials.
- Speed and acceleration — a large plate printed at low acceleration takes a long time, and long prints fail more often.
- Dimensional accuracy — test with a printed tolerance gauge rather than trusting the spec sheet.
- Filament compatibility — hotend temperature, direct drive and runout detection decide whether TPU and composites are realistic.
- Footprint, power and noise — these scale with size. A heated-chamber large-format machine draws substantially more power than a small open desktop unit, needs a sturdier bench, and is louder.
- Failure cost — on a large plate, one failed print can waste 30 hours and a lot of filament. Plenty of experienced operators run two or three small machines instead of one large one, because a crash only takes out one job.
Common Mistakes
Treating rated X × Y × Z as guaranteed usable space. This is the single biggest error and the reason three of the top-ranking videos for this query are about the gap between the numbers. Always subtract for platform margins, supports and any no-go zone the machine has.
Ignoring model orientation. A part that does not fit flat may fit on its side or upside down, and a part that fits neither needs splitting or a bigger machine. Slice it before you buy.
Confusing build volume with the printer’s outer size. A machine’s footprint tells you whether it fits in the room and through the doorway. Build volume tells you what comes off it. They are independent, and vendors list both.
Comparing litres and nothing else. Litres flatten a 250 × 210 × 220 mm machine to nearly the same number as a 220 × 220 × 250 mm one, and those two print very different jobs. Check the XY area separately.
Choosing the largest printer available. Bigger hardware is harder to level, harder to keep first layers consistent, and more expensive to run and to fail at. Experienced buyers consistently put material capability and workflow ahead of volume.
Letting the comparison stop at volume. A large printer that cannot hold a chamber temperature, or whose first layer wanders on a cool plate, delivers less usable capacity than a smaller machine that prints reliably every time.
Frequently Asked Questions
Is a larger 3D printer build volume always better?
Not necessarily. A larger envelope only helps if the machine’s usable area, rigidity, thermal control and accuracy support the bigger part. A 256 mm enclosed desktop printer prints most cosplay shells, enclosures and props reliably, while a 400 mm machine adds levelling difficulty, power draw and more filament at risk on every failed print. Pick the smallest machine that handles your largest routine part with 20% headroom.
Are 3D printer build volume specs accurate?
They are accurate as machine travel figures and misleading as usable space. Rated X × Y × Z ignores platform margins for the brim and skirt, support structures, and any no-go zone under a dual-nozzle gantry. Subtract 10 to 20 mm from X and Y on a desktop machine and more on large-format hardware, then confirm the layout in your slicer before committing.
Should I compare build volume in litres?
Litres are useful as a quick cross-brand comparison, since X × Y × Z divided by 1,000,000 gives the geometric envelope, and volume per pound spent reveals cost per litre. But litres hide shape. A taller, narrower machine can show a bigger envelope and still fit fewer parts per layer, so compare the XY area and the Z height separately before deciding.
How much clearance should I leave around a 3D-printed part?
Leave room for adhesion features, the brim or skirt, bed levelling confidence and slight positioning differences. For practical comparisons, use the manufacturer’s usable printable area rather than adding an arbitrary buffer on top of the rated dimensions. A practical rule is 10 to 20 mm off X and Y on a desktop printer, more on a large plate, plus whatever height your supports need.
Can I print a part larger than the build volume?
Yes, by splitting it. Cut the model into sections that fit the plate, print them separately and join them with glue, epoxy or a printed alignment feature. It works well for props and terrain. It fails for anything where a visible seam matters, such as a display helmet or a load-bearing bracket, which is the case for buying a larger printer instead.
How do I know what size 3D printer I need?
Measure the largest part you print every month, add roughly 20% headroom for orientation and supports, and that number is your minimum. Most hobby work fits under 250 mm, and a 256 mm cube handles a great deal of larger work once you rotate the part. Only move up when a specific job genuinely will not fit, and check the footprint, power draw and first-layer consistency at that size first.
Start tonight, not at the spec sheet. Open your slicer, drop in the largest part you actually print, generate the supports, and note the bounding box of the result. Add 20% to that and you have your number. Every comparison after that is a quick check of whether the machine you are considering actually delivers it, and what else it does with the space.