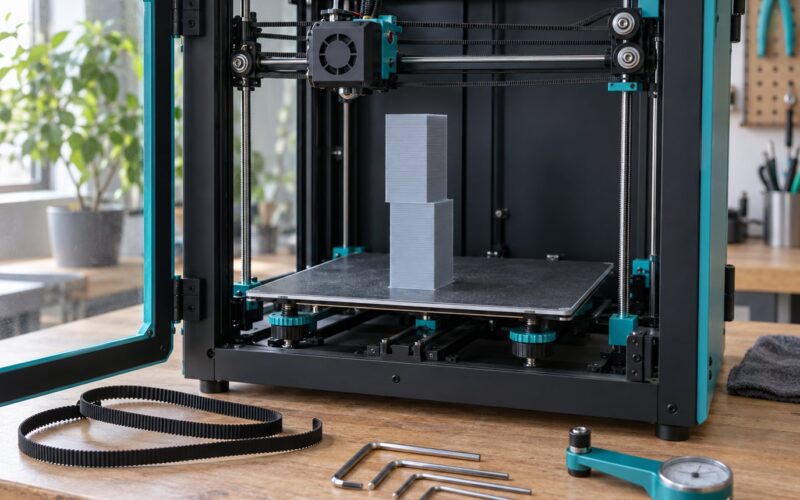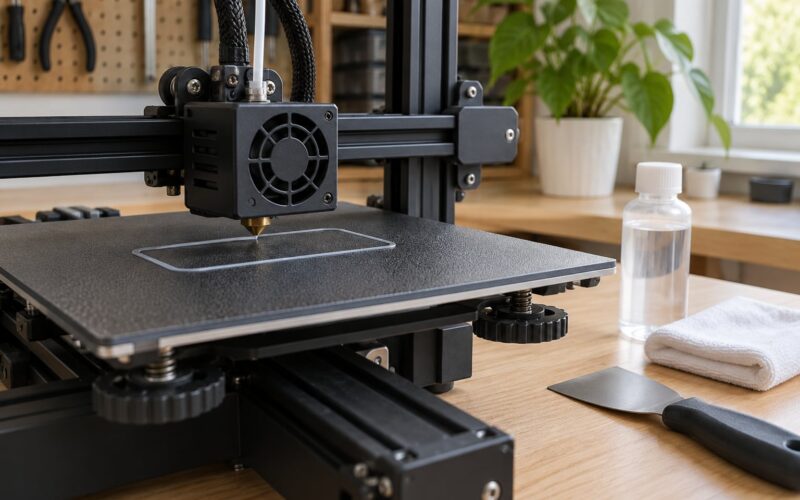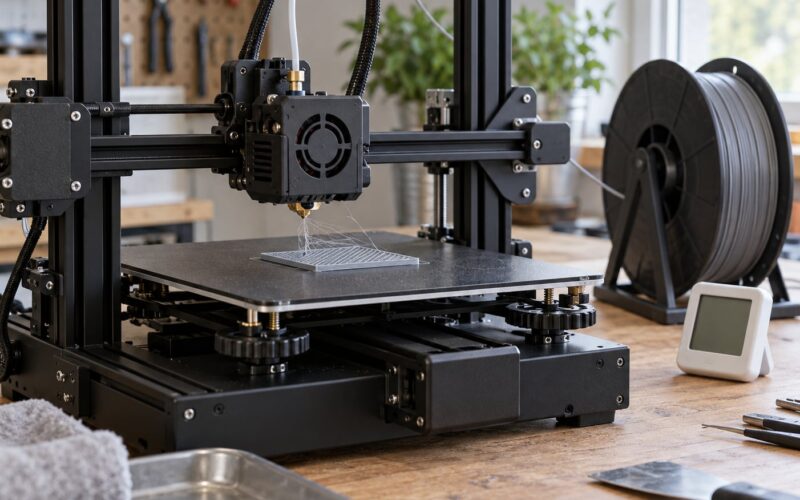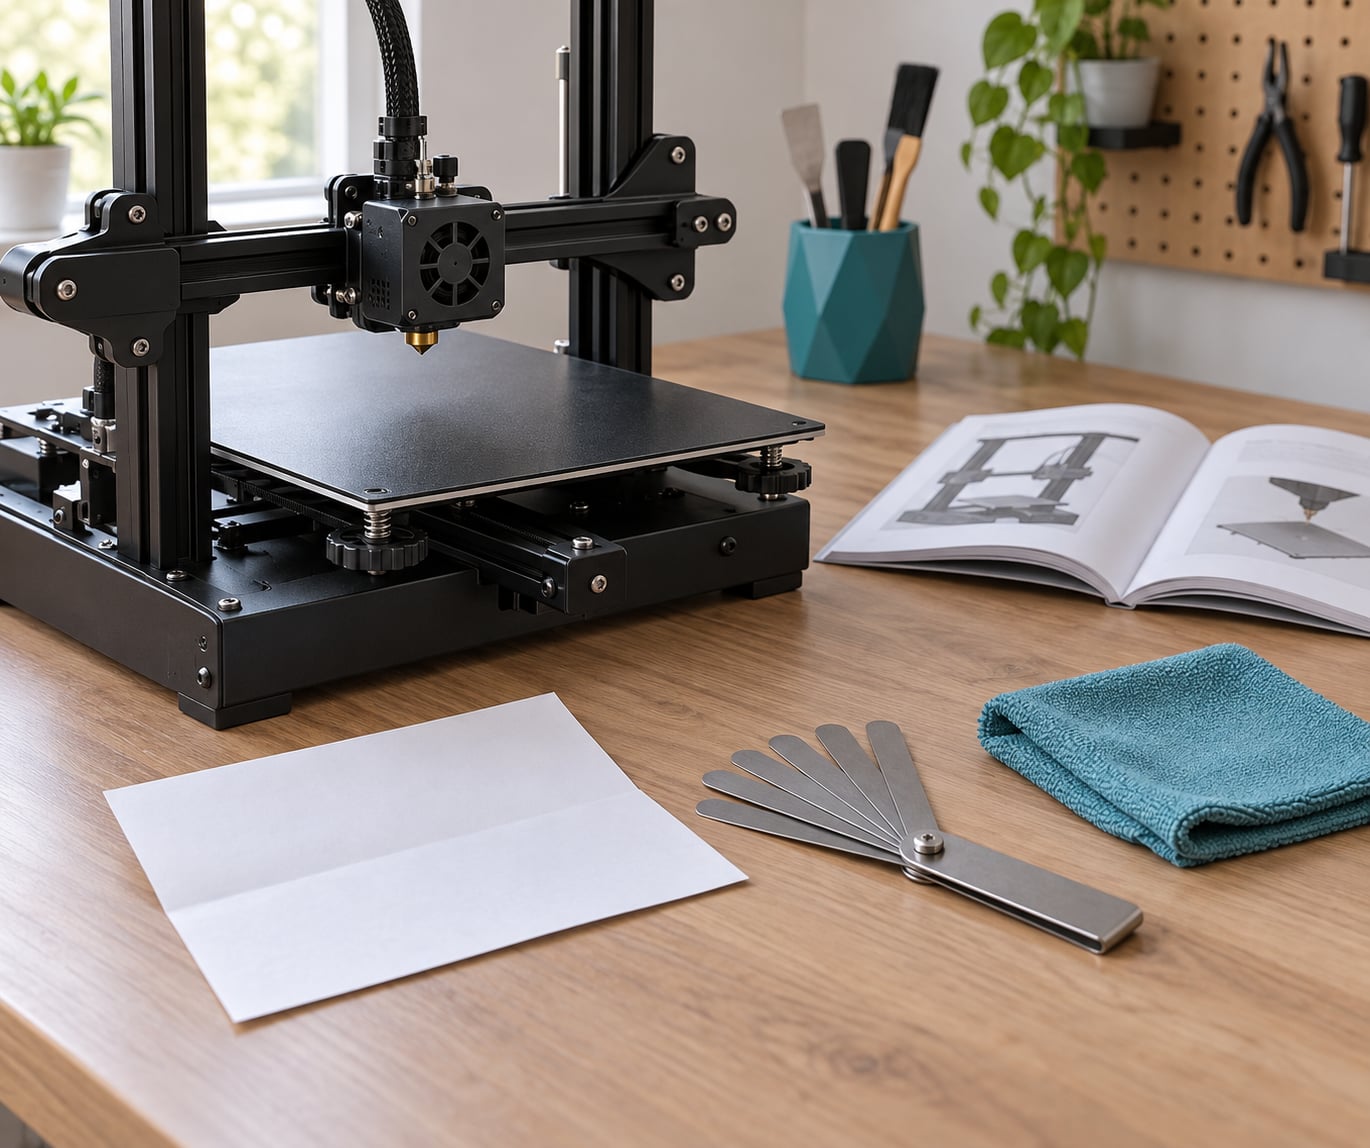
To level a 3D printer bed by hand, home the printer, release the stepper motors so you can push the head around by feel, then slide a sheet of paper or a 0.10 mm feeler gauge between the nozzle and the build plate at each of the four corners and the centre, turning the nearest levelling screw a fraction of a turn until you feel light, even drag. Go around the corners two or three times, then confirm with a first-layer test.
It takes about fifteen minutes the first time and less after that, and the skill matters more than it sounds. Almost every first-layer failure people search for turns out to be a levelling problem, a Z-offset problem, or a dirty nozzle pretending to be one of the other two.
Before we start, one word of caution about the phrase level. Bed levelling, Z-offset and tramming are three different things, and beginners mix them up constantly. Bed levelling is flatness: the plane the plate forms. Z-offset is height: how far that whole plane sits below the nozzle when a layer is printed. Tramming is the diagonal tilt that manual corner screws simply cannot fix on a four-screw bed. Level what you can with the screws, then handle the rest with the machine’s own tools.
Table of Contents
- What You Need
- How to Level a 3D Printer Bed by Hand: Step-by-Step
- 1. Prepare the printer and bed
- 2. Home the printer and locate the levelling controls
- 3. Check the nozzle-to-bed gap at the first corner
- 4. Repeat the test at all four corners
- 5. Check the centre and repeat the sequence
- 6. Verify the first layer
- Common Mistakes
- Frequently Asked Questions
- Is ordinary printer paper good enough for levelling a 3D printer bed?
- Should I level the bed hot or cold?
- What tension is correct when using paper?
- My 3D printer bed will not stay level. What should I check?
- Do I still need to level by hand if I have a BLTouch or auto levelling?
- How often should I level a 3D printer bed?
- Conclusion: Start With the First Corner
What You Need
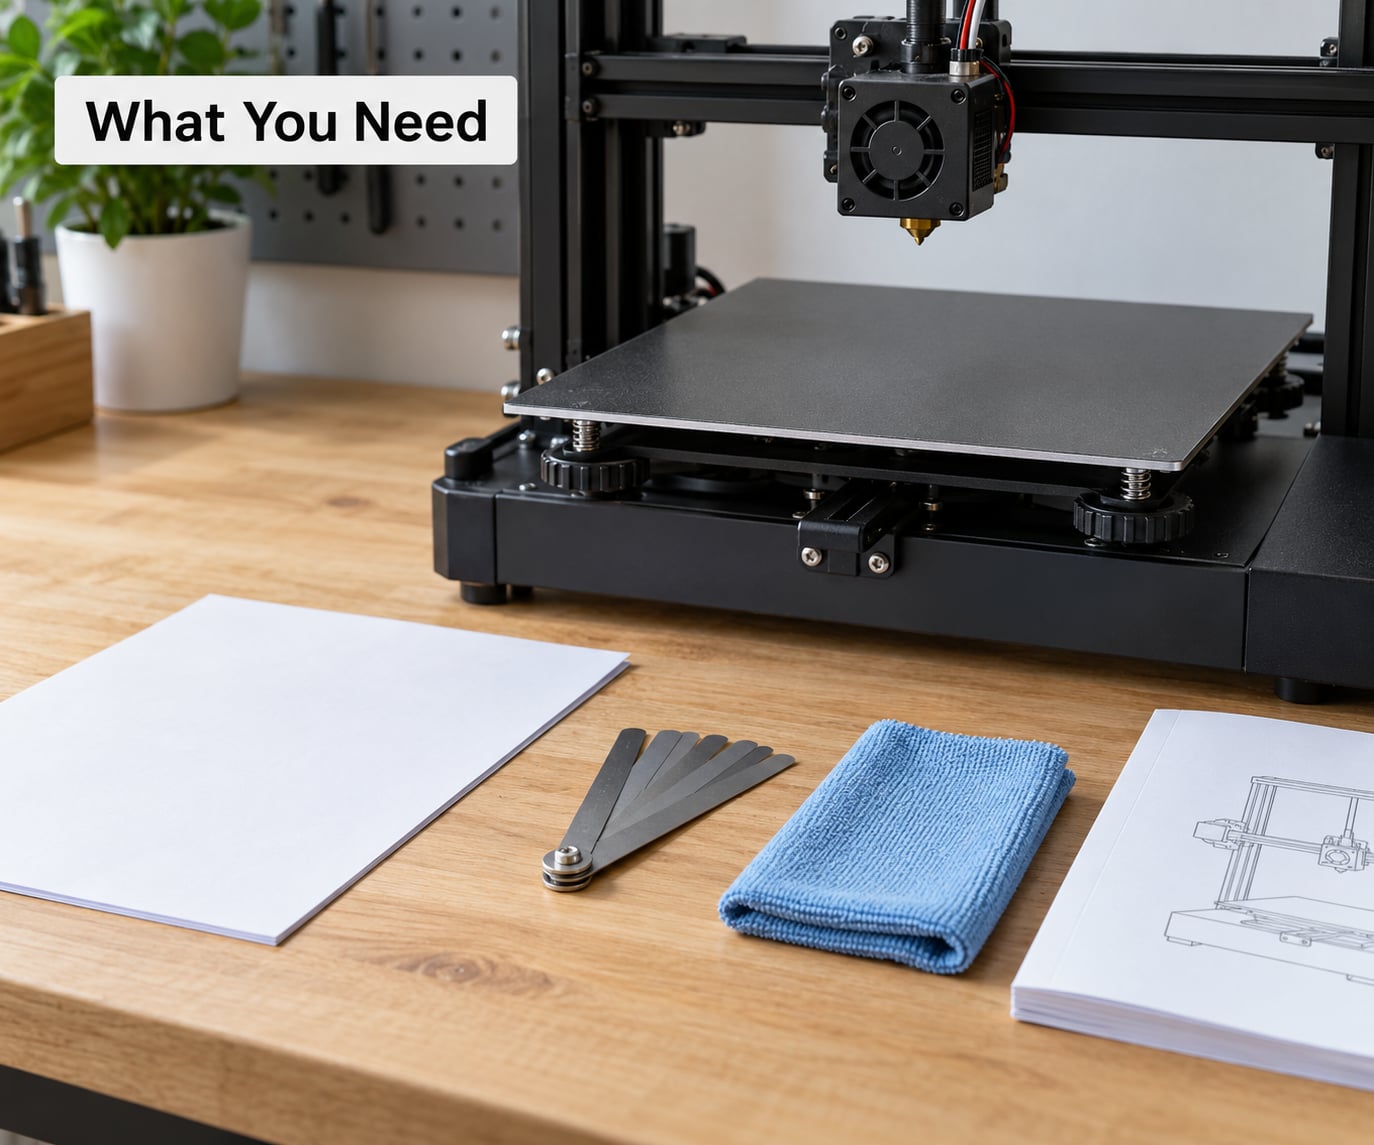
Almost nothing. That is the appealing part of manual levelling, and it is why every beginner guide on this topic opens the same way. What you actually need depends on what the manufacturer specifies, and your printer’s manual is the authority on that point.
| Item | What it is for | When you need it |
|---|---|---|
| Ordinary printer paper, folded once | The classic drag test at each corner and the centre | Always, unless your printer’s manual says otherwise |
| Feeler gauge set including 0.10 mm | A repeatable gap measurement instead of a guess | When you want repeatable readings or a thicker nozzle |
| Allen key or screwdriver matching your levelling screws | Turning the corner knobs and the centre adjuster | Always |
| Isopropyl alcohol and a clean cloth | Removing grease, fingerprints and ooze from plate and nozzle | Before every levelling session |
| Soft brass brush | Clearing debris from the nozzle tip without scratching it | Before every levelling session |
| Straight edge or steel ruler | Checking whether the plate itself is flat before you adjust anything | When the bed keeps drifting out of level |
One cheap addition that pays for itself: a 0.10 mm feeler gauge. Paper thickness varies between reams and between printers, often landing anywhere from 0.09 mm to 0.13 mm, so a paper-based result is a rough average rather than a measurement. A 0.10 mm blade is the same thickness every time, which matters once you start chasing a specific Z-offset.
Also clean the nozzle. A blob of ooze on the tip makes every gap reading wrong, and it is the single most common reason people cannot level a bed that is actually fine. Wipe the tip with a cloth while it is warm, then brush it with the brass brush and check it against a fingertip.
How to Level a 3D Printer Bed by Hand: Step-by-Step
1. Prepare the printer and bed
Put the printer in the state your manual describes for levelling, then let the hotend and bed cool. On many machines that means turning the printer off entirely so nothing tries to re-home while your hands are near the nozzle.
Clean both mating surfaces: the build plate and the nozzle tip. Then check the plate for flatness by laying a straight edge across it and holding a light up underneath. A glow that fades from one side to the other tells you the plate is tapered, and no amount of corner screw turning will fix that.
Whether to level hot or cold is the question guides disagree on most. Here is the useful part of the disagreement: many printers expand as they heat, so a bed levelled cold can sit closer to the nozzle than you set it. Levelling warm removes that variable. Levelling cold is fine if you then verify with a test print at print temperature and use the printer’s own Z-offset to close the remaining gap.
2. Home the printer and locate the levelling controls
Home all axes using the printer’s normal controls so it knows where the nozzle is. This is what the homing function is for, and it puts the head at a repeatable corner instead of wherever you last left it.
Then disable the stepper motors so you can move the head by hand. On Marlin-based machines the command is usually M84, issued from the printer’s control interface or a connected host. Klipper uses the SET_STEPPER enable setting turned off, and Prusa firmware has its own menu entry. The exact path depends on the firmware and its version, so check the documentation for your machine rather than guessing.
With the motors released, the head moves loosely. Find the levelling controls: usually three or four spring-loaded corner thumbscrews under the bed, sometimes a single centre screw, sometimes eccentric knobs. On a four-screw bed, the knobs are corner mounts and a centre adjuster is a bonus, not a substitute.
3. Check the nozzle-to-bed gap at the first corner
Slide the folded paper under the nozzle at the first corner. Use folded paper rather than a whole sheet, because a full sheet buckles and gives you a false reading.
Now turn that corner screw in tiny increments. On most printers, turning the thumbscrew clockwise lowers the corner toward the nozzle and counterclockwise lifts it away, but the direction is not universal and some frames work the opposite way, so learn it once on your machine and stop worrying about it. Keep adjusting until the paper drags with light, consistent resistance and moves with a small scrape.
If the paper is loose, the gap is too big. If the nozzle gouges or tears the paper, the gap is too small. Stop at light drag.
Do not press down on the bed while you do this. Pushing the plate down compresses the springs or the mount and opens the gap, which is exactly the mistake that makes an otherwise correct adjustment look wrong. Support the plate lightly with the tips of your fingers if you must, and never load it with your palm.
4. Repeat the test at all four corners
Move the head to each remaining corner and repeat: paper under the nozzle, quarter-turn adjustments, light drag. Going in a fixed order keeps the results comparable between rounds.
Here is the part that catches people out: on most four-screw beds, tightening one corner shifts the diagonal corner slightly, because the plate is a rigid panel and the mount is cantilevered. That is why a second and third round exist. The differences shrink each time you go around, and you stop when two consecutive rounds produce no change at any corner.
5. Check the centre and repeat the sequence
If your printer has a centre screw, adjust it until the paper drags the same at the middle of the plate as it does at the corners. If it has no centre screw, slide the paper under the nozzle at the centre and simply check for drag. A sagging centre reads as loose paper there.
Then run the whole corner sequence again from the start, because the centre change can move the corners too. Make each correction smaller than the last. Experienced users say two to three full rounds is normal before the bed holds a consistent reading everywhere, and that is an honest expectation rather than a sign you are doing it wrong.
6. Verify the first layer
Re-home the machine, restore the stepper motors, and run the printer’s own first-layer or bed-level routine without extruding if it has one. A good result is a continuous line of even width with no gaps between the passes and no sections where the nozzle rides over a ridge.
For a fuller check, print a single-layer square or grid pattern rather than a whole object. Inspect it under a light: all four edges should be the same width, the lines should merge into a solid surface with no pinholes, and the corners should not be thinner or thicker than the middle. If a line is ragged and torn, the nozzle was too close there. If lines stay separate and round, it was too far.
If your printer has a probe, run the mesh levelling after the manual pass, not instead of it. Then set the Z-offset while watching the first layer: lower it in small steps until the line just starts to flatten and stick, and back off the last fraction if the nozzle starts to scrape.
Common Mistakes
Almost every levelling headache comes from one of these.
- Pressing on the bed while adjusting. The fix is simple: no downward hand force at all. Use fingertip support only, and re-check the corner after your hand leaves the plate.
- Levelling in the wrong machine state. Levelling with the bed hot on a printer whose manual says level cold, or with a probe deployed, gives a reading that will not match the print. Follow the manual’s stated order for heating, homing and motor release.
- Using thick, folded or crumpled paper. A folded sheet is right; a folded-and-again-folded sheet, thermal paper or a receipt is not. A crumpled sheet reads thick in the middle and thin at the edges.
- Turning something that does not move the bed. A bracket, a cable tie or the frame screw near a corner mount may look adjustable and change nothing. Only the corner mount screw, on every machine, sets the height of that corner.
- Forcing the nozzle against the plate. Paper tearing or the nozzle skidding means the gap is already too small. Back the screw off and re-test.
- Checking corners only. A plate can be level at all four corners and low in the middle. Check the centre, then check the corners again.
- Adjusting one corner and moving on. Each screw move nudges the diagonal corner. Always complete the full loop before stopping.
It is also worth knowing when a re-level is not optional: after moving or shipping the printer, after swapping the build plate, after changing or replacing a levelling spring, after a hot end crash that may have knocked the gantry, and any time the Z axis coupler or the bed mount feels loose. A bed that will not hold level usually has a mechanical cause, not a technique cause.
Three things to check in that order. First, the Z axis coupler and the bed mount hardware, since a slipping coupler lets the nozzle creep down and a loose mount lets the plate tilt under its own weight. Second, the levelling springs, which lose tension and take up with a sloppy fit over time; worn or mismatched springs make corners drift. Third, the plate itself, checked with a straight edge and a light as above. Only after all three are sound is it worth adjusting screws again.
Frequently Asked Questions
Is ordinary printer paper good enough for levelling a 3D printer bed?
Yes for most people. A single fold of ordinary 80 gsm printer paper is the standard beginner method and is accurate enough for a good first layer on a 0.4 mm nozzle. The catch is that paper thickness varies between reams, so the result is a rough average rather than a measurement. If you are chasing a specific Z-offset or use a thicker nozzle, a 0.10 mm feeler gauge gives you the same reading every time.
Should I level the bed hot or cold?
Follow your printer’s manual first, because the correct answer is model-specific. Levelling warm is useful on printers whose plate expands noticeably with heat, since a cold-levelled bed ends up closer to the nozzle at print temperature. Levelling cold works fine when you verify with a test print at print temperature and use the machine’s Z-offset to close the remaining gap. Whichever you choose, test at the temperature you actually print at.
What tension is correct when using paper?
Light, even drag that moves with a small scrape. If the sheet slides freely and easily, the gap is too wide. If it sticks, buckles or tears as you pull it, the gap is too narrow. The correct reading feels the same at every corner and at the centre, which is the real test: identical feel, not a specific hardness. Budget for two or three full rounds before the readings stop changing.
My 3D printer bed will not stay level. What should I check?
Check the mechanical parts before touching the screws. A slipping Z axis coupler lets the nozzle drift, loose bed mount hardware lets the plate tilt, and worn levelling springs or a mismatched set make corners drift unpredictably. A tapered or warped plate defeats corner screws entirely, so test it with a straight edge and a light. If the hardware is sound and the plate is flat, then the level should hold and something mechanical is still moving.
Do I still need to level by hand if I have a BLTouch or auto levelling?
Yes. A probe does not flatten anything; it measures the tilt that is already there and stores corrections for it. Mesh levelling compensates for the small residual error, which works best on a bed that is already close. So level by hand first, run the mesh routine second, then set the Z-offset last. A badly tilted bed produces a large correction grid that a probe alone cannot rescue.
How often should I level a 3D printer bed?
As a rule, re-check it before a print that matters, since the check costs a minute or two with a 0.10 mm feeler gauge. You must re-level after moving or shipping the printer, swapping the build plate, replacing a levelling spring, or after any suspected head collision. A bed that holds level once on a solid, flat plate usually needs very little attention between those events.
Conclusion: Start With the First Corner
Start by cooling the printer down, cleaning the nozzle and plate, homing the axes and releasing the stepper motors. Then adjust one corner until folded paper or a 0.10 mm feeler gauge drags with light resistance, work around the remaining corners and the centre, and repeat the loop two or three times until nothing changes between rounds.
Finish with a first-layer test at print temperature, and treat that line as the real measurement. Your printer’s manual stays the authority on which controls you turn and in which order, because those details differ between models and the method above only works if you respect them.