A classroom 3D printer turns a digital model into a real object by laying down thin layers of molten plastic filament, one on top of another. Learning how to use a 3D printer in a classroom is mostly about three routines: preparing the file before class, watching the printer while class runs, and turning a failed print into tomorrow’s lesson.
Most teachers are not CAD experts when they start, and that is fine. The machine does not need to be understood down to the firmware to run a good classroom program. What does need to be written down is who loads filament, who cleans the plate, who approves a file, and what happens when a part snaps off the bed at 4pm on a Friday.
This guide walks through the whole operating procedure: what to set up first, the eight steps that take a model from idea to finished object, and the failures you will almost certainly meet in the first month. It is written for K-12 teachers and makerspace coordinators running one printer or a small bank of them.
Table of Contents
- What You Need
- How to Use a 3D Printer in a Classroom, Step by Step
- 1. Plan How to Use a 3D Printer in a Classroom
- 2. Check the Printer, Bed, and Filament
- 3. Create or Download a 3D Model
- 4. Prepare the File in Slicer Software
- 5. Set Up the Print Bed
- 6. Start and Monitor the Print
- 7. Remove, Inspect, and Finish the Print
- 8. Review the Result and Reset Safely
- Common Mistakes
- Frequently Asked Questions
- What type of 3D printer is best for a classroom?
- Can elementary students use a 3D printer?
- How long should a classroom 3D print take?
- Which filament is safest and easiest for students?
- What should a teacher do when a print fails?
- How often does a classroom 3D printer need maintenance?
- Conclusion
What You Need
Before a student touches the machine, you need a printer that matches your supervision level, a filament policy, a place for the printer to sit, and a small set of tools that nobody else uses.
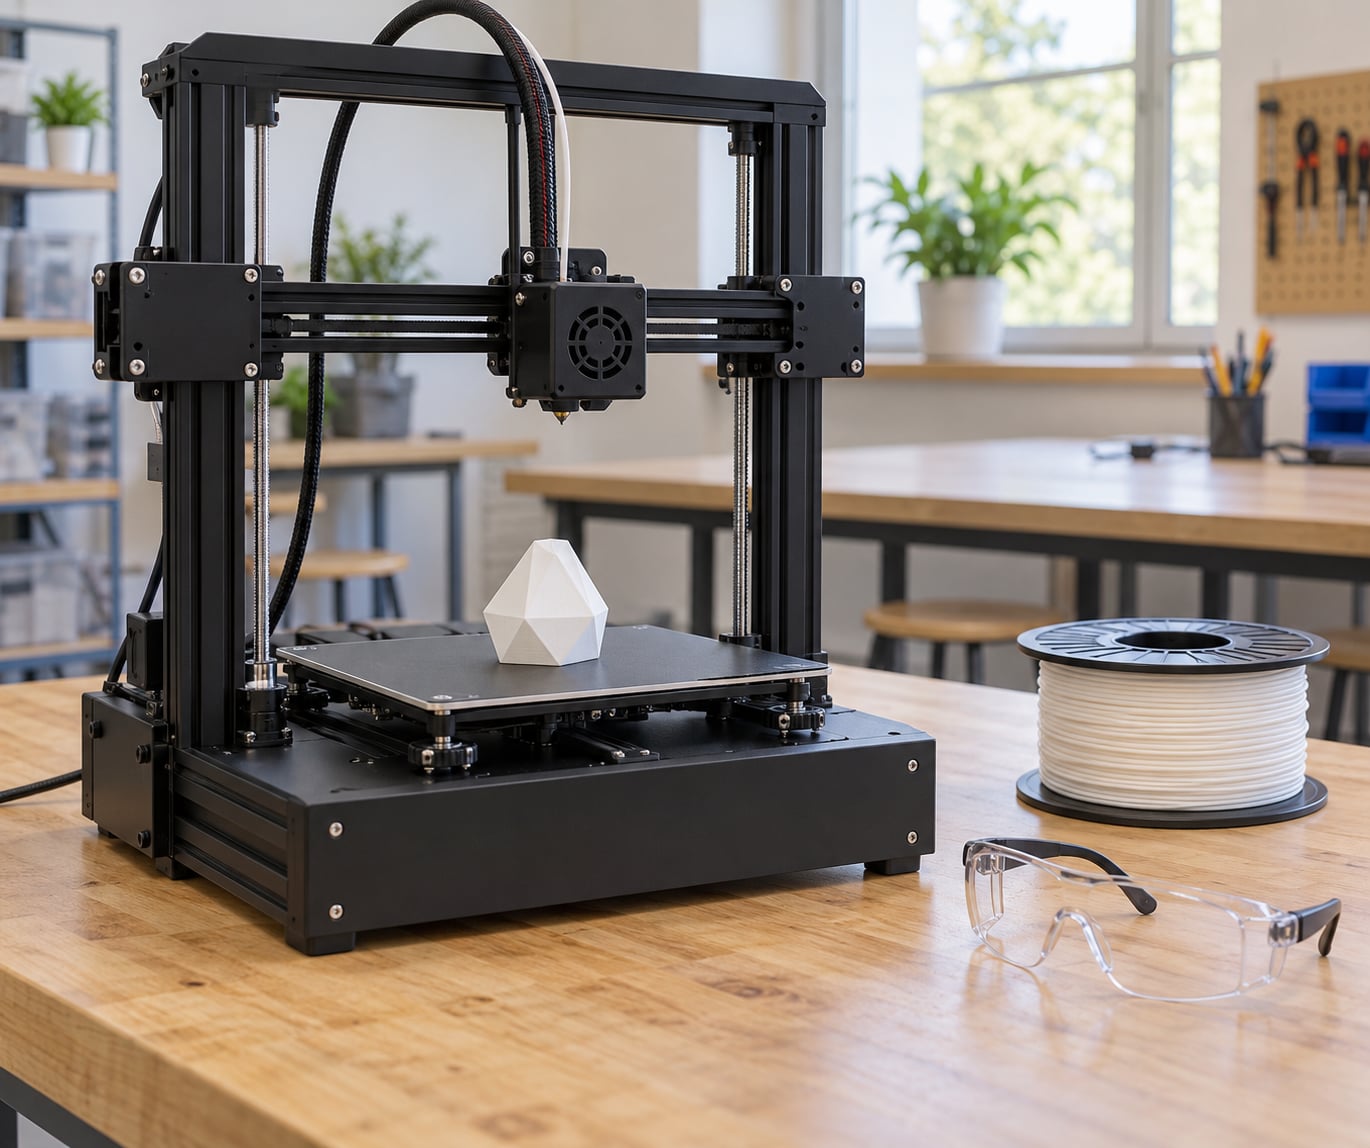
Choose an enclosed desktop FDM printer for mixed classrooms. FDM (fused deposition modeling) printers melt solid filament rather than curing liquid resin, which makes them the right default for schools. An enclosed build chamber keeps drafts off the part, cuts the particle output, and gives you a door you can close when a student leans in too far. Open-frame machines work in a dedicated makerspace with an adult in the room the whole time.
Decide your filament list and stick to it. Two materials is plenty for a first year. Most schools run PLA for everything because it prints at low temperature, smells mild, and shrugs off small handling errors. PETG is the sensible second material when you want parts that survive being dropped.
Set up ventilation before you set up content. A window that opens, or an exhausted enclosure near a window, is enough for PLA and PETG. Avoid running any printer against a wall with no air path.
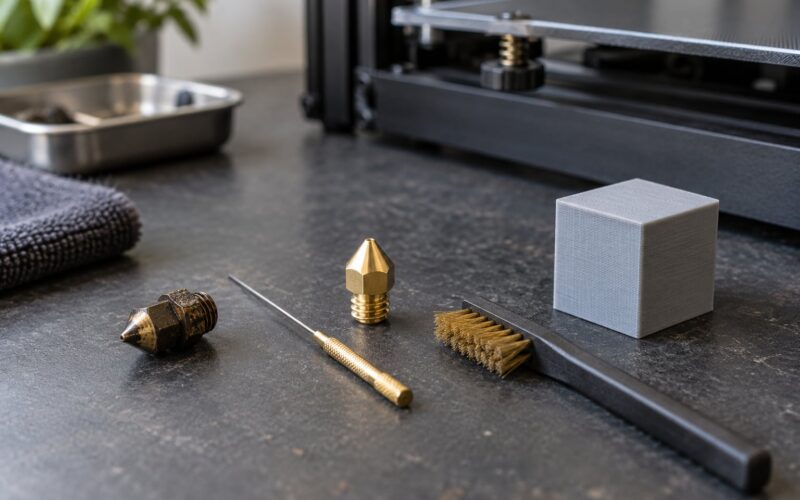
Stock the consumables you will actually replace. A spare nozzle, a bottle of isopropyl alcohol, a brass wire brush, a nozzle cleaning needle, a washable spring steel or glass build plate, and glue stick as bed adhesive. A spare nozzle is the single most useful part in the drawer; nozzles clog, and swapping one takes five minutes with the printer cool.
Install the software on the machines students will use. You need a slicer on the teacher machine and, if students slice their own files, on the student devices too. PrusaSlicer, Cura, and OrcaSlicer are all free desktop applications. Tinkercad runs in a browser and covers most elementary design work. Ask IT to whitelist the slicer installer before the lesson, because a blocked download mid-class is a wasted period.
Write down three rules. Who may start a print, who may remove one, and where filament spools live. Teachers who share a printer across a department hit exactly the failure everyone warns about: an out-of-order sign that moves from machine to machine until nobody knows whose turn it is.
Here is the short version of the material decision, which is the choice most schools get wrong at the start.
| Filament | Classroom safety and handling | Best classroom use |
|---|---|---|
| PLA | Lowest temperature and mildest odor of the common filaments; still produces fine particles, so ventilate | Default student material: name plates, keychains, math solids, prototypes |
| PETG | Slightly higher temperature and stringier; needs the same air path | Durable classroom utility parts that get handled daily |
| TPU | Flexible, forgiving to print, low odor | Grips, phone stands, protectors, stamp handles |
| ABS / ASA | Prints hot and emits styrene fumes; not for an occupied room without real exhaust | Only for a workshop with extraction, never a shared classroom |
How to Use a 3D Printer in a Classroom, Step by Step
The workflow below runs in order every time. Once the first two weeks are muscle memory, most of it takes under ten minutes of your time per job.
1. Plan How to Use a 3D Printer in a Classroom
Start with the learning objective, not the model. Students printing a downloaded dragon are doing a craft activity; students printing a model they sized to fit a 4 inch test tube cylinder are doing engineering.
Then check three numbers before you promise anything: how long the print takes, how much filament it uses, and whether it needs support material. A 40-minute print for 28 students means you are running overnight batches or a queue, not printing during the lesson.
Set a print-time ceiling and hold to it. Thirty to sixty minutes is the rule most classroom programs land on for a first project, because anything longer stops being a lesson and starts being a facilities problem. Prepare a backup activity that stands on its own if the printer fails; the lesson continues either way.
Quick pre-flight list: objective written down, model chosen, print time under the ceiling, filament on hand, backup activity ready.
2. Check the Printer, Bed, and Filament
Run this check at the start of every session, before the door opens. It takes about three minutes and catches most failures before they cost you a class period.
Confirm the nozzle and bed temperatures the job will need, and confirm the printer is level. On printers with autoleveling, watch the mesh probe move across the plate once. On manual machines, repeat the paper-drag level check: a sheet of paper should drag with light resistance at every corner.
Look at the filament path. Confirm the spool is seated on the holder, the filament feeds into the extruder without a sharp kink, and there is enough on the spool to finish the job. If the extruder shows a grinding mark or the filament has a white shine from rubbing, replace it before you start.
What worked looks like this: a dry, clean plate, filament moving freely from spool to extruder, and a bed that reads level on the printer screen.
3. Create or Download a 3D Model
There are three honest routes, and all three are valid. Pick per student, not per lesson.
A teacher-prepared file keeps early lessons moving and lets you control print time precisely. A student-made file in a browser tool like Tinkercad is where the real learning sits, and grades 3 and up handle it well with a half hour of guided practice. A full CAD program like Onshape or Fusion 360 is the right destination for grades 6 and above with an engineering brief.
Check the model before anyone prints it. Confirm the units are millimeters, that the part actually fits the build volume, that overhangs are handled, and that the design avoids needing support material wherever you can. Designing for no supports is a genuinely teachable constraint: students learn to think about how a part sits in space before it is on the bed.
When supports are unavoidable, print the part in one material and the supports in a second so the supports do not fuse into the finished piece.
4. Prepare the File in Slicer Software
The slicer turns your model into g-code, which is the instruction list the printer actually follows. In PrusaSlicer or OrcaSlicer the path is File, then Open; in Cura it is File, then Load Mesh. The menu wording differs between slicers and versions, so name the file first and follow your own program’s labels.
Set the physical size on the model’s scale or unit settings before anything else. An STL imported at the wrong scale is the most common student error and it is invisible until the print is halfway done and clearly wrong.
Then set orientation, supports, layer height, infill, and speed. Rotate the part so its thinnest layers face upward; flat, stable footprints reduce the print time and the failure rate. Leave support generation off unless you have deliberately designed for it. A 0.2 mm layer height and 15 to 20 percent infill is a sane classroom default for solid-looking parts that still use modest material.
Use the preview to confirm the first layer is continuous and that the nozzle path stays on the build plate. Hit Slice, then save the g-code file to the printer or export it to a memory card.
5. Set Up the Print Bed
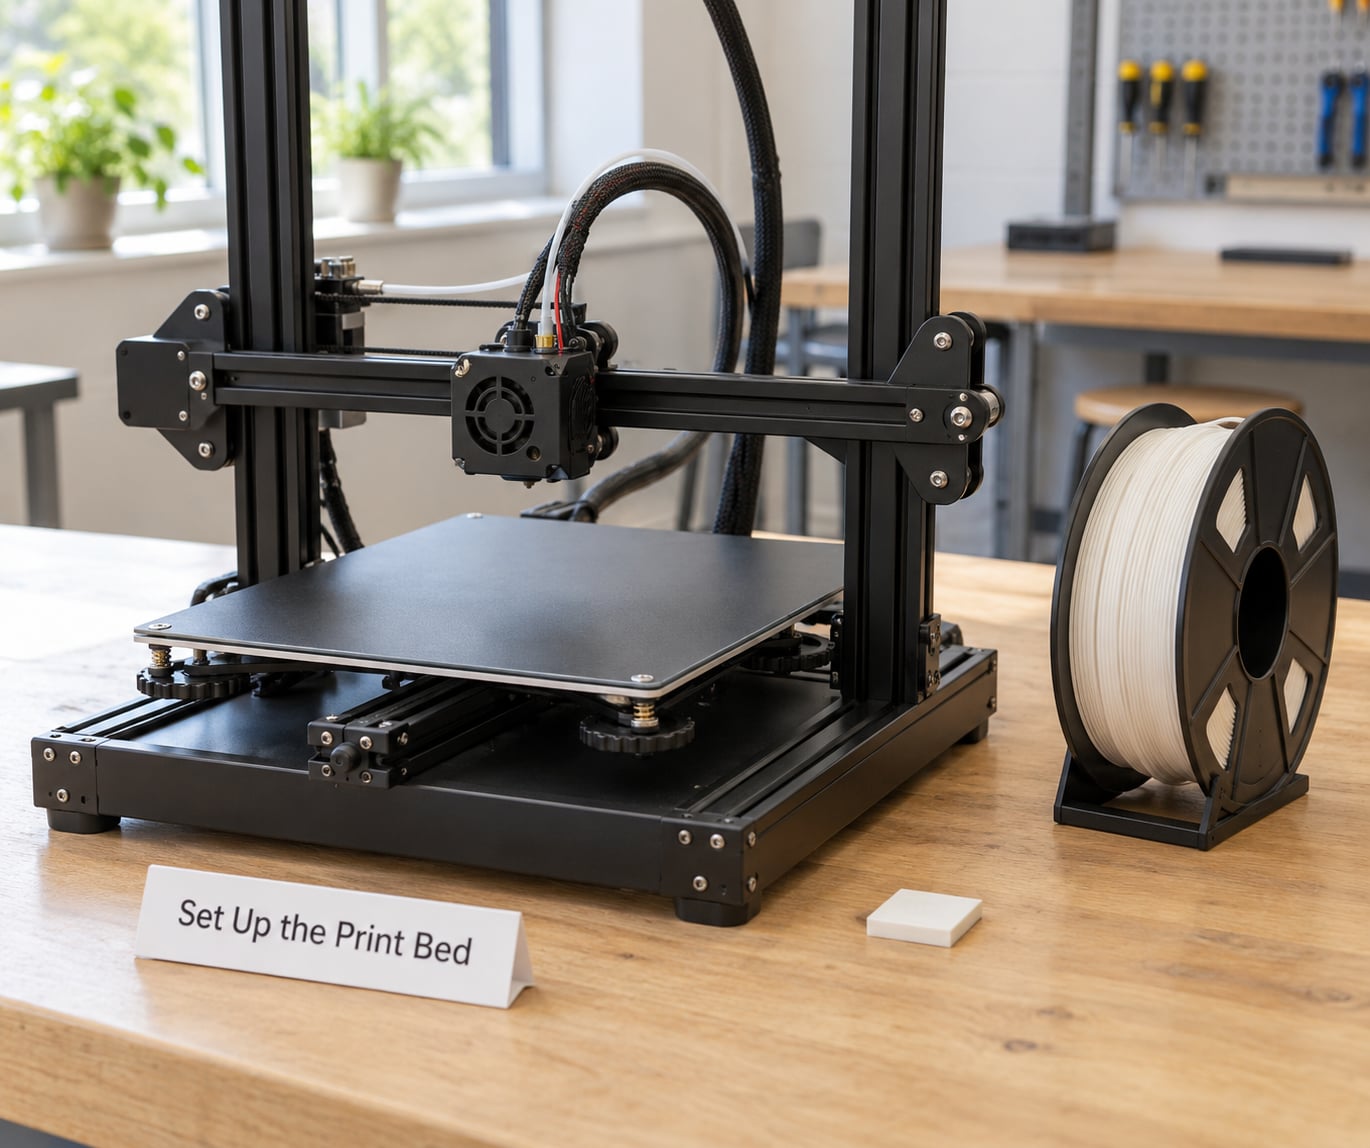
Clean the plate first. Wipe it with isopropyl alcohol and let it dry fully. Fingerprints and dust are the leading cause of a part releasing halfway through a print. If prints routinely let go, run a thin glue stick coat over the plate and clean it again once it wears down.
Level the bed, then decide on an adhesion aid. A brim adds a thin extra layer around the base and costs little material; it is the cheapest insurance for tall or narrow parts. A raft works for round bases that will be removed later.
Run a single-layer test square before a real job when anything has changed. Watch the corners: the lines should merge into a continuous surface with no gaps, curled edges, or lifted corners. Gaps mean clean the plate again; lifted corners mean lower the nozzle a fraction or slow the first layer.
You will know the bed is right when the first layer comes off as one clean piece you can peel with a fingernail.
6. Start and Monitor the Print
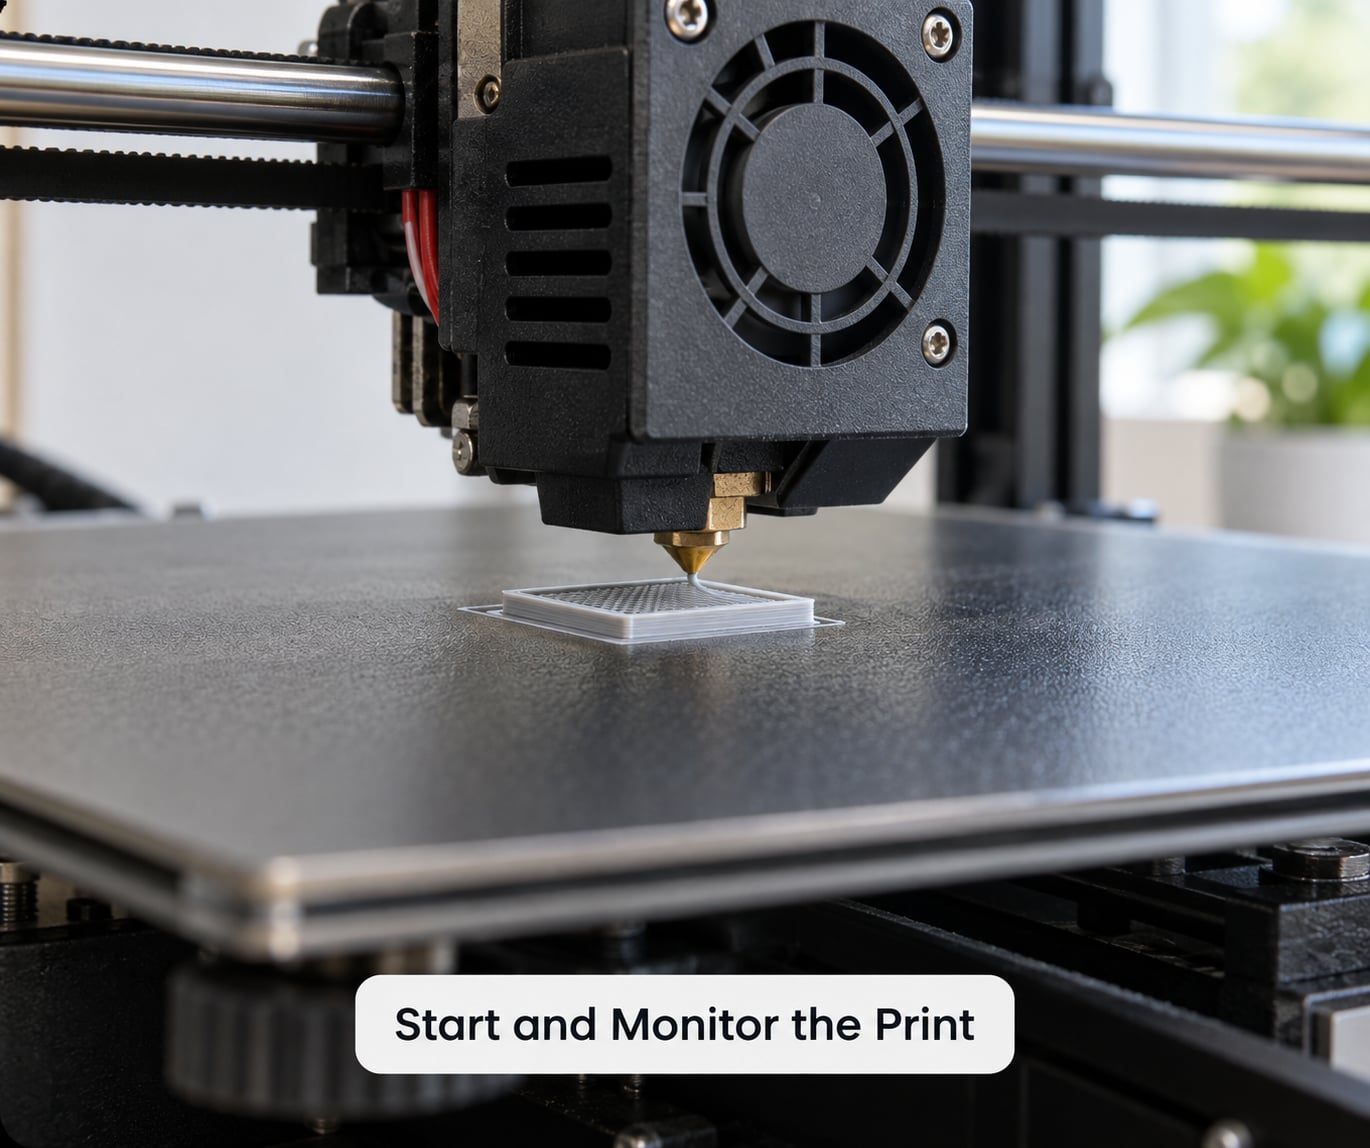
Start the print and stay for the first three minutes. That first layer is the whole ball game: if it adheres, the job usually finishes; if it lifts, you can stop now and save an hour of class time.
From there, step away and let the printer work. Most classrooms project a time-lapse camera feed or use the printer’s own monitoring page so students can watch without crowding the machine. Set a check-in schedule that fits the lesson rather than watching continuously.
Learn the printer’s warning states before you need them: a filament runout sensor, a nozzle temperature that will not hold, a print paused by a power event. Decide in advance what teacher intervention looks like. The rule that works in most rooms is simple: students may pause and restart a print, students may not move a part, and students never touch the machine while a part is being deposited.
7. Remove, Inspect, and Finish the Print
Let the part cool fully. Pulling a warm PLA part off the plate bends it or tears the layer, so wait, and teach students to wait. A scraper or spatula handles removal better than bare fingers, and eye protection is the right call even for small parts.
Break off supports at the joint with flush cutters and file or sand the scar. Both skills belong in the lesson, because the finishing is where a student takes ownership of their own object.
Run a quality check together. Look at the first layer line, the corners, the flatness of the base, and whether any layer shifted. If the part failed, do not bin it immediately: line up the broken ones on a display shelf with a card explaining what went wrong. A shelf of imperfect prints with honest labels does more for student persistence than a tray of perfect ones.
Clean the plate again while the part cools. The next job will not clean it for you.
8. Review the Result and Reset Safely
Compare the print against the original objective, not against someone else’s object. Did it fit the tube? Did it hold the load? Did it match the dimension the student specified? A part that failed the objective but printed cleanly is a useful engineering result, not a failure.
Have students log it. Two lines per job: what they would change in the design, and what they would change in the settings. That log becomes your troubleshooting curriculum for the rest of the year.
Then reset. Turn the printer off according to its manual rather than pulling the plug mid-print, return the spool to its storage box, wipe the plate, file the g-code under the naming convention you set, and note who used the machine. Four minutes of closing routine keeps the next class from inheriting a mess.
Common Mistakes
Almost every classroom failure falls into one of these patterns. Find the row, apply the fix, then change one habit so it does not come back.
| What you see | Likely cause | Fix and prevention |
|---|---|---|
| Part lifts off the plate halfway up | Dusty or greasy build plate | Clean with alcohol, add a brim, clean again between every job |
| First layer is stringy or blobby | Nozzle too close to the plate | Lower it a fraction of a millimeter; run a test square after any change |
| Corners curl upward | Drafts and too little adhesion | Close the enclosure, add a brim, avoid a room with a constant airflow |
| Visible walls lean or gap | Worn or partially clogged nozzle | Swap in the spare nozzle; keep one on hand at all times |
| Thin strings between layers and posts | Retraction and temperature on a hot filament | Run the filament’s tuning wizard, lower the temperature, keep the nozzle clean |
| Layers shift sideways mid-print | Loose belts or an unlocked frame | Tighten the hardware, then replace the belt if the motion stays rough |
| Supports fused into the part | Same material for model and supports | Print supports in a second material so they release cleanly |
| Print stops with no error on screen | Filament ran out or the nozzle temperature dropped | Use a runout sensor; check the filament path before each overnight batch |
| Part is the right shape but the wrong size | STL imported at the wrong scale or units | Verify units in the slicer and add a dimension check to your pre-flight routine |
The habit that prevents most of this is the boring one: check the plate, check the filament, check the first three minutes. Do those three things and most rows above never get used.
One more mistake worth naming, because it is not a machine problem at all. Let a single failure end the lesson. Build the reflection around the failed print and the class keeps its momentum, even on the days when nothing comes off the bed cleanly.
Frequently Asked Questions
What type of 3D printer is best for a classroom?
An enclosed desktop FDM printer that runs PLA and PETG is the best fit for most classrooms. FDM printers melt solid filament rather than curing resin, so they need no separate curing step and are far easier to supervise around students. The enclosure reduces ultrafine particle output and blocks drafts. Add auto-leveling if your students will run the machine without you, and keep a spare nozzle on hand. No single model wins everywhere: match the machine to your class size and how much supervision you can actually provide.
Can elementary students use a 3D printer?
Yes, as long as the roles stay clear. Students in grades K-2 can design simple shapes in Tinkercad and handle finished prints, while a teacher or trained student loads filament and starts the job. The worry that young children are too young for the machine usually comes from mixing design with machine operation. Separate the two: students own the design, the adult owns the hot hardware. Most first-grade success stories come from printed name plates, not from students troubleshooting a clogged nozzle.
How long should a classroom 3D print take?
Keep a first project between 30 and 60 minutes. Longer prints stop being a lesson and turn into a storage, scheduling, and supervision problem, especially with a full class of 25 to 30 students. If the design genuinely needs more time, run it overnight or across a weekend as a batch job and collect on a fixed day. Many established classroom setups run three or four printers precisely so longer projects can be handled without a queue that backs up for weeks.
Which filament is safest and easiest for students?
PLA is the safest and easiest starting filament in a classroom. It prints at a lower temperature, has a mild odor, and is forgiving of beginner settings. PETG is a good second choice when parts need to survive daily handling. Avoid ABS and ASA in an occupied classroom, because they print hot and release styrene fumes that require real exhaust. Whichever you choose, keep the printer in a room with a window that opens or an exhausted enclosure.
What should a teacher do when a print fails?
Look at the symptom and treat it as a lesson, not a lost period. Start by cleaning the build plate and running a single-layer test square, then rule out the nozzle before blaming the file. Ask students what they predicted and what happened instead, and write both on the card. Keep the failed part and label it with the cause; a display of imperfect prints with honest explanations teaches more persistence than a tray of perfect ones.
How often does a classroom 3D printer need maintenance?
Expect about fifteen minutes of cleaning per session and a deeper check once a month. Clean the build plate between every print, keep the nozzle free of debris, and check the filament path for kinks and grinding marks. Monthly, run a calibration cube and a test square, tighten any loose frame hardware, and wipe down the vents and fan. Replace the nozzle the first time prints start stringing badly no matter what the filament temperature is.
Conclusion
Start with three things this week: run a calibration cube yourself so you know what a good print looks like, pick one reliable first project that finishes inside an hour, and write down the three rules about who loads, who cleans, and who approves.
Then let students own the design and the reflection, and keep the machine operation in adult hands. That split is what makes using a 3D printer in a classroom workable rather than a source of frustration, and it scales cleanly whether you run one printer or four.