Resin 3D printing for beginners step by step comes down to one linear routine: prepare the printer and the vat, slice a small model, run an exposure test, print, wash, cure. Each stage has a single check that tells you it worked. Most failures people describe online trace back to skipping one of those checks.
The honest answer to whether resin 3D printing is hard for beginners: the printing itself is easy, the preparation and cleanup are not. Compared with filament, resin gives you far better detail and a smooth surface, and it asks for gloves, ventilation, careful washing and a curing step. Budget an hour of setup and 20 minutes of post-processing for your first part.
MSLA, short for masked stereolithography, is the dominant desktop resin process. A UV LCD screen masks an image of each two-dimensional slice, liquid photopolymer resin cures where the light passes through, and the build platform peels that new layer away from the film before dropping back for the next one. The whole process repeats hundreds of times.
Table of Contents
- What You Need
- Step-by-Step Resin 3D Printing for Beginners
- 1. Set Up and Clean the Resin Printer
- 2. Prepare the Resin and Build Platform
- 3. Choose, Orient, and Slice the Model: Resin 3D Printing Settings
- 4. Run a Test Print and Check Exposure
- 5. Start the Resin Print
- 6. Remove and Wash the Finished Print
- 7. Cure the Print
- 8. Remove Supports and Inspect the Result
- Common Mistakes
- Frequently Asked Questions
- Is resin 3D printing hard for beginners?
- What safety equipment is needed for resin printing?
- How many bottom layers should you use for resin 3D printing?
- How long should I wash a resin print?
- Do you need to cure resin prints?
- What resin should beginners use?
- Conclusion
What You Need
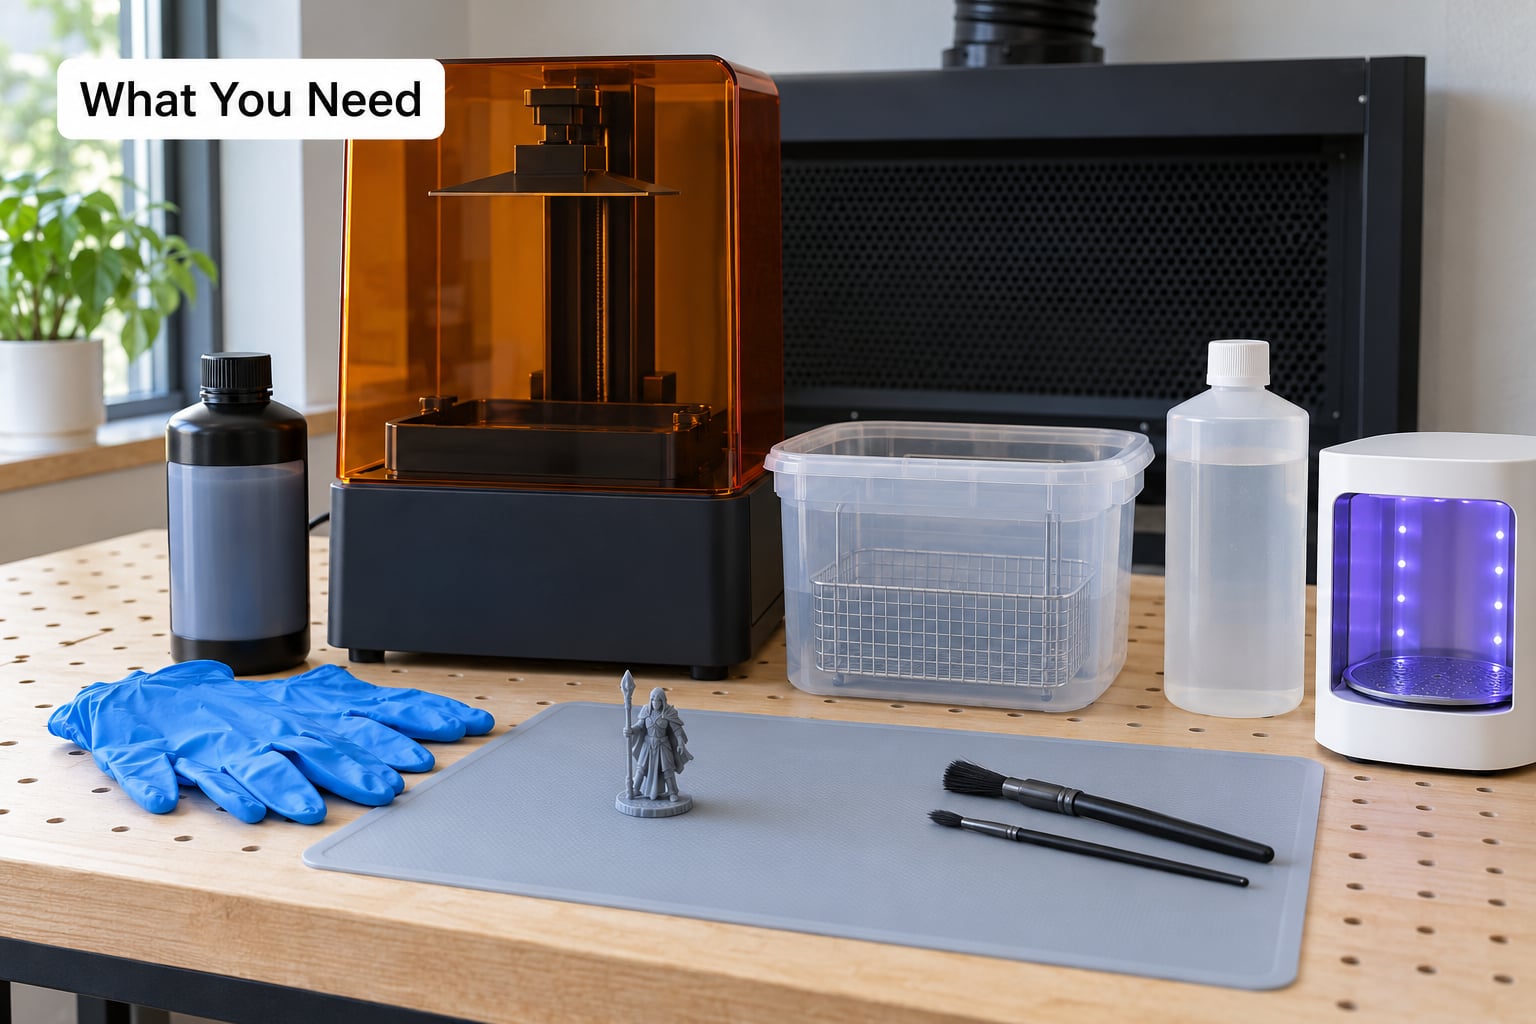
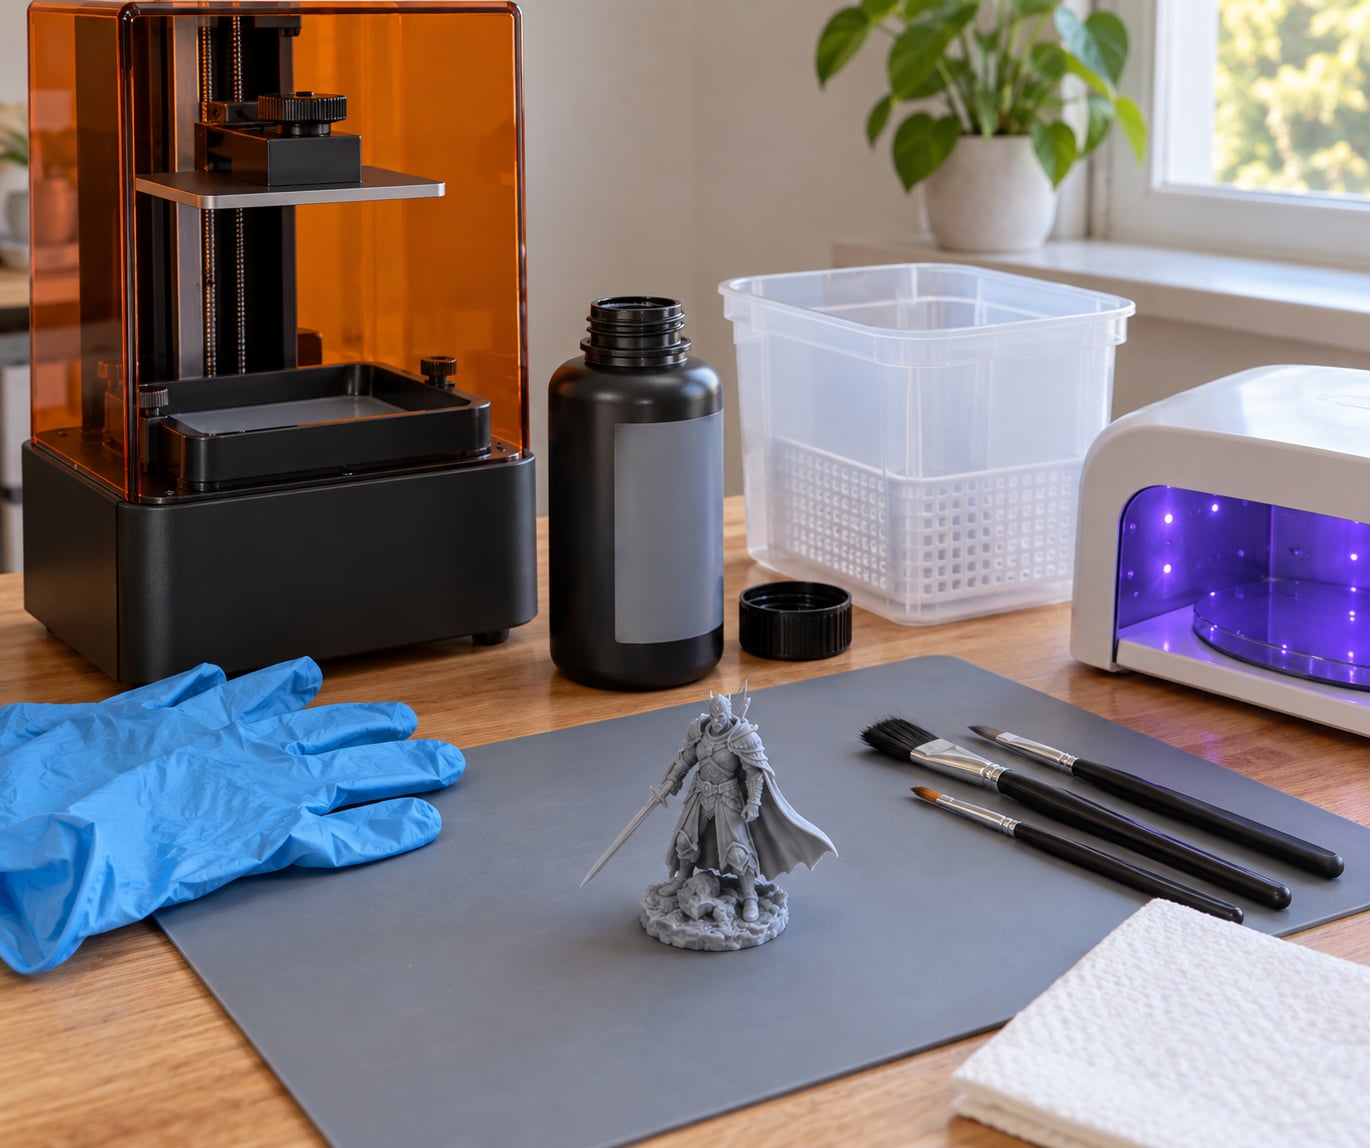
This walkthrough assumes a standard bottom-up MSLA printer, where the resin sits in a vat below an LCD screen and the part builds upward on a metal platform. Top-down printers invert that layout but the workflow is the same.
You can group the gear into three buckets. Some of it arrives in the box, some of it is the resin itself, and some of it is safety and post-processing equipment that beginners forget until a print is already sitting there wet and sticky.
Usually included with the printer: the printer body, LCD screen, resin vat, build platform and its metal plate, the power supply and cable, a USB drive or card, a scraper, and sometimes a small starter bottle of resin. That starter bottle is often the lowest-quality resin available, so treat it as a practice bottle and order proper resin separately.
You buy the resin separately. A grey or black standard photopolymer resin gives you the cleanest calibration and the easiest curing, so it is the sensible first purchase. Tough resin is a good second bottle once your first prints are reliable.
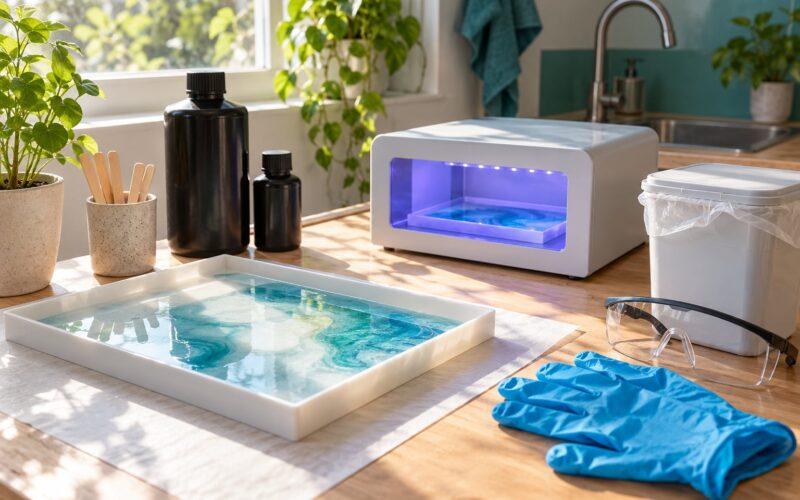
You also buy the protective gear: nitrile gloves, UV-rated safety glasses, a silicone work mat that protects the bench, a ventilated enclosure or a room with a window you can open, and a dedicated scraper and brush set kept with the resin rather than with your kitchen tools. Wash and cure equipment counts too: at minimum two plastic wash tubs or one wash station, a supply of 99% isopropyl alcohol, and a UV curing lamp or a manufacturer-approved curing chamber. Sunny windowsills work for early test parts, though results are inconsistent.
Two things to buy before the first print and not after: the alcohol, because a fresh print needs washing immediately, and the gloves, because uncured resin on bare skin is the one mishap you cannot undo.
Step-by-Step Resin 3D Printing for Beginners
The order below is the order that matters. Skipping ahead to start a print with an unleveled platform or a dirty vat is the most common reason a first print fails quietly after several hours.
1. Set Up and Clean the Resin Printer
Put the printer on a level, stable bench away from direct sunlight and give it clearance at the back for the cable. Fit the vat and lock the build platform into its mount, then connect power and let the machine home.
Watch the platform travel. It should rise and descend smoothly without a grinding noise or a visible wobble at the top and bottom of the stroke. Wobble at the extremes usually means the lead screw or its coupling is loose, and it will show up later as wobbly vertical surfaces on the part.
Run a short dry cycle with no resin in the vat so the LCD shows a full-screen test. Look for dead pixels, which appear as permanent dark squares that never illuminate, and for flicker across the panel. A dead pixel prints as a small unprintable hole. Doing this now rather than after a three-hour print saves a lot of resin.
How do you know the setup worked? The platform moves smoothly, the screen reports no mechanical or connection error, and the test image displays cleanly across the whole panel.
2. Prepare the Resin and Build Platform
Stir the resin bottle for a full minute with a silicone stick or a dedicated stirrer, scraping the bottom and the walls. Pigment and resin settle in layers, and printing straight from a bottle that has been sitting on a shelf gives you blotchy, inconsistent results.
Pour slowly into the vat, down the back wall, so the resin does not trap air. Fill to the line the printer specifies. Then inspect the surface and look for persistent bubbles. A few small ones are fine; a raft of them will print as craters on the bottom of the part. If the film came loose in the box, or resin has cured onto it, the bubbles will not clear and you should replace the film.
Clean the build platform plate, then re-level it with the platform lowered to a few millimetres above the film. Leveling is the habit that matters most in resin printing. For a four-corner check, place a known object of roughly the right height on each corner in turn, loosen the corner screw, lower the platform until it just touches, and tighten again.
Apply a resin-release treatment only if the printer or platform manufacturer calls for one. Many modern textured plates are supplied ready to print on, and spraying release agent on a plate that does not want it leaves a greasy film that ruins adhesion.
How do you know the vat is ready? The level sits at the specified line, the film is free of debris and loose fragments, and the only bubbles present are small and drifting toward the edge.
3. Choose, Orient, and Slice the Model: Resin 3D Printing Settings
Import an STL or 3MF file into a slicer such as ChiTuBox or Lychee, both of which handle resin printing well. Learning how to use a resin 3d printer is mostly about learning this screen, so resist the urge to change twenty things at once.
Orientation decides more about the finished part than any exposure setting. For a miniature, tilt the model so no large flat face sits square against the build platform, and give it a slight angle off vertical. If you print models dead flat, the suction forces pulling each layer toward the film grow until they rip the part loose. Hollow anything taller than roughly 100 mm and cut two vent holes near the top so trapped resin can drain instead of pulling a cup.
Add supports where the model overhangs. Tips between 1.3 and 1.6 mm are the common range because a thinner tip breaks off inside the recess and a thicker one leaves a scar you have to sand. Set support density moderate, and rest the model on its raft so the supports have a solid base to grow from.
Start with exposure times from your resin or printer manufacturer rather than invented numbers. A reasonable starting structure: normal exposure from the resin profile, bottom exposure at six to ten times the normal value, lift speed around 40 mm/min for the bottom layers and 60 mm/min for normal layers, lift height roughly 10 mm at the bottom and 7 mm above. Burn-in layers of five to eight give the part its grip. Keep the room and the resin between 20 and 28 C, because cold resin under-cures.
Keep your first model small. A 20 to 30 mm part prints faster, uses less resin, and still tells you whether your settings are right. Generate the print file and check the layer count and estimated resin volume before you send it.
4. Run a Test Print and Check Exposure
Veterans in the resin printing community almost always print a calibration or tuning model first instead of a real model, and that advice holds. Many free ones exist that print a small block at a range of exposure times, so you can see the whole answer in one go.
Under-exposed results are the easy read: the print looks washed out, edges are soft rather than crisp, fine details disappear, and the surface is matte and chalky. Over-exposed results look the opposite. The block grows slightly larger, fine details turn into blobs, and the raft is hard to remove. If the layers separate or crumble, you are under-exposed.
Adjust in small steps. Move normal exposure by one to two seconds at a time, or adjust the printer’s exposure compensation in the firmware, and keep bottom exposure as a multiple of normal exposure so the two stay in balance.
How do you know the test worked? A correctly exposed test gives clean detail, stable dimensions, and a raft that is solid without being fused onto the plate.
5. Start the Resin Print
Double-check the resin level, confirm the vat is locked and the platform is seated, then load the sliced file and start. As the platform descends into the vat, watch the first few layers through the LCD. You should see the first layer as a distinct bright flash of exposure, then the build rising.
Stop immediately if the platform strikes the vat, resin leaks out, bubbling turns violent, you see smoke or fumes you did not expect, or the machine moves in a way it did not during the dry run. Those signals mean a stop and a check, not a retry.
Step away once the first several layers are stable. Layer separation failures often appear in the first minute, and a part that has climbed cleanly is usually going to finish. Do not move the printer, shake the bench, or open the vat.
6. Remove and Wash the Finished Print
Stop the print, wait for the platform to finish rising, and remove it from the printer. Many printers have a tilt or drip tray for this, which saves a lot of mess. Loosen the build plate, take the part off, and scrape the raft edge with a plastic scraper rather than pulling the part straight off the metal.
If the part is bonded hard, drop the whole plate into warm water to loosen it, or flex the plate gently. Never reach in with a metal tool.
Wash using the alcohol concentration your resin supplier recommends, which for most standard resins is 99% isopropyl alcohol. Two tubs let you move the part from dirty alcohol to clean alcohol, which is the manual minimum most experienced users settle on. Agitate gently with a brush, paying attention to the raft underside, the support tips and any recess where resin can hide. The usual norm is 10 to 20 minutes, and going much longer is a bad idea: it can swell the part and softens flexible resin badly.
How do you know the wash worked? The surface no longer looks glossy or tacky, and there is no pale uncured resin hiding under the raft, around support tips, or inside cavities.
7. Cure the Print
Post-curing finishes the polymerisation. Lay the part on its side or hang it so light reaches every face, and keep supports in place through the cure so fragile details do not deform. Follow the resin supplier’s recommended exposure for your lamp or chamber.
Turn the part halfway through if your setup exposes one side more strongly than the other, which is common with a single lamp under a tray. Longer is not automatically better. Over-curing can make some resins brittle and turn pale resin noticeably yellow, and a few flexible resins swell noticeably under too much UV.
How do you know it worked? The part has a uniform matte or slightly satin finish all over, with no area that still feels sticky, gummy, or softer than the rest.
8. Remove Supports and Inspect the Result
Take the supports off while the part is still slightly warm and slightly flexible, using flush cutters and working from the tip back toward the base. Pliers help on tough resin. Scrubbing the attachment marks with a soft brush removes most of the dust.
Sand or file the spots where supports met the model, working with 180 to 400 grit and finishing with a wet sanding step if the surface needs to be smooth. Wash the part once more to clear the dust, then give it a short final cure.
Now inspect the result against the test print. Good outcomes are crisp surface detail on vertical faces, clean layers, and a raft that comes off without gouging the part. Watch for rough patches on previously supported sides, over-cured yellowed corners, support tips that broke off inside a recess, and any layer that separates when you handle it.
That inspection is where the learning happens. Whatever went wrong points at one setting, and the next print is the test.
Common Mistakes
Nearly every beginner failure falls into a handful of patterns, and each has a single most likely cause. The table below lists the symptom, the usual cause, the adjustment, and what to check on the next print.
| Symptom | Likely cause | Adjustment | Check next print |
|---|---|---|---|
| Part pops off the build plate mid-print | Suction from a large flat base, often combined with too little bottom exposure | Tilt the model off-axis, add vent holes if hollow, raise bottom exposure within the resin profile range | The first five layers stay attached |
| Part breaks away from the raft and sticks to the vat film | Under-cured raft, or a release issue on the film | Increase bottom exposure and burn-in layers, check the plate is textured and free of release agent | Raft cures as one solid piece |
| Fine detail missing, edges soft | Under-exposure | Add one to two seconds to normal exposure, then retune bottom exposure | Detail reads crisply at arm’s length |
| Layers separate or the part crumbles when handled | Under-exposure plus insufficient post-cure | Raise exposure, verify the cure step actually ran, and check lift speed is not excessive | Layers stay fused when flexed |
| Part stays tacky or soft | Incomplete wash or incomplete cure | Wash longer in clean alcohol, extend post-cure, confirm the lamp reaches the part | Surface is uniformly hard and matte |
| Craters or holes in the surface | Bubbles in the vat or a pinhole in the film | Let bubbles rise or brush them away, replace the film, reduce the layer count with a fan nearby | No craters on the first layers |
| Wobbly, ringing surfaces on vertical walls | Z wobble or loose hardware | Tighten the platform mount and lead screw coupling, re-level, reduce lift speed | Vertical edges are straight and smooth |
| Part crashes into the vat at the start | Platform not homed, or the vat raised after levelling | Re-home the machine and re-level with the vat in its final position | The platform hovers above the film without contact |
Two habits fix more than any single setting change. Change one variable at a time, otherwise you cannot attribute the improvement to anything, and write down every print: exposure, lift speed, lift height, layer height, resin bottle, and room temperature. A simple note on your phone beats an honest attempt to remember three weeks later.
Label resin bottles with the date you opened them and keep them sealed, out of sunlight, in a room that stays in that same 20 to 28 C range. A bottle standing open in a warm room cures into a useless gel. And do not leave resin sitting in the vat for weeks: a cured film forms on the surface and causes the bubbling and adhesion problems you will spend an evening diagnosing.
Isolating finished prints from sunlight matters too, because resin continues to cure slowly under UV, and parts left in a sunny window yellow and stiffen over time.
Frequently Asked Questions
Is resin 3D printing hard for beginners?
The printing itself is straightforward: load a sliced file and the machine handles it. The work sits in the preparation and cleanup. You must level the platform, keep the vat clean, wear gloves, wash parts in alcohol within minutes of finishing, and cure them afterwards. Beginners who accept that routine and change one setting at a time usually get a clean first print inside a weekend.
What safety equipment is needed for resin printing?
Nitrile gloves are the minimum, plus UV-rated safety glasses if you work near an open vat or a curing lamp. Work on a silicone mat in a ventilated room, and keep uncured resin off your skin: a small splash should be washed with soap and water straight away, not wiped and ignored. Never pour resin or alcohol down a drain, and store bottles sealed and away from sunlight.
How many bottom layers should you use for resin 3D printing?
Five to eight burn-in layers is the usual starting point, because the extra exposure anchors the part to the build plate and stops it peeling away later. Bottom exposure itself is commonly set to six to ten times your normal layer exposure. If the part will not stay attached, add layers before you raise exposure, since longer bottom exposure and more layers solve the same problem differently.
How long should I wash a resin print?
For most standard resins, 10 to 20 minutes in 99% isopropyl alcohol is the norm, using two tubs so the second dip is always clean. Agitate the part with a soft brush and focus on the raft underside and support tips. Time it rather than guess, and do not leave flexible resin soaking, since alcohol softens and swells it much faster.
Do you need to cure resin prints?
Yes. Prints come off the printer under-cured, with a tacky surface and an uneven finish. Post-curing with a UV lamp or a manufacturer-approved chamber finishes the polymerisation and hardens the whole part, not just the exposed faces. Use the exposure your resin supplier recommends, keep supports in place during the cure, and store finished prints away from sunlight afterwards.
What resin should beginners use?
A grey or black standard photopolymer resin is the easiest place to start. It cures predictably, shows detail and surface problems clearly, and the calibration results transfer to other bottles. Tough or water-washable resins are convenient but usually softer, so they mask exposure errors rather than teaching you. Flexible resin needs gentle washing and careful IPA time to avoid swelling.
Conclusion
Start with one thing: slice a small calibration model, prepare the printer and vat properly, and record every setting you used. A tuning print in standard grey resin teaches you more about exposure and adhesion in an hour than three failed real prints do.
Then keep the routine. Level the platform, watch the first layers, wash within minutes, cure to a uniform finish, and change one variable at a time. Resin 3D printing for beginners rewards that discipline far more than an expensive machine does, and ventilation, gloves and a clean vat matter as much as the printer itself. Once your first test block comes out crisp, you will know your settings are honest, and everything after that gets easier.