Learning how to tune retraction settings for cleaner prints comes down to order of operations: dry the filament, set the nozzle temperature, raise travel speed, then change retraction distance in small steps, and only afterwards adjust retraction speed. Retraction is one lever among several, and it is usually the last one that needs turning.
Retraction is a slicer instruction that briefly reverses the extruder motor before a travel move, pulling filament back up into the hotend so melt-zone pressure does not push molten plastic out and form strings between features. The process is simple, but the numbers that work on one printer are frequently wrong on the next, because a Bowden tube and a direct drive extruder absorb completely different amounts of filament slack.
This guide covers both extruder types, four slicers, and the filament types that cause the most trouble. The whole procedure takes about an hour including test prints, and it does not require anything beyond a printer you already own.
Table of Contents
- What You Need
- Step-by-Step: Tune Retraction Settings for Cleaner Prints
- How to Tune Retraction Settings Without Stringing
- Set a Safe Starting Retraction Distance
- Tune Retraction Speed for the Travel Move
- Test Wipe, Z-Hop, and Travel Settings
- Validate at Different Print Speeds and Save the Profile
- Common Mistakes
- Retraction Tuning Tips
- Frequently Asked Questions
- What is a normal retraction distance for an FDM printer?
- Should I tune retraction separately for every filament type?
- Should I increase retraction speed when I increase travel speed?
- Can too much retraction cause under-extrusion or feed slip?
- Do I need to unload the nozzle before changing filament?
- Conclusion
What You Need
Five things make the difference between a clean calibration session and an afternoon of random changes. None of them are exotic.
- A prepared printer. New or recently reassembled machines should get a full first-layer check, an E-steps calibration, and a flow multiplier pass before you touch retraction. Bad extrusion calibration invalidates every stringing test you run afterwards.
- Dry filament. Hygroscopic materials such as PETG, nylon and TPU absorb moisture from the air and pop, spit and string badly when wet. Dry the spool first, then keep it in a dry box or sealed bag with desiccant.
- Digital calipers. Useful for measuring 1.75 mm filament that has been ground flat or notched by a slipping extruder gear, a common cause of inconsistent extrusion.
- Access to the printer control panel. You need to read and change temperatures and, ideally, run a short test print on the machine itself rather than sending every experiment through a computer.
- The slicer your printer’s firmware speaks. Prusa printers pair best with PrusaSlicer or OrcaSlicer, Bambu machines with Bambu Studio, and everything else runs on OrcaSlicer, PrusaSlicer or Cura.
Slicer versions move these controls around, so use a current release and check the layout matches what you see. PrusaSlicer 2.7 and newer, OrcaSlicer 2.x and later, Cura 5.x, and Bambu Studio 1.x all expose the retraction group, though the naming and menu depth differ.
Retraction settings live in slightly different places depending on the slicer:
| Slicer | Where retraction settings live |
|---|---|
| PrusaSlicer | Print Settings, then Retraction. Distance, Speed and Deretract speed are in that group. Enable the small preview icons only if you want the extruder motor to move while editing. |
| OrcaSlicer | Filament settings, then the retract arrow row on the left of the filament panel. Distance, Retract speed and Unretract speed sit side by side there. |
| Cura | Settings, Printers, Manage Printers, Extruder, then Retraction. Wipe, Retraction Distance and Retraction Speed are under the Retraction toggle. |
| Bambu Studio | Filament settings for the specific filament slot. Retraction Distance and Retraction Speed appear directly on the filament panel. |
OrcaSlicer and PrusaSlicer also ship with a built-in calibration object for retraction, which saves you from hunting for a test model. In PrusaSlicer it appears under Calibration, then the retraction icon; in OrcaSlicer it sits on the calibration page alongside flow and temperature towers. If your version has it, use that model rather than a downloaded tower.
Step-by-Step: Tune Retraction Settings for Cleaner Prints
The steps below follow a deliberate sequence. Each stage removes one cause of stringing so the next stage measures only what it is supposed to measure.
How to Tune Retraction Settings Without Stringing
Start by confirming that retraction is the actual problem. Slice a test model with several tall, separate posts or towers standing over open air, print it, and look at the gaps between them. If the strands are thick and there is a bead at the top of each tower, you have melt-zone pressure and retraction will help.
If instead the towers look clean and the problems sit on the surface finish, on first layers, or at corners, the cause sits elsewhere and more retraction will not touch it. Surface roughness and corner droop usually mean temperature or flow instead.
Now work through the calibration in this order, stopping when the strings disappear:
- Dry the filament. For PLA, a dry box or a food dehydrator at a low setting is enough. PETG, TPU and nylon genuinely need it.
- Set nozzle temperature. Print a temperature tower and pick the lowest temperature that still gives clean overhangs and solid layers. This is the single biggest lever on stringing.
- Raise travel speed. Every millimetre the nozzle spends moving is time it sits near the part doing nothing. Higher travel speed means less time to ooze.
- Adjust retraction distance. Start from the conservative value for your extruder type and change it in 0.2 to 0.5 mm steps.
- Adjust retraction speed. Raise it gradually while watching for clicking from the extruder.
Run a baseline print before changing anything and record the existing values, including temperature, travel speed, flow multiplier and layer height. Without that written baseline you cannot tell whether a change helped or whether the filament spool simply behaved differently that day.
Set a Safe Starting Retraction Distance
Direct drive and Bowden setups differ far more than most guides admit, often by a factor of four to six. The reason is compliance in the filament path. A Bowden tube compresses like a spring, so you need enough retraction to push the entire column of filament back and let it recover. A direct drive extruder has almost nothing between the gear and the nozzle, so a short pull is enough.
Community consensus on forums settles on roughly 6 mm at 60 mm/s for a Bowden Ender 3 running PLA, and 0.75 to 1 mm at 35 to 45 mm/s for a direct drive machine on PLA and PETG. Treat those as starting points for a test print, not as answers. The Prusa forum’s standing advice is a 2 mm ceiling for direct drive setups, and it is a reasonable one.
| Material | Direct drive distance | Bowden distance | Retract speed | Deretract speed |
|---|---|---|---|---|
| PLA | 0.4 to 1.0 mm | 4 to 6 mm | 35 to 50 mm/s | 25 to 40 mm/s |
| PETG | 0.5 to 1.2 mm | 4 to 7 mm | 30 to 45 mm/s | 25 to 40 mm/s |
| ABS / ASA | 0.8 to 1.5 mm | 5 to 7 mm | 30 to 45 mm/s | 20 to 35 mm/s |
| TPU 95A | 0.3 to 0.8 mm | 3 to 5 mm | 20 to 30 mm/s | 15 to 25 mm/s |
| Nylon | 0.8 to 1.5 mm | 5 to 8 mm | 25 to 40 mm/s | 20 to 30 mm/s |
TPU is the exception that proves the rule. Flexible filament is soft and compresses, so aggressive retraction grinds it inside the drive gear. Short distances and slow speeds keep it intact.
Deretract speed, sometimes called unretract or re-entry speed, is the second axis almost every guide folds into one number. It is the speed at which the filament is pushed forward again after the travel. Running it slower than the retract speed reduces the pressure spike that re-inflates the melt zone on restart, and lowering it is often more effective than shortening the retract.
Some firmware exposes these as separate retract and deretract speeds, others share one value. In Klipper and Marlin the underlying behaviour is controlled by retraction settings in the firmware configuration, and an option called max_extrusion_only_retract restricts retraction moves to travel moves that follow an extrusion, which cleans up artefacts in the gcode.
Tune Retraction Speed for the Travel Move
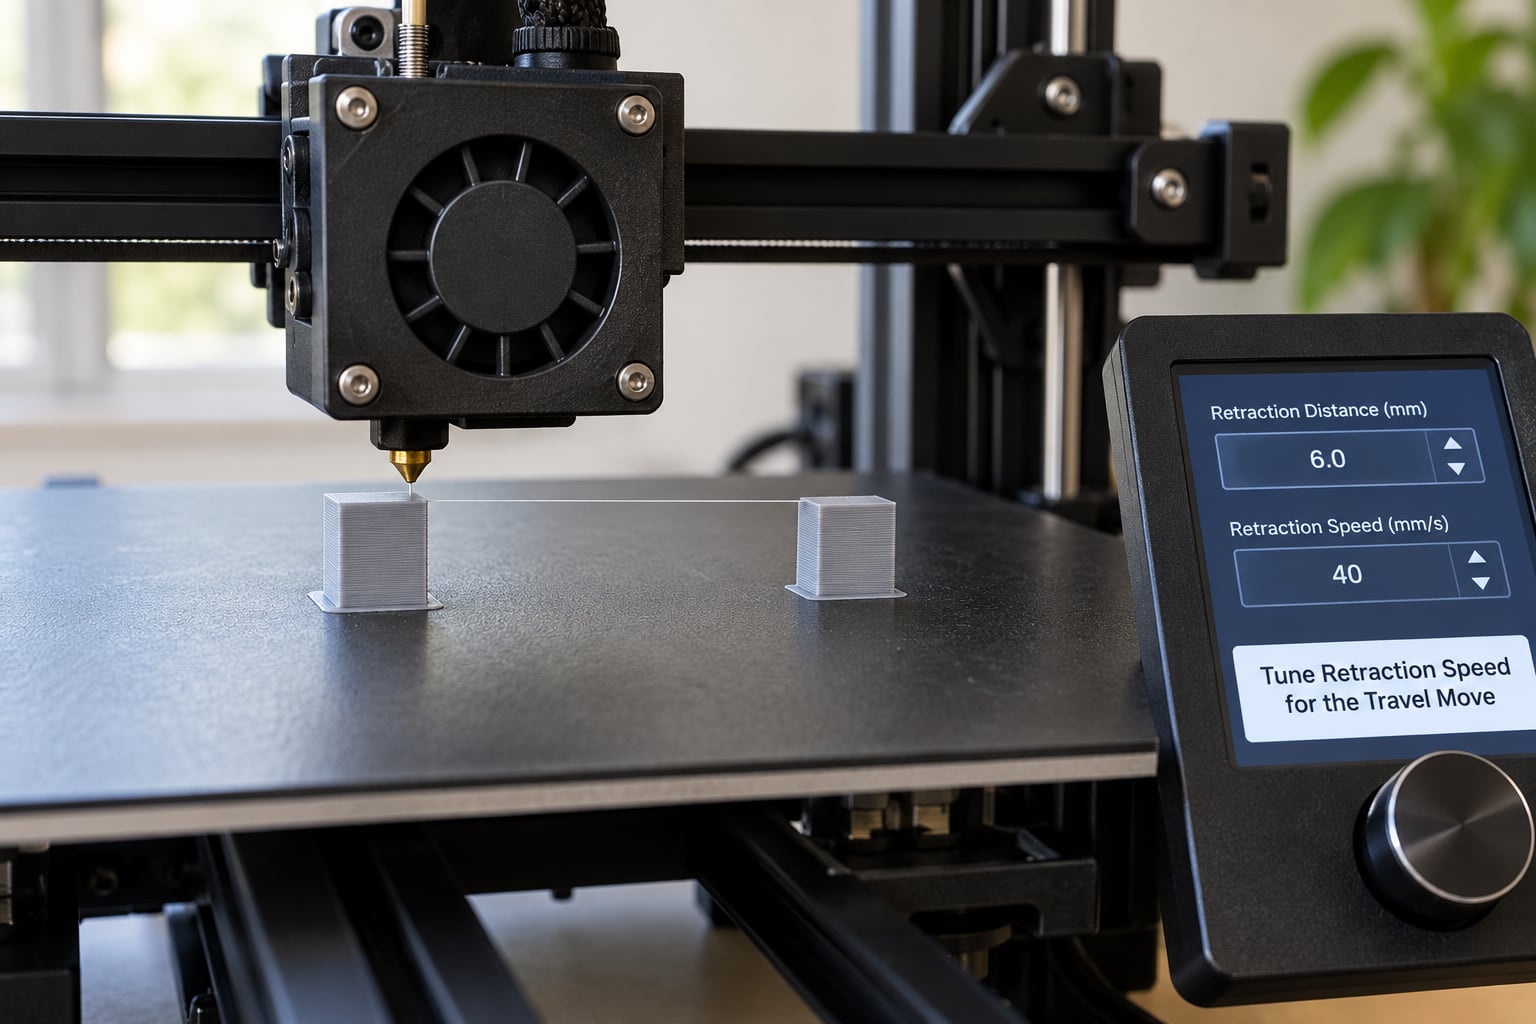
Retraction speed is how fast the extruder reverses. Raising it shortens the cycle, which cuts print time and reduces the time available for the melt zone to refill from a leaky nozzle. But speed interacts with three other values at once, and that is where tuning goes wrong.
First, higher travel speed means longer moves and, in most slicers, more frequent retraction on a dense model. If you doubled travel speed and left retraction speed alone, each move is shorter but the nozzle reaches the next feature sooner, so the same distance at the same speed leaves less time to settle.
Second, nozzle diameter changes how much material sits inside the melt zone. A wider nozzle holds a larger column of hot plastic, and it takes more retraction to relieve it, but it also moves more slowly through travel.
Third, filament diameter matters. If your extruder gear has worn and is feeding a reduced 1.65 mm strand, everything downstream shifts, and increased retraction will grind the filament further rather than help.
Increase retraction speed in steps of 5 to 10 mm/s and reprint the same tower each time. Watch for three failure signs: clicking or skipping from the extruder gear, a sudden drop in extrusion after the travel move, and grinding marks or a flattened section on the filament itself. A ceiling worth respecting is around 60 mm/s on a Bowden machine, where anything faster tends to strip filament out of the extruder instead of retracting it. Drop back to roughly 45 mm/s if you hear it.
Test Wipe, Z-Hop, and Travel Settings
Once retraction is correct, three travel controls remove the remaining cosmetic strings without adding retraction.
Wipe drags the nozzle across the line you just printed, so the leaked material ends up somewhere already printed rather than in mid-air. A wipe distance of 10 to 20 mm along the current extrusion path, with wipe speed set close to print speed, is a sensible start. Wipe across infill rather than over the outer wall, since wiping over a finished wall can scar it.
Combing changes how the slicer routes travel moves. Combing within infill keeps travel inside the part’s interior where strands are invisible, while no combing routes straight lines that look tidy on screen but cross open air. Both PrusaSlicer and Cura offer this, along with an option to avoid crossing perimeters entirely.
Z-hop lifts the nozzle during travel so the ooze lands on the previous layer’s top surface instead of bridging across the gap. A small height of around 0.2 to 0.4 mm is enough, and 0.3 mm shows up often in working configurations. Too much Z-hop starts new problems: it leaves bumps on every top surface, it interferes with bedslingers and delta machines, and it slows the print down noticeably. If you find yourself raising it to fight a stringing problem that distance and speed could not, stop and go back to temperature.
Validate at Different Print Speeds and Save the Profile
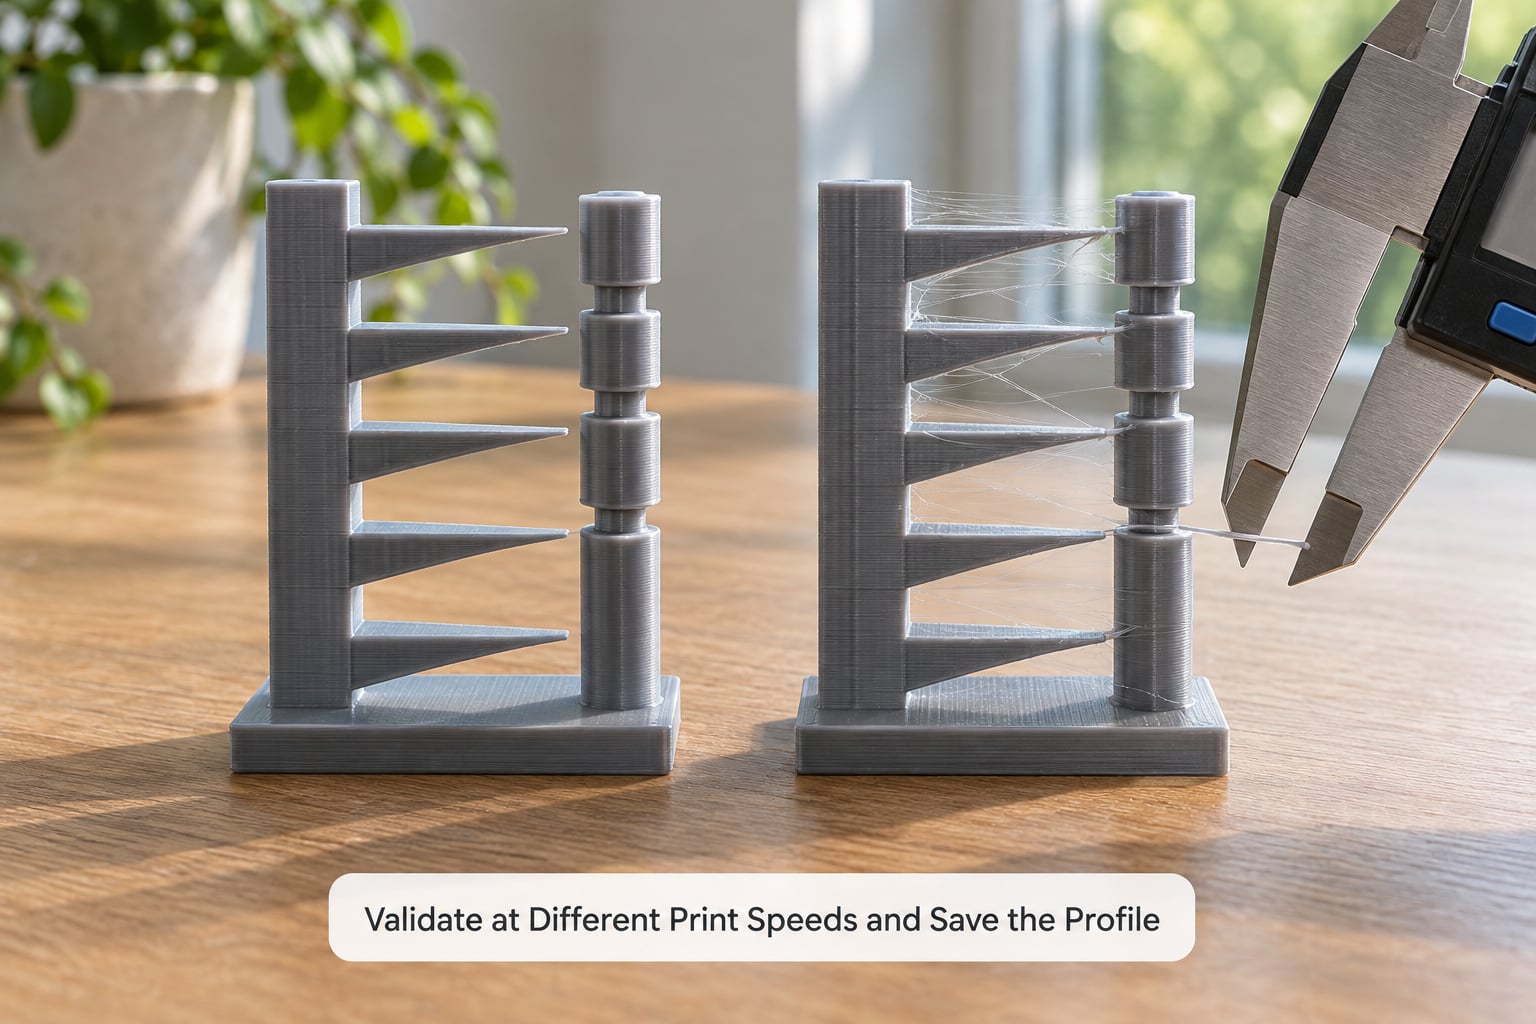
Validation is where most guides stop early. A setting that works at 40 mm/s travel can fail at 120 mm/s on the same model, because the nozzle spends less time near the part and the melt zone behaves differently between moves.
Slice the same calibration model twice, once with travel speed near 60 mm/s and once at 150 mm/s, and print both. Then look at the specific weak spots: outer corners where travel changes direction sharply, towers that sit close together, small gaps between features, and the very start of each wall after a long travel.
If gaps appear at the start of a wall but the tower gaps stay clean, that is an under-extrusion symptom rather than a stringing one. It points at over-retraction, a slow deretract, or an E-steps problem. Back the distance down by 0.2 mm and re-run before changing anything else.
When both prints come out clean, save the values as a named preset rather than a one-off profile. In PrusaSlicer and OrcaSlicer that means a filament preset with the retraction values attached. In Cura, save the printer profile. In Bambu Studio, save a filament preset per filament slot so switching materials switches the retraction settings with it.
Label each preset with the variables that change the answer: filament type, nozzle size, extruder type and slicer version. A single 1.2 mm retraction that works on a 0.4 mm nozzle will under-extrude on a 0.6 mm one.
Common Mistakes
- Starting with too much distance. Values of 8 to 10 mm on a direct drive extruder cause heat creep, filament grinding and underextrusion. Back off to under 2 mm and work up.
- Changing several variables at once. If you drop temperature and raise travel speed and increase retraction together, a clean result tells you nothing about which change worked.
- Ignoring Bowden compliance. Porting direct drive values to a Bowden machine, or the reverse after an extruder upgrade, is the most common cause of a fresh wave of underextrusion.
- Reading wet filament as a retraction fault. Bubbling, popping and heavy surface roughness point at moisture, not settings. One user in the community reports chasing PETG stringing for weeks before testing a dried spool.
- Retracting a hot or partially clogged nozzle. If retraction clicks and the nozzle sits at full temperature, a clog is pulling the filament back with it. Fix the clog or replace the nozzle first.
- Copying settings between printers untested. Values from a Prusa MK4 do not transfer to an Ender 3, and a profile saved two slicer versions ago rarely matches the current defaults.
Retraction Tuning Tips
- Change one value per test print and write the number down, including the ones that failed. The failures tell you where the ceiling is.
- Keep a note per filament spool. Community consensus is to re-run temperature and retraction tests every time you change brand or batch.
- Test the worst-case travel move on your actual project, not just the tower. A miniature or an articulated figure has harsher travel patterns than a calibration cube.
- Run E-steps and flow calibration before every retraction session, since both feed directly into how a retracted filament behaves on restart.
- Maintain separate presets for material, nozzle diameter and slicer version. Four variables multiply fast.
- Add a small amount of retraction after a long travel only, using the slicer’s advanced retract options, rather than raising the global value for one awkward model.
Frequently Asked Questions
What is a normal retraction distance for an FDM printer?
A direct drive extruder usually runs between 0.4 and 1.5 mm, while a Bowden setup typically needs 4 to 7 mm because the filament tube compresses under load. PLA sits at the lower end of each range and TPU lower still. Treat these as starting points rather than final answers, and stay under roughly 2 mm on direct drive hardware to avoid heat creep and underextrusion.
Should I tune retraction separately for every filament type?
Yes. PLA and PETG tolerate similar values, but TPU needs short distances and slow speeds because it is soft and grinds in the drive gear. ABS, ASA and nylon are stiffer and run hotter, so they need more distance and lower temperatures for the extruder to grip them. Re-run your test tower whenever you change filament brand or batch, not just when you change material type.
Should I increase retraction speed when I increase travel speed?
Only slightly, and only if testing shows it helps. Higher travel speed means shorter, more frequent moves, so the same retraction speed leaves less settling time between features. Raise retraction speed in 5 to 10 mm per second steps and watch for clicking. On a Bowden machine, staying near 45 to 60 mm per second protects the filament from being stripped rather than retracted.
Can too much retraction cause under-extrusion or feed slip?
Yes, and it is more common than excess stringing. If the filament is pulled back further than the melt zone can hold, the restart can produce a gap at the start of the wall after a travel move. The same over-pull also makes the drive gear slip or grind, which permanently notches the filament and makes the problem worse with every print. Reduce distance first, then try a slower deretract speed.
Do I need to unload the nozzle before changing filament?
You do not need to unload it to change retraction settings, which are purely slicer values and take effect on the next slice. Unloading only matters when physically swapping filament, where leaving old material in the melt zone can mix colours or residue. If your extruder is clicking during retraction, however, a hot nozzle with a partial clog will drag filament back, so cool the hotend and clear or replace the nozzle first.
Conclusion
Start with filament condition, temperature and travel speed, because those three decide whether you have a stringing problem worth tuning at all. Once the baseline is clean, change retraction distance in 0.2 to 0.5 mm steps, then raise retraction speed in small increments, and record each number that survives both a slow and a fast travel test.
Save those values as a preset tied to that material, nozzle and extruder type. The next spool will be a different conversation, and the notes will get you back to a clean print in one slice instead of six.