Annealing PLA for heat resistance means heating a finished print to roughly 60-100°C in an oven for 15-60 minutes, then letting it cool slowly inside the oven with the door shut. The heat lets the polymer chains move and partly crystallise, which raises the temperature your part tolerates without sagging. It is a 30-minute job plus a slow cooldown, and the whole thing runs in a normal kitchen oven.
Straight to the point: untreated PLA softens around 60-65°C, so anything in a parked car on a warm afternoon or under a work lamp is already above its limit. Annealing buys you headroom, usually a few tens of degrees, at the cost of some shrinkage and a real risk of warping. That trade is worth it for a bracket or a gear. It is not worth it for a display model.
The part everyone gets wrong first is cooling. Push the schedule a little and you learn the same way the rest of us did, with a warped lid that no longer fits anything.
This guide covers the whole process: what to gather, the eight steps, temperature and time by filament type, and the ways it goes wrong. Updated for 2026.
Table of Contents
- What You Need
- Step-by-Step
- 1. Choose the Right PLA and Part
- 2. Prepare the Printed Part
- 3. Preheat the Oven Safely
- 4. Heat the PLA Gradually
- 5. Cool the Part Slowly
- 6. Check Dimensional Changes
- 7. Test Heat Resistance
- 8. Improve the Result for Future Prints
- PLA Annealing Temperature and Time at a Glance
- Common Mistakes
- Frequently Asked Questions
- What temperature do you anneal PLA at?
- How long should I anneal PLA in the oven?
- Will PLA melt at 100 degrees Fahrenheit?
- How do I stop PLA warping while annealing?
- Does annealing make PLA stronger?
- Can you anneal PLA in boiling water or a microwave?
- Conclusion
What You Need
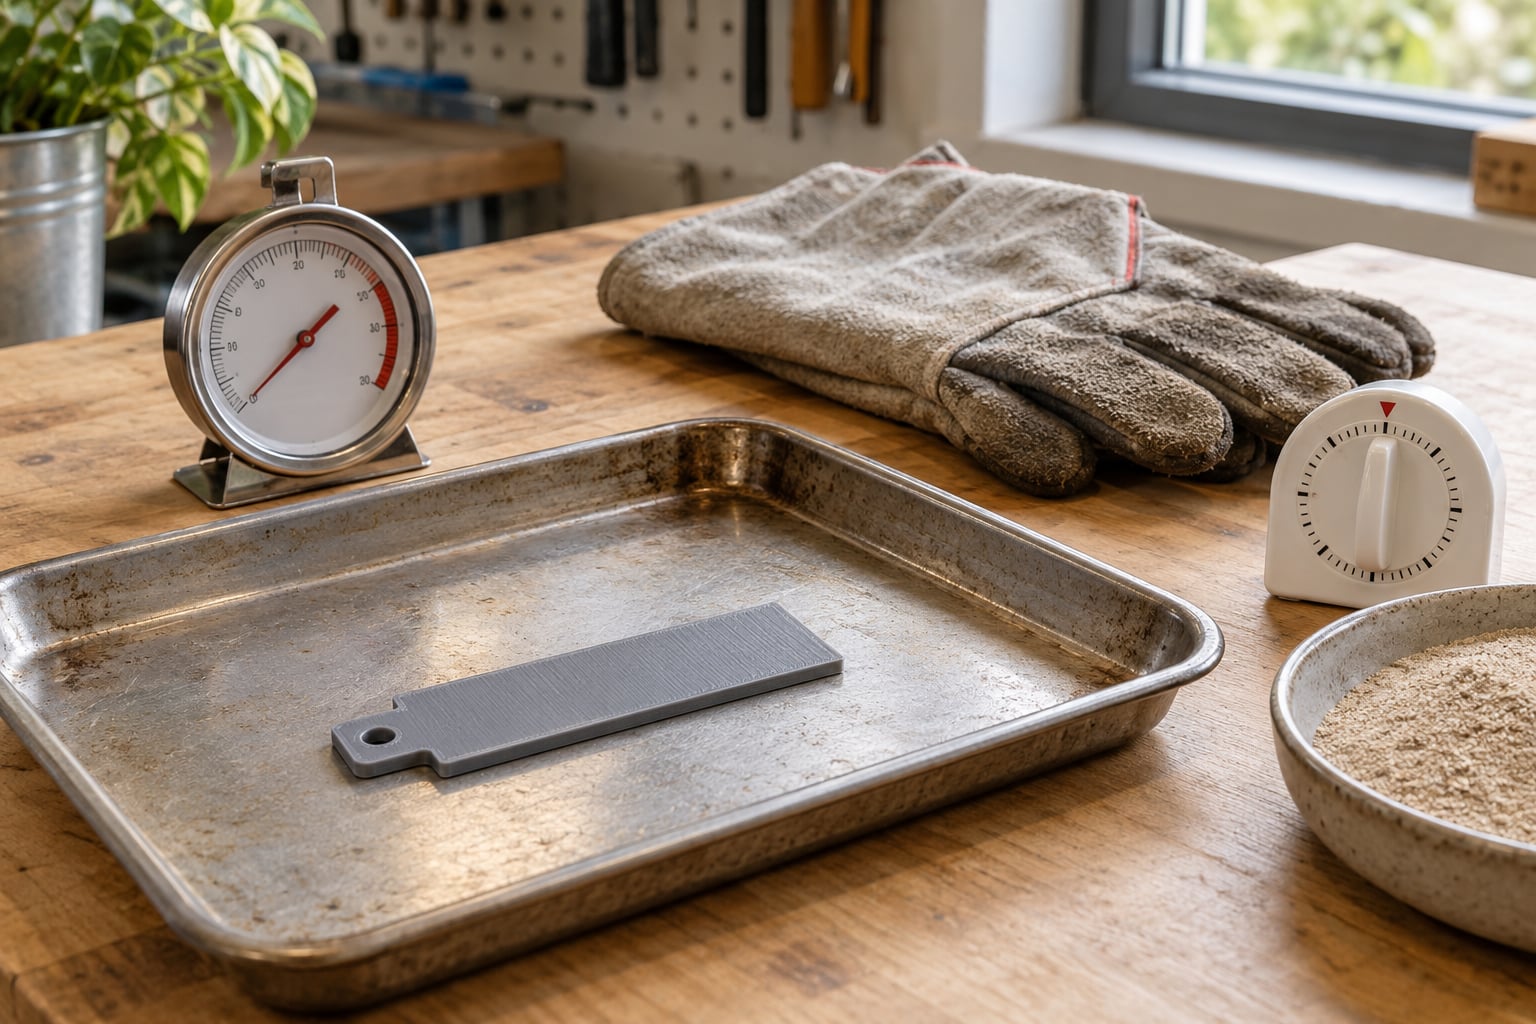
You need very little, and most people already own it. The oven thermometer matters more than the oven.
- A convection oven – a fan oven gives far more even heating than a static one. A toaster oven works for small parts if it holds temperature accurately, but check it first.
- An independent oven thermometer – built-in dials routinely read 10-20°C off. Without a real thermometer you are guessing, and guessing is why results vary so much between people.
- A heat-resistant tray or plate, plus a rimmed sheet pan to catch anything that softens and drips.
- Dry sand, plaster or even plain salt – a shallow bed lets you bury a thin part so it cannot bow. You can also use a thin layer of uncooked rice in a pinch, though sand is steadier.
- Digital calipers – this is how you measure shrinkage instead of guessing at it.
- A lab thermometer or the oven’s own probe for your warm-soak test.
- Heat-resistant gloves and a timer.
And one more thing that is not equipment: a test coupon. Print a small flat bar in the same filament, same orientation, same settings as your real part. Anneal the coupon, not the part. That way you learn what your material does before you spend the part.
Step-by-Step
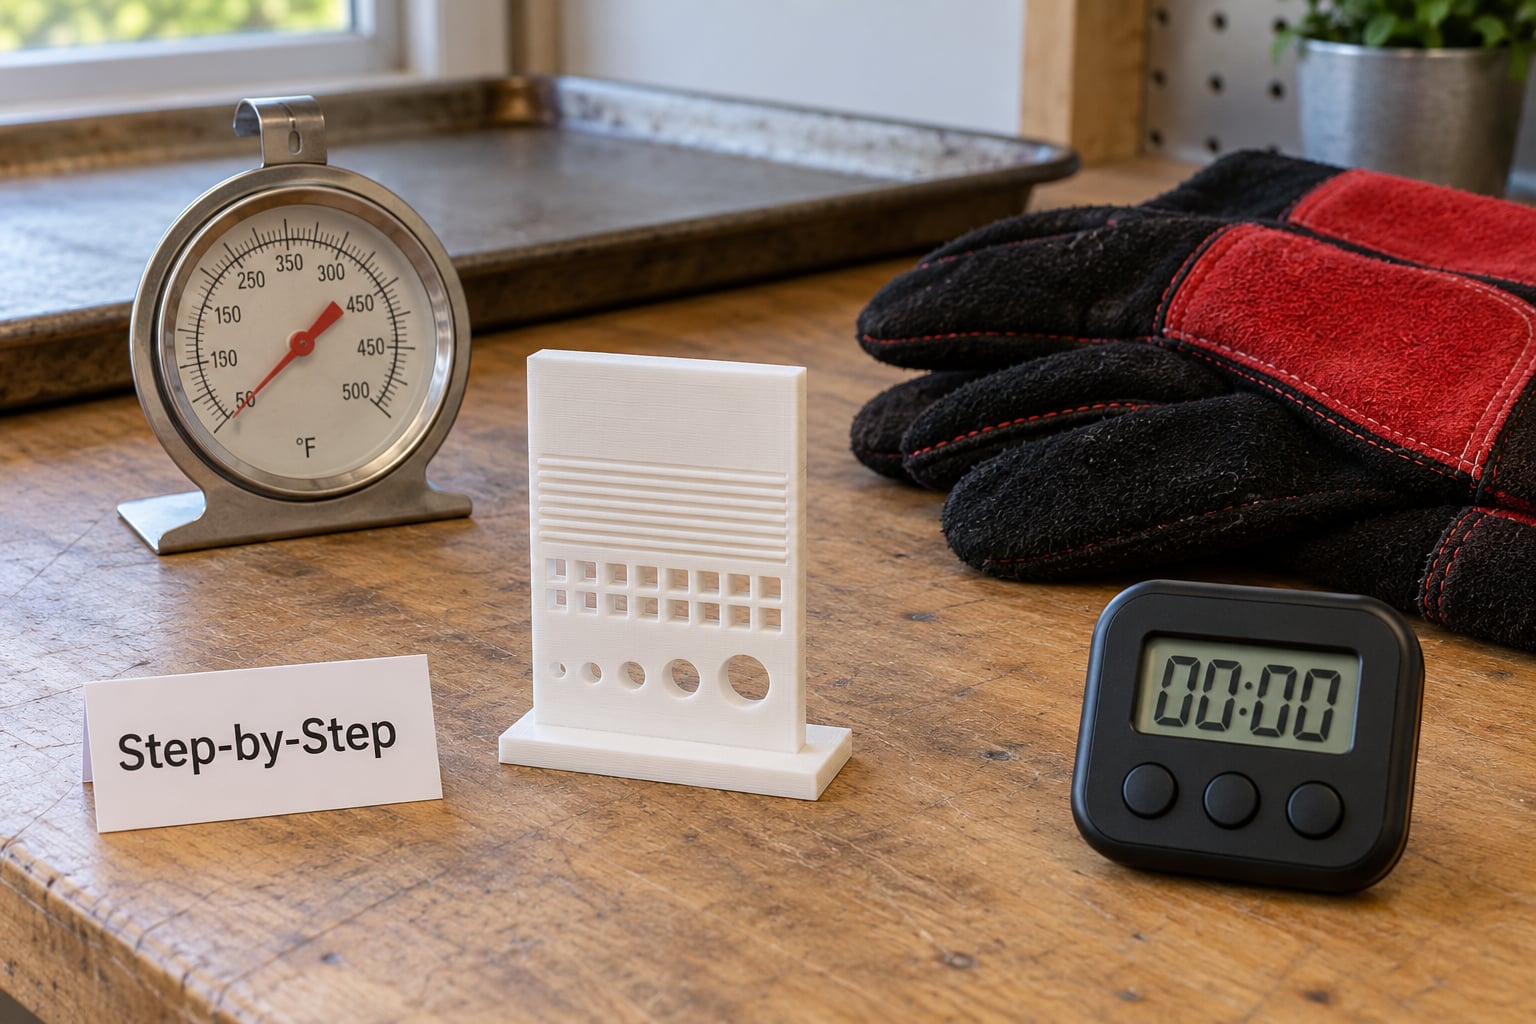
Run these steps in order and keep notes as you go. The notes are the only way to repeat the result next time.
1. Choose the Right PLA and Part
Standard PLA starts working at its glass transition near 60-65°C, and different formulations land in different places. Tough PLA, Pro PLA and most HTPLA blends sit noticeably higher and need more heat to change, often 110-120°C before you see a real shift.
Annealing results vary a lot by formulation, so treat any number you read online as a starting point rather than a fact about your spool. Check the filament manufacturer’s own guidance first.
Skip annealing for thin, tall or tightly toleranced parts. A bracket with a 0.2 mm hole and a long flat lid are the two shapes that come out warped most often.
2. Prepare the Printed Part
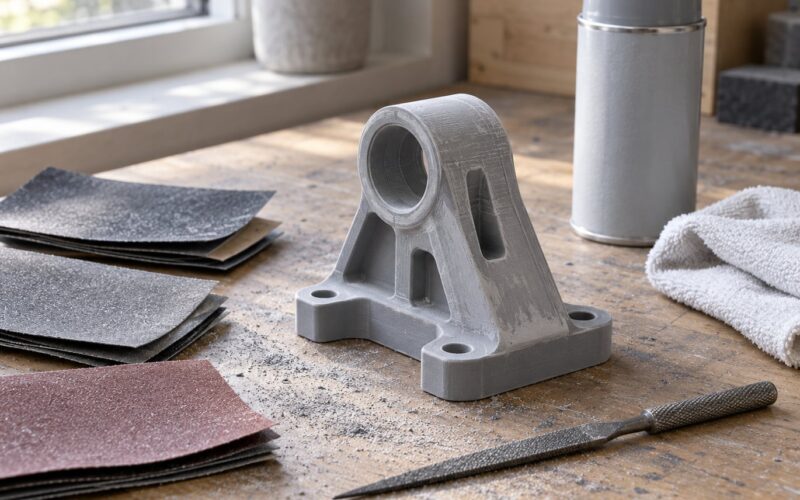
Remove every support, then clean the part so no residue is left on the surface. Look for cracks, delamination or a layer that’s already lifted – annealing will not fix those and heat will make them worse.
Measure and write down the key dimensions with your calipers. Overall length, width, height, and the diameter of anything that fits into a slot. Weigh the part too, if you have a scale that reads that small. These numbers are your baseline; without them you can’t claim the treatment worked.
3. Preheat the Oven Safely
Set the oven to your target temperature and let it preheat fully before the part goes in. Putting a cold part into a cold oven and heating them together means the part spends the first part of the cycle under-heated and unevenly heated.
Verify the temperature with your independent thermometer, placed where the part will sit, not at the back wall. Ventilate the area, clear the oven of food residue and grease, and set your part on a heat-resistant surface with clearance on every side. Run it at or below the manufacturer’s stated limit for your filament, and stay out of the room while it heats if fumes bother you.
4. Heat the PLA Gradually
Ramp rather than slam. Most of the warping people blame on annealing happens in the first ten minutes, when the outside of a thin wall is already soft and the core is still cold and contracted.
For a stress-relief style soak at around 55°C, hold two to four hours; that alone calms warping without meaningfully changing the material. For a full anneal, hold your target temperature long enough for the core to catch up – roughly 15 minutes per 6 mm of wall thickness, so a chunky 25 mm part wants an hour, not 15 minutes.
Stay clear of the softening point. PLA’s melting point is around 215°C, so 230°C is not just wasteful, it destroys the part outright. Stay in the softening range instead, where the material is still solid but its structure can rearrange. Keep the door closed and don’t peak in during the soak; every opening drops the temperature and restarts the clock on your soak.
5. Cool the Part Slowly
Turn the heat off and leave the door closed. Let the whole oven come down to room temperature on its own, which usually takes a couple of hours.
This is the step that reduces thermal stress. Pulling a hot part into room air chills the outside while the inside is still hot, and that mismatch is what cracks a part, curls a corner or splits a layer line. If you must speed it up, crack the door a few millimetres for the first ten minutes, then leave it.
Watch for cracking sounds, visible curling and layer separation. Any of those mean the part is already compromised.
6. Check Dimensional Changes
Re-measure everything you recorded. Most parts contract a little in X and Y and can actually grow slightly in Z as layers settle, which breaks the assumption that shrinking is uniform.
Report shrinkage as a percentage: divide the change by the original measurement and multiply by 100. Community reports range from around 1% on well-behaved parts to 10% on badly warped ones, so plan your compensation for your own filament, not for an average. If the part has to fit a snap or a press, print the slot oversized.
Also look at the surface. An annealed part often turns noticeably more opaque and you can sometimes see faint crystallinity patterns in clear material. It’s a quick visual confirmation that something happened, though it tells you nothing about how much heat the part now takes.
7. Test Heat Resistance
Run the same test on the annealed coupon and on one you kept untreated. That pairing is the only honest measurement.
Put both coupons on a flat surface under a controlled warm condition – a heat lamp at a fixed distance, or an oven held at a temperature you set. Raise the temperature in steps, a few degrees at a time, and note the point where each coupon starts to droop, curl at the ends or lose its shape.
Log the temperature, the time at each step and the deformation you see. Then repeat the whole test a second time; a repeatable number beats a single good run every time. Don’t treat the result as a universal material rating – it’s a rating for your filament, your part geometry and your oven.
8. Improve the Result for Future Prints
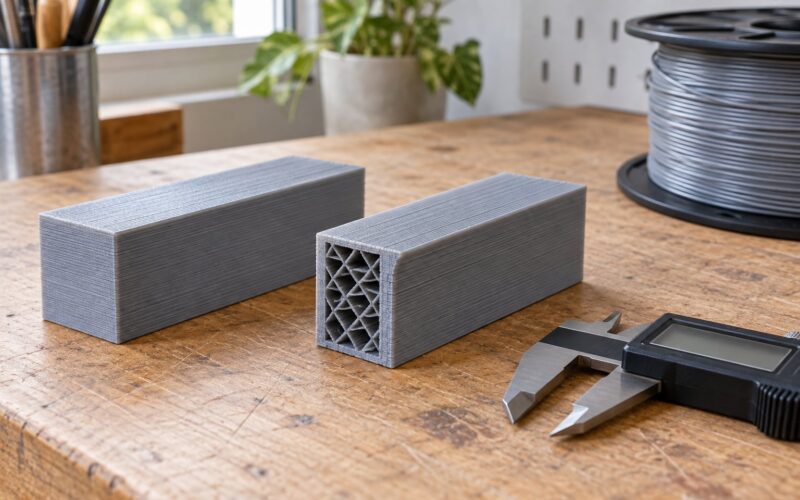
Annealing works better on a part that was printed to survive it. Print at high infill with a linear pattern, which is the community default before annealing for exactly this reason. Add walls and orient the layer lines so the weak direction isn’t the one the heat pushes on.
Geometry helps more than people expect. A part with a flat wide footprint, ribs instead of thin webs and no long unsupported spans will survive the soak far better. A 0.4 mm nozzle at a slightly lower temperature tends to bond layers better going in, so there’s less for the heat to split.
If you genuinely need the part to handle real engineering temperatures, stop optimising PLA and print in an engineering thermoplastic instead – HTPLA, PETG, ABS or ASA, depending on the environment. Annealed PLA stays brittle, so it never becomes a good choice for anything that gets dropped or struck.
PLA Annealing Temperature and Time at a Glance
These are starting points drawn from published maker testing and forum reports, not specifications. Your filament’s own datasheet wins.
| Filament | Anneal temperature | Soak time | What to watch |
|---|---|---|---|
| Standard PLA (stress relief) | 55-60°C | 2-5 hours | Minimal dimensional change, calms warping |
| Standard PLA (full anneal) | 90-100°C | 30-60 minutes | Visible crystallinity, 1-2% typical shrinkage |
| Tough PLA / Pro PLA | 110-120°C | 30-60 minutes | High collapse risk on thin sections |
| HTPLA blend | 80-100°C | 30-60 minutes | Already heat-stable, gains are small |
| PLA-CF | 60-80°C | 30-45 minutes | Short fibres change how the part moves; keep heat modest |
A useful rule from maker communities for soak time is about 30 minutes per 6 mm of thickness. Whatever figure you land on, write it down with the filament brand – that note is more valuable than any table.
And skip the microwave entirely. PLA gives off moisture and vapour under uneven microwave heating, and a part that doesn’t slump can ignite.
Common Mistakes
Trusting the oven’s built-in dial. Correction: buy or borrow a separate oven thermometer and check where the part actually sits. Tip: write the verified reading on the oven door with a pencil.
Pushing close to the softening point. Correction: stay in the range above and pull back if the part starts to sag or gloss over. Tip: run the coupon, not the part, when you try a higher setting.
Cooling too fast. Correction: leave the door closed and let the oven fall to room temperature naturally. Tip: a two-hour cooldown is normal and it costs nothing.
Annealing a part with no dimensional baseline. Correction: caliper it before it goes in and again after it comes out. Tip: keep a photo of the same three views next to your notes.
Expecting annealing to fix layer adhesion or impact strength. Correction: it doesn’t. Testers repeatedly find layer adhesion unchanged and annealed PLA still brittle. Tip: fix weak layers at the printer, not the oven – more flow, better adhesion settings, a dry filament.
Relying on an unverified oven temperature. Correction: verify with the thermometer before every run. Tip: a 10-20°C dial error is the difference between a good result and a warped one.
Annealing decorative prints. Correction: skip them – opacity changes and shrinkage cost you and gain nothing. Tip: save the treatment for parts that see heat.
Heating a gas oven. Correction: use an electric convection oven. Gas gives uneven heat and an open flame near plastic is a bad combination.
Annealing carbon-fibre PLA hot. Correction: keep PLA-CF sessions cooler and shorter; the short fibres change how the part contracts. Tip: print a coupon in the same orientation first.
Frequently Asked Questions
What temperature do you anneal PLA at?
Most standard PLA anneals well between 90 and 100°C, and a 55-60°C soak works as stress relief if your main problem is warping. Check your filament manufacturer’s guidance first, since Tough PLA and Pro PLA blends need closer to 110-120°C. Use a separate oven thermometer, because built-in dials often read high.
How long should I anneal PLA in the oven?
Roughly 30 minutes per 6 mm of wall thickness is a good rule, so a 25 mm solid part needs about an hour and a thin coupon needs 15-20 minutes. A lower stress-relief soak at 55-60°C is the exception, running two to five hours. Cool the part inside the switched-off oven rather than speeding it up.
Will PLA melt at 100 degrees Fahrenheit?
No. 100°F is about 38°C, and PLA’s melting point sits near 215°C. The number that matters is the glass transition around 60-65°C: above that, an untreated part softens and sags even though it is nowhere near melting. Annealing raises how much heat your part tolerates before it deforms.
How do I stop PLA warping while annealing?
Heat gradually rather than putting a cold part into a hot oven, and cool it with the door closed so the outside never chills faster than the core. Print at high infill with a linear pattern, prefer geometry with a wide flat footprint, and bury thin parts in dry sand. Scaling a part up to offset shrinkage helps tolerance, not curl.
Does annealing make PLA stronger?
It makes PLA stiffer and more heat resistant, with tensile strength gains in the region of 7-16% depending on the study. It does not improve layer adhesion, and annealed PLA stays brittle, so impact-prone parts gain nothing. For a load-bearing part that also gets hot, print an engineering thermoplastic instead.
Can you anneal PLA in boiling water or a microwave?
Boiling water sits at 100°C, which is a usable annealing temperature and much cheaper to run, though you need a coupon test because water heats unevenly at small volumes. Never use a microwave: moisture in the filament turns to vapour under that heating pattern and a part can ignite without slumping first.
Conclusion
Start here: read your filament manufacturer’s annealing guidance and write down the temperature they recommend. Then caliper your untreated part and print a coupon from the same spool before you touch the real one.
Anneal the coupon, cool it inside the dead oven, and run the same warm test against an untreated coupon. Only when the numbers agree should you commit a functional part – and if that part has to handle real heat for years, skip ahead to an engineering filament.