A paint job looks cheap when the layer lines still show through it. Sanding and priming a print fixes that: you knock down the ridges with abrasive paper, fill what is left with a sandable filler primer, level that with one more light sanding, and only then add colour. It takes patience rather than skill, and most of the work is waiting.
Budget about two hours of active work for a small part, spread across several days so coats can cure. The hardest part is not the technique, it is stopping before you sand through a thin wall and have to start that section again.
Quick answer: clean the print, cut supports off flush, sand from around 120 to 220 grit up through 320 and 400 to 600 grit, wipe the dust away with alcohol, apply two to three thin coats of filler primer with a flash-off between each, wet sand the cured primer at 400 to 600 grit, then paint.
Table of Contents
- What You Need
- Step-by-Step: How to Sand and Prime 3D Prints for Painting
- 1. Inspect and Clean the Print
- 2. Shape and File Rough Areas
- 3. Sand Through Progressive Grits Without Losing Detail
- 4. Clean Away Sanding Dust
- 5. Choose and Apply the Right Primer
- 6. Sand the Primer Lightly When Needed
- Common Mistakes
- Frequently Asked Questions
- Do 3D prints need to be primed before painting?
- What grit sandpaper should I use for a 3D print?
- Should you sand between priming and painting?
- Which primer works best on PETG prints?
- How do you hold a small part while priming it?
- Why is my paint peeling off the 3D print?
- Conclusion
What You Need
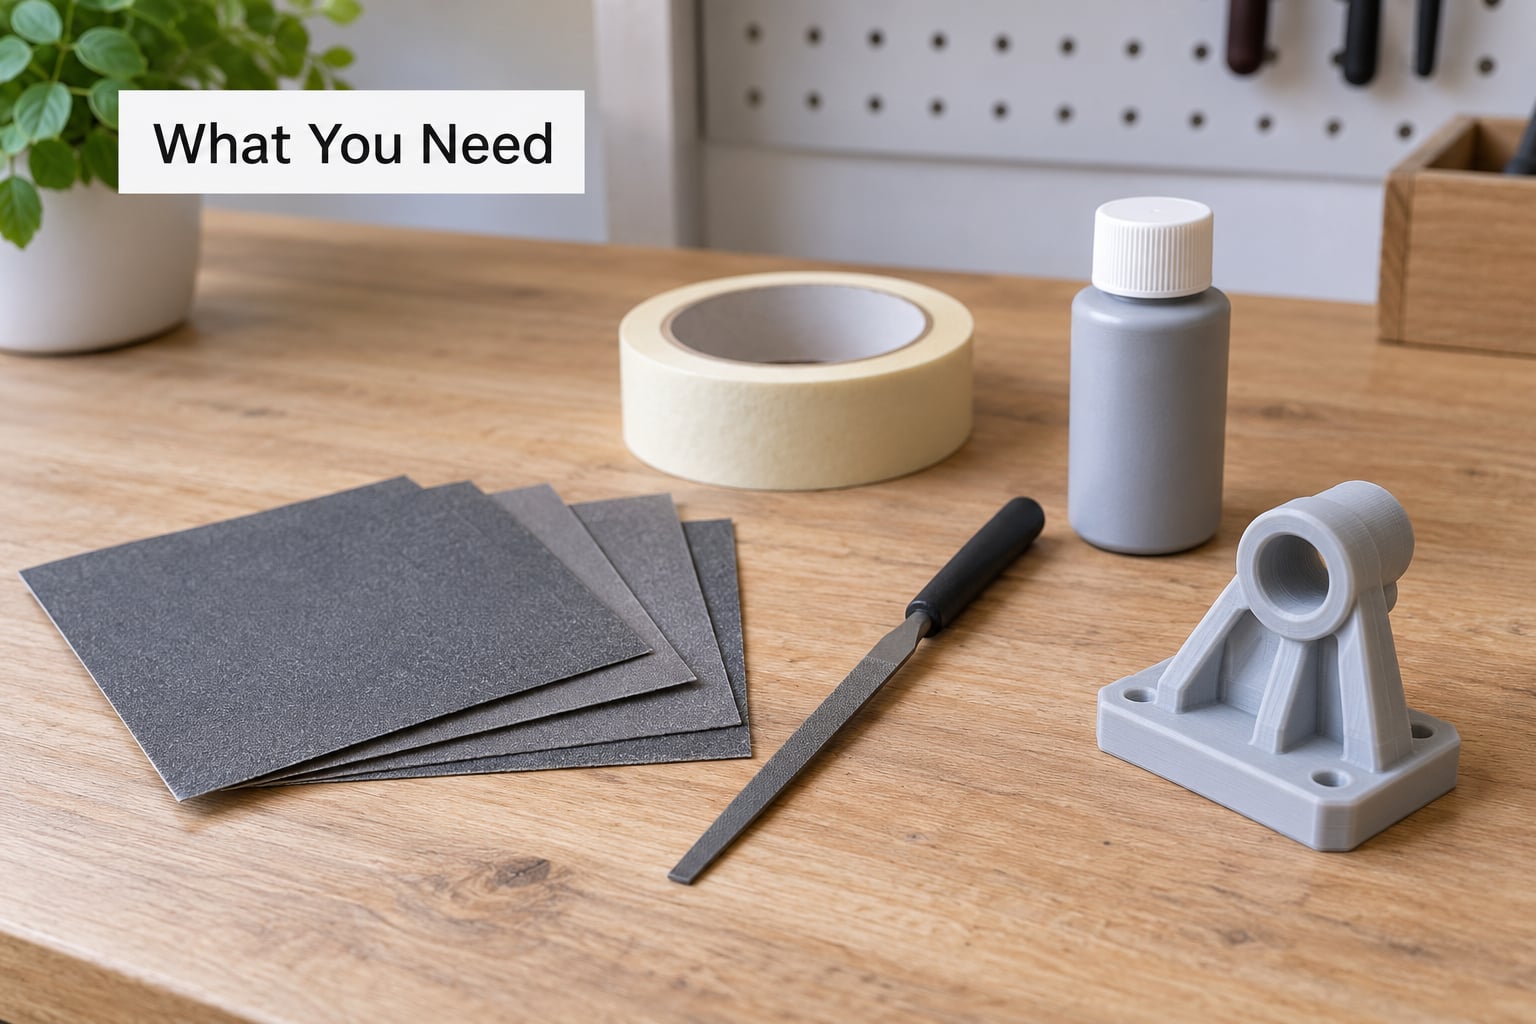
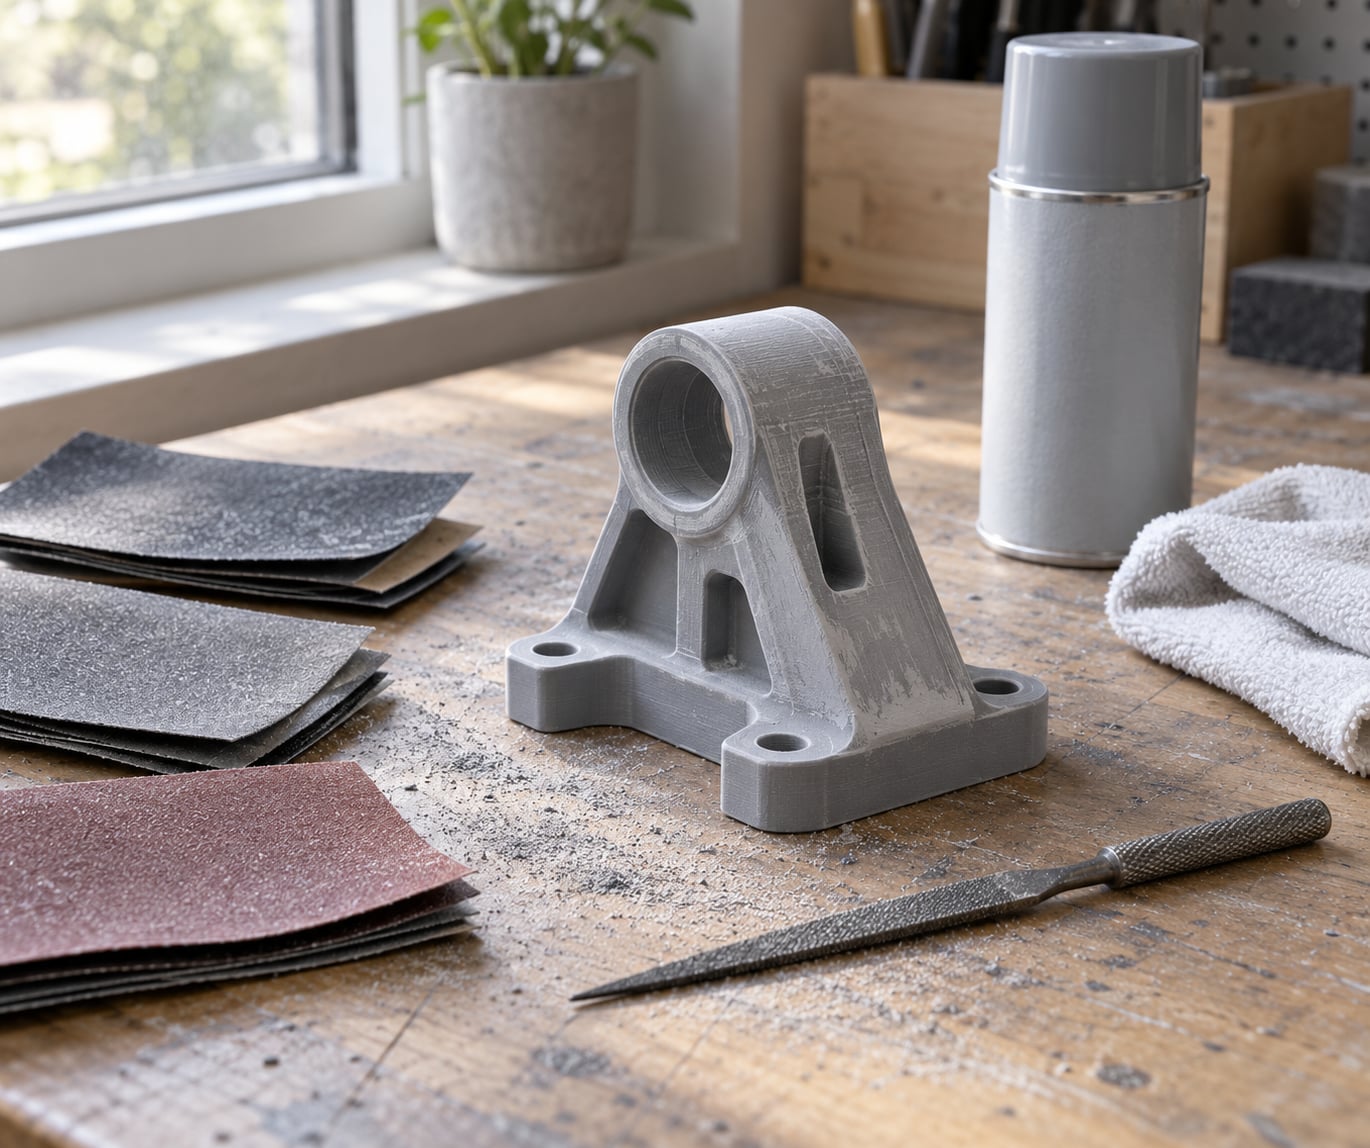
Almost everything on this list is already in a hobby drawer. The one thing worth buying properly is paper in a range of grits, because jumping from coarse straight to fine leaves scratches that primer cannot hide.
- Wet/dry sandpaper in 120, 220, 320, 400 and 600 grit. Water and a few drops of dish soap keep dust on the paper and off your lungs.
- Sanding sponges and a sanding block. The block matters more than the paper, because a flat block keeps your angle even on flat panels.
- Flush cutters and a hobby knife for supports, plus needle files for seams and tight corners.
- Isopropyl alcohol and a lint-free cloth or disposable tack cloth for degreasing.
- Filler primer or spray putty for the coats that fill layer lines, and an adhesion promoter for PETG.
- Masking tape and a clean cardboard box to make a spray booth, or a ventilated garage with a mask.
- A dust mask or respirator, gloves and safety glasses. Fine plastic dust and primer overspray are not things to breathe.
- Compressed air or a soft brush to clear dust before every coat.
Step-by-Step: How to Sand and Prime 3D Prints for Painting
1. Inspect and Clean the Print
Hold the part under a lamp at a low angle, almost grazing across the surface. Raking light turns every layer line, seam ridge and support scar into a shadow you can see, which is far more useful than looking straight on in a bright room.
Check for three specific problems before you touch paper: a visible seam line where the nozzle started and stopped, stringy bits or blobs on the surface, and small holes where supports pulled out cleanly. Holes you cannot fix with filler are worth filling with glue or a two-part epoxy putty while the plastic is still slightly warm from the printer.
Wash the part in warm soapy water if it is oily from handling, then wipe it with isopropyl alcohol and let it dry fully. Resin prints need a longer soak in warm soapy water, because uncured resin hides in the layer valleys and will show up later as tackiness under the primer.
2. Shape and File Rough Areas
Snip supports with flush cutters, clipping the stalk as close to the surface as you can, then nibble the remaining nub with the knife. Pulling supports off tears the layer edges and leaves a crater you will spend longer sanding than the support saved.
Run a needle file down the seam and over any blob while the part is still unbeveled, then knock the elephant’s foot, the flared bottom edge most prints have, flat against coarse paper. None of this needs to be pretty. It only needs to be flat enough that the sandpaper has something even to work against.
3. Sand Through Progressive Grits Without Losing Detail
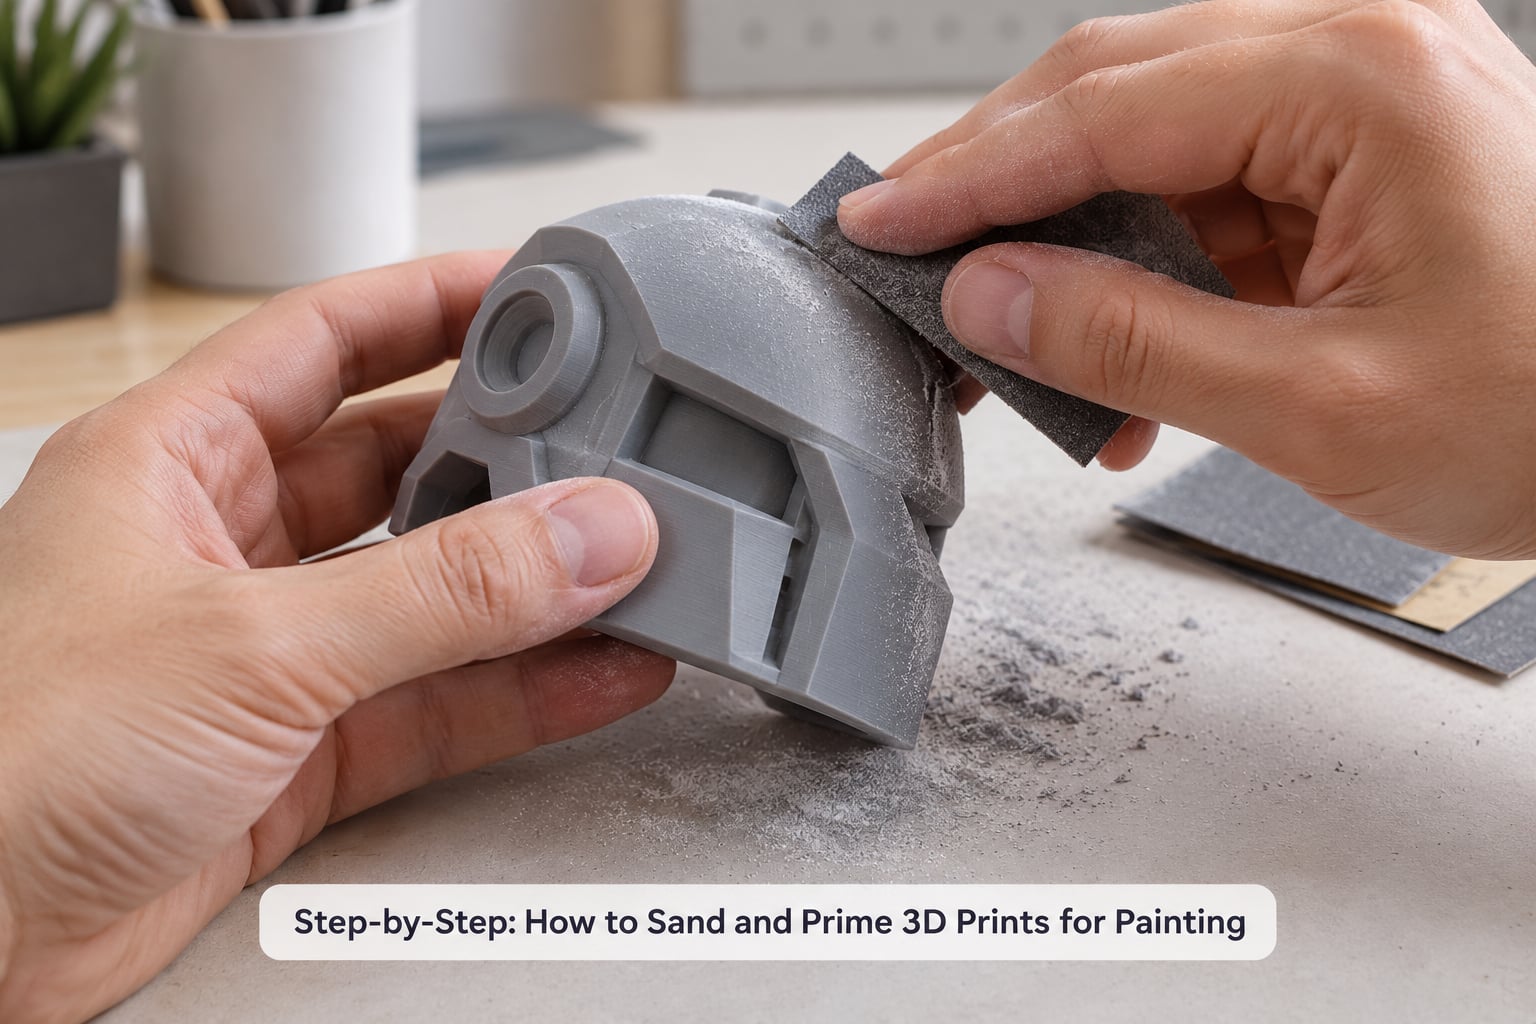
Start at 120 grit only on a large, flat, rough part, and use 180 to 220 grit for most work. Skipping ahead feels efficient and is not, because the coarse scratches you skip past come back as visible marks once the paint hits them.
| Grit | What it does | Use it when |
|---|---|---|
| 120 | Removes heavy seams, blobs and rough overhangs quickly | Large flat panels, first-layer elephant’s foot, coarse prints |
| 180 to 220 | Takes down the layer lines on most FDM prints | Your normal starting grit for PLA and PETG parts |
| 320 | Blends the scratches from the coarser stage | Anywhere you are moving from rough to smooth |
| 400 to 600 | Produces the flat, blemish-free surface primer wants | Fine layer height, resin prints, display models |
| 800 to 1200 | Pre-polish sheen for bare plastic and resin | Only if you plan to leave the part unpainted |
Wet sand whenever the material allows it. Water plus a drop of soap keeps the dust suspended, and you can run your finger across the surface to feel what the paper took off. Change paper often, because a loaded sheet stops cutting and starts burnishing.
PLA is the exception worth knowing. Friction heat softens it, so a power sander will gum the paper and flatten fine detail. Work by hand, keep the part cool, and never sand aggressively on a thin wall. If a part has threads, snap fits or a knife edge, mask it off with tape before you touch paper near it.
4. Clean Away Sanding Dust
Dust under primer is the single most common reason a finish peels. Blow it off with compressed air, brush it away with a soft clean brush, then wipe the part with alcohol and a lint-free cloth.
Handle the cleaned part by the edges or with gloves from this point on. Skin oils print invisible fingerprints, and those fingerprints show up as fisheyes, the small craters that pull the paint away from the surface when you spray.
5. Choose and Apply the Right Primer
Adhesion promoter and filler primer solve different problems. Promoter is a thin bonding layer for plastics that resist paint, mostly PETG, ABS, ASA and some resins. Filler primer is thicker and sandable, and its job is to fill the valleys between layer lines so you are painting on a flat surface instead of a corrugated one.
| Material | Adhesion promoter | Filler primer | Notes |
|---|---|---|---|
| PLA | Not usually needed | Two to three coats | Easiest material to paint; layer lines are the only real issue |
| PETG | Recommended | Two to three coats | Paint peels without one, which is why people blame the paint |
| ABS and ASA | Recommended | Two to three coats | Also the only common filaments acetone vapour will smooth |
| Resin | Check the primer label | Two light coats | Fully UV cure first, and wet sand only |
| TPU and nylon | Required | Use sparingly | Flexible parts flex under the paper, so keep pressure light |
Spray from 20 to 30 cm away with thin coats. Thick coats run and sag on vertical faces, and a sagging coat has to come off again. Move the can steadily, overlap each pass by about half, and flash off for the time printed on the can, usually five to ten minutes, between coats.
Two to three thin coats beat one heavy coat, and four are normal for a coarse print whose layer lines still show. A grey filler primer also helps: defects that were invisible on grey plastic show clearly against a dark coat, so you can spot and fix them while sanding.
6. Sand the Primer Lightly When Needed
Let the primer cure properly first. Most products need overnight, and some need a full day, because primer that still contains solvent will gum the paper and pull off in sheets instead of sanding flat.
Wet sand the cured primer at 400 to 600 grit with soap in the water, using light even pressure. Check your work under the same raking light from step one. If you find grey plastic instead of grey primer, you went too deep, so skim another coat over that spot, let it cure, and move on.
Finish with a quick scuff using a 600 to 800 grit sponge or paper, then wipe and degrease again immediately before painting. Paint goes on within a few hours of that final sanding while the surface is still clean.
Common Mistakes
Jumping grit sizes. Going from 120 straight to 400 leaves deep scratches that show through colour. Add an intermediate grit, and do not assume the last number matters more than the middle ones.
Sanding too hard. Heavy pressure on thin walls, sharp edges and small details cuts through to bare plastic, and every bare patch needs another primer cycle. Light pressure, many passes, and frequent checks beat one firm push.
Priming over dust, oil or fingerprints. The primer bonds to whatever is on the surface. Degrease with alcohol after every sanding stage and never touch the cleaned part with bare fingers.
Using a cheap primer on PETG or ABS. Paint peels and curls, and the fix is almost always under the colour coat. A promoter plus filler primer solves what no amount of paint quality will.
Rushing cure time. Primer that has not dried fully sands off in sheets and traps bubbles under the next coat. Follow the can, and if in doubt wait an extra day.
Sanding filler primer too thin. You only need enough to level the surface. A primer build more than about 0.2 mm thick swallows fine detail, which matters most on miniatures and small scale models.
Skipping safety gear. Resin dust from dry sanding is the worst of it, and it needs a proper respirator, gloves and a wet-wipe cleanup rather than a sweep with a brush. Always spray primer outdoors or in heavy ventilation, and treat acetone as the flammable solvent it is.
One habit saves more time than any of these fixes: do a quick sanding pass on the plastic before you prime. Filling primer grips a scuffed, matte surface far better than a glossy one, and it stops running off flat panels.
Frequently Asked Questions
Do 3D prints need to be primed before painting?
Yes. Plastic has low surface energy, so paint on a bare print beads, peels and looks like plastic. Primer seals the surface, fills the small voids between layer lines, and gives paint something with a bit more grip. Even a smooth, well-sanded PLA part benefits from one coat, and PETG, ABS and ASA need an adhesion promoter underneath or the paint will lift off in sheets.
What grit sandpaper should I use for a 3D print?
Start at 180 to 220 grit for most parts, drop to 120 only for large flat panels or a badly rough print, then work up through 320 and finish at 400 to 600. Sand wet with a drop of soap so dust stays on the paper, use a sanding block on flat faces, and never skip a step, because coarse scratches show through paint. Avoid power sanding PLA, since friction heat gums the paper.
Should you sand between priming and painting?
Yes, if you used filler primer. Wet sand the cured coat at 400 to 600 grit until the layer lines are flat under raking light, then do a final quick scuff with a 600 to 800 grit sponge just before painting. If you sand through to bare plastic, skim another thin coat over that spot and let it cure. A plain adhesion promoter with no filler does not need sanding at all.
Which primer works best on PETG prints?
PETG needs a dedicated adhesion promoter under the paint, because its surface is smoother and less porous than PLA and ordinary paint peels off it. Use a promoter formulated for plastics, let it cure as directed, then apply two or three thin coats of filler primer. Painting straight onto PETG without a promoter is the most common reason people report paint lifting within a week.
How do you hold a small part while priming it?
Stick a piece of modelling putty or tacky blob to the top of the part, let it grab for a few minutes, and hold it by that as you spray or brush. A toothpick taped to the base works for miniatures and fiddly parts. Avoid handling the body itself, because skin oils show up later as fisheyes, and keep the part in motion for a couple of seconds after lifting it so any tacky residue lets go.
Why is my paint peeling off the 3D print?
Peeling almost always starts below the colour coat. The usual causes are priming over dust, oils or fingerprints, skipping an adhesion promoter on PETG or ABS, and spraying primer thicker than the can allows so it never bonded properly. Strip the failing area back to clean plastic, degrease it with alcohol, and rebuild the surface with promoter plus two or three thin coats of filler primer.
Conclusion
Sanding and priming a 3D print for painting is a loop you repeat rather than a single pass: pre-sand, fill, level, check under a raking light, and do another coat until the surface stops improving. Two or three filler coats kills most layer lines, and a light wet sand between each one keeps the detail intact.
Start with the material. Decide whether you need an adhesion promoter, choose a starting grit that matches how rough your print actually is, and repair the obvious defects before you touch any paper. Everything after that is just patience and thin coats.