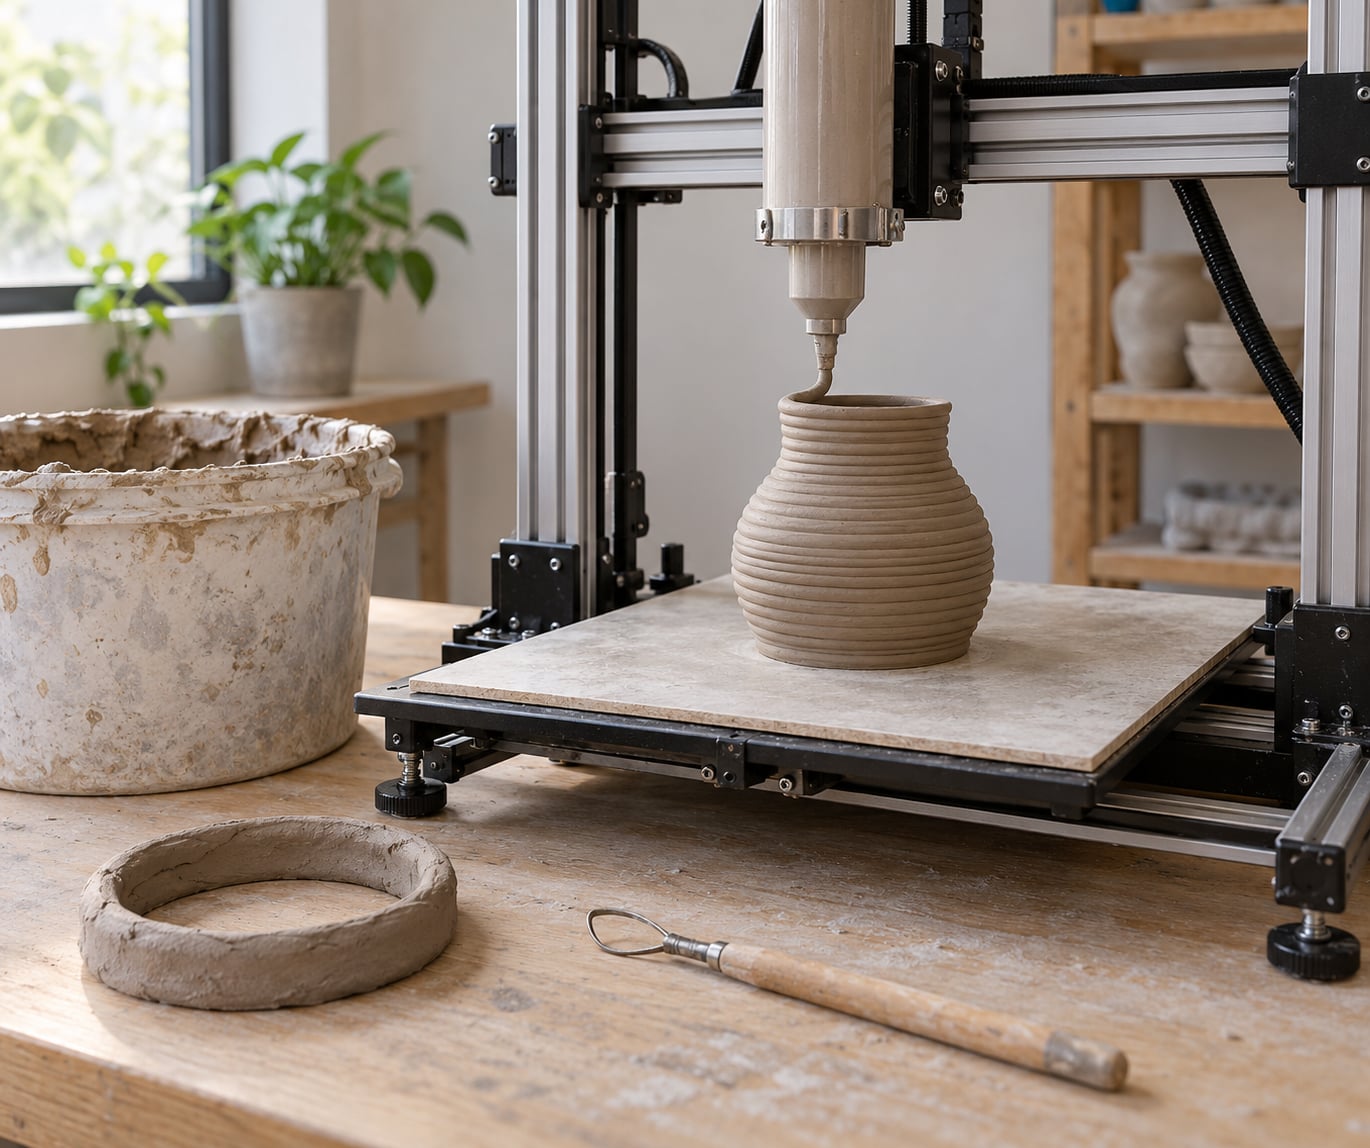
Yes, you can 3D print with clay. A clay printer works like a normal desktop FDM printer, but instead of pushing plastic filament it drives a screw extruder that lays beads of wet clay onto a build plate, one layer at a time. The piece comes off the bed soft, dries slowly, then goes into a kiln for bisque and glaze firings. This guide covers 3D printing with clay for beginners, from picking hardware to drying your first finished pot, and it is written for potters, art students, teachers and makerspace members who have never printed with clay before.
Two things surprise most newcomers. First, the hardware matters more than the software: a printer built for plastic is not automatically good at clay. Second, the hardest part is not modelling or slicing, it is controlling how wet the clay is. Get that right and a first print is genuinely easy. Get it wrong and nothing sticks to anything.
I should say up front what this article cannot tell you. There is no universal flow rate, speed or temperature, because clay bodies differ, machines differ, and your workshop’s humidity differs. What follows is a workflow and a set of starting points, and every number in here is a place to begin, not a rule to obey forever.
Table of Contents
- What You Need
- A clay-capable printer
- Clay body and preparation tools
- Build surface and adhesion
- Slicer, model file and safety gear
- A drying area
- Your first model
- Step-by-Step: How to Start 3D Printing With Clay
- Choose a Simple Test Model
- Prepare the Printer and Build Plate
- Load the Clay and Set the Profile
- Slice the Model and Check the Layers
- Print the First Layer and Monitor the Part
- Remove, Dry, and Finish the Print
- Common 3D Printing With Clay Mistakes and Fixes
- Frequently Asked Questions
- What type of 3D printer can print with clay?
- Do I need to dry clay filament before printing?
- What temperature should I use for clay-like filament?
- How do I stop a clay print from cracking while drying?
- What build plate works best for clay 3D printing?
- What is the easiest clay 3D printing project for beginners?
- Where to Start First
What You Need
You need four things in place before a clay print can work: a machine that can push soft material, a clay body with the right consistency, a prepared build surface, and somewhere controlled to dry the finished piece. That is the whole kit. Everything else is refinement.
A clay-capable printer
You have three realistic routes, and they suit very different budgets and commitments.
Use a maker space, university or ceramics studio. This is the option most beginners should take first. Access costs a fraction of owning hardware, and you learn on a machine someone else is already maintaining. Many art colleges and community ceramics studios have a clay printer and staff who will show you how to load the barrel and clean the screw.
Convert an existing FDM printer. An open-frame machine with direct drive can often be adapted, and plenty of people have done it. The conversion usually means replacing the hot end with a purpose-built clay extruder and adding a barrel. It is a weekend of tinkering, not a plug-and-play afternoon, and you need to be comfortable debugging a machine that is no longer standard. Budget a couple of evenings, and keep a backup plan if your printer was your only one.
Buy a purpose-built clay printer. The most direct route and the most expensive. The advantage is a screw extruder designed for soft material plus a barrel sized to the work, which is the part that actually determines how long a print can run before you reload. A common mistake is buying a large build volume and a small barrel. Barrel capacity decides print duration far more than bed size does.
Whichever route you take, check one thing first: does the extruder handle the clay body you plan to use? Vendors note that clay which is too hard or too soft causes extruder problems, and a screw designed for plastic will simply stall on stiff clay.
Clay body and preparation tools
For wet-clay extrusion you want a plastic, air-entrained stoneware or earthenware body with enough grog to hold its shape when wet. Hardware-store craft clay is usually too soft and shrinks unpredictably. Buy a clean body without a lot of paper fibre or lightweight filler, and buy more than you think you need.
You also need a pug mill or an equivalent way to condition the clay. A pug mill de-airs and homogenises the clay so it feeds predictably. Without one, expect bubbles in your beads and stop-start extrusion. A sturdy work surface, a scale, a bucket with a lid for storage, and a wire cutter for trimming are enough to begin. Add a sponge and a bowl of water for handling.
Build surface and adhesion
The build plate has to be rigid, flat and clean. A powder-coated steel plate or a textured acrylic plate both work, and a laser-cut acrylic layer you can peel off and re-stick is convenient because clay that bonds to the base layer can be released by flexing the plate rather than prying the pot off.
Most beginners need an adhesive layer. The standard method is a hand-rolled layer of wet clay spread across the plate and scored lightly with a needle tool, which gives the first bead something to grab. A glue stick or spray adhesive works on plastic-like clay filament; a slurry of clay and water works for wet clay. A clean, evenly damp plate with no dry patches is the visual sign it is ready.
Slicer, model file and safety gear
Your slicer is the ordinary one you already use, or a toolpath generator built for coils. The input file is an STL, which is the format teaching resources and studios expect. Most studios also use a spreadsheet or a parametric tool to hold print settings so every run is comparable.
For safety, wet clay is not hazardous in the way airborne clay dust from dry handling is. Wear gloves if your hands get irritated, keep the workspace ventilated so humidity and any additives do not build up, and wash hands before and after. Keep your phone and laptop away from the plate. If you dry clay slabs before pugging, wear a mask; that step is where fine dust actually comes off.
A drying area
Set aside a flat, shaded, slow-drying spot before you print, not after. Clay that dries unevenly cracks. A shelving unit with good airflow, out of direct sun and away from a heater or kiln, is ideal. Most pieces want days, not hours, and the label on your clay body is a better guide than any rule of thumb.
Your first model
Start with a hollow vessel with a flat base. A small vase or bowl under roughly 15 cm tall prints quickly, needs no supports and gives you a clear read on whether adhesion, speed and flow are working. Keep a solid decorative form as your second choice, not your first, because solid volumes are harder to dry.
Step-by-Step: How to Start 3D Printing With Clay
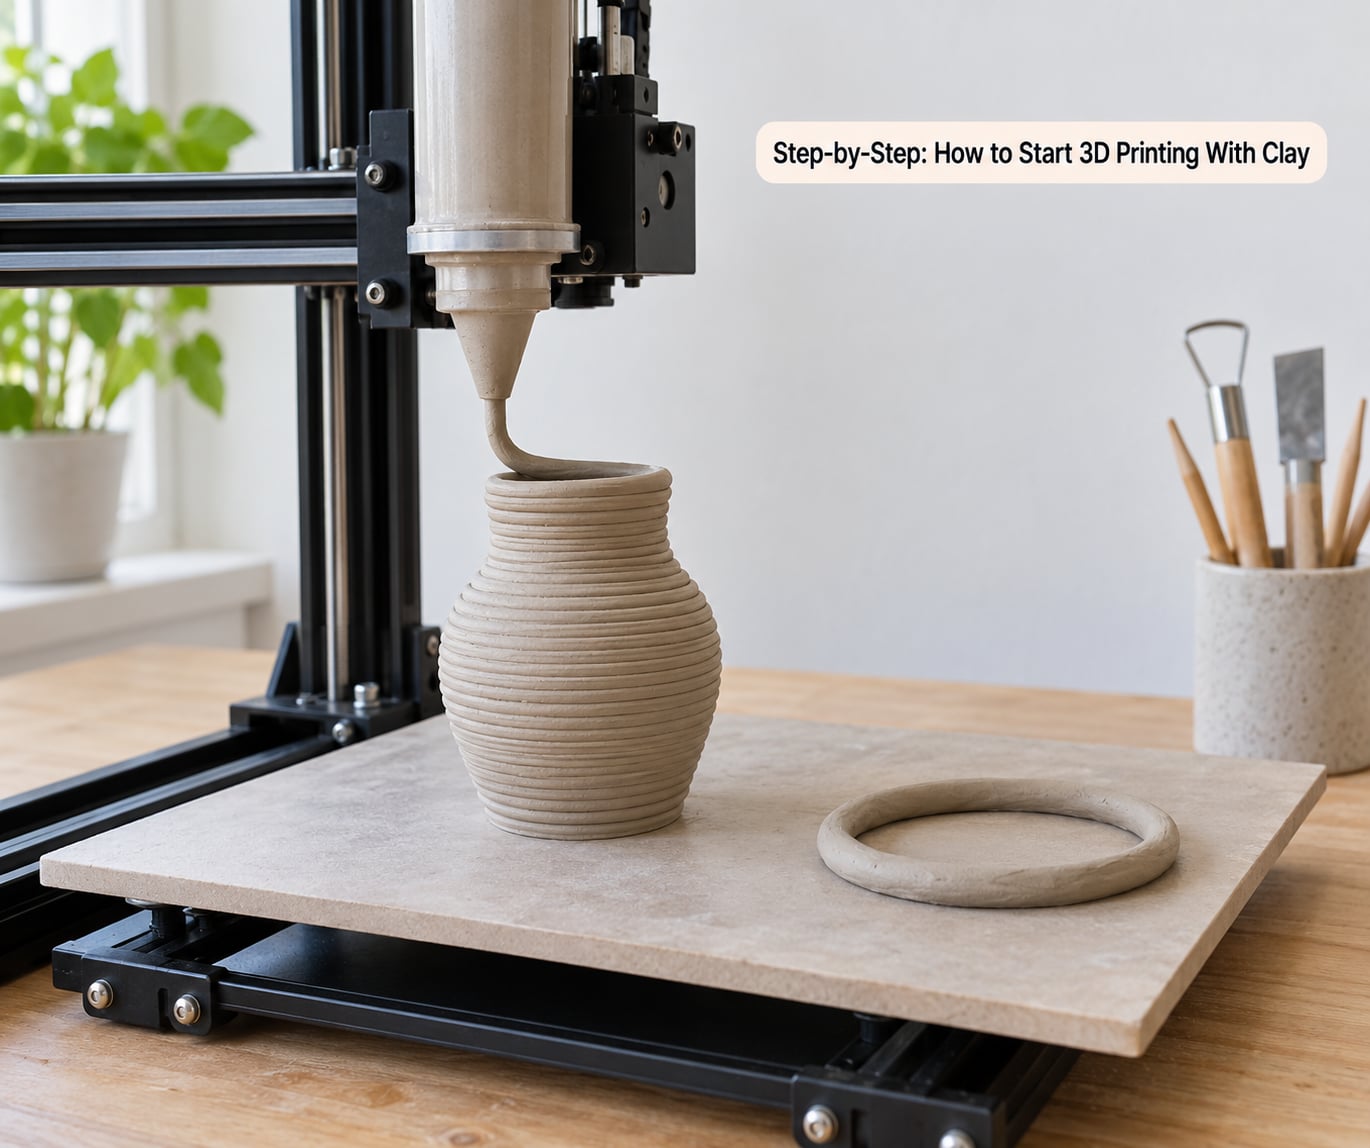
The sequence below runs from model choice to a sealed finished piece. It is roughly a two-day arc: an afternoon of setup and printing, then several days of drying you can walk away from.
Choose a Simple Test Model
Pick a small model with a flat base, walls of consistent thickness and no severe overhangs, because geometry decides whether a first clay print succeeds more than any setting does. Clay is soft and it slumps under its own weight, so any surface that leans out past vertical will droop and drag the layer below it out of alignment.
A small vase, a bowl or a solid decorative form are the safest first prints. A vase printed in spiral or vase mode uses one continuous outer wall, which is the single most forgiving thing you can ask a clay printer to do. A bowl is similar but adds a floor, and a flat, solid base. A solid decorative form works too, just expect drying problems, because a thick mass of clay holds water in the middle long after the surface has firmed up.
Avoid handles, thin spokes, horizontal shelves and anything with an undercut. Also avoid models scaled to a real-world size without thinking about shrinkage. A 50/50 clay-and-water body by volume shrinks up to 15% per dimension during drying, plus a further 5 to 10% in firing. Scaling the model up by roughly that amount means the finished pot matches the size you modelled.
The second principle is wall thickness. Make walls thicker than your instinct suggests. A printed line is a bead sitting on a bead, and a wall that is one line thick has almost no structural integrity once it is wet. Two to three lines of bead per wall is a more sensible starting point for a beginner, and it is easier to dry evenly.
Prepare the Printer and Build Plate
Check that the extruder and barrel are fitted correctly and that the screw turns freely by hand before you power anything on. Loaded clay sitting in a barrel for days turns into a plug, so if you are not printing today, empty it or keep it sealed and conditioned.
For a clay filament printer, this is the point where compatibility matters most. A machine rated for hard engineering filaments may not have the drive force for a soft clay-like filament, and a nozzle that is too small clogs constantly. For wet-clay extrusion, most machines run with the hot end essentially cold, because the material is already plastic and you do not want to drive off water. Follow the machine’s own documentation on nozzle temperature rather than assuming a value.
Level the build plate. Wet clay is heavy, and a plate that is even slightly out of level gives you a pot that is thicker on one side and thinner on the other, which then cracks as it dries. Level it with the clay base layer already on, not before, since the base changes the height.
Prepare the plate next. Wipe it clean, roll a thin even layer of clay across it, and score the surface lightly in a crosshatch. The score lines give the nozzle something to press into. Then check the visual: the layer should be uniform in colour and thickness with no dry crust, no bare metal and no standing water. If you can see any of those three, fix it before printing.
Load the Clay and Set the Profile
Wet clay has to be conditioned before it goes in. Run it through the pug mill until it is uniform, then rest it sealed so water distributes evenly through the mass. Freshly pugged clay often holds pockets of trapped air that show up as bubbles in the printed bead, so resting it overnight is worth the wait.
Clay filament is a different material. It is a plastic clay composite that can absorb moisture from the air, and damp filament prints badly: it bubbles, it strings, and layers bond weakly. Dry it in a filament dryer or a controlled box first, keep it sealed in a bag with a desiccant, and load it dry. If you bend the strand and it creases rather than snaps cleanly, it is still damp.
Load the barrel or feed the filament, purge a short length, and look at what comes out. For wet clay, extrude a short line onto the plate and press it with a finger. It should hold its shape and take a fingerprint without tearing. Too soft and it slumps into a puddle; too stiff and the screw stalls or the bead comes out ragged. If the supplied clay is on the firm side, community advice is to make it slightly softer than the manufacturer ships it.
Set the profile with that test result in mind. Start the flow rate low, at under half for supplied clay, since underextrusion is easy to fix and overextrusion is not. Keep your XY print speed conservative until you know the machine. Use a layer height matched to your nozzle so beads overlap properly, keep cooling low or off if your machine allows it since rapid cooling stiffens the clay too early for the next bead to bond, and drop infill or use none for hollow vessel prints.
Retraction is worth understanding. In plastic printing, retraction pulls string back into the nozzle during travel moves. With clay the same action can suck air into the extrusion path and make feeding inconsistent, so many clay profiles disable it entirely and rely on slower travel or a wipe. If your machine has retraction, start it off and only add it back if you see stringing you cannot solve any other way.
Slice the Model and Check the Layers
Orient the model flat-side down on the plate. For a vase that is obvious, but for anything with a curve it is the difference between a successful print and a slumped one. Centre the model too, because a long bed travel puts more time between beads and lets the layer stiffen unevenly.
Slice the file and inspect the preview before you commit a single minute of print time. You are looking for four things.
- A solid first layer. It should read as one continuous filled area with no gaps between the bead and the plate underneath.
- Continuous perimeters. Outer walls should be unbroken loops, not dashed lines.
- Visible infill. For a solid print you should see internal structure between the walls; for a vase-mode print, no infill at all is correct.
- Clean travel moves. Moves between features should not drag across finished surface. A line crossing your wall in the preview means the machine will plough through it.
If the preview looks weak or disconnected, fix it before printing. Gaps in the first layer mean raising the nozzle slightly or lowering flow there. A weak-looking wall means more beads or a smaller layer height. Infill crossing travel moves means you need a travel-avoidance setting, a lower infill percentage, or a reoriented model. Never start a print you have doubts about: with wet clay, an hour in is an hour you cannot get back.
Print the First Layer and Monitor the Part
Start the print and stay for the first three or four layers. This is the only window where a problem is cheap to fix.
Good first-layer adhesion looks like the bead pressed into the scored clay base, spreading slightly wider than its own width, and staying put. The bead should be continuous, roughly even in width, and glossy from moisture. A bead that sits on top as a distinct rope with a visible gap under the edges means too little Z compression. A bead that is scraped flat and thin means too much, and you will strip material off the plate.
Then check the pattern. Perfectly repeating, evenly spaced beads mean the extrusion is consistent. Uneven width with the same path means your flow rate and your speed are mismatched, or the clay pressure is surging. Bubbles inside the bead mean air in the barrel, and the cure is more conditioning, not a higher flow rate.
Four failures are common enough to name here.
The print stops mid-line. That is a clog, an air bubble blocking the barrel, or clay that has stiffened where it sits. If the material is clearly not flowing, stop the print. Pushing through a clog on a soft material risks snapping the screw or the drive.
Layers shift sideways. The part is leaning or stepping. Almost always this is speed, adhesion, or both. Slow the XY speed and confirm the first layer is bonded. A part that printed fine at low speed and then shifted later is usually a layer bonding problem, not a speed one.
Layers separate or crumble. The bead is landing on a layer that has already stiffened. Slow the print, cut cooling, or both, and consider whether the room is cold and dry. Warm, slow prints bond better.
Cracks appear while printing. The edges are drying too fast, usually from airflow across the plate. Shield the part from direct air and slow things down.
Once the layers look consistent, let the machine run. Check in periodically, and keep your hands off the plate. You cannot feel whether a wall is thick enough without touching it, and touching it deforms the piece.
Remove, Dry, and Finish the Print
Handle the fresh part as if it were a bowl of unset custard, because that is roughly what it is. Do not lift it by a thin wall. Slide a rigid plastic or metal sheet under the base and lift from below, then carry it level.
Removal depends on your plate. With a peelable acrylic layer, flex the layer gently away from the base and the pot comes with it. With a fixed steel plate, use a wire cutter run under the wall while supporting the piece with your other hand. Forcing a part off with a scraper will distort it, and any distortion shows up as a crack later.
Drying is where most first clay pieces are lost. Dry slowly, in shade, with even airflow, and do not rush it with a fan pointed at the piece. Clay shrinks as water leaves, and a piece that dries on one side faster than the other develops tension across the surface and splits. Turn the piece occasionally and move it around so no face sees the same airflow the whole time. Support it so the weight of soft clay does not deform the base; a scrap of foam board the size of the footprint is enough.
The finished dried clay before firing is called greenware. It is fragile, it is still water-free but not fully dry to the core, and it is where shrinkage has already taken most of its total.
Trim and sand any rough bottom or seam once the piece is fully dry. Then decide whether to fire it. Wet clay printing is fundamentally a ceramics workflow: greenware goes into a kiln for a bisque firing, then a glaze firing. Potters describe glaze firing in cones, a pyrometric measure of how hot the kiln actually got relative to a standard sample.
If you want a finished look without a kiln, you can seal and paint instead. That suits clay-like filament prints rather than wet clay, because the two behave very differently. Filament prints come off the bed already solid and dimensionally stable, need only a light dry to remove surface moisture, and take primer, acrylic paint and a clear coat without any firing at all. Wet clay needs a kiln to become permanent, and it needs to reach one.
Whichever path you took, scale your model up before you print if you want a specific finished size. That single step is where most beginners get their first surprise at the dinner table.
Common 3D Printing With Clay Mistakes and Fixes
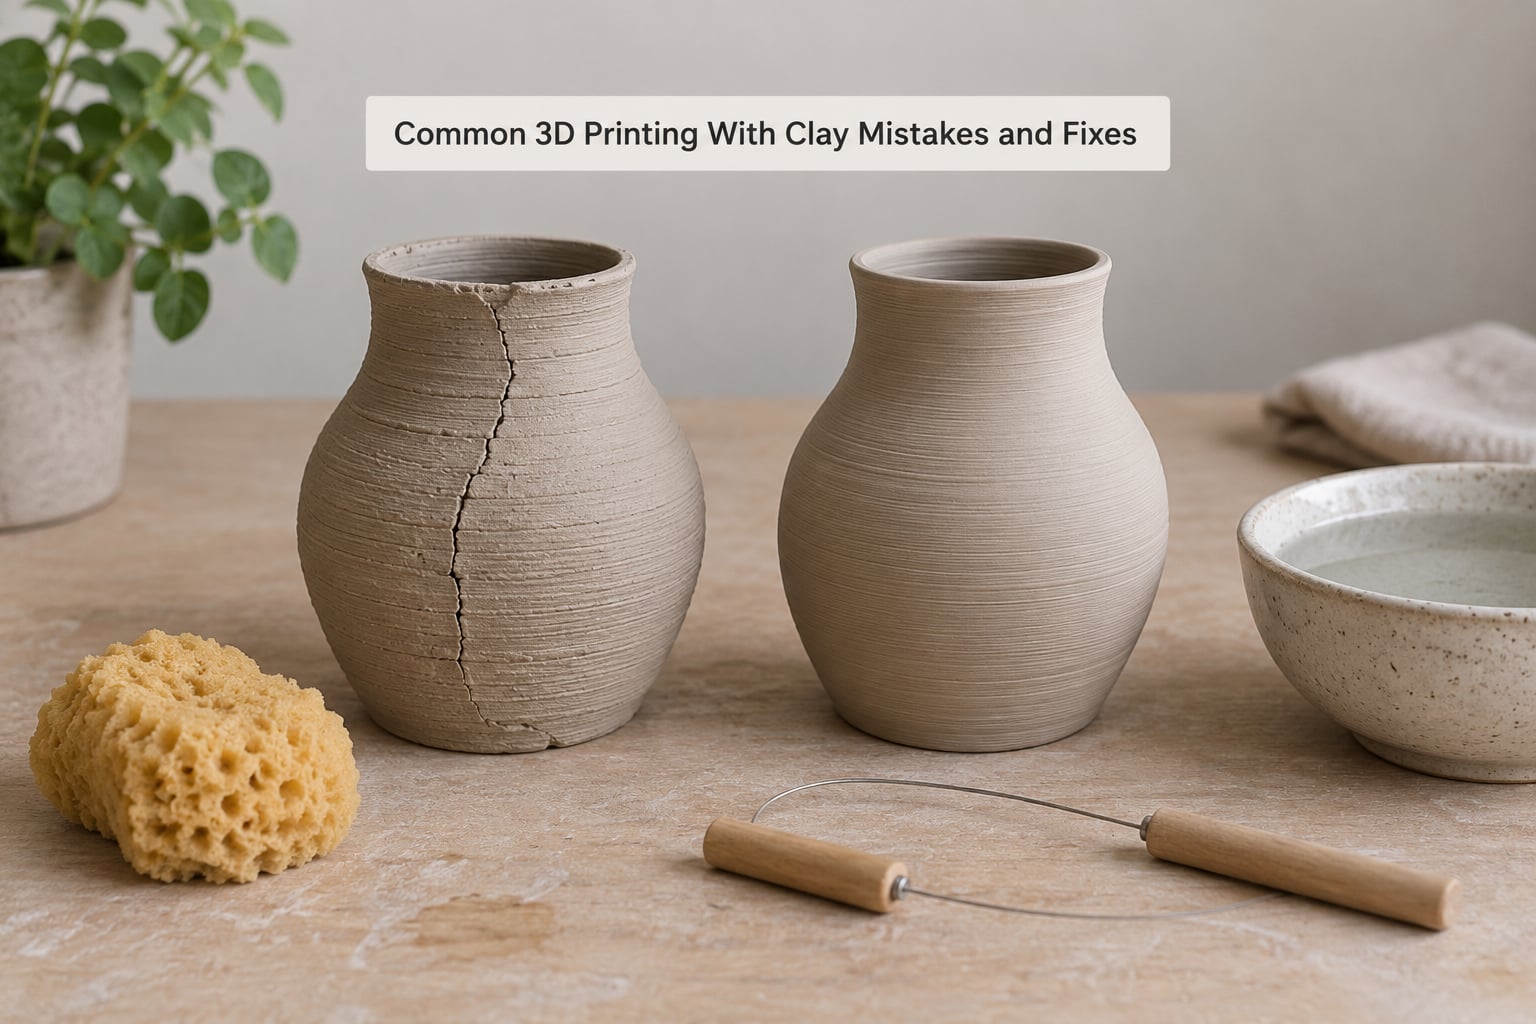
Almost every clay print failure below traces back to one of three things: clay consistency, speed, or the moisture the piece picks up after printing. Work down the list from the symptom you actually see.
- First layer will not stick to the plate. Usually no adhesive layer, or a plate that is dusty, greasy or too dry. Roll a fresh layer of wet clay on the plate and score it, and clean and rewet before every print.
- Print shifts or leans partway up. Too fast for the layer height, or a poor first-layer grip. Drop XY speed by a third, confirm the first layer is squashed into the base, print again.
- Extrusion stops mid-line. Clay too stiff, air trapped in the barrel, or a partial clog. Stop the print, empty and recondition the barrel, re-pug or soften the clay, purge before restarting.
- Beads come out uneven or gappy. Flow rate and speed mismatched, or clay pressure surging. Lower speed first, then trim flow until the bead width matches the layer height, and re-condition the clay between runs.
- Air bubbles in the printed bead. Air in the clay body or the feed path. Pug the clay again and let it rest sealed before loading, and check the barrel seals.
- Layers separate when touched. Part cooling too fast, or too much time between passes. Reduce or disable cooling, slow travel moves, and print in a warmer room.
- Edges lift or the piece cups upward. Drying too fast on one side, usually from airflow. Shield the part, remove direct fan or heater air, and slow the print so the surface stays damp.
- Cracks appear during drying. Uneven drying, or a solid core still holding water. Dry slower with even airflow, cover loosely, and add slip to thicken weak spots before drying begins.
- Stringing between features. Oozing from the nozzle, often damp clay-like filament. Dry the filament fully, check nozzle temperature against the maker’s range, and add a small amount of retraction if the machine supports it.
- Clogged nozzle within minutes. Nozzle diameter too small for the clay, or cold-climate filament. Fit a larger nozzle recommended for clay and keep the filament sealed and conditioned.
- Printed pot is smaller than the model. Drying and firing shrinkage not compensated. Scale the model up before slicing, using your clay body’s published shrinkage figure.
- Solid print explodes in the kiln. Trapped air pockets inside a solid volume. Print surface-only or hollow forms with drainage, or model the solid as a shell.
Before you print, three habits prevent most of that list. Condition the clay the day before, not the hour before. Print a small control object whenever you change the clay, the speed or the room. And write down your settings each run, because clay behaves differently every time and the only way to know what changed is to have written it down.
After you print, the habit that matters is patience. Leave the piece alone for the first day, keep airflow even rather than strong, and resist the urge to help it along with a hairdryer. Nearly every cracked first pot in a ceramics studio cracked because somebody was in a hurry.
Frequently Asked Questions
What type of 3D printer can print with clay?
Any machine with a strong, direct-drive motion system can be adapted, but purpose-built clay printers are easier because their screw extruder and barrel are sized for soft material. Many beginners start by using a clay printer at a university, ceramics studio or maker space rather than buying one. If you convert an existing FDM printer, budget a weekend, and check that the extruder can push your chosen clay body without stalling. Barrel capacity matters more than build volume for how long a print can run.
Do I need to dry clay filament before printing?
Yes, if you are using clay-like filament rather than wet clay. These materials absorb moisture from the air, and damp filament prints with bubbles, heavy stringing and weak layer bonding. Dry it in a filament dryer or a controlled box, then store it sealed with a desiccant. A quick bend test tells you: a strand that creases instead of snapping cleanly is still wet. Wet clay bodies behave differently, since they are already plastic and need conditioning rather than drying.
What temperature should I use for clay-like filament?
Follow the maker’s published range, which is usually well below what hard plastics need. Going hotter softens the clay too much, so it oozes, strings and loses detail at fine features. Going colder can cause the nozzle to clog repeatedly because the material will not melt smoothly. If your printer cannot hold a stable temperature at that range, that is a sign it is not the right machine for clay filament. In the same vein, most wet-clay extrusion machines run with the hot end essentially cold, because the body is already plastic.
How do I stop a clay print from cracking while drying?
Dry it slowly, evenly and out of direct air. Cracks come from tension, and tension comes from one face losing water faster than the rest. Keep the piece in shade with gentle circulation, avoid pointing a fan or heater at it, and turn the piece occasionally so no face sees the same airflow the whole time. Support the base so its own weight does not deform it. Expect several days rather than hours, and resist using a hairdryer to hurry things along.
What build plate works best for clay 3D printing?
A rigid, flat plate that can hold a wet clay base layer: powder-coated steel or textured acrylic both work well. A laser-cut acrylic layer you can peel off and re-stick is convenient, because a pot that bonds to the clay base can be released by flexing the layer rather than prying the piece off. Whatever the plate, prepare it before every print with a hand-rolled layer of wet clay scored lightly with a needle tool. A clean, evenly damp plate with no dry crust and no bare metal is the sign it is ready.
What is the easiest clay 3D printing project for beginners?
A small hollow vase, printed in spiral or vase mode. It uses one continuous outer wall, which is the most forgiving thing you can ask a clay printer to do, and it needs no supports and very little cleanup. Keep it under roughly 15 cm tall so the print finishes while your settings are still fresh. Scale the model up by the shrinkage figure printed on your clay body, since pieces lose roughly 15% per dimension while drying and a further 5 to 10% in firing.
Where to Start First
Find a clay printer you can borrow before you buy anything. Book time, bring a small vase model you have already scaled for shrinkage, and spend your first session conditioning clay and printing a control object rather than anything you care about. Two hours of that teaches more than a weekend of reading settings tables.
Write down your clay, flow rate, speed and layer height on every run, including the runs that fail. The medium is wonderfully forgiving and completely inconsistent run to run, so the notes are the only thing that will make your second print better than your first. Once a vase comes out clean, move up to a planter, and only then to solid sculptural forms where drying becomes the hard problem.