3D printed formwork for concrete is a mould built by additive manufacturing instead of cut from timber, steel or sheet plastic. You print the mould, fill it with liquid concrete, let the concrete cure, then strip the mould away and reuse it for the next pour. It earns its keep on complex shapes, one-off elements and small production runs where a carpenter would be building a throwaway box that gets smashed by a concrete truck on day one.
The idea sounds simple, and the workflow genuinely is a fairly normal design-to-print pipeline. The hard parts sit in two places: the printed shell has to survive the pressure and heat of a real pour, and the design stage takes far longer than the print stage ever will. A poster in r/Construction described months of CAD work for a job that came to about 14 to 15 hours of printing, and that ratio shows up often enough that it should shape your expectations from the start.
This guide walks through what the technique is, how it works end to end, where it genuinely helps, and where it will frustrate you. It is written for makers, designers and engineers who have handled concrete before but have not thought of a printer as a carpentry tool. It is not a substitute for structural review on anything load-bearing.
Table of Contents
- What Is 3D Printed Formwork for Concrete?
- 3D printed formwork for concrete: what it is made of
- How Does 3D Printed Formwork Work?
- What Are the Main Benefits and Limitations?
- How to Design a Formwork Mold for Concrete
- Which 3D Printer and Printing Settings Do You Need?
- How Do You Pour Concrete Into Printed Formwork?
- Can 3D Printed Formwork Be Reused?
- What Does 3D Printed Formwork Cost?
- Where Is 3D Printed Formwork Used?
- Frequently Asked Questions
- Can 3D printed formwork be used for load-bearing concrete?
- What is the best material for 3D printed concrete formwork?
- Is 3D printed formwork waterproof?
- How do you remove concrete from 3D printed formwork?
- Is 3D printed formwork more environmentally friendly than timber?
- Conclusion
What Is 3D Printed Formwork for Concrete?
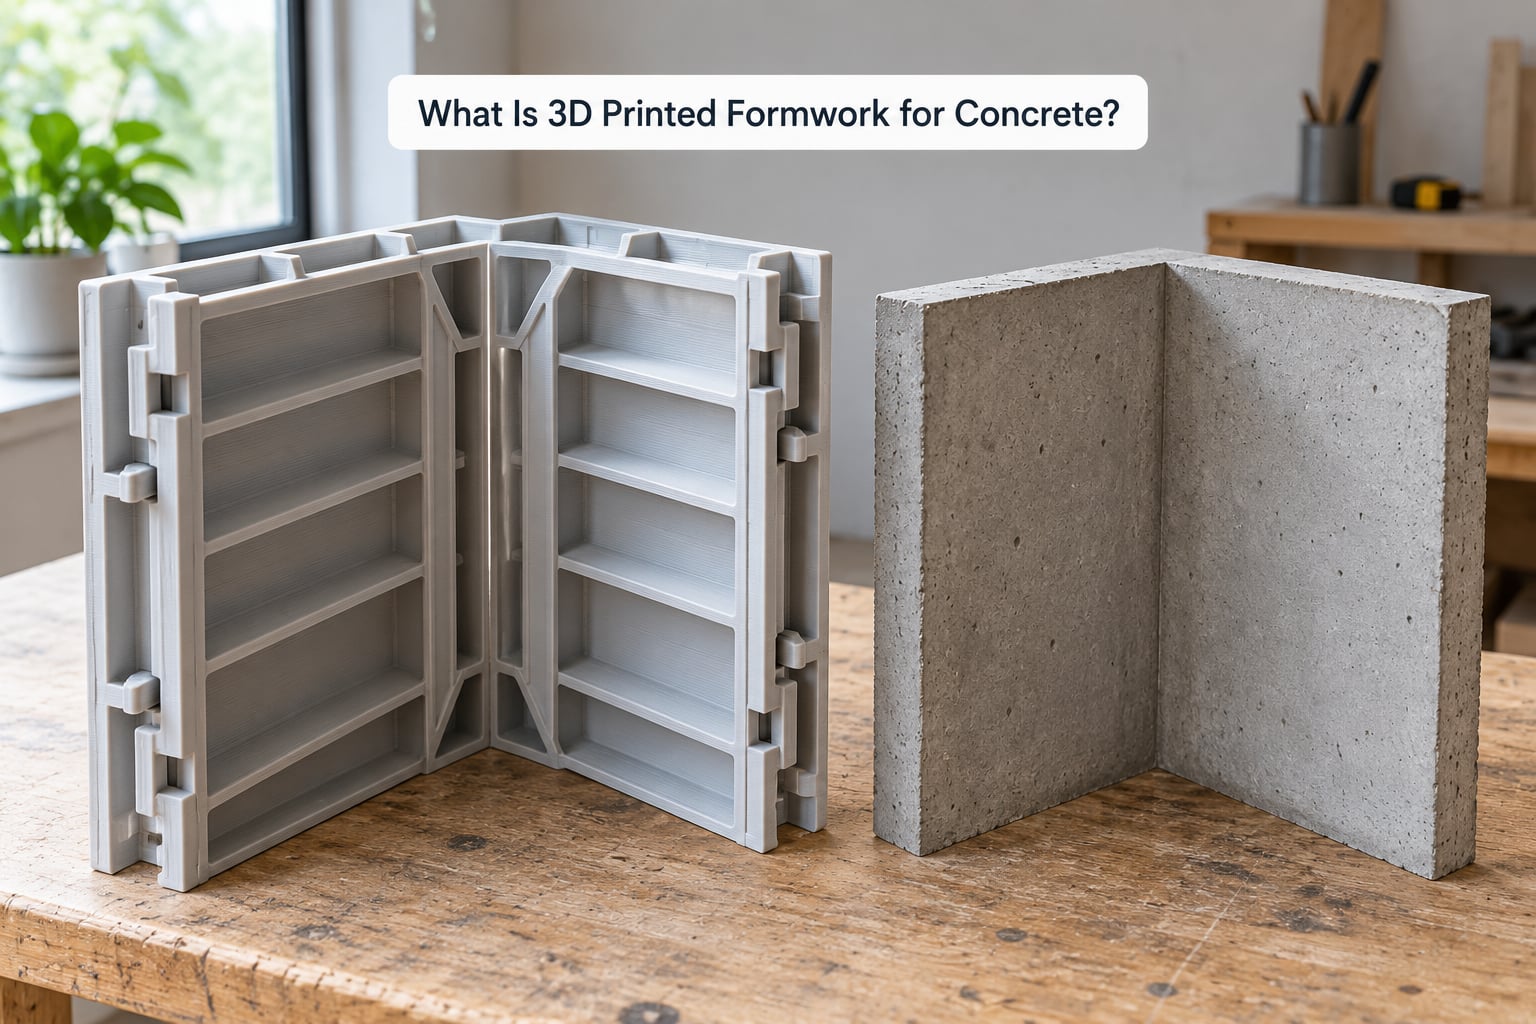
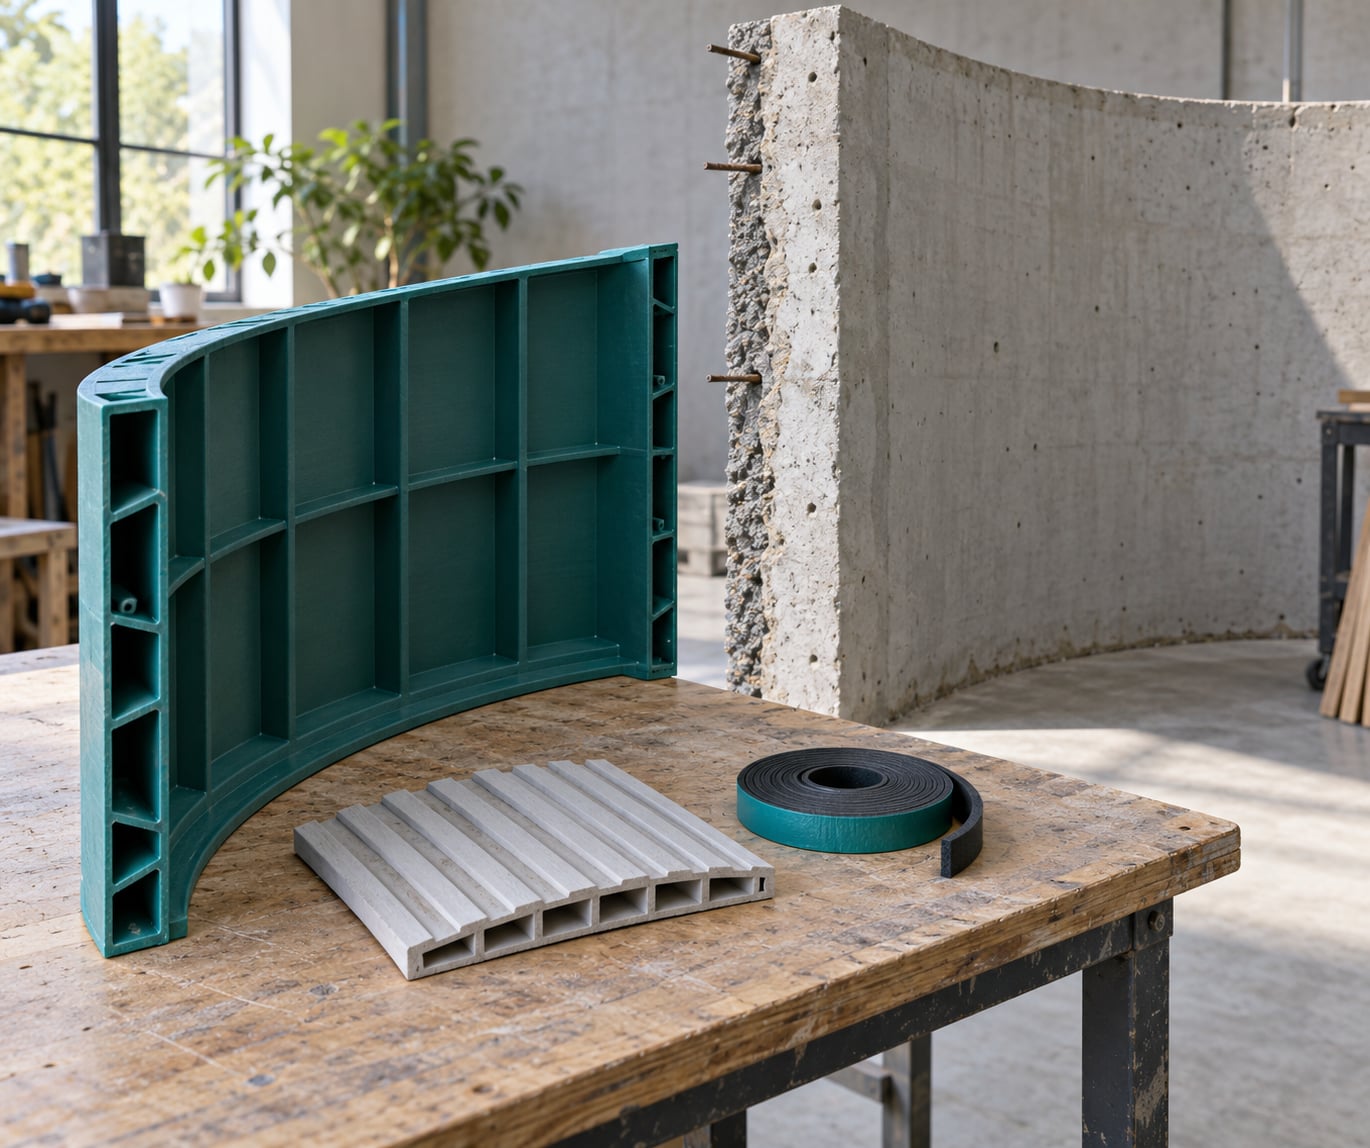
Formwork is the temporary or permanent mould that holds wet concrete in shape until it hardens. Everything you already know about timber formwork applies: it defines the geometry, it carries the weight of the wet mix plus the pressure it creates, it controls the surface finish, and it has to survive being struck and cleaned without warping.
3D printed formwork is the same job done with a layer-by-layer extrusion process. A CAD model of the mould is sliced into layers and deposited by a large-format FDM or robotic gantry machine, sometimes in a polymer, sometimes in wax, sometimes in bonded sand. The part that comes out of the machine is not the finished building. It is the tool that makes the finished building, which is the single most common misunderstanding on this topic.
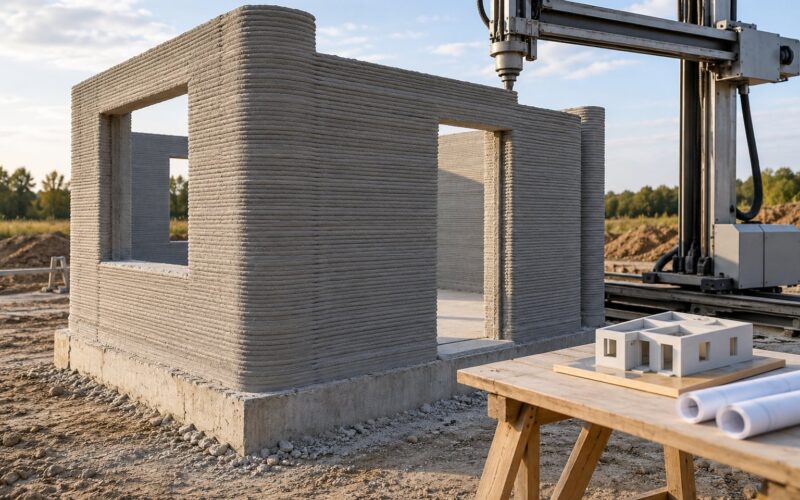
That distinction matters more than it sounds. Printing the mould and printing the structure use completely different machines, materials and physics. A concrete-printing nozzle deposits a cementitious mix that sets into a structural element. A formwork printer deposits a plastic shell that is filled with concrete and then thrown away or stored. If a page mixes the two, it is talking about two separate industries.
It is worth also separating printed formwork from stay-in-place formwork, sometimes called lost or permanent formwork. Stay-in-place formwork is designed to stay bonded to the concrete as part of the finished element, much like a void former. A printed mould that you strip and reuse is conventional formwork, just made by a different process. Printed parts can be either, and the choice is a design decision rather than a property of the printing method.
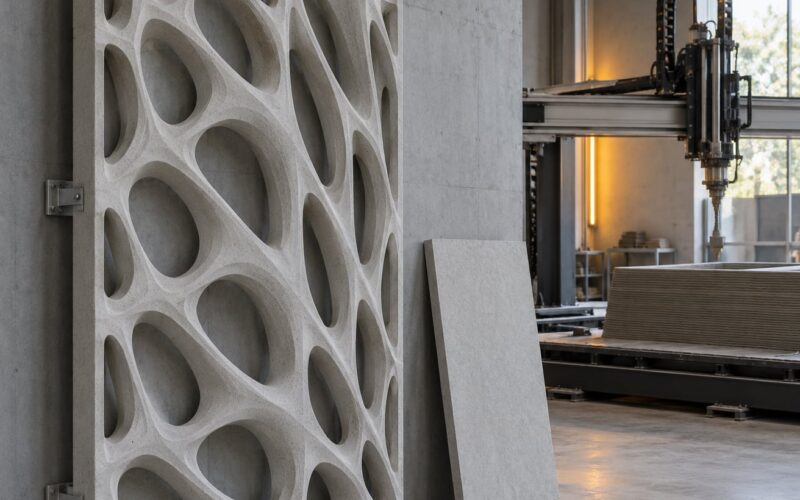
Where it is genuinely useful: double-curved and ribbed surfaces, one-off architectural elements, restoration work where the original geometry has to be matched from a scan, low-volume precast, and integrated detail like a recess for a service or a cast-in pattern. Where it is a poor fit: long runs of identical straight panels, where a reusable steel or plywood system will beat it every time on cost and cycle speed.
3D printed formwork for concrete: what it is made of
Material choice is decided by the pour, not by the printer. Three things decide it: how hot the concrete gets inside the mass, whether the mould gets wet, and how many times you need it back. Fresh concrete generates real heat as hydration proceeds, and a thin plastic shell sitting against it can soften, creep or distort long before the concrete is ready to strike.
| Material | Heat resistance | Rigidity when printed | Typical reusability | Best fit |
|---|---|---|---|---|
| PLA | Low, softens around 55 to 60 C | Moderate, stiff but brittle | Few pours, small parts | Mock-ups, low-volume trial moulds, not mass pours |
| PETG | Moderate, better than PLA but still limited | Good toughness | Several pours with care | Small decorative and prototype forms |
| ABS and ASA | Better than PLA, still heat-limited | Good, printable larger parts | Several to a dozen pours | General medium-size moulds with an insulating layer |
| Nylon composites | Good among thermoplastics | Very good, tough, needs moisture handling | Many pours | Reusable shells that see real service |
| Resin (SLA or SLS) | Varies by formulation, check the data sheet | Very high, but brittle at thin walls | Many pours, brittle failure mode | Detailed texture and sharp-edged cast surfaces |
| PVA soluble support | Low, not for hot pours | Fragile, meant to be dissolved | Single use by design | Creating internal voids and undercut geometry |
| Wax | Good, higher melting point than the thermoplastics above | Low, needs rigid support | Recyclable, limited cycles | Zero-waste and sacrificial casting concepts |
| Bonded sand | Excellent, inert | Low as a thin shell, strong when thick | Several uses, brittle when struck | Full-size architectural forms and complex curves |
Two caveats on that table. The numbers are typical rather than guaranteed, and a thermal data sheet beats any article including this one, so check the specific formulation you plan to buy. And the practical winner for a reusable shell is usually a printed outer skin with a stiffening layer, such as a composite skin or a bonded coating, because a thin printed wall deflects under hydrostatic pressure long before it fails in heat.
Researchers at ETH Zurich, working through Gramazio Kohler Research, took the opposite approach with their eggshell concept: an ultra-thin printed shell designed to be destroyed and recycled after the pour. Jipa and colleagues reviewed the whole field in a 2022 paper in 3D Printing and Additive Manufacturing, covering the trade-offs above in far more depth than fits here.
How Does 3D Printed Formwork Work?
The full cycle runs from a digital model to a stored, cleaned mould ready for the next pour. Nine steps, and only two of them involve the printer.
- Define the geometry. Model the concrete element, not the mould. Geometry that is hard to draw is exactly the case where printing pays off, so start from the finished surface and work backwards.
- Model the mould as a shell. Give the shell a wall thickness, a rib pattern and a parting line. Every millimetre of thickness you add buys stiffness, and it also adds print time and material.
- Check it fits the machine. If the part exceeds the build volume, you will be splitting it into modules and joining them on site. Plan those joints early, because a seam is the weakest point in the whole assembly.
- Slice and orient. Orientation sets the layer direction, and layer direction is where bending strength comes from. Print ribs vertically where you can, and keep the seam line away from where the concrete surface is most visible.
- Print. Large-format machines such as a gantry system handle metre-scale parts; a desktop printer can produce a sub-section or a detail mould, not a whole wall form.
- Assemble and post-process. Bolt the modules to a rigid frame, mill or sand the mating faces, and apply any release coating. Rigid backing is the cheapest way to stop deflection.
- Seal, brace and place reinforcement. Printed shells are not watertight by default, so seal the joints and every penetration. Brace against hydrostatic pressure from the wet concrete, not just the weight of it.
- Pour and consolidate. Pour at a controlled rate, consolidate with vibration or a poker, and watch for leakage at the seams. Keep the pour cold or insulated enough for your chosen polymer.
- Strike, clean and store. Strip while the concrete is still green enough to release, then wash, dry and inspect before the next cycle.
The printed component is a tool throughout. It is not bonded to the structure unless you deliberately design it as stay-in-place, and the concrete is what ends up carrying load.
What Are the Main Benefits and Limitations?
The honest summary is that printed formwork trades a cheap, predictable, reusable box for a cheap-to-design-freedom box that is expensive to repeat. Here is how it lands across the criteria that matter.
| Criterion | How printed formwork performs |
|---|---|
| Complex and double-curved geometry | Strongest advantage. Curvature that would need a full timber frame comes off a machine with no templates. |
| Customisation per element | Change the model and reprint. No re-tooling, no second trip to the timber yard. |
| Labour and assembly | Fewer hours of carpentry on site, but more hours in CAD. Total effort often shifts rather than disappears. |
| Repeat use | Weak against timber and steel for long runs. Printed shells wear, creep and lose sealing at the joints. |
| Scale | Bounded by the printer. A one cubic metre build volume, as on a BigRep ONE, means most wall forms ship as modules. |
| Surface finish | Layer lines transfer to the cast face unless the mould is machined or textured deliberately. |
| Structural performance of the cast item | Unaffected. The concrete and its reinforcement do that work exactly as they would in a timber mould. |
| Permeability and leakage | A risk. Seams and fastener holes leak unless the shell is sealed and the frame is stiff. |
| Environmental impact | Less material waste than cut sheet, but a polymer footprint and an energy cost for printing. Not automatically greener. |
On the money question, the most repeated figure in this field is that formwork accounts for roughly 40 to 60 percent of a construction budget on complex shapes, a number vendor pages like BigRep’s quote and the 2022 review literature also leans on. Reduce the formwork effort and you reduce a large slice of the build cost. That is the commercial case, and it holds best on one-off work.
What printing does not do is make low production effort the same as low environmental impact. Printing consumes filament, machine hours and post-processing, and the printed shell then has to be recycled or landfilled. A reusable steel form used 200 times beats a printed form used twice on total material throughput. Claim the productivity win where it is real.
How to Design a Formwork Mold for Concrete
Design for stiffness first and everything else follows. A printed shell fails by bulging outward under concrete pressure, and a bulge ruins the cast surface and the dimensional accuracy at the same time.
Add draft angles to every vertical face that has to release. A couple of degrees is usually enough, and a half-degree difference decides whether you strip the mould cleanly or chip concrete off it.
Rib the back of the shell instead of thickening the walls evenly. Ribs give bending resistance for far less material and print time than a uniformly thick wall, and they leave a patterned surface on the concrete unless you place them carefully. Wall thickness commonly starts somewhere in the 6 to 10 mm range for printed parts backed by a frame, but the right number depends on your span and your printer, so treat that as a starting point rather than a rule.
Plan the parting line so the mould splits where concrete would naturally want a joint anyway. Avoid parting lines that run across a face that will be seen. Put fasteners through flanges rather than through the face, and locate them where the concrete will cover them.
Size the panel to your build volume and to what two people can carry and plumb. Smaller modules mean more joints, and every joint is a sealing and alignment problem, so the sweet spot is usually the largest panel that fits the machine and can be squared up on site.
Handle drainage and release deliberately. A slight fall to one corner stops a residue puddle; a release agent or sacrificial coating keeps the surface off the shell. Add lifting points into the frame rather than relying on the shell, since printed lugs are a frequent first failure.
Finally, print orientation is a structural decision, not a packaging one. Set it so layer lines resist the pressure direction rather than sitting in it. If you are reverse-engineering an existing object, scanning the original and repairing the mesh usually takes longer than the print did.
None of this substitutes for an engineer’s review on a structural element. Concrete pressure, reinforcement placement and any load path need to be checked by someone qualified, and on most sites by the person who signs off on the drawings.
Which 3D Printer and Printing Settings Do You Need?
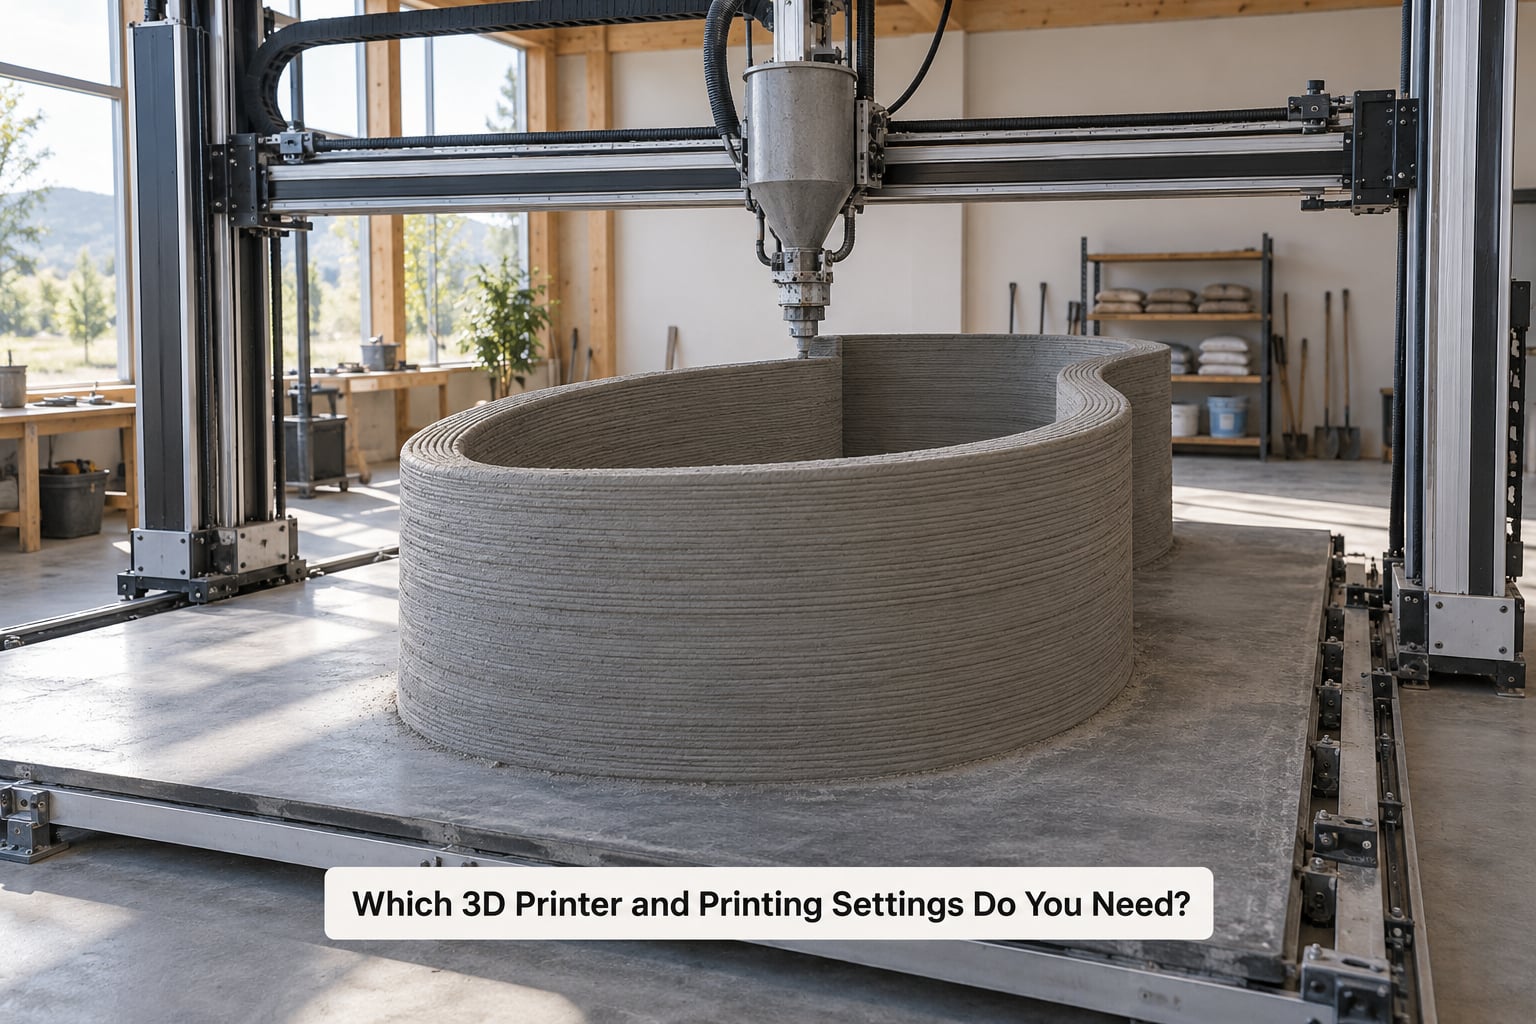
Match the machine to the size of the element, not the other way round. A desktop printer in the 200 to 300 mm build class can make detail moulds, texture panels, stair profiles and small one-off pieces. It cannot make a wall form. A large-format FDM machine in the metre class produces full panels and facade elements. Robotic arm and gantry systems move beyond that and are what the published projects use for building-scale work.
Build volume is the number people underestimate. Check the diagonal as well as the width, because a tall narrow form will not fit a box that looks large enough. If your part does not fit, you are into modular assembly and the design changes completely.
Capability matters more than headline size: a heated and controllable chamber, a nozzle and hot end rated for the material, closed-loop rigidity against vibration, and a build plate that stays flat under the weight of a large part. A metre-scale shell is heavy. Warped plates produce warped moulds.
On settings, treat anything you read as a starting point for your specific machine. Perimeters matter more than infill for stiffness, so lean on wall thickness and extra perimeters near the ribs. Moderate layer height helps bonding between layers. A sensible first experiment is a small ribbed test panel: print it, load it against a known force, and measure the deflection before you commit a 14-hour job to a wrong orientation.
Ventilation is the part people skip. Heated polymers give off fumes that need extraction, and a workshop next to a finished concrete pour is a bad place to be printing all night. Resin printing adds its own ventilation and handling requirements.
How Do You Pour Concrete Into Printed Formwork?
The pour side is where printed moulds get tested. Work through it in this order.
Seal first. Printed shells leak at seams, around fasteners and around any service penetration. Seal every joint before the reinforcement goes in, and seal generously, because discovering a leak mid-pour with concrete in the void is a bad afternoon.
Frame and brace second. Attach the printed shell to a rigid independent frame so the concrete pressure goes into the frame and the ribs, not into the printed layer bonds. Check the braces against the calculated hydrostatic load for the full pour height, not just the weight of the mix. A three-metre column of wet concrete puts a serious outward load on every surface.
Place reinforcement and any cast-in services next. Printed moulds are good at forming the recesses that services need. Give yourself more cover and more fixing than a timber mould would, since the shell is not a structural element and should not be relied on.
Pour slowly and consolidate. Lift the pour rate so the head of concrete rises steadily, and consolidate with a poker or vibrator. If you see the shell move, stop and shore before continuing.
Watch the temperature. This is where PLA moulds fail. Concrete that is mass-poured or cast in hot weather can exceed what a thermoplastic shell tolerates, and a deformed shell produces a deformed wall. Insulating blankets or a cooler mix solve this more often than a stronger plastic does.
Cure and strike on schedule. Strip while the concrete is still workable for its strength class, following your mix design and the spec for the element. Then clean, dry and inspect.
Concrete is caustic, the mix is heavy, and unsupported shells can fail without much warning. Work with proper lifting equipment, a bracing plan and the personal protective equipment a site requires, and put a qualified person in charge of anything structural.
Can 3D Printed Formwork Be Reused?
Yes, but with a lower expectation than timber and steel. Reuse count is set by the material, the geometry, the pressure it carried, the chemistry of the mix and how it was stored between pours. Printed shells that see real service typically do a handful of cycles; a nylon or composite shell in a well-designed reusable system goes further. A sacrificial soluble or eggshell mould is not reusable at all, by design.
University of Michigan’s DART Lab reported a useful data point on their MinMax project: a printed GFRC formwork reused eight times in under four days, which shows what a fast turnaround cycle can do.
Between pours, run this routine. Wash off residue while it is still fresh, because set cement left on a shell changes the surface permanently. Dry it fully before storing, since trapped moisture encourages residue growth in porous prints. Check for surface cracking around ribs and fastener holes, and look at the parting line for wear. Check the frame and all fasteners for movement. Look at every sealed joint for lifting, and re-seal anything that has opened. Check flatness of the panel on a known surface, because a bowed shell silently produces out-of-tolerance concrete.
Retire a shell when cracks run through a rib, the wall has visibly thinned, the flatness is gone, or a seal can no longer hold. Patching a printed shell with more of the same material is possible, but at that point a new print is usually faster.
What Does 3D Printed Formwork Cost?
Every cost here is site-specific, so treat what follows as a way to build your own estimate rather than a number to trust. The drivers are print material, machine time, failed prints, reinforcement, formwork hardware, labour and shipping. The biggest surprise for most people is labour, because design time and post-processing time both sit inside the same invoice whether or not you expected them.
Material is usually a minor line once you count everything else. A large-format machine burns tens of kilograms of filament per job and the machine is busy for a long time, and that machine time carries a real hourly cost whether the owner says so or not. Failed prints belong in the estimate too, because large prints fail more often than small ones and a failure late in a long build is expensive.
Hardware matters more than people expect. Bracing, a rigid frame, fasteners, sealing and a release coating can add up to more than the printed shell. Reinforcement and any embedded services are separate line items that the mould must physically accommodate.
For the break-even question, keep it simple. The custom printed mould pays for itself when the number of uses times the cost of an equivalent conventional mould exceeds the total printed cost, plus the labour to design, print, post-process and assemble it. On a single one-off element, a printed mould is often justified anyway, because a bespoke timber form for a complex shape can cost more than the printer. On forty identical pours, conventional formwork wins and printed formwork is the wrong tool.
The floor area versus curve complexity comparison is the useful one. Flat and repetitive favours timber. Curved, ribbed, textured or one-off favours printing. Most projects contain both, and the sensible answer is usually a hybrid: printed forms where the geometry earns it, conventional forms where repetition does.
Where Is 3D Printed Formwork Used?
The proven applications share a shape: a one-off or low-volume element with geometry that conventional formwork handles badly.
Architectural panels and facade elements are the strongest commercial case. Geiger used printed formwork for heritage window frames about five metres tall on a compressed restoration timeline, and Dreßler Bau has worked on custom curtain wall elements. The shape is bespoke and the volume is low, which is exactly where a digital mould pays off.
Precast concrete stairs and bespoke staircases are the classic example, including the NEST prototype stair units and their successors. The soffit geometry is the point, and a timber form for that shape takes skilled carpentry that is hard to find.
Public work fills the same lane. BB Beton in Stockholm prints formwork for large-scale concrete sculptures, where the mould would be single-use anyway.
Lightweight facade systems are being researched actively. The University of Michigan MinMax project targets reusable printed formwork for GFRC, a glass-fibre reinforced mix the project describes as roughly 75 percent lighter than reinforced concrete. University and national laboratory programmes, including the ETH Zurich eggshell research, keep pushing the concept forward.
On the other side of the line sit the experimental ideas: fully recyclable wax formwork, printed concrete that acts as its own stay-in-place form, and shells with embedded sensors. These are research programmes with real papers behind them, not things you should specify for a job next month.
Frequently Asked Questions
Can 3D printed formwork be used for load-bearing concrete?
The mould never carries structural load, whatever material it is printed from. Load is carried by the concrete and its reinforcement, exactly as it would be in a timber form, so a printed mould can be used to cast a load-bearing wall as long as the structure itself is designed, detailed and approved by a qualified engineer. What the mould must do is contain the wet mix and survive the pour. Printed shells are usually thinner, lighter and less stiff than timber, so they need more bracing and sealing. Treat printed formwork as a construction method, not a shortcut around structural design.
What is the best material for 3D printed concrete formwork?
There is no single best material, but for reusable shells nylon composites and glass-fibre reinforced ABS or ASA are the usual choices, because they combine heat tolerance, stiffness and toughness. PLA and PETG work for trial moulds and small pieces but soften near the temperatures reached inside a mass pour, and wax and soluble PVA are single-use options. Match the material to your pour instead of the other way around: know the peak concrete temperature, whether the mould gets wet, and how many cycles you need from it.
Is 3D printed formwork waterproof?
Not by default. A printed shell is a thermoplastic or bonded part with visible layer lines, and it will pass a slow seep at seams, fastener holes and service penetrations if you do nothing. In practice the mould is sealed with a gasket, tape or sealant, mounted in a rigid frame, and checked for leaks with a water test before the pour. If the concrete element itself has to be waterproof, that is a separate specification covering the mix, any membrane and the joints in the structure. The mould’s job is to get a good cast surface, not to keep water out of the finished wall.
How do you remove concrete from 3D printed formwork?
Strip the mould while the concrete is still early in its cure, following the mix design and the spec for the element, before the bond gets strong. Design for release with draft angles on vertical faces, a parting line along a natural joint, and a release agent or sacrificial coating on the shell. If the mould grips, work the seam gently with a rubber mallet and pry bars rather than forcing it, because the shell and the concrete edge are both easy to damage. Wash residue off straight after the pour, while it is still fresh, and dry the mould fully before storing it.
Is 3D printed formwork more environmentally friendly than timber?
It depends entirely on the number of cycles. A printed mould wastes far less material than sheet timber and acrylic cut to shape, and on complex one-off forms it beats building a timber frame you throw away after one pour. But printing consumes polymer and machine energy, and a shell that survives three cycles and goes to landfill is hard to defend. Reusable steel formwork used hundreds of times has the lowest material footprint of anything on site. The defensible claim is less waste per unique form, not a lower total environmental impact across the board.
Conclusion
3D printed formwork for concrete works, and it works best where the geometry is awkward and the quantity is small. The technique replaces carpentry with CAD, and it pays when the shape would otherwise cost you a full timber frame.
Start with three things. Define the concrete geometry and the pour conditions, because they decide the material. Pick a polymer that survives the heat and the cycles you need, not the one that prints prettiest. Then prototype a small ribbed test panel, cast it, and measure the result before you commit to a full-size shell. Get a qualified engineer to review anything structural, and expect the design stage to take far longer than the print.