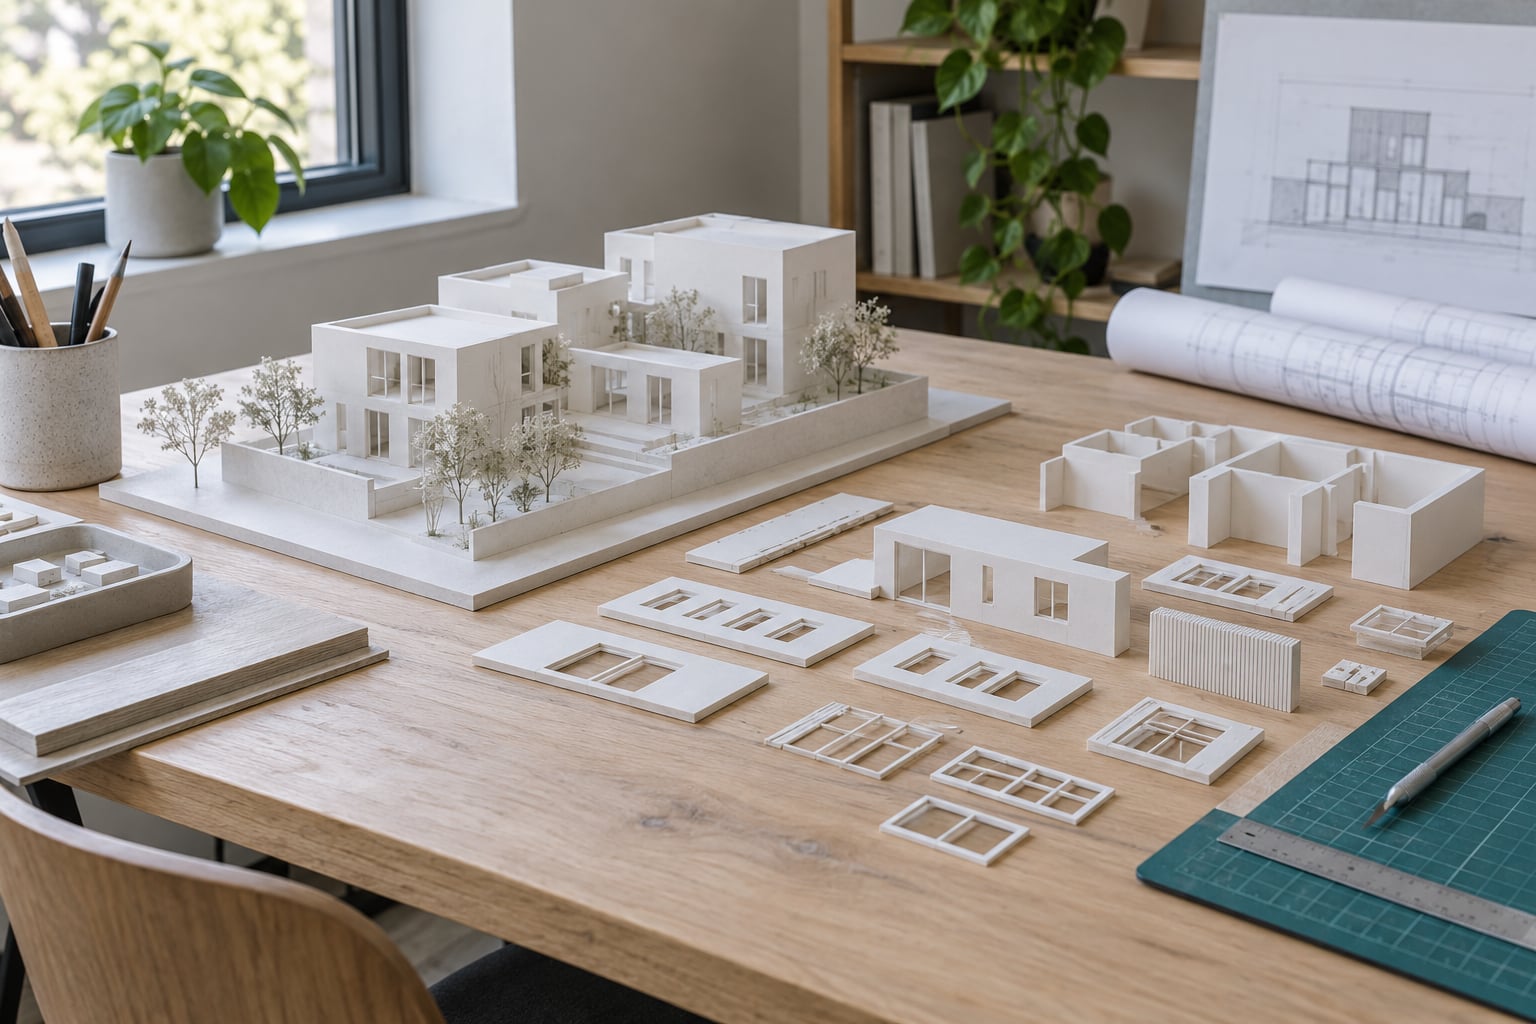
Architects use 3D printing to turn a CAD or BIM model of a building into a physical scale model layer by layer, in resin, filament or sintered powder, rather than cutting and gluing it by hand. The workflow runs from cleaning up the digital geometry, choosing a process and a scale, then printing, finishing and assembling the parts. This guide walks that workflow end to end and is updated for 2026.
The short version: printing wins on iteration speed and on geometry that is awkward to fabricate by hand, and it loses on big flat parts, on cost when a professional model shop is available, and on anything where a rough hand-built study is good enough.
Table of Contents
- Why Architects Use 3D Printing for Models
- How Architects Use 3D Printing for Models
- From BIM or CAD Geometry to a Print-Ready Model
- SLA vs FDM vs SLS for 3D Printed Architectural Models
- Choosing Scale, Resolution, and Level of Detail
- Materials Architects Use for 3D-Printed Models
- What Architects Make with 3D Printing
- How 3D Printing Changes the Architectural Design Process
- Accuracy, Finishing, and Common Failure Points
- When to Use 3D Printing Instead of Laser Cutting or Hand Modeling
- Frequently Asked Questions
- Can architects 3D print a building model directly from a BIM file?
- What scale is best for a 3D-printed architectural model?
- Is resin or FDM better for detailed architecture models?
- How long does it take to 3D print an architectural model?
- How accurate should a 3D-printed architecture model be?
- Conclusion: Start with One Design-Study Model
Why Architects Use 3D Printing for Models
Architects print physical models because a design that reads clearly on screen often behaves differently in the hand. Height, shadow, depth and human eye level only become legible when something solid exists to walk around, and that is the reason printing has taken over so much of the studio workflow.
Spatial communication is the first driver. A massing model in front of a client or a planning committee communicates a scheme faster than a rendered image, because people can hold the building and point at the courtyard. It also exposes problems that a screen hides, such as a mass that reads as heavy from ground level but light from a drone view.
Rapid iteration is the second. When a hand-built model takes three days, a design team prints one version and waits. When the same model comes off a printer overnight, the team can test three options in the time it used to take one, which changes how many rounds of design review a project gets.
Precision and geometry come third. Complex joints, double-curved walls, site topography and fine facade mullions are cheap to print and expensive to build by hand, because a model maker has to solve the same problem with a jig and a scalpel.
Documentation and communication come fourth. Assembled printed models often include pinned or magnetic layers, so the same object becomes a sectional study, a construction coordination piece or a sales gallery display, and one digital file serves all of those versions.
How Architects Use 3D Printing for Models
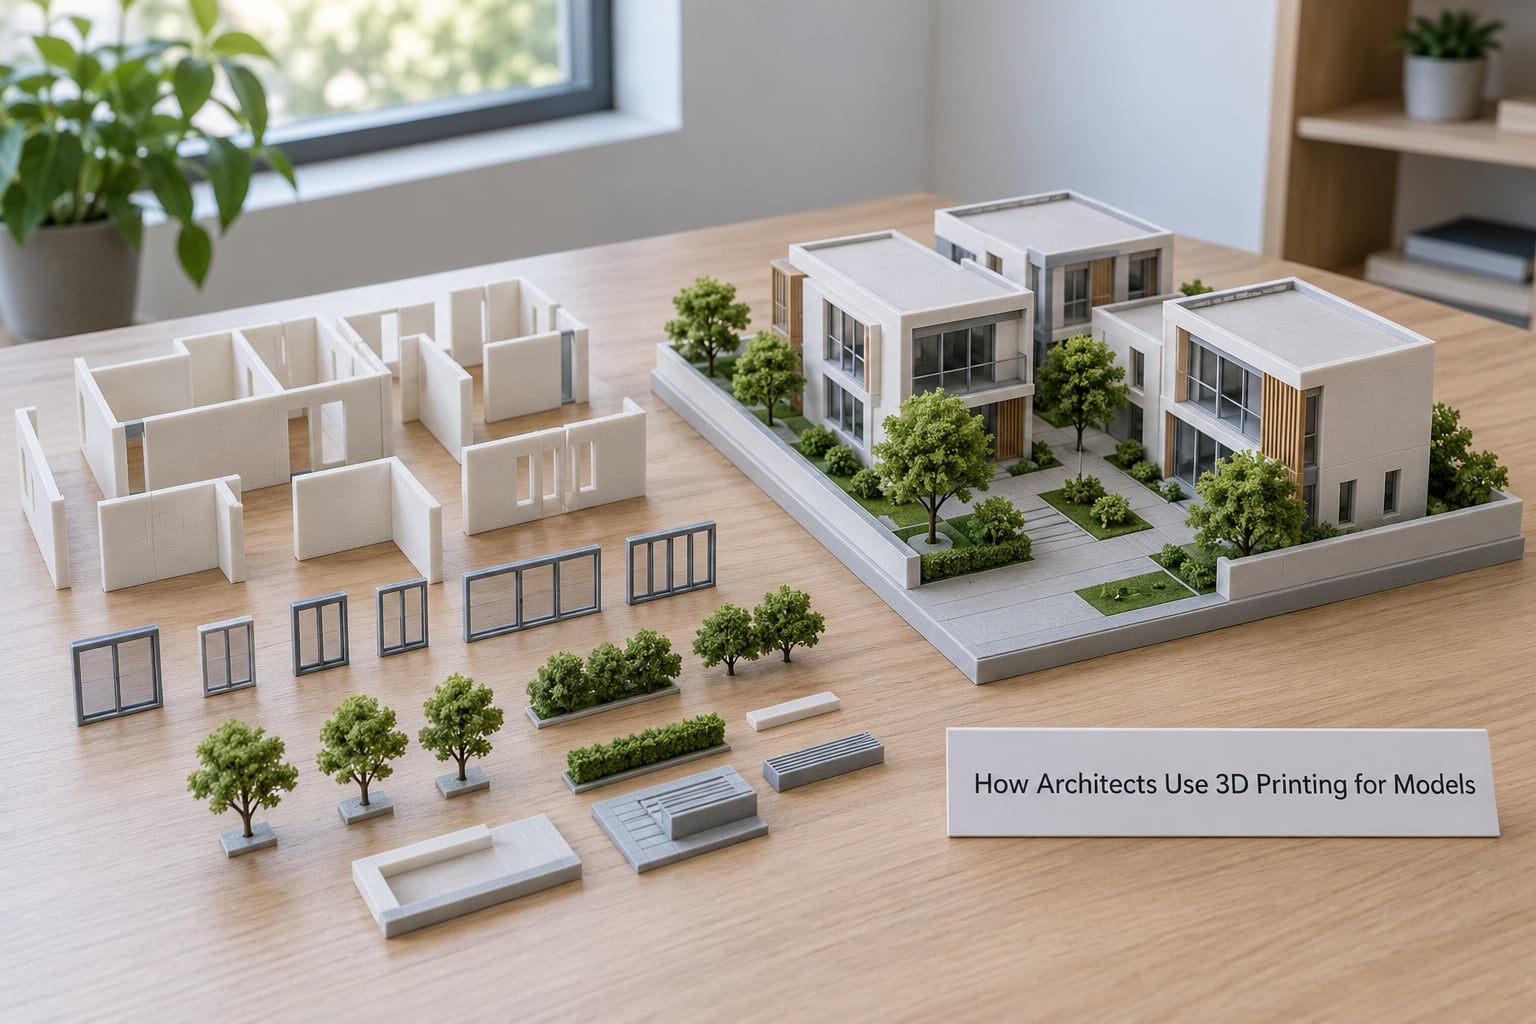
The full pipeline has six steps, and most failed prints trace back to something that happened in the first two. Rushing the cleanup stage is why a wall prints as a fragile shell instead of a solid slab.
| Step | What you do | What decides success |
|---|---|---|
| 1. Clean the geometry | Isolate the building, delete services, ducts, furnishings and window internals, thicken walls | No slivers, no zero-thickness faces |
| 2. Scale it | Set the model ratio and check every wall against the nozzle or laser spot size | Smallest important detail stays printable |
| 3. Split and orient | Cut the model into parts that fit the build volume, then choose orientation to reduce supports | Flat faces stay flat, overhangs become ramps |
| 4. Slice and print | Set layer height, walls, infill and support strategy in the slicer, then run the job | Adhesion on the bed, sane print time |
| 5. Post-process | Remove supports, sand, wash or cure, then paint or stain surfaces | Edges crisp, surface consistent |
| 6. Assemble | Join parts with a solvent, epoxy or pin and mount the model on a base | Flush joints, no visible mismatch between revisions |
From BIM or CAD Geometry to a Print-Ready Model
A BIM file is a construction document that happens to contain geometry, so it prints badly until you strip it. What comes out of Revit or ArchiCAD includes ductwork, sprinkler runs, electrical containment, door handles, sanitary fittings and double-glazed window assemblies, and every one of those is thinner than the printer can resolve.
Delete the categories you will never see in the model: services, fixtures, furniture, structural connections and glazing detail. Then thicken what remains. Walls that are 100 to 200 millimetres in the building become 1 to 2 millimetres at 1:100, which is already at the edge of what a plastic nozzle can print as a closed wall.
Export as a mesh, STL or 3MF, then check the mesh itself for non-manifold edges and duplicate faces. A closed, watertight shell matters more than polygon count, because printing depends on volume, not on how many triangles describe it.
SLA vs FDM vs SLS for 3D Printed Architectural Models
No process wins for architecture. The choice follows the deliverable, and most studios end up running two machines at once, one filament printer for thinking and one resin printer for showing.
| Process | Detail | Surface | Supports | Best architectural use |
|---|---|---|---|---|
| FDM (filament) | Layer lines visible; coarse layer height still usable for massing | Ridged, needs sanding for a finish model | Only where unavoidable, and they scar | Concept, massing and site studies, student work, large volumes |
| SLA (resin) | Fine features and sharp reveals | Smooth, takes paint and stain well | Required almost everywhere; marks need finishing | Presentation models, facades, interior fit-out studies |
| SLS (powder) | Good detail without support structures | Grainy, reads as cast concrete or plaster | None | Large one-off models, site models, complex massing, outsourced jobs |
FDM wins on volume and on safe, unattended overnight runs. SLA wins on the finish quality a photographed or client-handled model needs, and it is the only one of the three where a window mullion at 1:200 has a real chance of surviving.
Choosing Scale, Resolution, and Level of Detail
Scale decides what the model can physically say. A 300 millimetre exterior wall prints comfortably at 1:100 and becomes a fragile 0.6 millimetre ribbon at 1:500, so the bigger the ratio, the more you must simplify.
| Scale | 300 mm exterior wall | Typical use | Print behaviour |
|---|---|---|---|
| 1:50 | 6 mm | Interior layout, sales gallery, large interior fit-out study | Few hours to a day on filament, generous wall strength |
| 1:100 | 3 mm | Presentation models, single building with some interior | Half a day to two days on filament |
| 1:200 | 1.5 mm | Block context, master plan fragments, facade studies | Often overnight to a day, needs orientation care |
| 1:500 | 0.6 mm | Site and urban context, planning submissions | Long runs, best done in powder or as a hybrid with a laser-cut base |
Level of detail should follow the decision the model has to support. Solid printed stair treads at 1:200 are wasted effort when the review is about massing, and a hollow shell with no interior is the wrong object when the review is about a kitchen layout.
Layer height is a model decision, not a slicer default. A coarse layer height buys back hours on a big context model, and a fine one costs you time but removes the ridging that gives away a rough concept piece.
Materials Architects Use for 3D-Printed Models
Material choice comes down to how the model will be handled, what it has to look like, and whether it lives near a desk, a hot car or a client.
| Material | Useful for | Limitations | Finishing |
|---|---|---|---|
| PLA | Fast concept and massing models, student work | Softens near heat, brittle in thin sections | Fills and sand well, paints easily |
| PETG | Models that get handled and carried to reviews | Stringy on overhangs, needs slower settings | Tougher than PLA, takes paint |
| ABS | Rigid prototypes and detail parts | Warps on the bed, emits fumes when printed | Sandable, good for a painted finish model |
| Nylon | Functional joints, snap fits, mechanisms in the model | Absorbs moisture, warps in air | Hard to paint without a primer |
| Resin (SLA) | Presentation models and fine facade detail | Brittle in thin layers, needs careful post-processing | Best painted finish of the group |
| Sintered powder | Large one-off models and context blocks | Grainy, greyscale, needs post-curing and infiltration | Reads well as concrete or stone |
Resin deserves its own safety note in a shared studio. Printing it needs ventilation, nitrile gloves for handling uncured parts, a wash station kept away from food and a curing area that traps fumes, and in a small teaching studio a filament machine is usually the safer default.
What Architects Make with 3D Printing
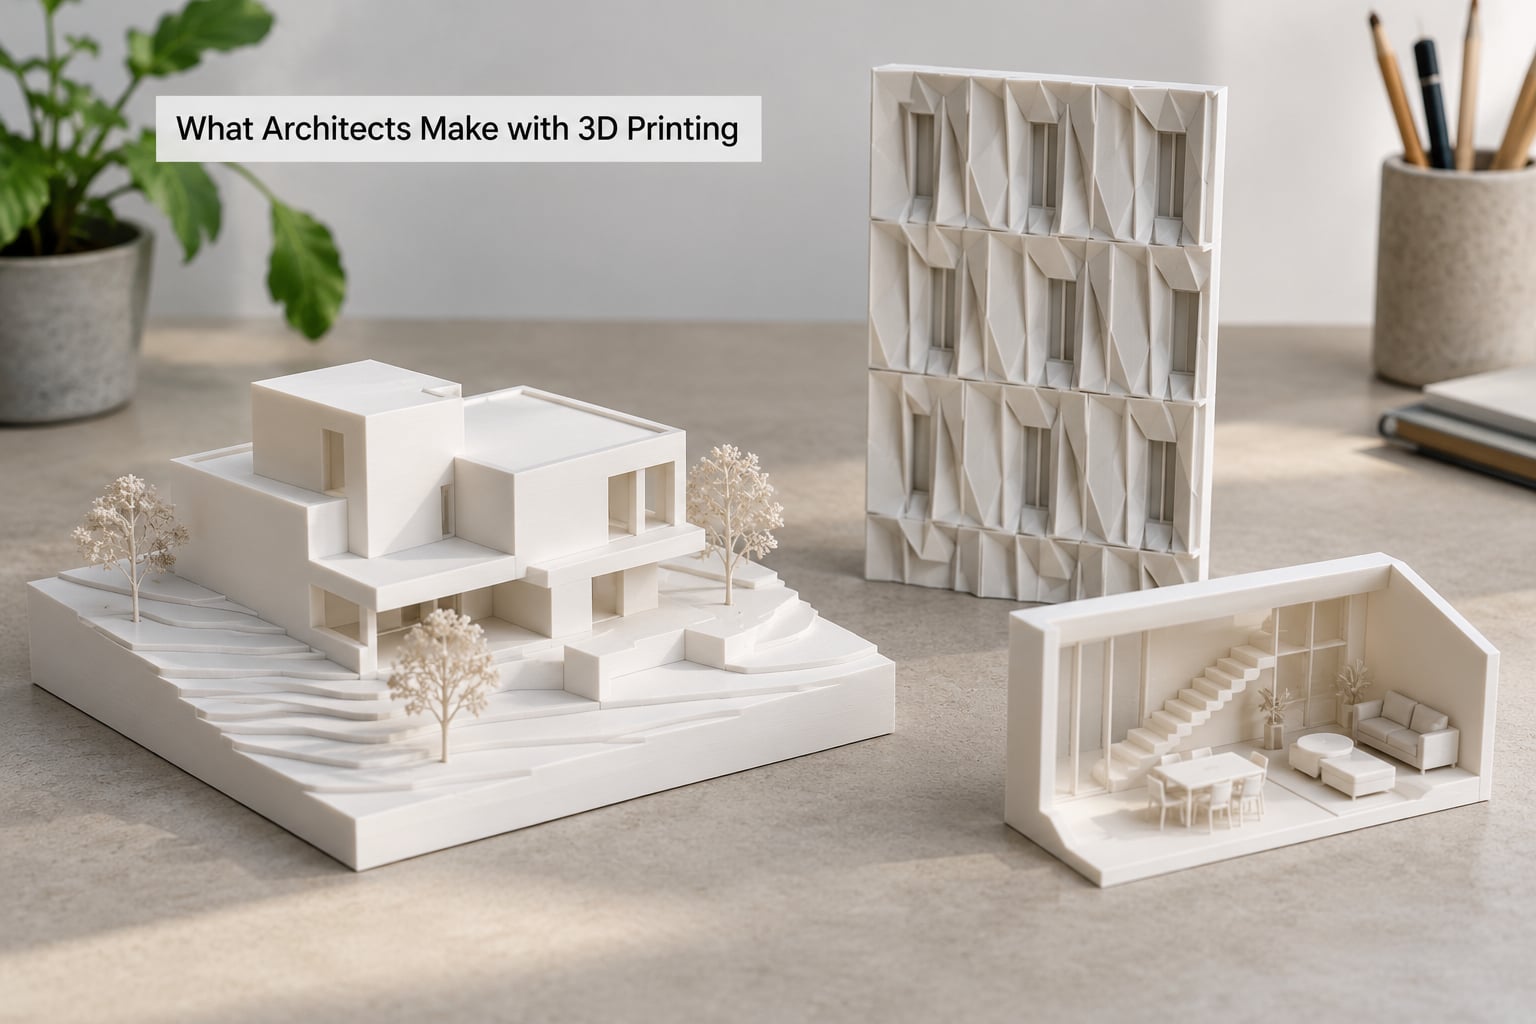
Massing studies are the everyday use. Three or four blocks at 1:200 or 1:500, printed in a few hours, let a team test bulk, height and spacing in a single review instead of three separate ones.
Site and urban context models are the reason studios buy large printers or outsource. A 1:500 model of a district carries the building, the surrounding blocks and the topography, and the topography is usually the part that fights back, because large flat plates lift at the corners.
Facade mock-ups are where resin earns its keep. A one-storey bay with the real window depth and reveal is printed at 1:20 or 1:10 so a client can see how deep the shadow sits and how the glass reads against the wall.
Interior fit-out studies work best at 1:50, printed in sections so the plan stays readable. Teams print walls without ceilings, then add separate floor plates that lift out, which turns one print into a small set of drawings you can carry into a meeting.
Presentation and sales gallery models are usually resin, finished with filler primer, paint and a clear coat, or printed in powder and finished to read as a stone model. Planning submission models follow local rules that often cap the size, and a printed model is easier to resize than a hand-built one.
Coordination pieces are the unglamorous ones: a sectional model showing how a facade panel meets a slab, or a printed prototype of a custom connection. These are small, specific and useful precisely because the geometry is unusual.
How 3D Printing Changes the Architectural Design Process
Printing shortens the gap between a decision and the evidence for it. A massing option that looked balanced in plan can read as a wall in three dimensions, and the team finds that out in an afternoon rather than after a model shop’s three-day lead time.
It also changes who can make a model. The person who modelled the option can print it, without waiting on a technician to schedule the build, so more options get tested and the dead ends get discarded earlier.
Design reviews become more honest when a physical object is on the table. Circulation studies work because people walk a printed floor plate, and section cuts work because the model can be physically sliced open rather than drawn in section.
Failures become information too. When a printed model exposes an unresolved junction or an unreadable circulation route, the design team has found a problem while it was still cheap to fix.
Accuracy, Finishing, and Common Failure Points
Most of what goes wrong has a known cause, and each one has a fix you can apply before the print starts rather than after.
| Problem | Why it happens | Prevention or fix |
|---|---|---|
| Base plates and site models curl at the corners | Large flat parts cool unevenly and lose bed adhesion | Print the base in sections, add a brim, or print it flat in a frame around the edge |
| Walls peel off the bed mid-print | Too little contact or too much cooling | Raise bed temperature, lower fan speed for the first layers, clean the plate |
| Unsupported spans collapse | Overhangs beyond the process angle limit | Reorient the part, chamfer the overhang, or add support only under that region |
| Support scars on facades | Supports land on the face the client sees | Rotate the model so supports fall on the interior or the base |
| Parts do not fit together | Material shrinks or parts are printed slightly undersize | Print a test joint first and calibrate the hole size on that joint |
| Fine details vanish or clog | Detail thinner than the nozzle or laser spot | Scale up, thicken the detail in the model, or drop the feature entirely |
| Visible layer lines and ridges | Coarse layer height plus a ridged finish | Finer layer height for display models, filler and sanding for filament prints |
| The model is subtly the wrong size | Scale applied twice, or applied to one assembly only | Print a 100 mm test bar at the target scale and measure it before the full job |
Finishing is where a filament model becomes a presentation model. Supports come off first, then a light filler on the seams, sanding through progressively finer abrasives, and paint or stain last.
Assembly is the step studios underestimate. Plan the joints in the model, not in your hands, and test one connection before committing to a full set of printed parts.
When to Use 3D Printing Instead of Laser Cutting or Hand Modeling
Printing is one tool in a model shop, not a replacement for it. Most studios combine all three, and the decision is usually about geometry, quantity and lead time rather than taste.
| Method | Wins on | Loses on | Choose it when |
|---|---|---|---|
| Laser cutting (chipboard, MDF, acrylic) | Flat walls, quick base plates, crisp floor plans, low labour | Curved or organic geometry, solid volumes, no texture | The model is mostly plates and slabs |
| CNC milling | Large flat areas, site topography, exact radii | Dense geometry, high material waste, expensive setup | The base and site are the point of the model |
| 3D printing | Complex geometry, rapid revisions, one-off curves and joints | Big flat plates, high surface area, print time on large jobs | The design has geometry a cutter cannot reach |
| Hand building | Improvised adjustment, soft materials, quick small studies | Repeatability, labour cost, precision | The answer is a sketch volume, not a model |
The hybrid recipe comes up constantly in practitioner discussions and it is the most practical answer for most projects: a laser-cut chipboard or MDF base and floor plates, printed superstructure and details, joined with a solvent or epoxy. The base stays flat and cheap, and the printed parts carry the detail.
Printing is the wrong choice for a full site model at 1:500 made only of flat blocks, where laser cut plates give the same result in an afternoon. It is also wrong when a hand-built card massing block would tell you the same thing faster.
Frequently Asked Questions
Can architects 3D print a building model directly from a BIM file?
Not straight out of the file. Revit and ArchiCAD export a construction model full of services, glazing assemblies and fittings that are thinner than any printer can resolve. You isolate the categories you want, delete ductwork and hardware, thicken walls and slabs, then export a mesh. Print-time rules of thumb: two to three extrusion walls on anything structural, and no detail below about half a millimetre at 1:100.
What scale is best for a 3D-printed architectural model?
It depends on the decision the model has to support. 1:100 suits a single building you want interior detail in, 1:200 works for block and context studies, and 1:500 is right for site and urban models where only massing and topography matter. Check the wall dimension before printing: a 300 millimetre exterior wall becomes 0.6 millimetres at 1:500, which will not survive printing.
Is resin or FDM better for detailed architecture models?
Resin, if the model will be photographed or handed to a client, because it resolves fine mullions and sharp reveals and takes paint smoothly. FDM is better for concept, massing and student work, where the layer lines do not matter and running the job overnight without supervision does. Many studios keep one of each for exactly this reason: filament for thinking, resin for showing.
How long does it take to 3D print an architectural model?
A 1:100 massing model on a filament printer typically runs half a day to two days, and a 1:200 context model can run overnight or longer. Practitioners report large jobs passing a hundred hours, so plan iteration around overnight prints rather than same-day changes. Resin is usually faster on fine detail, and layer height is the biggest lever you control: a coarser setting on a big model saves hours.
How accurate should a 3D-printed architecture model be?
Accurate enough that nobody misreads the design. FDM parts typically hold within a fraction of a millimetre of the sliced dimension, resin tighter, which is well inside what a hand-built model achieves. The accuracy that matters is dimensional consistency across parts: print a 100 millimetre test bar at your target scale, measure it, and calibrate your joints so the assembly fits before you print the whole model.
Conclusion: Start with One Design-Study Model
How architects use 3D printing for models comes down to four decisions: what the model must communicate, what scale carries that detail, which process resolves it, and how the parts join. Get those four right and the printer is the easy part.
Start small. Define the purpose of the model in one sentence, pick the scale that makes your smallest important detail printable, simplify one element of the design on purpose, and print a test corner or a single bay before committing to the whole thing.
Once that first study works, the workflow repeats, and each revision costs an overnight print instead of three days in the model shop.