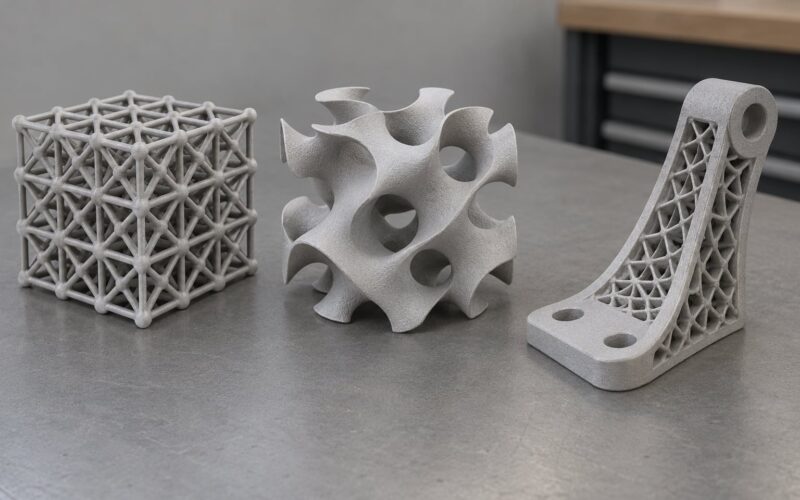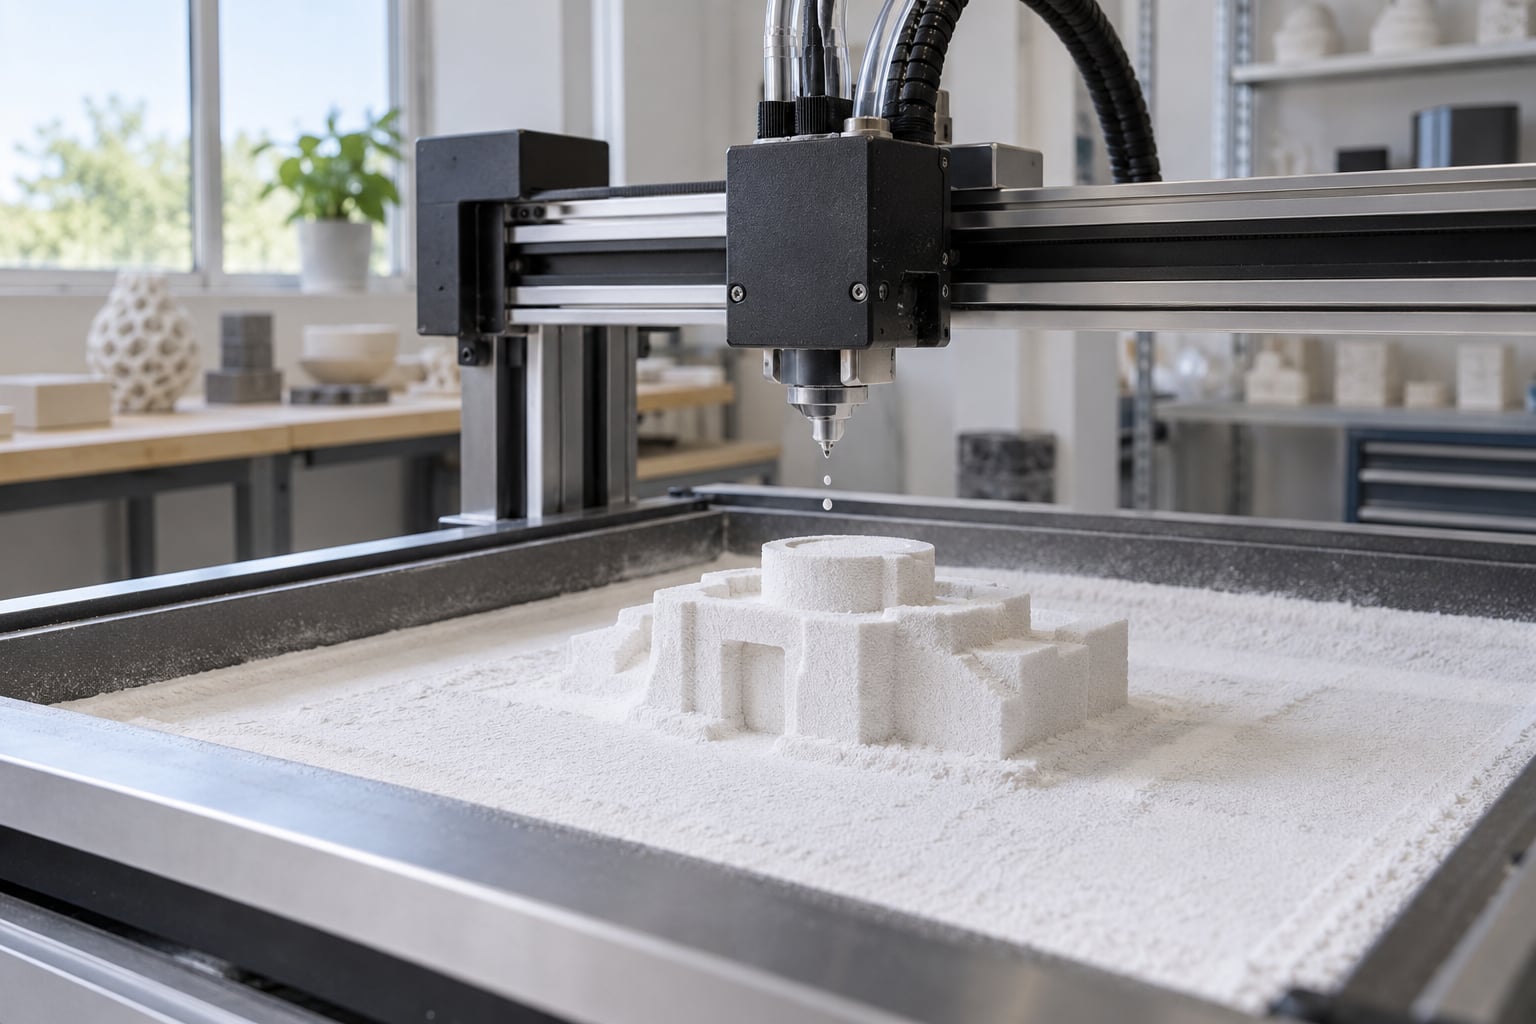
If you have printed with an inkjet printer, you already understand the core idea behind binder jetting explained for beginners: a computer moves a print head across a surface, sprays liquid in a pattern, and builds up a solid object one pass at a time. The only real difference is what the liquid lands on. A normal inkjet printer sprays coloured ink onto flat paper. A binder jetting printer sprays an adhesive liquid onto a flat bed of powder, and that powder becomes your part. Everything else follows from that swap.
It sounds simpler than most 3D printing methods, and in many ways it is. There is no laser scanning back and forth over the bed, no vat of resin, no heated nozzle pushing plastic through a tiny hole. Instead, powder gets spread, glue gets dropped on it, the platform lowers by one layer, and the cycle repeats until the job is done.
This guide walks through how the process works, what you can print with it, where it beats other technologies, and what frustrates first-time users. If you have no additive manufacturing background at all, you should be able to read this in one sitting and come away able to hold a real conversation about the subject.
Table of Contents
- What Is Binder Jetting?
- Why the inkjet analogy works
- How Does Binder Jetting Work?
- Step 1: The powder bed is prepared and spread
- Step 2: Slicing software turns the model into a droplet map
- Step 3: The print head deposits binder
- Step 4: The platform lowers and the cycle repeats
- Step 5: The powder is unpacked and recovered
- Step 6: The part is post-processed
- Why no support structures are needed
- The machine parts you will actually see
- What Materials Can Binder Jetting Use?
- How much powder can be reused?
- Why Is Binder Jetting Useful?
- Speed and scale
- Support-free printing and geometric freedom
- Surface finish and accuracy, honestly
- Where the economics make sense
- Binder Jetting vs. Other 3D Printing Methods
- Binder jetting vs. material jetting
- Binder jetting vs. SLS and MJF
- Binder jetting vs. FDM
- Where Is Binder Jetting Used?
- What Are the Main Challenges for Beginners?
- A short glossary for newcomers
- Frequently Asked Questions
- Is Binder Jetting the Same as Powder Bed Fusion?
- What Materials Are Used in Binder Jetting?
- Does Binder Jetting Produce Strong Parts?
- What Post-Processing Does Binder Jetting Require?
- Is Binder Jetting Suitable for Beginners?
- What Are the Downsides of Binder Jetting?
What Is Binder Jetting?
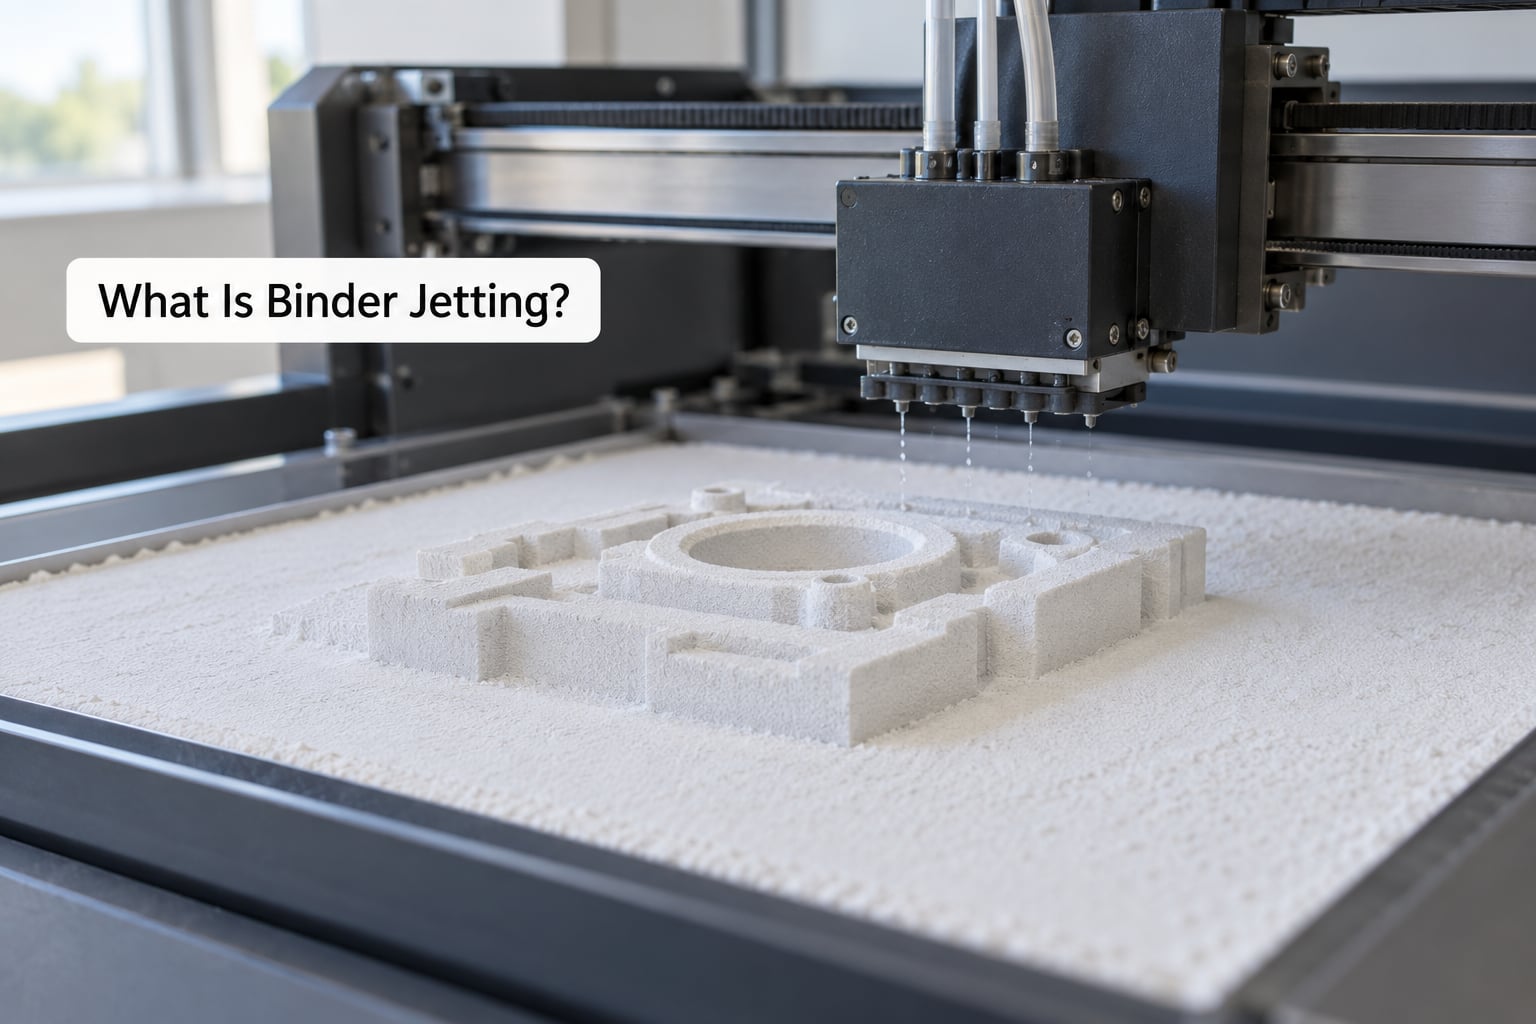
Binder jetting is an additive manufacturing process that builds a solid object layer by layer by jetting a liquid binder onto a powder bed, gluing powder particles together only where the part is meant to be. It is formally categorised as a jetting process under ISO/ASTM 52900, and it is also known by the abbreviation 3DP, short for three-dimensional printing.
Two materials do all the work. The first is the build material: a fine powder spread across the machine as a flat bed. The second is the binder: a liquid, often a water-based polymer or a resin, carried in a cartridge and pumped to the print head. Where the binder lands, powder particles stick into a solid slice. Everywhere else, the powder stays loose and reusable.
That two-material arrangement is the whole trick, and it explains almost every strength and weakness of the process. Because the powder bed itself supports the growing part, you need no support structures. Because only liquid moves, print speed is high. Because the binder is the only thing holding the piece together at first, the part leaves the machine fragile and needs curing or sintering before it is usable.
The terminology trips people up, so it is worth being clear. Material jetting is a different process: there, the print head deposits the actual solid material, such as a photopolymer, and no glue is involved. Vendors also use marketing names loosely. Practitioners in communities like r/AdditiveManufacturing regularly argue about which systems genuinely count as binder jetting, so treat any company claiming the label as a starting point for research rather than a settled fact.
Why the inkjet analogy works
A desktop inkjet printer moves carriage left and right, drops tiny droplets of ink in a pattern, and shifts down one line. A binder jetting machine does the same motion with a much bigger surface. The droplet-forming mechanism is often the same piezoelectric technology found in office printers, scaled up and aimed at powder instead of paper.
The useful part of the analogy is the mental model it gives you: dots become lines, lines become layers, layers become an object. Binder jetting explained for beginners usually starts with exactly that picture, and it holds up well as long as you remember the powder underneath. The misleading part is the word paper. There is no flat sheet here. You are watching a 3D shape emerge from inside a tray of what looks like flour.
How Does Binder Jetting Work?
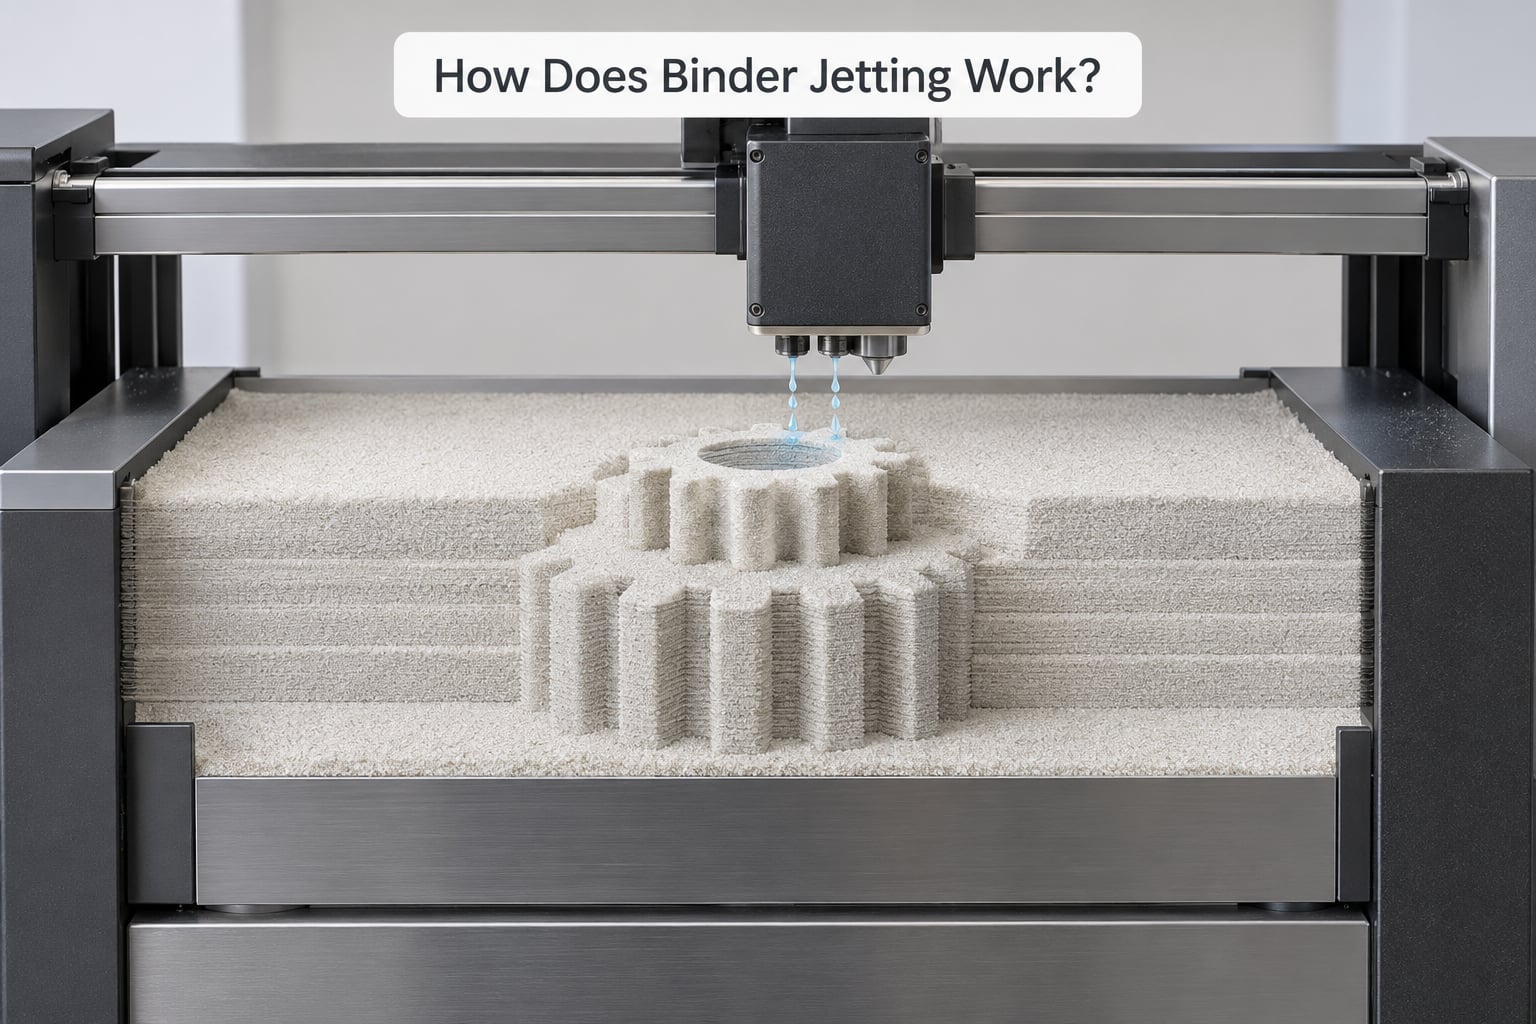
Every build follows the same six-step cycle. The machine repeats steps two through four hundreds or thousands of times, and your part grows downward from the build platform while the bed rises.
Step 1: The powder bed is prepared and spread
A reservoir of fresh powder is pushed forward, and a recoater, usually a blade or roller, sweeps a controlled layer across the build platform. The layer thickness is the single biggest factor in quality and speed, and it typically sits somewhere around 0.1 mm on common machines. A slightly thicker layer prints faster and rougher; a thinner layer prints slower and smoother.
Step 2: Slicing software turns the model into a droplet map
Your CAD model is exported as an STL file, sliced in software, and converted into instructions that say which pixels of the bed get binder this cycle. The industry calls those 3D pixels voxels. A surface voxel gets a single droplet; an interior one gets several so the interior bonds as well as the skin.
Step 3: The print head deposits binder
The head moves across the bed and drops droplets only where the slice says material should exist. Droplets land on powder that is already dampened slightly by the previous pass, which is how the new material fuses with the layer below. Powder that misses the pattern simply stays where it is, ready to be reused.
Step 4: The platform lowers and the cycle repeats
The build platform drops by exactly one layer thickness, a fresh layer of powder is spread over the top, and the head prints again. Because each layer is only supported by loose powder until the binder sets, the print head may make a second pass over the bed at a higher droplet count to strengthen the slice.
Step 5: The powder is unpacked and recovered
When the build finishes, the platform sits somewhere below the top of the powder bed. A technician or the machine itself opens the chamber, lifts the block of powder, and brushes or blasts the part free. Vacuuming and sieving follow, because powder that has been through the process is not identical to virgin powder and the reuse ratio has limits.
Step 6: The part is post-processed
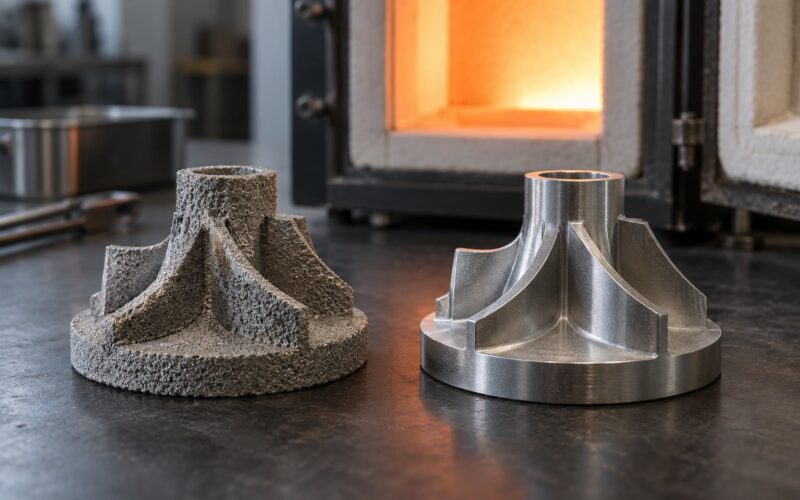
What comes out is a green part: a solid but fragile shape held together by cured binder, still containing moisture or solvent. It then goes through drying or curing, and depending on the material, infiltration or sintering to reach full density. This step is mandatory, not optional, and it is the reason binder jetted parts cost more time and money to finish than they do to print.
Why no support structures are needed
Beginners usually assume overhangs need supports, because they do in FDM and in resin printing. Binder jetting is different. The unsolidified powder around the part provides all the support an overhang could need, at no cost and with no removal step. The only real constraint is that very delicate long overhangs, and anything resting only on a thin layer of loose powder, can still print poorly.
The machine parts you will actually see
- Build platform: the movable piston table the part is built downward from, sitting inside the powder bed.
- Powder bed and supply reservoir: the working tray and the hopper of fresh powder that feeds it.
- Recoater blade or roller: spreads one even layer across the bed each cycle.
- Print head and binder cartridge: the droplet dispenser and the liquid supply feeding it.
- Build chamber: sometimes heated, sometimes enclosed to control humidity and drying of the binder.
- Powder recovery and sieving equipment: used to reclaim and test unbound powder for reuse.
Compared with a laser-based machine, that list is short. There is no motion control for a scanning galvanometer, no laser, no chiller, no gas recirculation system.
Printers for home and office use are much simpler still. A desktop system usually prints one material at a time, in greyscale or with a single pigment, in a build volume measured in centimetres. Industrial machines swap the whole powder handling end for continuous feed, take larger cartridges and run unattended through a full night of cycles, which is where the real production throughput comes from.
What Materials Can Binder Jetting Use?
Four material families dominate: sand for casting, polymers, ceramics and metals. The distinction beginners need to hold onto is between the printed part and everything around it. Only the binder-touched powder becomes the object. The rest is powder you can use again, which is why waste stays low.
| Material family | Typical powder | Post-processing needed | Common uses |
|---|---|---|---|
| Sand and foundry media | Quartz sand, chromite sand, ceramic beads | Curing or in-mould setting; often none before casting | Casting patterns, sand cores, moulds for metal and concrete |
| Polymer | PMMA, ABS, nylon, polycarbonate | Drying or curing; infiltration for stiffness | Full-colour concept models, prototypes, pattern work |
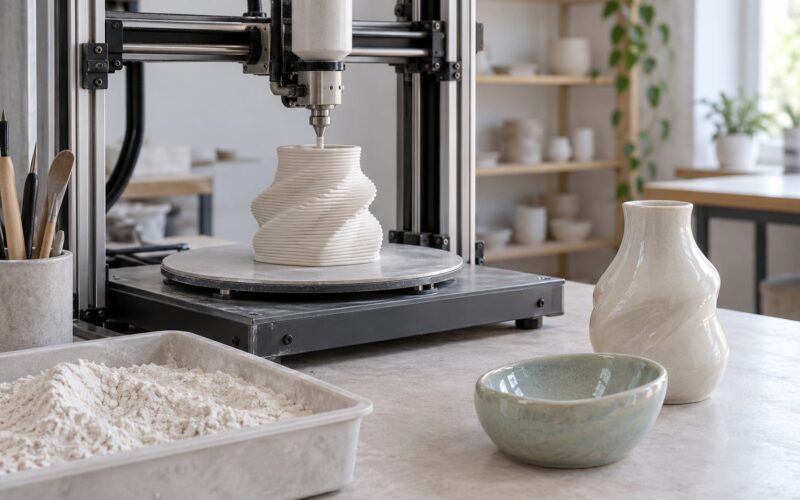
| Ceramic | Silica, alumina, zirconia | Firing in a kiln, sometimes up to around 1000 C | Investment casting cores, refractory parts, tiles |
| Metal | Stainless steel, tool steel, titanium, aluminium | Dewax, burnout, sintering, then optional infiltration | Functional parts, tooling inserts, small mechanical components |
Sand is the oldest and most established use, and it is the one polymer-focused explanations tend to skip. A foundry wants expendable patterns that make a mould, burn out in the oven without leaving ash, and hold their shape on the way there. Sand binder jetting does exactly that, which is why foundries adopted the process long before most designers heard of it.
Polymer binder jetting is where most beginners meet the technology, usually through full-colour models. The binder can carry pigment, so a single build can produce a part in several colours at once. That is a genuine advantage over FDM, which typically needs a tool change and a purge between colours.
Metal binder jetting is the most demanding variant. The printed object contains a large fraction of binder by volume, so it has to be removed and the remaining metal powder sintered to close the pores. Because sintering shrinks the part, designers must scale the model up by a compensation factor chosen for the material and the machine, typically in the range of a couple of percent.
How much powder can be reused?
Most of it, but not all of it, and the reuse ratio is a real operating cost in a production environment. Fresh powder goes in one side and comes out the other mixed with powder that has been through a print, so it must be sieved, inspected for agglomerates and blended back. Some binders leave residue that limits the number of times a batch can be recycled, so machines track the age of each batch and divert worn powder out of the process.
Why Is Binder Jetting Useful?
Binder jetting sits in a useful middle ground: faster than most other 3D printing methods, cheaper and lower-energy than laser powder bed fusion, and able to handle large volumes and large parts. Those strengths come with real trade-offs, mostly around the strength and finish of the finished part.
| Advantages | Limitations |
|---|---|
| Fast: many layers per minute because only droplets move | Green parts are fragile and must be handled carefully |
| Support-free printing using surrounding powder | Post-processing is mandatory and adds lead time |
| Large build volumes are practical at low cost | Rougher surface finish than SLA or DLP resin printing |
| Full-colour and multi-material in one build | Porosity and dimensional variation need design allowances |
| Low material waste with high powder reuse | Binder residue can limit recycling cycles |
| Lower energy use and running cost than laser systems | Not the strongest option for highly loaded thin parts |
| Scales well from one-off models to production runs | Humidity control matters, so powder handling needs discipline |
Speed and scale
Print speed is where binder jetting genuinely leads. Because there is no melt pool to form, the print head can move quickly across the bed, and adding a second head multiplies throughput. Large areas are cheap to cover, so printing a full-size prototype instead of a small sample costs far less than it does in other processes.
Support-free printing and geometric freedom
Anything you can imagine inside a powder bed can be printed, including internal channels, undercut features and stacked parts. Foundries exploit this by nesting several patterns in one build. The powder does the supporting, so there is no support removal stage to scar the surface or to damage delicate features.
Surface finish and accuracy, honestly
Beginners often assume jetting produces a smooth, finished part. It does not. The finish is grainy, roughly comparable to coarse sandpaper, because each part is made of fused powder grains rather than melted material. That is fine for a pattern, a fixture or a concept model. For a cosmetic part or a tight-tolerance seal, it is not.
Dimensional accuracy follows the same logic. Since powder spreads and compacts during the build, parts shrink slightly, and tolerances of roughly plus or minus a fraction of a millimetre are normal depending on size and geometry. Designers compensate by treating the printed part as a casting that has already shrunk, and by avoiding tolerances tighter than the process can hold.
Where the economics make sense
The running cost picture is favourable because there is no laser, no chiller and no expensive consumable nozzle. Energy use per part is low, and material waste is low because almost all powder goes back into the system. For a foundry printing hundreds of identical patterns, or a company running a full-colour concept model, those numbers often decide the question before part quality does.
Binder Jetting vs. Other 3D Printing Methods
Most confusion comes from lumping processes together because they all build layer by layer. The two questions that separate them are simple: what material is deposited, and how does it get there?
| Process | How it works | Strengths | Watch out for |
|---|---|---|---|
| Binder jetting | Liquid glue sprayed onto powder | Fast, large builds, full colour, low cost | Post-processing, rough finish, green-part handling |
| Material jetting | Drops of solid photopolymer or wax jetted as the material | Excellent surface finish, full colour, fine detail | Expensive consumables, limited build size |
| SLS (selective laser sintering) | Laser fuses powder without glue | Stronger parts, good detail, some metals | Slower, pricier machines, more powder waste |
| MJF (multi jet fusion) | Binder jets powder, then heat and pressure densify it | More uniform density than classic binder jetting | Still needs a densification step |
| SLA / DLP | Light cures liquid resin layer by layer | Very smooth surfaces and fine detail | Brittle resin, washing and post-curing, waste resin |
| FDM (filament) | Molten plastic extruded through a nozzle | Cheap materials, easy home use | Layer lines, supports, slower per volume |
Binder jetting vs. material jetting
This is the pair beginners mix up most often, and the answer is one sentence. In binder jetting the liquid is glue and the powder is the part; in material jetting the jetted liquid is itself the part material. Material jetting gives you a finished surface immediately, which is why it dominates presentation models, dental work and master patterns, while binder jetting wins on speed and volume.
Binder jetting vs. SLS and MJF
Both of these also use a powder bed, which is why the categories blur. SLS fuses powder with a laser and needs no binder at all, so the part comes out stronger, though the machine costs more to buy and run. MJF jets a binder and then uses heat and pressure to densify the part, which reduces porosity compared with traditional binder jetting, but it inherits the same post-processing requirement.
Choose binder jetting when you want many parts fast at low cost and the part can take a curing or sintering step. Choose SLS when the part must be strong and usable as printed.
Binder jetting vs. FDM
FDM is what most beginners own at home, so the comparison matters. An FDM printer extrudes melted plastic and gives you visible layer lines, supports on overhangs and a part ready to use within minutes of finishing. Binder jetting gives you far more speed, larger builds and full colour, but demands post-processing and a machine you cannot carry up the stairs yourself.
Where Is Binder Jetting Used?
Foundry work is the oldest application and still one of the biggest. Metal casters print sand cores and patterns that would be expensive or impossible to machine, then pack them into moulds. The pattern survives handling, the sand is broken out afterwards, and the geometry freedom lets a core include internal cooling passages that a machined sand core could never hold.
Ceramics follow the same logic. Investment casting shells and cores for turbine blades and medical implants are printed in silica, then fired in a kiln to strip out the binder and harden. Automotive and aerospace groups use binder jetting for full-size interior mock-ups because printing at actual scale is fast and inexpensive, and the rough finish does not matter on a trimmed body panel.
Product designers use it for full-colour concept models, because a colour model settles a design argument faster than a grey one and cheaper than a machined presentation model. The same reasoning drives jigs and fixtures: a factory that needs a custom alignment tool prints it on Monday and uses it on Tuesday, then prints twenty copies of it once the design is proven.
Metal binder jetting covers the long tail of functional work: brackets, clips, shims and small housings where the quantity is in the tens or hundreds rather than the thousands. For those volumes, a sintered metal part with a modest surface treatment often beats machining a solid billet for tool and die costs.
Architecture and education use it too, because large models can be full scale without a room-sized machine. Architects print wall sections and massing models at 1:1, and students get to handle a physical artefact instead of a screen.
What Are the Main Challenges for Beginners?
Almost every newcomer hits the same five walls. Knowing them in advance saves a lot of wasted filament and patience.
Surface roughness. Parts come out grainy. If your design needs a smooth skin, a paint line, or a sealing surface, budget for grinding, blasting or coating after printing. Trying to solve it by printing thinner layers has limited effect compared with finishing the part.
Green-part strength. The term green part means the part as printed, held together only by cured binder. It is not strong, and it is not dimensionally stable until dried. Handling it too early or removing it from the powder roughly is the most common way people damage a print.
Dimensional accuracy. Parts shrink slightly during drying, curing or sintering, and metal parts shrink noticeably in the furnace. Model your part oversize by the process compensation factor, and keep tolerances looser than you would for a machined component.
Powder handling. Unbound powder is reusable but not permanent. Humidity, contamination and repeated cycles all affect it, so a production facility sieves, samples and tracks every batch. Losing control of this is what turns a low-waste process into a material cost.
Post-processing burden. Drying, curing, infiltration or sintering take hours and need equipment. This is the main reason binder jetting is not a casual home technique, and the main argument for sending jobs to a service bureau when you only need a handful of parts.
Should you buy a machine or hire a bureau? The practical split is simple. In-house makes sense when you print regularly, mostly repeat the same parts, and need fast turnaround more than you need polished surfaces. A bureau makes more sense when you need a one-off prototype, a finished part in metal, or full-colour models without running a powder handling operation of your own.
A short glossary for newcomers
- Green part: the part as printed, before curing, infiltration or sintering.
- Build platform: the piston table the part grows downward from.
- Recoater: the blade or roller that spreads one powder layer per cycle.
- Voxel: a 3D pixel in the sliced model, the smallest addressable block of material.
- Sintering: heating a part so its particles fuse, shrinking it and closing porosity.
- Infiltration: adding a low-melting metal to fill the pores left in a sintered part.
- Support-free printing: using surrounding powder instead of added supports.
- SLS, MJF, PBF: other powder-bed terms you will meet; PBF means powder bed fusion, the laser-based family.
Frequently Asked Questions
Is Binder Jetting the Same as Powder Bed Fusion?
No. They both use a powder bed, so the terms get mixed up, but the mechanisms differ. Binder jetting uses a liquid adhesive to hold the powder together, which means no laser, a lower machine cost and a part that needs curing or sintering afterwards. Powder bed fusion uses a laser or a heat and pressure system to melt or fuse the powder directly, producing a stronger part as printed at a higher running cost.
What Materials Are Used in Binder Jetting?
Four families dominate. Foundry sand and chromite sand for casting patterns and cores, polymers such as PMMA and nylon for concept models and prototypes, ceramics such as silica and alumina for investment casting cores, and metals such as stainless steel or titanium for functional parts. Which one you use determines whether the finished part needs curing only, kiln firing, or a full sintering cycle.
Does Binder Jetting Produce Strong Parts?
It depends on how you define strong. As printed, the green part is weak and fragile because binder is the only thing holding it together. After curing or sintering, polymer and sand parts handle tooling and pattern work well, and sintered metal parts reach densities comparable to machined components. For thin, heavily loaded parts or anything needing strength immediately after printing, laser-based powder bed fusion is a better choice.
What Post-Processing Does Binder Jetting Require?
Every binder jetted part needs it. At minimum the part is dried or cured in a controlled oven while the binder hardens. Metal parts go further: they are depowdered, put through a burnout cycle to remove binder, then sintered in a furnace and sometimes infiltrated with a low-melting metal to fill remaining pores. Because sintering shrinks the part, the model is usually printed slightly oversize to compensate.
Is Binder Jetting Suitable for Beginners?
Learning the process is beginner friendly, since the inkjet analogy makes it quick to grasp. Owning the machine is a different story. Industrial units sit in the cost range of other factory equipment, need powder handling and humidity control, and rely on ovens or furnaces to finish parts. Most beginners get far more value sending a few test models to a service bureau rather than buying a machine they would rarely use.
What Are the Downsides of Binder Jetting?
The main drawbacks are the rough, grainy surface finish that needs finishing work, and the mandatory post-processing that adds hours and equipment to every job. Parts are fragile until cured, dimensions vary slightly because powder compacts and then shrinks, and binder residue limits how many times powder can be recycled. It also suits presentational accuracy less well than resin printing and immediate strength less well than laser sintering.
Binder jetting is a printing process that glues powder together with droplets of liquid binder, building a part one thin layer at a time. Nothing about the concept is complicated once you have seen the inkjet analogy, and the process itself is quick. This is the short version of binder jetting explained for beginners.
So start with a small full-colour polymer model at a service bureau rather than a machine. It costs very little, arrives within days, and it teaches you more about surface finish, post-processing and design limits than any specification sheet. Pay particular attention to how the part comes out of the powder, and you will understand the process faster than any amount of reading.