The short version: most printed drone and RC parts work, and PETG is the sensible starting material for almost all of them. Use PLA for light, low-heat accessories, ASA or ABS for anything sitting in sun or near a motor, and TPU when you want to kill vibration. Skip the frame itself until you have measured a part that broke and know its load case. This guide covers 3D printing for drones and RC models from picking a part all the way to bench-testing it.
That is the part most guides skip. They hand you a material list and leave you to work out whether the thing you actually broke can be printed at all. A camera mount and a landing strut live in completely different worlds when it comes to layer adhesion, wall thickness and how much punishment the part takes.
So here is how I approach it. Measure first, pick the material for the load, print it slightly heavier than you think you need, and test on the bench before it ever gets near a prop. The rest of this guide fills in the details.
Table of Contents
- 3D Printing for Drones and RC Models at a Glance
- Which Parts Are Worth Printing?
- How to Choose the Right Material
- How to Design Parts That Fit and Perform
- Which Printer and Workflow Should You Use?
- How to Test and Install a Printed Part
- Safety and Performance Limits
- Frequently Asked Questions
- What is the best filament for drone and RC parts?
- Can 3D printed parts replace factory-made drone or RC components?
- How do I make a 3D printed part stronger without adding too much weight?
- Is PLA safe for outdoor drone parts?
- What 3D printing projects are easiest for RC beginners?
- Conclusion: Start With a Low-Risk Functional Part
3D Printing for Drones and RC Models at a Glance
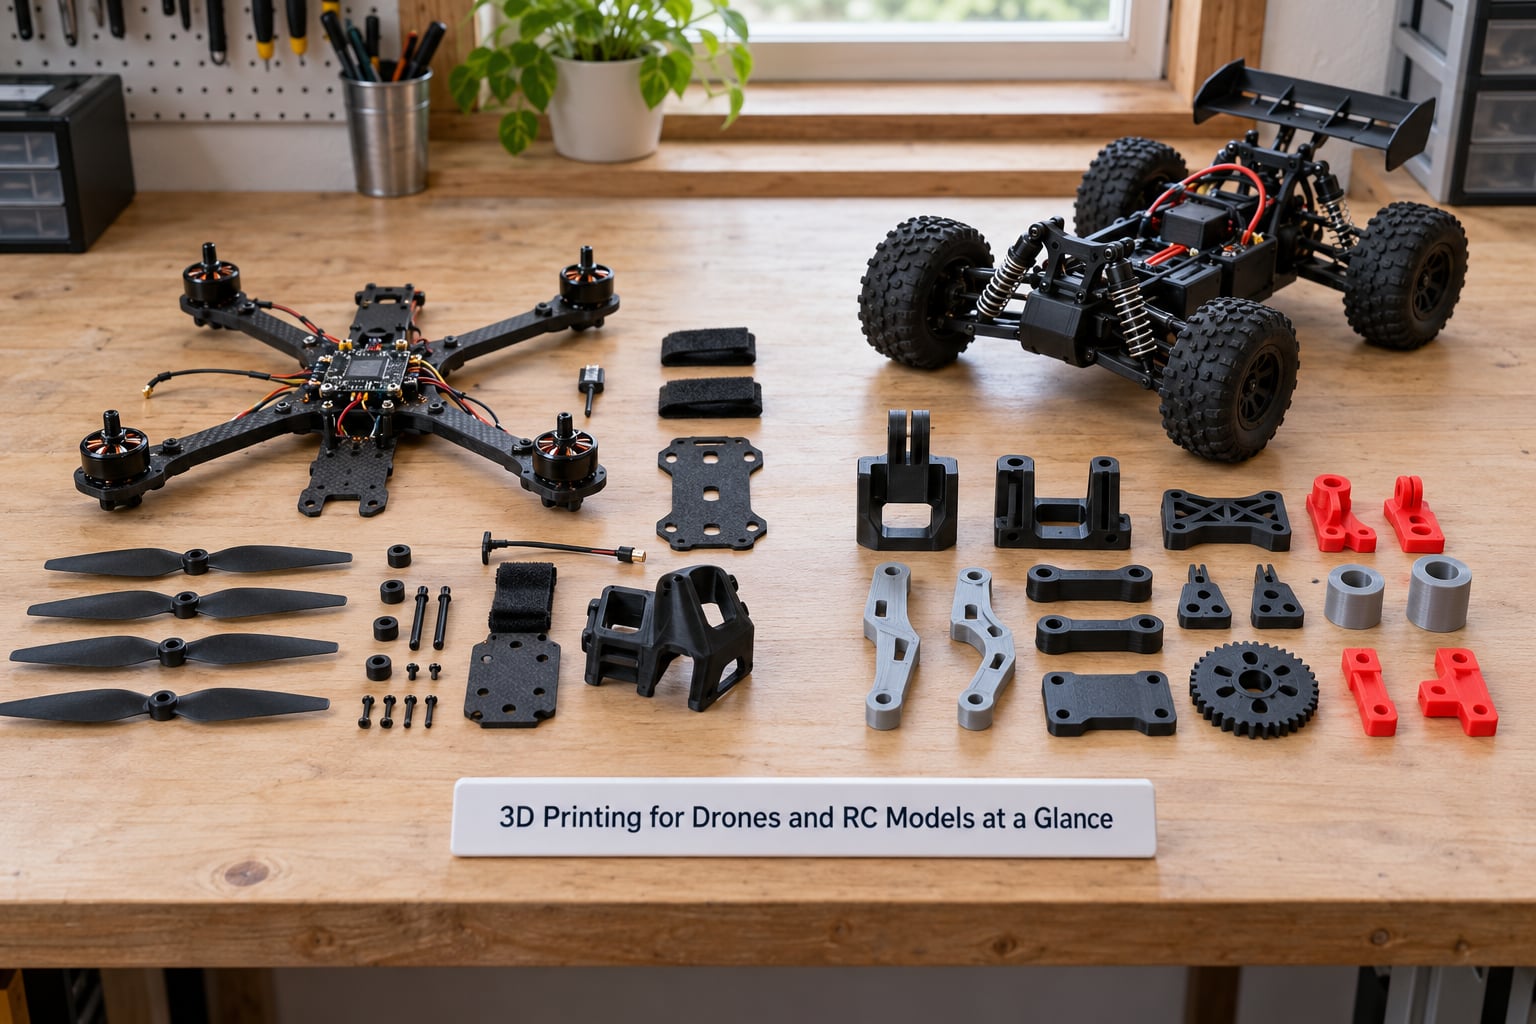
Different printed parts carry very different amounts of load, heat and abuse. The table below groups the usual applications so you can see quickly which category a part belongs to before you worry about settings.
| Printed application | Typical material | Difficulty | Main limitation |
|---|---|---|---|
| Camera and FPV camera mounts | PETG or ABS | Easy | Rigid printed parts transmit vibration to the camera if not damped |
| Battery cradles and straps | PETG or TPU | Easy | TPU straps stretch, so tension needs checking after a few packs |
| Prop guards and duct rings | PLA-LW or ASA | Easy | Low infill plus sun exposure leads to cracking in PLA |
| Antenna and GPS mounts | PETG or ABS | Easy | Flexible or thin arms let the tube move and reduce signal |
| Small brackets, bushings, spacers | Any rigid filament | Easy | Poor tolerance design makes them drop out in vibration |
| Servo horns and linkage parts | PETG or nylon | Moderate | Servo torque can split a printed horn along the spline |
| RC plane wheel hubs, spokes, tail parts | PETG or nylon | Moderate | Wheels absorb landing impacts that the filament was never rated for |
| Frame arms and structural spars | PA-CF nylon or PETG-CF | Hard | Needs a hardened nozzle and drying; layer lines are the weak point |
One thing the table makes obvious: difficulty tracks load, not geometry. A tiny spacer is trivial. A 400 mm wing spar is a two-day print with a drying box on the desk.
Which Parts Are Worth Printing?
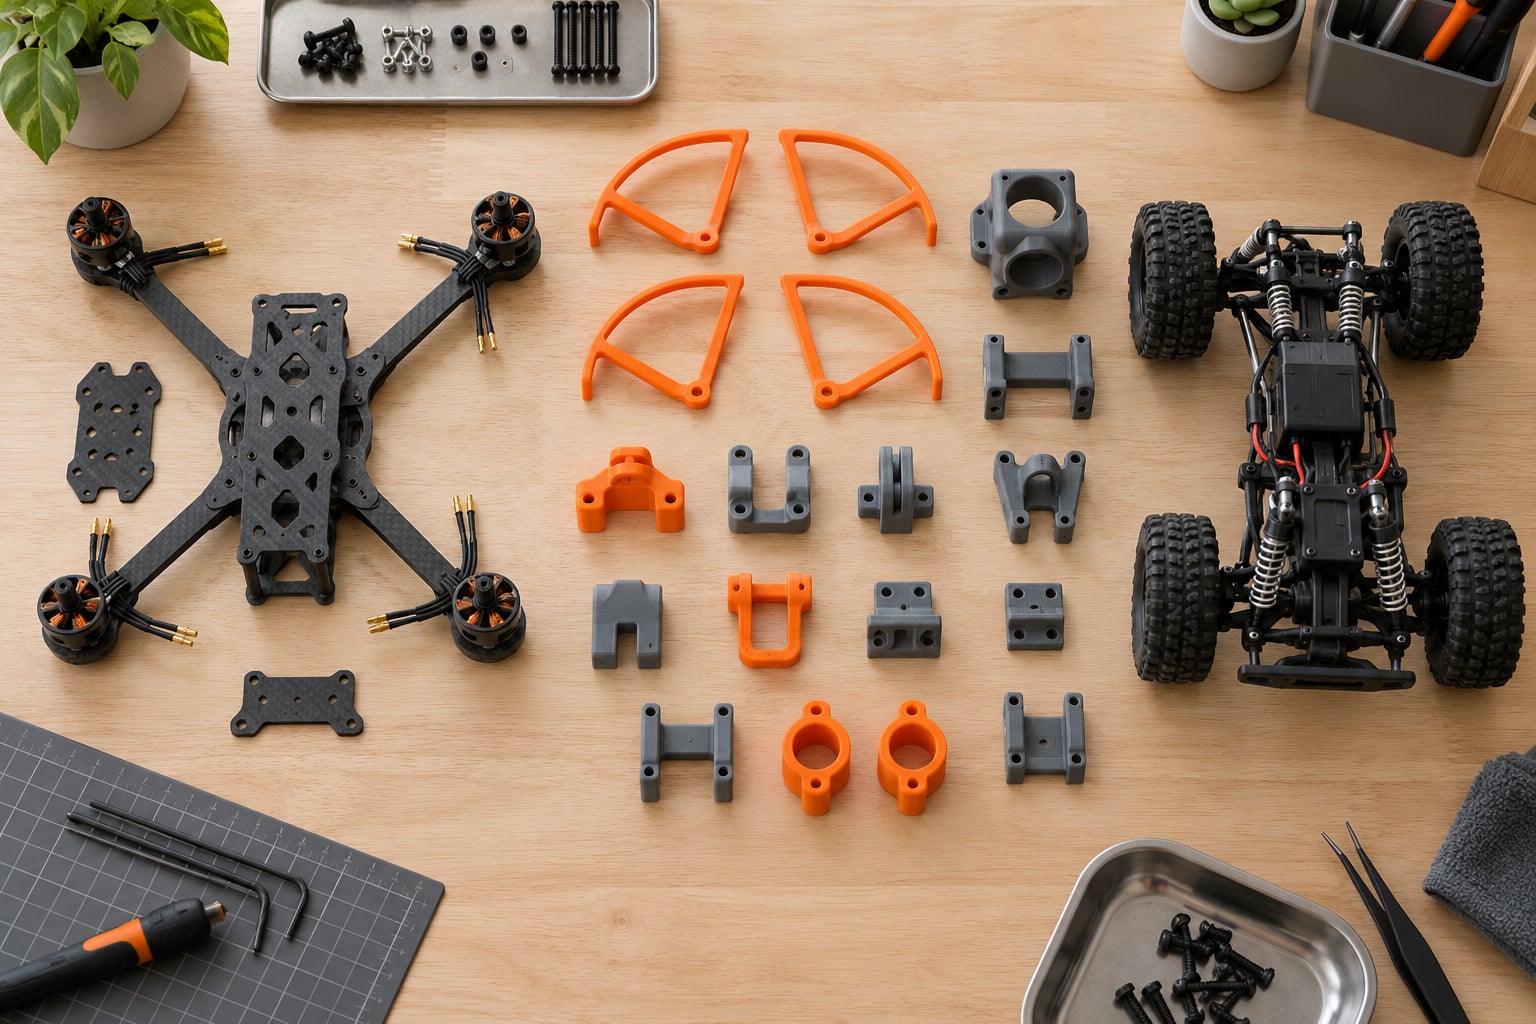
Most of the early wins in 3D printing for drones and RC models come from the parts that are cheap to buy, hard to source, or impossible in a standard size. Mounts, cradles and adapters fall into that group every time.
Camera and FPV camera mounts are the best first project. The factory part usually has one hole pattern, and you are running a camera you bolted on yourself. A printed mount lets you set the tilt angle, add a vibration damper, and put the camera somewhere the original layout never allowed. TPU grommets under the standoffs do more for image stability than most people expect.
Battery cradles and straps come next. Every frame has a battery bay sized for one pack, and a second pack of a different length rarely fits properly. Print a cradle sized to your actual pack and add a lip so it cannot slide forward under throttle.
Cable guides, antenna supports and prop guards fill in the rest. Cable guides are pure geometry, they never carry load, and a mistake just means reprinting. Prop guards are more interesting because they take real hits from props and pavement, which makes them a good crash-test for a material before you trust it with an arm.
Tool-free jigs are worth more than they look. Drilling a clean motor hole or aligning standoffs in a tight frame is fiddly work, and a printed jig takes twenty minutes to make and solves it forever.
Now the parts I would not print, at least not early on. Arms, motor mounts and anything that bolts directly into a structural load path should come from the factory or a proven open design until you have crash data of your own. Motor mounts and arm roots see repeated shock loading and a failure in the air is expensive. Landing gear on a fixed-wing model is a similar case: the impact is sudden, directional and hard to predict.
Cosmetic parts are fine anywhere. Skirts, canopies, ducts and low-load trim can be whatever is in the spool.
How to Choose the Right Material
Choose for impact, heat and weight in that order. Most printed drone parts fail from shock or soften in the sun, not from being pulled apart in tension.
| Material | Impact | Heat resistance | Weight | Printer needs | Best fit | Main limitation |
|---|---|---|---|---|---|---|
| PLA | Brittle | Poor, softens in a hot car or sun | Lightest | Any entry printer | Light guards, skirts, interior trim | Cracks instead of bending, and softens in the field |
| PLA-LW | Brittle | Poor | Very light, foamed | Any entry printer, normal PLA settings | Minimum all-up weight on micro and sub250 quads | Same heat weakness as PLA, plus a rough surface |
| PETG | Good | Moderate | Medium | Any printer, 240 C nozzle typical | Camera mounts, cradles, ducts, servo horns | Strings and bridges poorly if cooled hard |
| ABS or ASA | Moderate to good | Good, ASA handles UV | Medium | Enclosure helps; ASA is easier | Outdoor parts, sun-exposed guards | Warps without an enclosure, shrinks on the print |
| TPU | Excellent, flexible | Moderate | Medium | Slow and fussy, direct drive preferred | Vibration damping, bumpers, grommets, battery straps | Creeps under sustained load, hard to print thin |
| Nylon or PA-CF | Excellent | Good | Medium, PA-CF is stiffer | Hardened nozzle, drying, often a chamber | Arms, spars, high-load parts | Abrasive to nozzles, absorbs moisture fast |
| Resin | Very good in thin sections | Good | Low | MSLA printer, gloves and wash | Fine internal detail, small linkages, ducts | Brittle in bulk, fumes, needs curing |
PETG is the default and it stays the default for most work. It takes a hit without shattering, prints on almost anything, and does not need drying. Add a thin TPU bumper between a stiff mount and the frame and you recover most of the damping benefit of a fully soft mount without giving up alignment.
The carbon-reinforced options split into two groups. PETG-CF and PLA-CF print on a normal hotend if you fit a hardened nozzle first, and the chopped fibers make the part noticeably stiffer without a big weight penalty. PA-CF nylon is stronger still, but it is abrasive, it drinks moisture from the air, and it wants a heated chamber. If you cannot dry filament and change nozzles, PETG-CF is the sensible ceiling.
Long-range builds are where density starts to pay for itself. Once a pack is carrying the frame through twenty minutes of flight and a fair number of hard landings, the wall thickness and the orientation matter far more than the label on the spool. Four solid walls beat an exotic filament printed thin every time.
Lightweight foaming filaments are the opposite trade. They trade strength for grams, which is why they show up on sub250 and freestyle builds rather than load-bearing frames. That end of the hobby is forgiving enough that a fully printed frame in PLA with no surface finishing at all is a reasonable thing to try.
How to Design Parts That Fit and Perform
Most printed-part failures are design failures wearing a print failure costume. The part delaminated, but the real cause was thin walls at a point where the load concentrated.
Start by measuring the part you are copying with calipers, including the holes. Do not scale an existing model to fit, because scale changes hole shape and clearance in ways that are hard to predict. Recreate the mounting pattern directly.
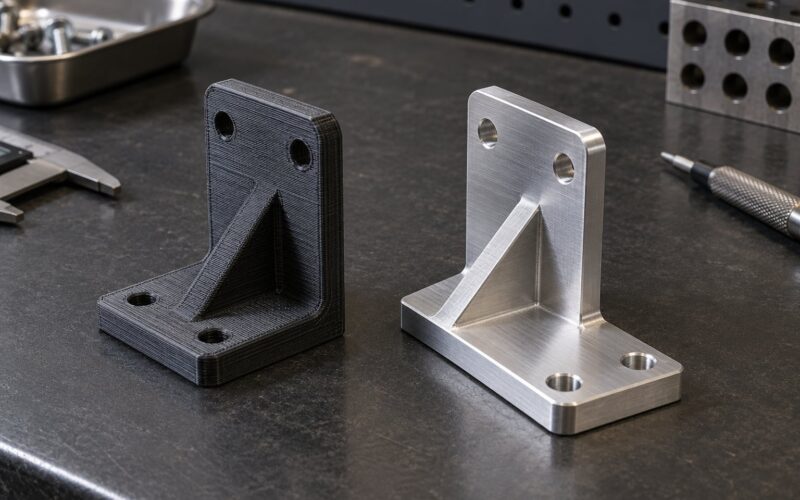
Walls carry load; infill does not. That is the single most useful thing to know here. Four or more perimeters around a part will outperform a hollow part filled to 100 percent, at lower weight and lower print time. Add ribs on the back of flat sections rather than thickening the whole part.
Fillet every internal corner. A sharp internal corner is a stress riser, and a fillet of a few millimeters is the cheapest strength gain available. Ribs work the same way: instead of a thick plate, three or four thin ribs following the load path.
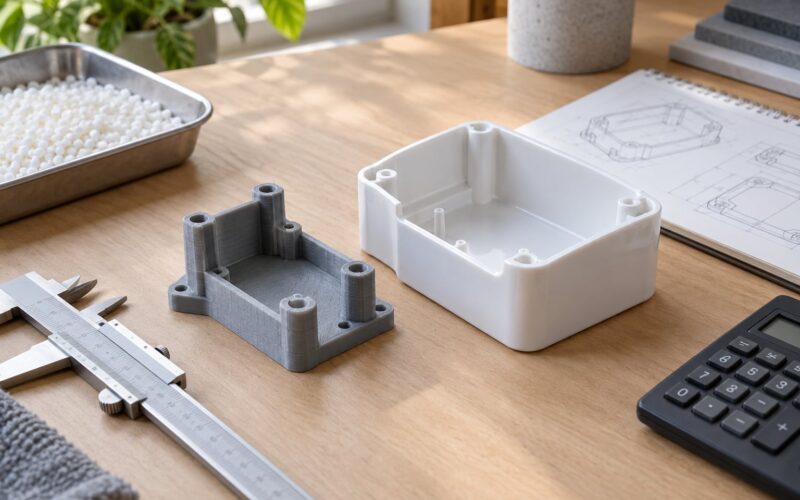
For joints, decide whether you want a screw, a snap or a press fit. Snap fits need a draft angle of roughly one to two degrees and a root radius, or the part prints fine and then cracks on the second insertion. Press fits want a clearance in the range a printer can actually hit, usually 0.2 to 0.3 mm for FDM and closer for resin. If you need strength at the joint rather than convenience, use heat-set inserts and design the boss with the right diameter and surrounding wall thickness.
Shaft and screw holes need clearance. If a printed hole has to accept a 3 mm screw, model it closer to 3.4 mm and test. Machine the hole slightly oversize and ream it to fit, which is faster than five reprint attempts.
Orientation decides more than appearance. Printed plastic is strongest along the layer lines, so load paths should run within a layer, not across the stack. Arms and spars want to print flat with the fibers of strength running lengthwise, and a vertical arm will split at the first hard landing. This is the rule that keeps recurring in forum crash reports, and it is worth designing around from the start.
Resin changes some of this. Thin walls and long unsupported features come out cleaner, and internal geometry is easier, but the whole part becomes brittle in the same way, so keep the same rule about generous radii.
Which Printer and Workflow Should You Use?
Use FDM unless you have a specific reason. A single FDM machine handles frames, mounts, guards, wheels and damping parts, and one material change covers most of the list. Resin earns its place on small linkages and fine internal detail, not on the frame.
For printer selection, four things matter. Build volume decides whether your project fits at all, since a large fixed-wing fuselage or wing panel may not. Bed rigidity matters more than people expect, because slop shows up as a poor fit on any part that has to mesh with something else. A heated chamber is what unlocks ABS, ASA and nylon. And a direct drive extruder makes TPU far less painful.
Hardened nozzle capability is the fourth thing. If you plan to print carbon fiber or nylon at any point, buy the printer with a hardened steel or ruby nozzle and treat the brass one as consumable. Cut the filament yourself with scissors and you will wear a brass nozzle out in a handful of hours.
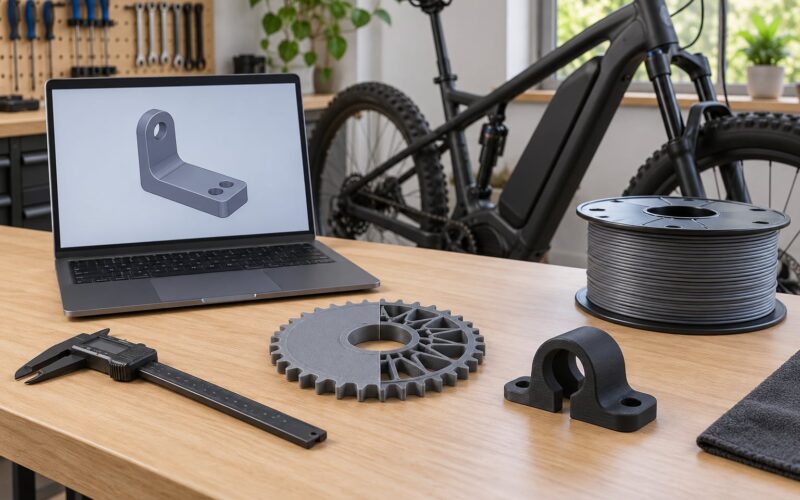
Now the workflow, which I keep the same for every part. First, measure the original or take dimensions from a drawing. Second, model it in CAD such as Fusion 360, or start from a community STL and modify it. Tinkercad works fine for simple adapters. Third, orient it so the load paths sit within the layers. Fourth, slice in PrusaSlicer, OrcaSlicer or Cura, where menus and available settings depend on your software version, so check your own install. Fifth, print. Sixth, post-process: remove supports, sand, ream holes to size, and optionally fill and paint. Seventh, fit check against the original before you install anything.
Where designs come from matters more than the tool. Printables, Thingiverse, Cults3D and Pinshape cover general hardware, and for aircraft specifically, RC Groups and FliteTest are where the interesting fixed-wing and boat work lives. Open-source projects such as OpenRC focus on printed vehicle parts and are a good source for wheel and body designs. Always check the print settings in the listing rather than trusting a file blindly, since many were sliced for a very different machine.
How to Test and Install a Printed Part
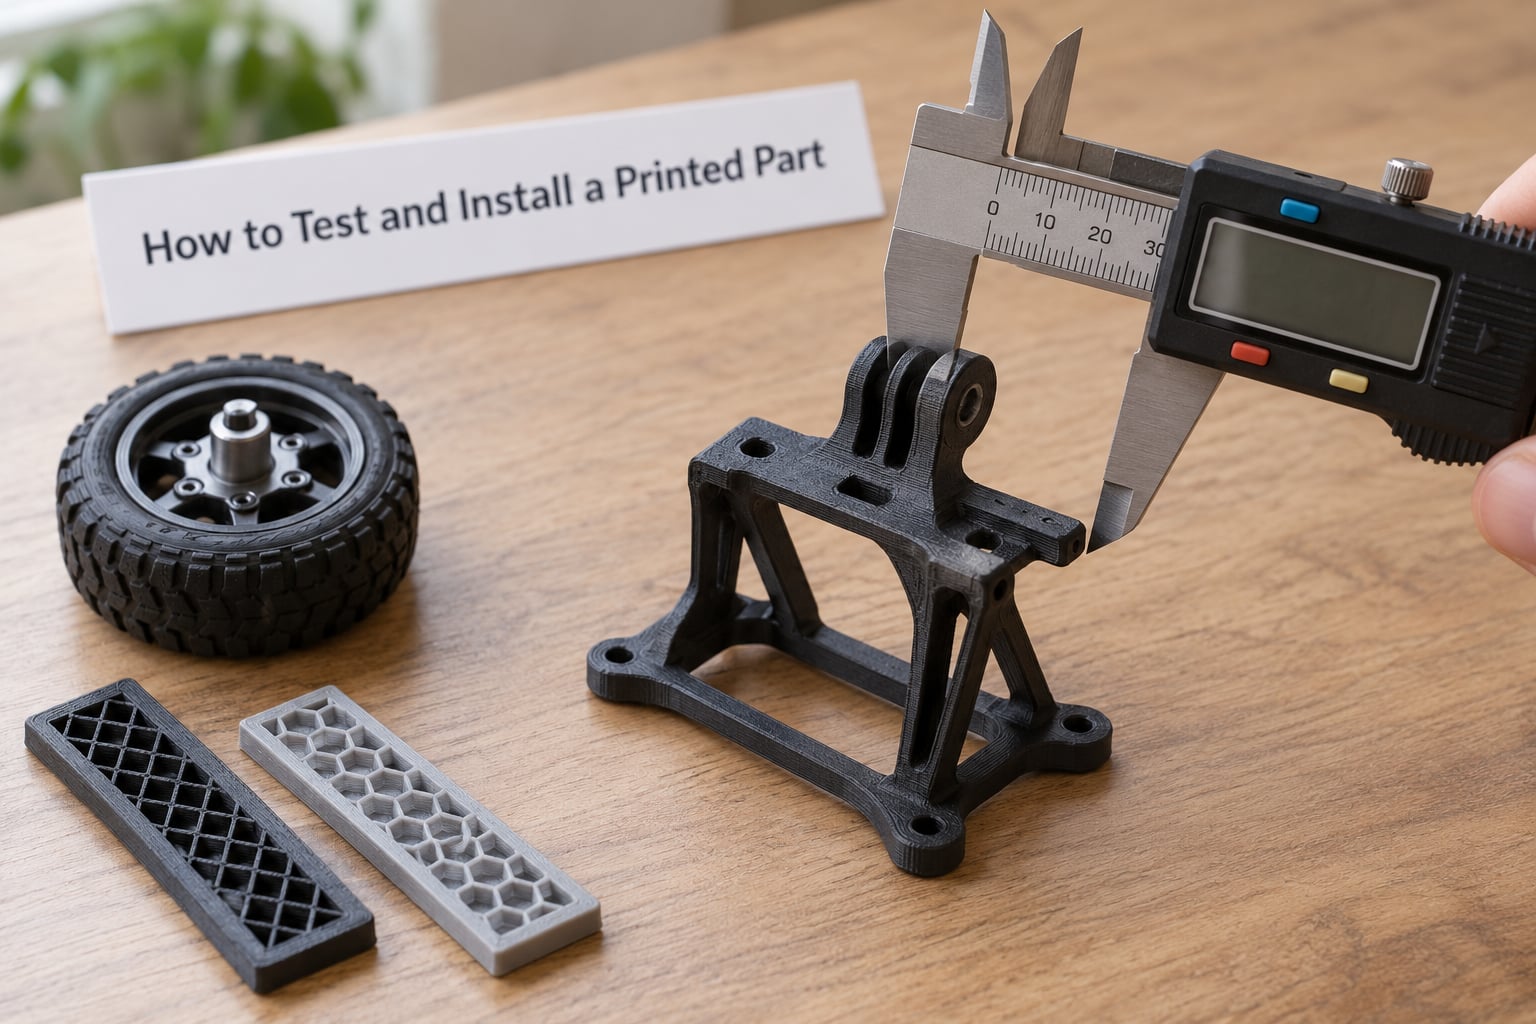
Test the part the way you would test a part from any other supplier: measure it, fit it dry, then load it before it goes anywhere near a prop.
Check the critical dimensions with calipers first, especially hole positions and thickness at the load points. If two holes that should line up are off by more than a fraction of a millimeter, ream them or print again rather than forcing hardware in.
Dry fit everything with the electronics disconnected. Check that nothing fouls a moving surface, that cables route without being pinched, and that the part does not rub when the frame is flexed slightly by hand.
Then fix the fasteners. Do not overtighten into plastic, because a stripped hole is a reprint. Use thread lock on anything carrying vibration, and leave a little free play rather than clamping to zero.
For the first test, leave the props off. Power up on the bench, watch the camera for looseness, and flex the frame to look for a creak that means a joint is moving. With a vehicle or a plane, run it on blocks first and listen for the sound of a part being hammered.
Recognize the warning signs early. Delamination shows as layers separating along a line, usually a sign of poor adhesion between materials or contamination on the nozzle. Cracking radiating from a hole means the wall is too thin or the fillet is missing. A fastener working loose means the hole is too smooth or the torque was wrong. Excessive flex in an arm means the orientation or the infill is wrong. Heat creep shows up as a melted or stringy mess at the last layers of a tall print, and it usually means the chamber is too cool for the material.
Safety and Performance Limits
Printed parts are accessories until proven otherwise. Follow the drone or vehicle manufacturer specifications, and treat a printed structural part as unvalidated unless someone with the right engineering background has signed it off.
Battery heat is the biggest everyday limit. Li-Po packs run hot in flight and even hotter under load, and a printed part sitting against a pack or an ESC can soften without you noticing until it deforms. Leave clearance and check for a warm spot after a hard run.
Propeller clearance is a hard boundary. A guard or mount that sits too close to a prop arc will not survive contact, and a guard that is slightly loose can redirect a prop into a frame arm. Measure the arc, not just the straight-line distance.
Structural fatigue is real and quiet. Plastic parts do not announce failure the way metal does, so keep an eye on the root of any printed arm, and replace rather than repair anything that has been through a hard impact.
Weather exposure matters more for PLA than people expect. Sun on a dark bench or a closed car at a flying field will soften a PLA part enough to lose alignment, which is why ASA or PETG is the better outdoor choice. Wash off salt and mud after a boat session rather than letting them sit.
If you print resin, wear gloves, ventilate the room, wash parts in isopropyl alcohol, and post-cure them fully before assembly. Uncured resin stays slightly tacky and keeps creeping against anything it touches.
Frequently Asked Questions
What is the best filament for drone and RC parts?
PETG is the best all-round choice for most drone and RC parts. It absorbs impacts without shattering, prints on almost any machine, and needs no drying. Use PLA for light, low-heat trim, ASA or ABS for sun-exposed parts, and TPU for vibration damping. Carbon-reinforced PETG adds stiffness if you fit a hardened nozzle first.
Can 3D printed parts replace factory-made drone or RC components?
Printed parts can replace factory components for mounts, cradles, guards, ducts, spacers, bushings and brackets, and cosmetic trim. Be more careful with arms, motor mounts, landing gear and anything in a direct load path. Those see repeated shock loading, so keep the original or a proven design until you have crash data of your own.
How do I make a 3D printed part stronger without adding too much weight?
Add walls rather than infill. Four or more perimeters carry far more load than a hollow part filled to 100 percent, and they weigh less. Add ribs along the load path instead of thickening a whole plate, fillet every internal corner, and orient the part so the load runs within the layers rather than across the stack. Those four changes do more than any material upgrade.
Is PLA safe for outdoor drone parts?
PLA works outdoors in cool, shaded conditions, but it is the first choice to avoid for sun-exposed parts. A closed car or a dark bench at a flying field can soften a PLA part enough to lose alignment, and PLA cracks rather than bending when it is hit. For outdoor frames, guards and ducts, use ASA, ABS or PETG instead. PLA-LW is fine indoors where weight matters most.
What 3D printing projects are easiest for RC beginners?
Start with a camera mount or a battery cradle. They are small, they carry almost no load, and mistakes cost one reprint rather than a broken aircraft. Cable guides, antenna supports and tool-free jigs are in the same category. If you are 3D printing for drones and RC models for the first time, avoid frames and arms until you have measured a broken part and printed a test piece in the material you plan to use.
Conclusion: Start With a Low-Risk Functional Part
Most printed drone and RC parts are easy: mounts, cradles, guards, cable guides, spacers and trim, all of which carry little load and cost one reprint to fix. The decisions that matter are the material and the fit, and both are simpler than they sound. Measure the part you are copying with calipers, choose a tough material your printer can actually handle, add walls instead of infill, and orient it so the load runs within the layers.
Then test it before it matters. Check dimensions, fit dry, load it on the bench with the props off, and only then install. Work up toward arms and spars once you have crash data you trust. Start with a bracket you can break cheaply, not a frame you cannot afford to lose.