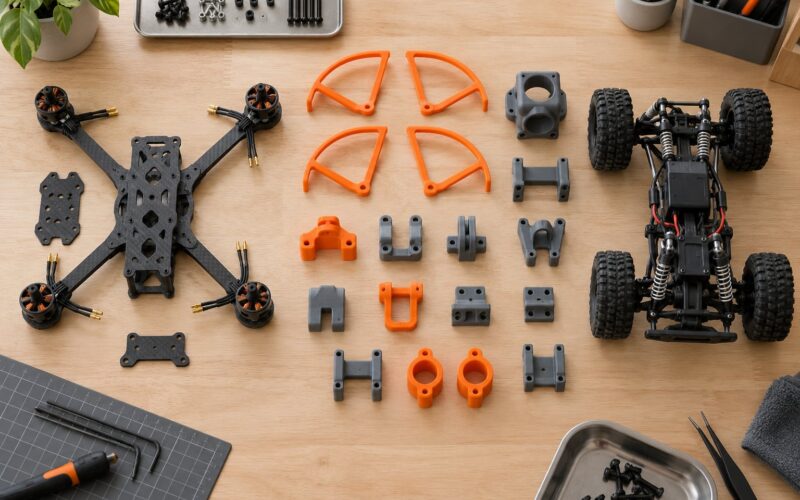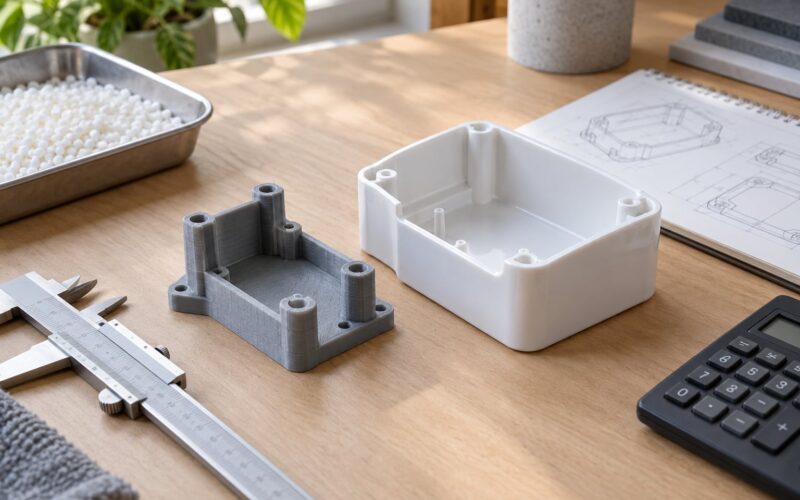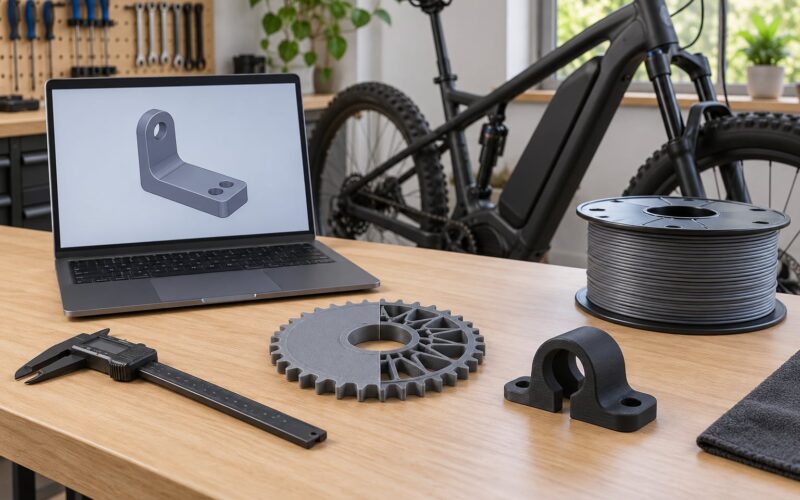
Choose 3D printing for prototypes, complex internal geometry, and runs of a few dozen parts. Choose CNC machining for tight tolerances, hard metals and engineering plastics, and any repeat production where every part has to come out identical. Plenty of projects use both, in that order.
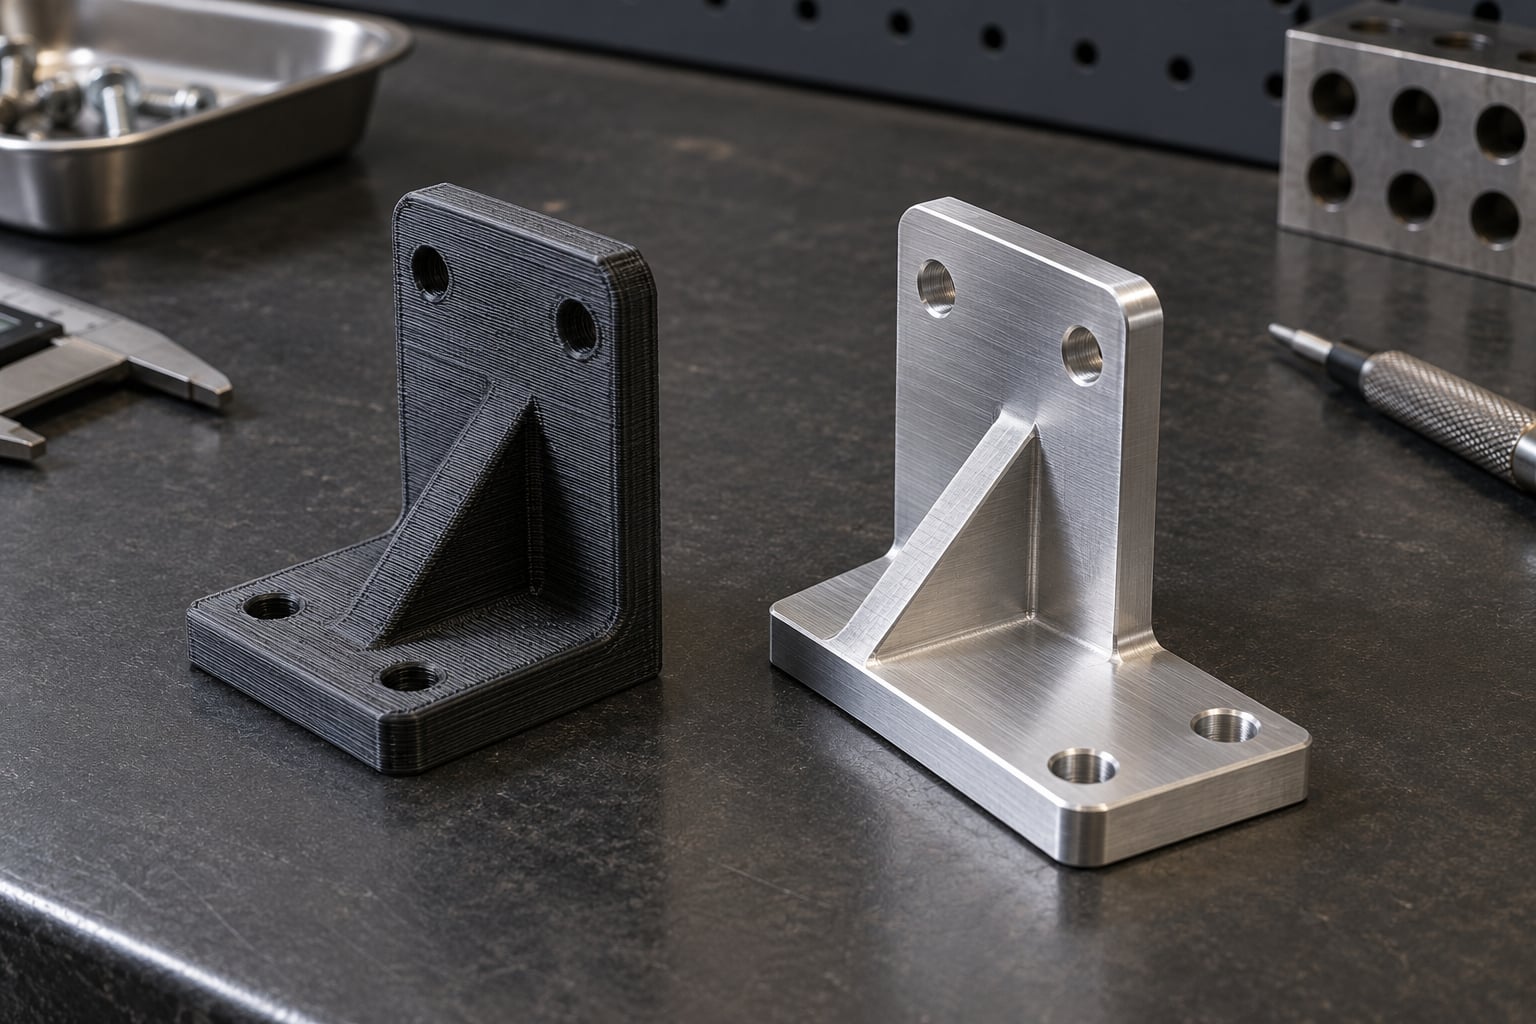
The confusing part is that both processes can make something that looks like the same bracket in a render. They behave completely differently once the part has to fit a bearing, carry a load, or match the next one in a batch. Here is what actually separates them.
This guide is written for engineers, product designers, inventors, and small shop owners who have to pick a process for a real part rather than argue about which machine is better.
Table of Contents
- 3D Printing vs CNC Machining at a Glance
- What Is 3D Printing and When Does It Make Sense?
- FDM and other filament processes
- Resin processes such as SLA and DLP
- Powder bed processes such as SLS and DMLS
- Direct energy deposition
- What Is CNC Machining and When Does It Make Sense?
- Why CNC beats hand machining on repeat work
- 3D Printing vs CNC Machining: Materials and Material Options
- 3D Printing vs CNC Machining: Accuracy, Finish, and Tolerances
- 3D Printing vs CNC Machining: Cost, Speed, and Production Volume
- 3D Printing vs CNC Machining: Design and Part Complexity
- Which Should You Choose for Your Part?
- Choose 3D printing for these jobs
- Choose CNC machining for these jobs
- The five questions to answer before you pick a process
- Combining the two usually beats picking one
- Frequently Asked Questions
- Which is more accurate, 3D printing or CNC machining?
- Which is cheaper, CNC machining or 3D printing?
- Can CNC machining make the same parts as 3D printing?
- When should I use metal 3D printing instead of CNC machining?
- Can you combine 3D printing and CNC machining for the same part?
- How many parts before CNC machining is cheaper than 3D printing?
- Conclusion: Start With the Production Requirement
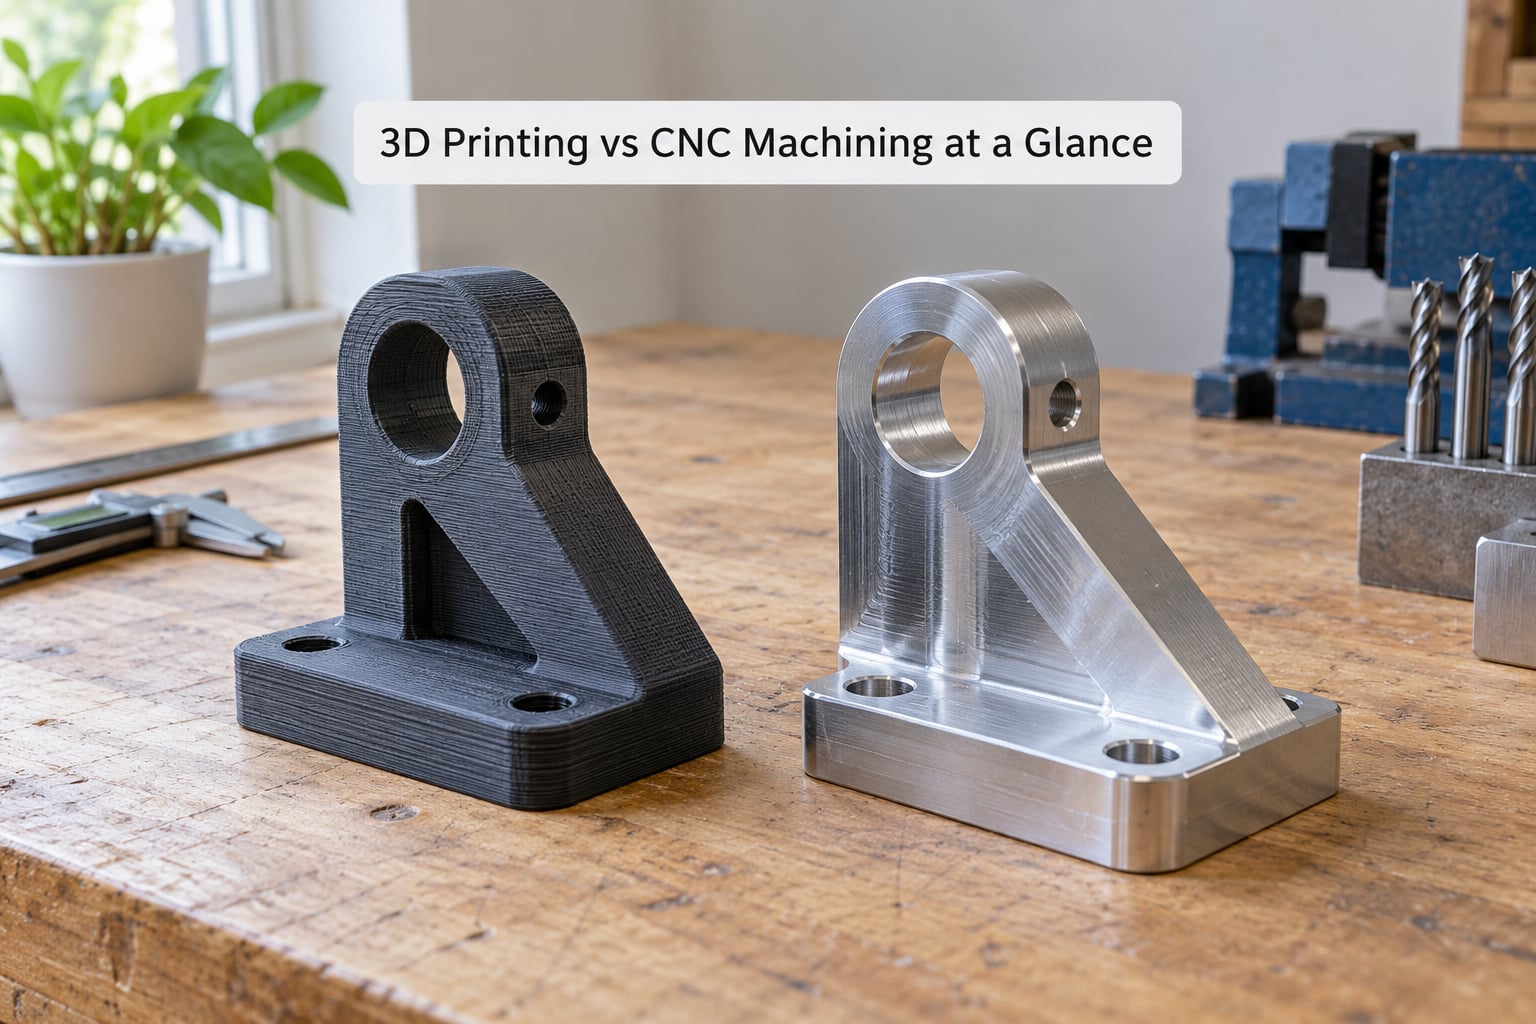
3D Printing vs CNC Machining at a Glance
| Criterion | 3D printing (additive) | CNC machining (subtractive) |
|---|---|---|
| Best fit parts | Prototypes, complex internal geometry, short runs | Precision parts, hard materials, repeat production |
| Materials | Polymers, resins, nylon, and metals through powder-bed or deposition processes | Aluminum, steel, titanium, brass, engineering plastics, composites |
| Dimensional accuracy | Varies widely by process, FDM being the loosest | Tight and consistent from part to part |
| Surface finish | As-printed layer texture, usually matte | Smooth machined finish, often brushed or anodized |
| Design freedom | Internal channels, undercuts, lattices, living hinges | Limited by tool reach, needs draft on cut faces |
| Setup cost | Very low: a machine and a design file | Workholding, fixtures, tooling, and CAM programming |
| Speed | Slow per part with almost no setup | Slow on the first part, fast on every part after |
| Scalability | Poor past low volume | Strong from dozens of parts upward |
| Scrap | Low, unused material stays as powder or filament | Higher, chips and offcuts every run |
| Typical applications | Product development, surgical models, robotics prototypes, jigs | Aerospace brackets, automotive housings, medical devices, electronics enclosures |
This table is a starting point, not a verdict. Two details change almost every answer, and both are invisible in a spec sheet: the tolerance your design actually needs, and how many parts you will ever make.
What Is 3D Printing and When Does It Make Sense?
3D printing is additive manufacturing. A machine reads your CAD model, slices it into hundreds of thin layers, and builds the part one layer at a time until it is complete. Nothing is cut away, so the material you paid for ends up almost entirely in the part.
The big label covers four very different families of machines.
FDM and other filament processes
Fused deposition modeling melts thermoplastic filament and lays it down in thin roads. It is the cheapest and most accessible option, it runs on any desktop machine, and it handles large parts well, but it is the loosest on tolerance and the noisiest on surface finish.
Resin processes such as SLA and DLP
Vat photopolymer printing cures liquid resin with light. Resin parts come out far closer to final size, hold fine detail, and are the usual choice when a prototype needs to look like the real product or fit a snap-fit.
Powder bed processes such as SLS and DMLS
A laser sinters polymer or metal powder layer by layer with no support structures, so complex internal geometry is free. These are the machines that make lattice structures and consolidated assemblies realistic.
Direct energy deposition
DED melts metal powder or wire as it is deposited. It is how large metal parts get built or repaired rather than machined from a solid block.
3D printing makes the most sense when the geometry fights you. Internal cooling passages, undercuts, thin organic shapes, part consolidation, and features that would need a dozen setups on a mill are all straightforward once the geometry is built layer by layer. It is also the fastest way to hold a physical object in your hand while the design is still changing.
What Is CNC Machining and When Does It Make Sense?
CNC machining is subtractive manufacturing. A computer-controlled machine follows toolpaths generated from your CAD model and removes material from a solid block or bar until the part is left behind. The tool never guesses where to cut, and the same program will run the same part a thousand times.
Milling machines remove material with a rotating cutter. CNC turning, or lathe work, spins the material while a single tool shapes the outside, which is the fast route to round parts. Drilling, tapping, boring, and reaming happen inside the same program, and 5-axis machines let the part tilt so a complex shape can be cut in one setup instead of four.
Machining wins when the part has to behave like a machine component. Bearings seat on bores that hold size, threads need to mate, faces need to be flat and parallel, and the metal itself carries the load. Printed parts can do all of this eventually, but not on a typical machine and not cheaply.
Why CNC beats hand machining on repeat work
A manual machinist still beats a CNC machine on a single odd part, but the comparison changes the moment you make two. A programmed machine repeats the same toolpath every cycle, so part five is dimensionally the same as part one without a second round of measuring and hand fitting. It also runs unattended, which means a night shift is free capacity rather than a wage.
Other advantages worth counting: holding multiple parts in one setup with a sub-plate, cutting harder materials consistently because the feed rate never changes, and keeping digital records of every cut for traceability in regulated work. The honest downsides are the setup effort before the first part, the cost of the equipment, and the fact that a crashed program can waste an expensive blank very quickly.
There is one more thing machining gives you that is easy to overlook: repeatability. A batch of 200 machined brackets arrives with the same bore diameter every time, so the assembly line does not have to be adjusted halfway through.
3D Printing vs CNC Machining: Materials and Material Options
CNC machining is limited by what you can find as a solid block or bar and what a cutter can actually cut. Aluminum, mild and stainless steel, brass, copper, titanium, engineering plastics like PEEK and Ultem, and filled composites are all routine. Heat treatment, anodizing, plating, and powder coating attach cleanly afterward because the part is a conventional metal part.
3D printing covers polymers best and metals more narrowly. PLA, ABS, nylon, TPU, and carbon-fiber-filled filaments cover most needs. Polycarbonate, PEEK, and Ultem are available on higher-temperature machines. On the metal side, DMLS and DED work with stainless steel, aluminum, titanium, and nickel alloys, though the list of certified alloys is narrower than the list of machinable ones.
Two material caveats decide more parts than people expect. First, printed parts are anisotropic: strength along the layer bond is lower than strength in the plane, so a printed load path needs to be oriented in the model rather than left to chance. Second, printed metal parts come out with residual internal stress and usually need stress relief or heat treatment before they see real loads.
Third, and this one bites in the other direction, not every engineering plastic machines well. A glass-filled nylon or an aluminum-filled resin can be abrasive enough to chew up tooling, and filled materials change how the part cuts. Any new material is worth a test cut before a full batch is scheduled.
3D Printing vs CNC Machining: Accuracy, Finish, and Tolerances
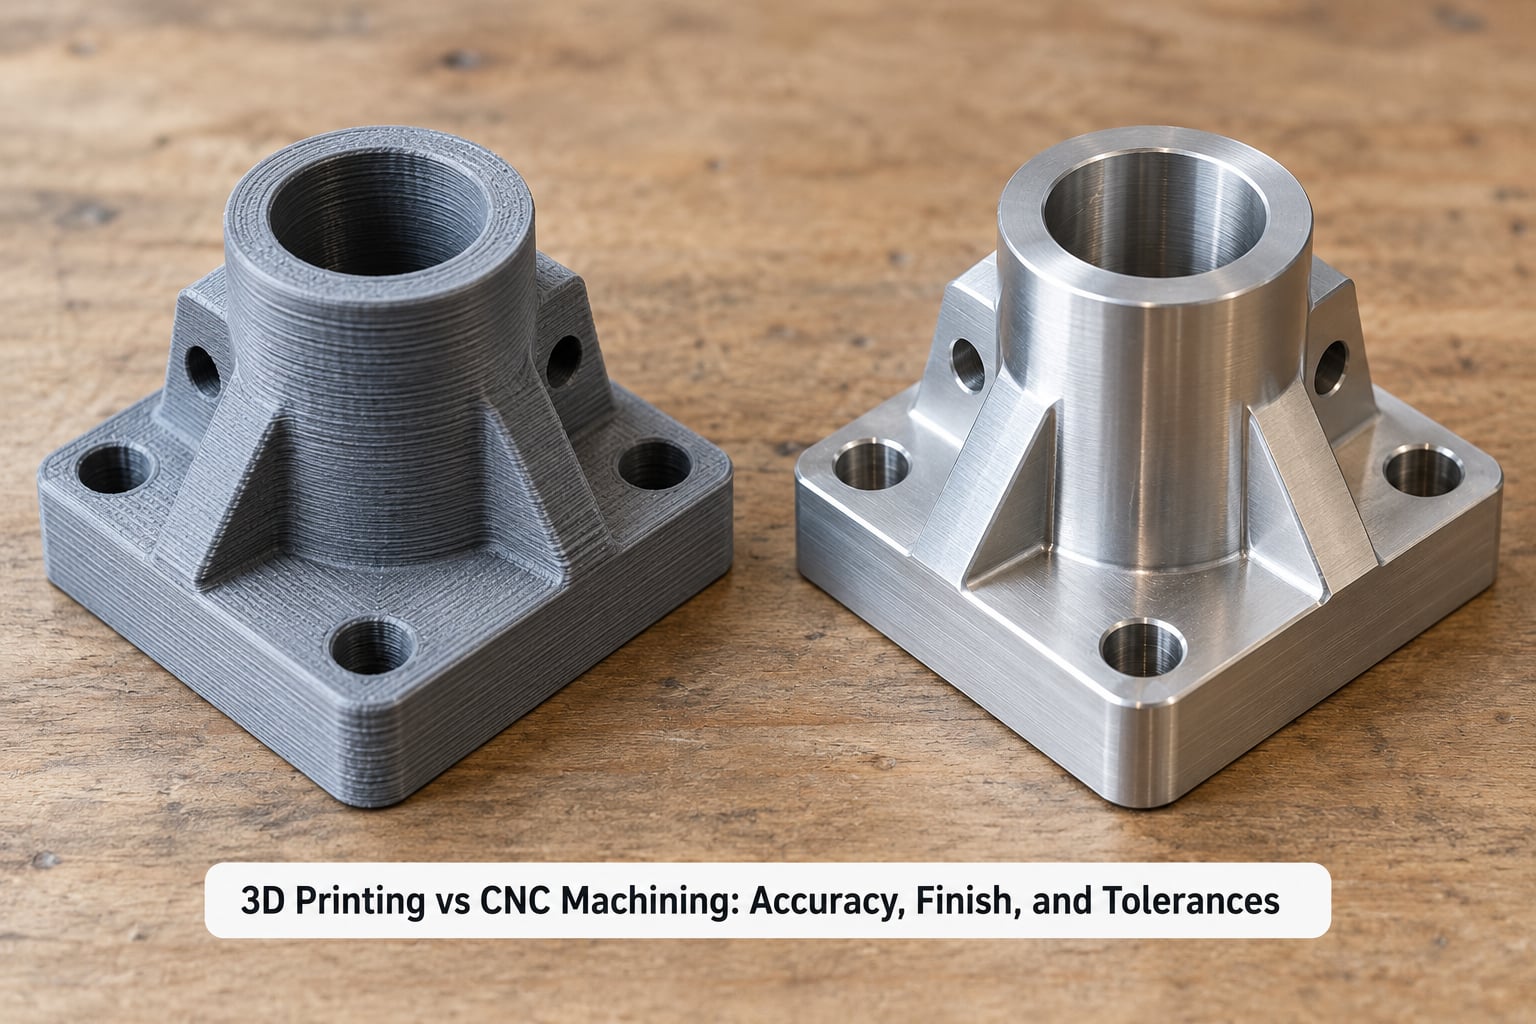
Here are the tolerance bands most shops work to. They are typical figures, not guarantees, but they are close enough to put a number in a CAD tolerance box.
| Process | Typical dimensional tolerance | In inches |
|---|---|---|
| FDM / FFF | ±0.3 to 0.5 mm | ±0.012 to 0.020 in |
| SLA / DLP resin | ±0.1 to 0.2 mm | ±0.004 to 0.008 in |
| SLS polymer | ±0.15 mm | ±0.006 in |
| DMLS metal | ±0.05 to 0.1 mm | ±0.002 to 0.004 in |
| CNC milling | ±0.025 to 0.05 mm | ±0.001 to 0.002 in |
| CNC turning | ±0.025 to 0.05 mm | ±0.001 to 0.002 in |
Precision equipment can hold tolerances as tight as 0.0025 mm, though most of that cost sits in metrology and fixturing rather than in the cut itself. For a rough rule, machining holds five to ten times tighter than a good desktop printer, and the gap widens as the part gets larger.
Surface finish follows a similar split. As-printed FDM parts usually land somewhere in the 5 to 10 micrometre Ra range with visible layer lines. Resin prints land nearer 1 micrometre. A machined aluminum face comes off the machine around 0.8 to 1.6 micrometres Ra before any finishing. If cosmetics matter, tumbling, bead blasting, sanding, and polishing all move printed parts down the scale, each one adding labor and cost.
Two things distort these numbers. Printed parts can shift during the build, and a part that sits near the edge of the build plate or in a corner of the vat warps more than one in the middle. On the machining side, thin sections, long thin tools, and a workpiece that is not clamped properly are what produce surprises, not the machine itself.
3D Printing vs CNC Machining: Cost, Speed, and Production Volume
The honest answer on cost is that it changes shape completely with volume, so most comparisons that quote a single number are misleading.
A printer costs a fraction of a machine tool. Materials run by the kilogram and the support structures usually end up in the recycling bin, so a printed part uses nearly all of what you bought. A CNC machine costs several times more, and the real expense is setup: programming CAM, proving the toolpath, cutting air, and building a fixture that holds the blank without distorting it. That setup is charged to the first part.
Then the equation flips. A printed part keeps its per-part cost roughly flat, so the hundredth part costs the same as the first. A machined part carries the setup once and then gets cheap, because the machine is already fixtured and the program is already proven. That is the whole reason volume matters so much.
The most quoted rule of thumb comes from Tony Holtz at Proto Labs: 3D printing is usually economical up to about 50 parts, CNC machining up to about 200, and a single-cavity injection mold can stay competitive to around 10,000 parts. A Stratasys comparison of a pocket tray and a robotic adaptor found the printed parts were cheaper to make, at 2.3 hours against 1.3 hours on CNC for the tray and 3.8 hours against 2.5 for the adaptor, yet they were not the faster route to production. A US Navy submarine hull that took about five months to print was later produced in under six weeks once the design settled.
Speed deserves the same care. A desktop printer chews through a small part overnight, and a whole batch prints unattended while you do something else. A CNC machine produces one part at a time, which sounds slow until the toolpath is running and the lights are off. For twenty parts, printing usually wins on wall-clock time. For two hundred, the machining queue has already paid for itself.
One cost number people leave out: filament and resin are sold at a large markup over raw polymer, roughly ten times the material cost per kilogram, because you are buying a spool with a heater and a sensor built in. Additive scrap is low, but additive material spend is not.
3D Printing vs CNC Machining: Design and Part Complexity
Complexity is not a single thing, and that is where the marketing on both sides gets muddy. What looks complicated to a mill is often simple to a printer, and what looks simple in a render can be almost impossible to print.
Where 3D printing wins is anywhere the tool cannot physically go. Internal channels, enclosed voids, undercuts that face any direction, lattice infill for lightweighting, and living hinges in a single piece all fall out of the process. Parts that would be an assembly of ten machined components on a subtractive machine can often be printed as one piece, which cuts cost far more than the machine time does.
Where machining wins is precision control of a feature. Threads can be cut with a real tap to a real pitch. A bearing seat can be reamed to fit. A sealing surface can be held flat to a tenth of a millimeter across a large face. Deep holes stay straight because the tool does not have to reach around a corner, and any feature within the machine’s envelope is measured directly instead of inherited from a layer stack.
Designing for the process is where most of the wasted effort happens. A few practical differences:
- Threads. Printed threads are weak and rarely mate cleanly. Design printed holes as a plain bore sized for a heat-set insert, or a boss for a self-tapping screw, and reserve real threads for machined parts.
- Draft. Machined features that come off the tool need draft, usually 1 to 3 degrees, so the tool can withdraw. Printed features need no draft at all. If a part is headed to a mill, add the angle before the first quote.
- Wall thickness. A mill dislikes very thin walls and long deep pockets with a small tool in them. A printer dislikes walls thinner than roughly two or three extrusion widths, which on a typical machine is well under a millimeter.
- Supports and overhangs. Printing overhangs beyond about 45 degrees needs support structures, which leave a rough surface that has to be cleaned off. A mill cuts the same shape with no supports at all.
- Tolerance stack-up. Printed features inherit the layer height, so stacking ten holes and slots adds error. A machined face is referenced to the datum, so a tolerance stack is something you can actually calculate.
The lesson from the shop forums is blunt: people who move a part from printing to machining report having to rethink wall thickness, threads, and tolerance callouts rather than exporting the same file twice. Budget a few hours of CAD work into that transition.
Which Should You Choose for Your Part?
The answer follows from the use case, not from preference. Here is how the decision usually lands.
Choose 3D printing for these jobs
- One-off prototypes where the design is still moving and a decision has to be made this week.
- Form and fit checks where you need to know whether a lid closes or a bracket lines up, not whether it will last.
- Complex internal geometry such as cooling channels, hollow housings, and lightened structures.
- Low-volume end-use parts in plastic, including custom grips, mounts, and drone components.
- Visual models, surgical models, and marketing pieces where shape matters more than performance.
- Replacement parts for obsolete assemblies where scanning the old part and printing a copy beats waiting on a supplier.
Choose CNC machining for these jobs
- Precision assemblies with bearing seats, dowel pins, threads, or press fits.
- High-volume production where part-to-part repeatability matters more than unit cost at low quantity.
- Metal parts under real load, including aerospace brackets, robotics frames, and heat sinks.
- Flatness and parallelism on mounting faces, which no printing process holds well.
- Cosmetic or customer-facing parts that need to look machined rather than printed.
- Production jigs and fixtures that will be used hard and repeatedly on the shop floor.
The five questions to answer before you pick a process
- How many parts, total, will this design ever need?
- What is the tightest tolerance the assembly requires, and does anything mate to it?
- What material has to survive the load, the temperature, and the environment?
- Does the geometry contain internal channels, undercuts, or faces a tool cannot reach?
- How much secondary work is acceptable: supports to remove, blasting, anodizing, heat treatment, inspection?
Worth adding a sixth, because shop owners ask it constantly: which machine are you actually buying first. The common pattern in the hobby CNC forums is the reverse of what people expect. Printers are forgiving, cheap to learn on, and produce something useful in an afternoon. Hobby CNC is slow, demands real workholding discipline, and punishes sloppy setup. Most beginners who own both started with the printer and only added the mill once they had parts that needed a real tolerance.
Combining the two usually beats picking one
The hybrid workflow is what practitioners in the forums keep recommending, and it is the reason many shops end up with both machines. Print the part first to validate geometry and fit while the design is still cheap to change. Then take the same design into metal on a mill or a lathe and function-test it under real load, real temperature, and real wear. The printed prototype answers does this shape work, and the machined part answers does this design perform.
Sometimes the two processes meet on the same part. A printed housing can be machined to a metal insert, or a printed pattern becomes a master model for a cast or molded part. Designers increasingly send a single model to both and split the features: printed where the shape is awkward, machined where the tolerance is critical.
And when neither is right, say so. Above roughly 10,000 simple parts with no geometry changes, injection molding wins on unit cost and repeatability. Very thin-walled housings in volume belong in die casting. Sheet metal parts should stay sheet metal, and long constant-cross-section sections belong in extrusion. A prototype study in any of those cases is often just a pattern, a master, or a fit check, not the production process itself.
Frequently Asked Questions
Which is more accurate, 3D printing or CNC machining?
CNC machining is the more accurate of the two. A typical CNC milling or turning process holds around ±0.025 to ±0.05 mm, or ±0.001 to ±0.002 inches. FDM printing usually manages ±0.3 to ±0.5 mm, resin printing around ±0.1 to ±0.2 mm, and metal powder bed about ±0.05 to ±0.1 mm. The exact result depends as much on the machine, the material, and the fixture as on the process itself.
Which is cheaper, CNC machining or 3D printing?
For one part, a few prototypes, and anything under about 50 pieces, 3D printing is usually cheaper because there is no setup, no fixture, and no programming time. CNC machining becomes more economical from roughly 50 to 200 parts, because the setup cost is paid once and every part after it is fast. Above about 10,000 simple parts, injection molding takes over as the cheapest option by a wide margin.
Can CNC machining make the same parts as 3D printing?
It can make most of them, but not all. A mill struggles with fully enclosed internal voids, sharp undercuts on several faces at once, and features no tool can reach, all of which print without trouble. Conversely, a mill produces true threads, reamed bearing seats, flat parallel faces, and deep straight holes that no printing process holds reliably. Complex one-piece assemblies usually favor printing, precision features usually favor machining.
When should I use metal 3D printing instead of CNC machining?
Use metal 3D printing when the geometry is the hard part: internal cooling channels, lightweight lattices, topology-optimized brackets, or many small features consolidated into one piece. A US Navy submarine hull moved from about five months of printing to under six weeks once the design was final. If the part is a straightforward block that needs strong, repeatable, well-finished surfaces and moderate volume, machining is faster and cheaper.
Can you combine 3D printing and CNC machining for the same part?
Yes, and it is often the best answer. The standard workflow is to print first to validate geometry and fit while changes are still cheap, then machine the same design in metal for functional and load testing. You can also machine a printed part directly, such as boring a printed housing to fit a metal insert or flattening a printed face to a datum before assembly. Just expect to revisit wall thickness, threads, and tolerance callouts in the CAD file.
How many parts before CNC machining is cheaper than 3D printing?
The widely cited rule of thumb, from Tony Holtz at Proto Labs, is that 3D printing stays economical to about 50 parts and CNC machining to about 200, with a single-cavity injection mold competitive to roughly 10,000. The crossover moves earlier for tight-tolerance metal parts, because a printed metal part often needs machining or heat treatment afterward anyway, and later for large plastic parts with awkward internal geometry.
Conclusion: Start With the Production Requirement
Choose 3D printing when geometry is difficult, the design is still moving, or the quantity is small. Choose CNC machining when tolerance, material strength, finish, and repeatability across a batch matter more than design freedom.
Before you pick a machine or request a quote, write down four things: the geometry, the material, the quantity, and the tightest tolerance the assembly needs. Those four lines answer the question faster than any equipment comparison can.
And if the part seems to need both, do both. Print to validate the shape, machine to prove the performance. That sequence is what most working shops do anyway, and it is the fastest route to a part you can actually trust.