Most people never hit a hard limit on a 3D printer nozzle — they hit a symptom. A brass nozzle printing plain PLA and PETG usually runs 500 to 1,000 hours before the orifice starts to widen, abrasive filament can cut that to 50 to 300 hours, and a hardened steel or ruby nozzle often passes 1,500 hours. So the honest answer to how often to replace a 3d printer nozzle is this: inspect it every few hundred hours, clean it when you see buildup, and swap it when extrusion changes or the tip looks damaged.
The full check-and-swap routine takes about 20 minutes once you have done it twice. Ten of those minutes are the inspection itself, which is the part worth building a habit around.
Table of Contents
- What You Need
- Step-by-Step: How Often to Replace a 3D Printer Nozzle
- Check the Printer and Material Guidance
- How Often to Replace: Signs of Nozzle Wear and Print Problems
- Clean Before You Replace
- Replace and Test the Nozzle
- Common Mistakes
- Frequently Asked Questions
- How often should I replace a 3D printer nozzle?
- What are the signs that a 3D printer nozzle needs replacing?
- Can I clean a clogged nozzle instead of replacing it?
- How often should I clean a 3D printer nozzle?
- When should I use a hardened steel nozzle instead of brass?
- Can a bad nozzle cause first-layer problems?
- Conclusion
What You Need
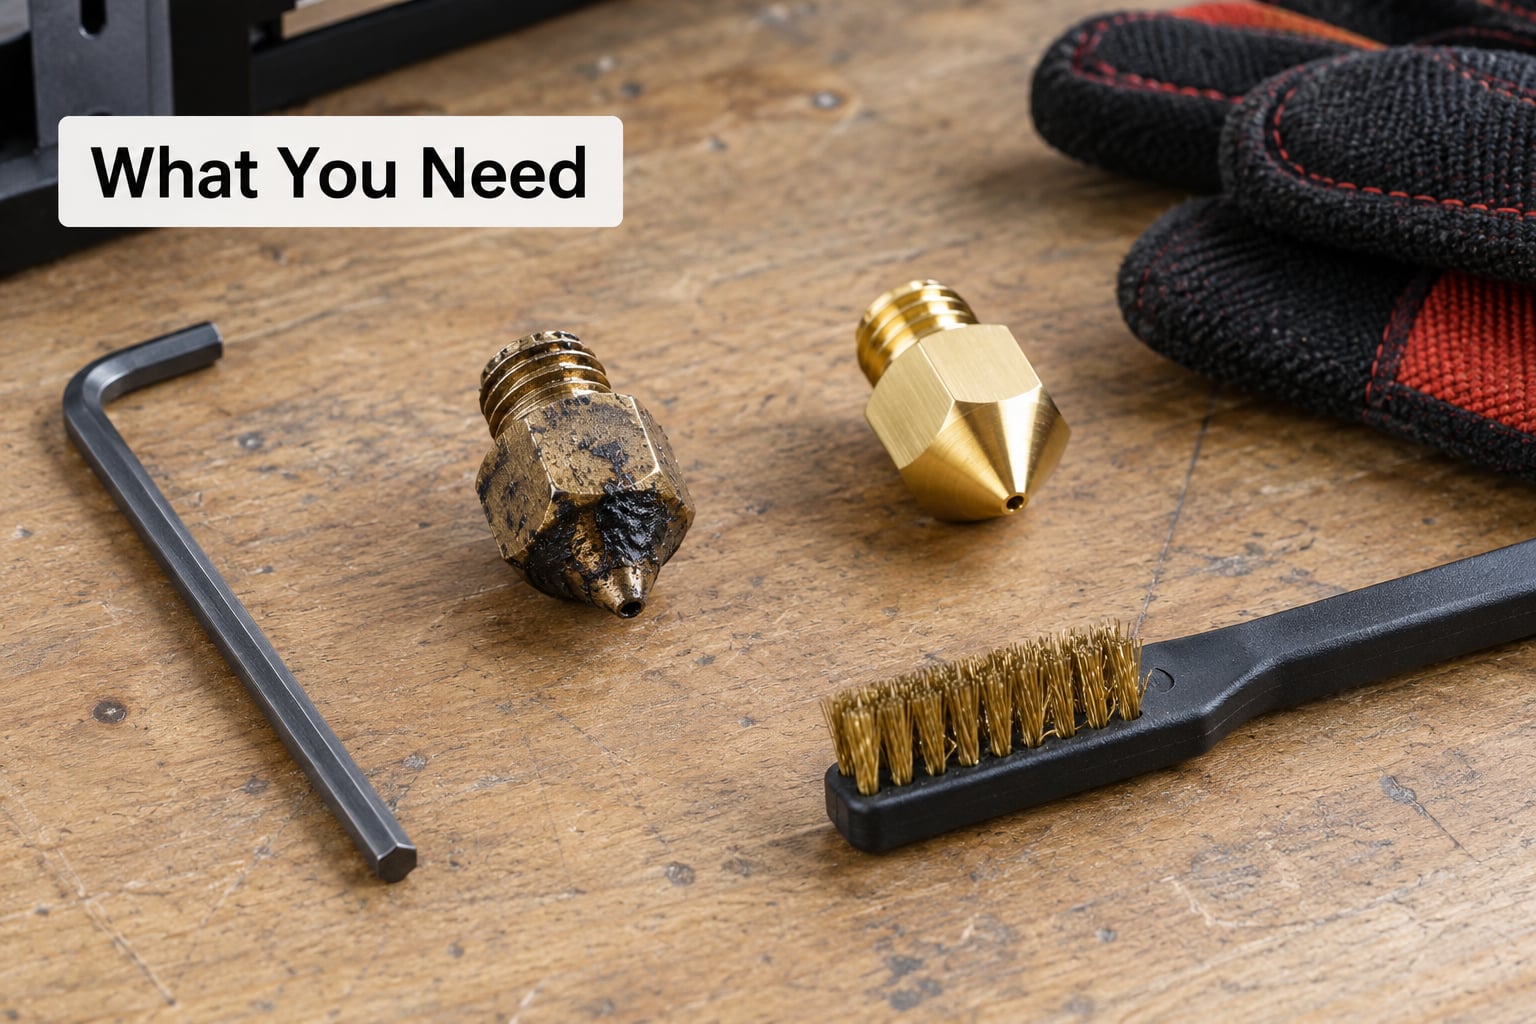
Gather this before you pull the hotend apart. Half of a botched nozzle swap is a missing tool or a missing part, not the technique.
- The printer manual — it tells you the nozzle thread standard, the diameter the machine is set up for, and whether the hotend is meant to be serviced hot. Bambu Lab, Prusa, Creality and Elegoo all document this differently.
- A compatible replacement nozzle — match the thread (M6 by far the most common, but V6 hotends and some others differ) and the orifice diameter. A nozzle that will not screw in is not a maintenance problem, it is a wrong part.
- Two wrenches or hex keys — one to hold the heater block, one to turn the nozzle. This is the whole trick to not stripping threads.
- Heat-resistant gloves or needle-nose pliers — the hotend is genuinely too hot to touch bare-handed at working temperature.
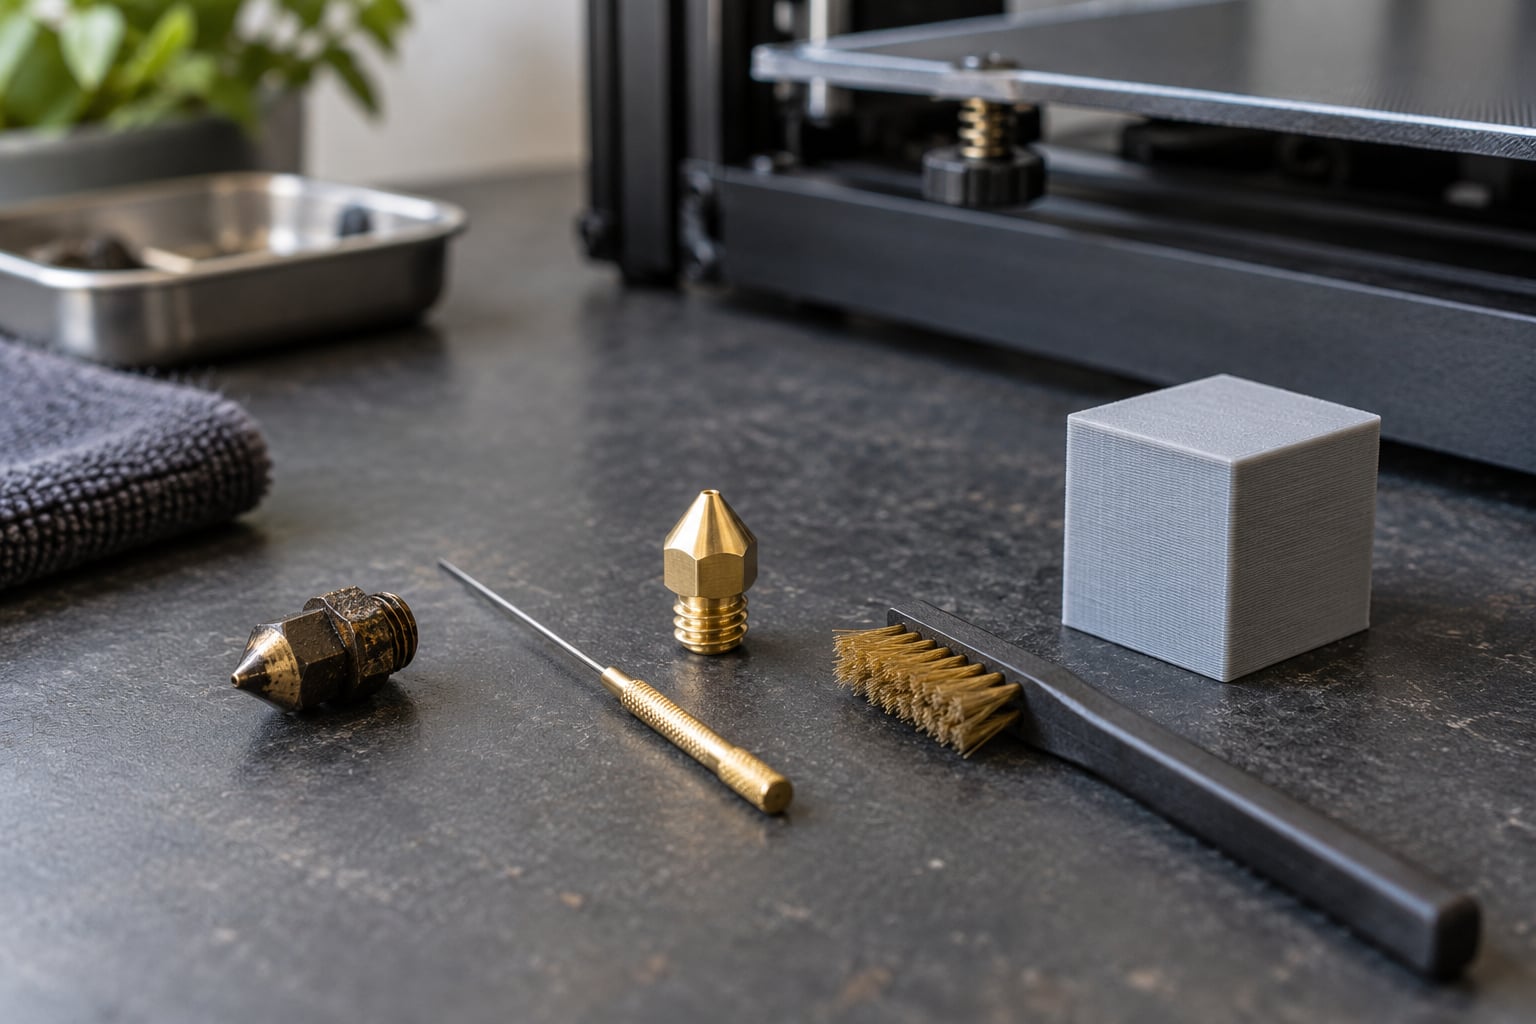
- A brass wire brush and a set of cleaning needles (0.4 mm for a 0.4 mm nozzle). Never steel. A steel needle will gouge the orifice and turn a clean nozzle into a scrapped one.
- Cotton swabs and isopropyl alcohol — for ooze on the heater block and the tip of the heat break.
- A flashlight — a tip under direct light shows rounding and burrs that are invisible under a lamp in a garage.
Add a spare silicone sock if your printer uses one, because ooze stains and weakens the fabric and a soaked sock holds heat against the heat break.
Step-by-Step: How Often to Replace a 3D Printer Nozzle
Check the Printer and Material Guidance
There is no universal interval, and any page that gives you one number for every machine is oversimplifying. Start with two sources instead: the printer manual, which usually names a service interval or a list of serviceable parts, and the filament manufacturer’s guidance, which knows what its own pellets do to a brass orifice.
The material pairing is what actually sets the number. Here is the range most owners and vendors land on:
| Nozzle material | Filaments it suits | Typical lifespan | What to watch |
|---|---|---|---|
| Brass | PLA, PETG, ABS, ASA, TPU | 500–1,000 print hours | Soft, cheap, and the right choice for everyday soft plastics |
| Brass with abrasive filament | Carbon fiber PETG, glow-in-the-dark PLA, wood-fill, metal-filled | 50–300 print hours | Filler sands the orifice open fast; expect frequent swaps |
| Hardened steel | PLA, PETG, carbon fiber blends | 1,500–3,000+ print hours | Inspect the tip, not the color — coatings chip and wear unevenly |
| Ruby or tungsten carbide | Abrasive blends, PETG, nylon, polycarbonate | Several thousand print hours | Very wear resistant and brittle; drops damage them |
| Copper or nickel-plated copper alloy | High-temperature work, ABS, ASA, polycarbonate | Roughly brass-like in ordinary use | Heat conductivity is the point; coatings wear before the metal does |
Now compare that to what people report in practice. Owners on r/ender3, r/BambuLab, the Bambu Lab forum and the Prusa forum put out figures that scatter far wider than any vendor table:
| Reported hours | Setup | Source |
|---|---|---|
| 200–300 | Brass, replaced as scheduled maintenance | r/ender3 |
| 400+ | Brass, no failures reported in that time | r/3Dprinting |
| 894, then 1,300 | Original 0.4 mm nozzle on a Bambu Lab P1S | Bambu Lab forum |
| 1,761 | Hardened 0.4 mm nozzle supplied with the printer, still performing | r/BambuLab |
| 2,662 | PLA, PETG and some TPU | r/BambuLab |
| ~3,000 | First change from the brass nozzle supplied with an Ender 3 V2 | r/BambuLab |
The spread is the point. These figures are self-reported and they disagree wildly, which is exactly why the number on a vendor page should be treated as a starting estimate, not a deadline. The Prusa forum answer sums up the consensus: there is no set time limit, and for normal nozzles people say roughly six months, less if you print heavily.
One lever people miss is heat. Every nozzle sees thousands of heat cycles, and thermal expansion eventually moves the orifice geometry. Running at the top of your filament’s range when you don’t need to speeds that up, as does a direct-drive hotend parked at temperature for hours.
To make any of these numbers usable, you need an actual hour count. Bambu Studio and PrusaSlicer both track total print time per printer profile, Cura logs completed prints with their durations, and OctoPrint keeps a running total on its dashboard. Write the number down in a note on your printer when you do a swap. Without a counter you are guessing, and guessing is how people end up at 2,000 hours without noticing the wear.
How Often to Replace: Signs of Nozzle Wear and Print Problems
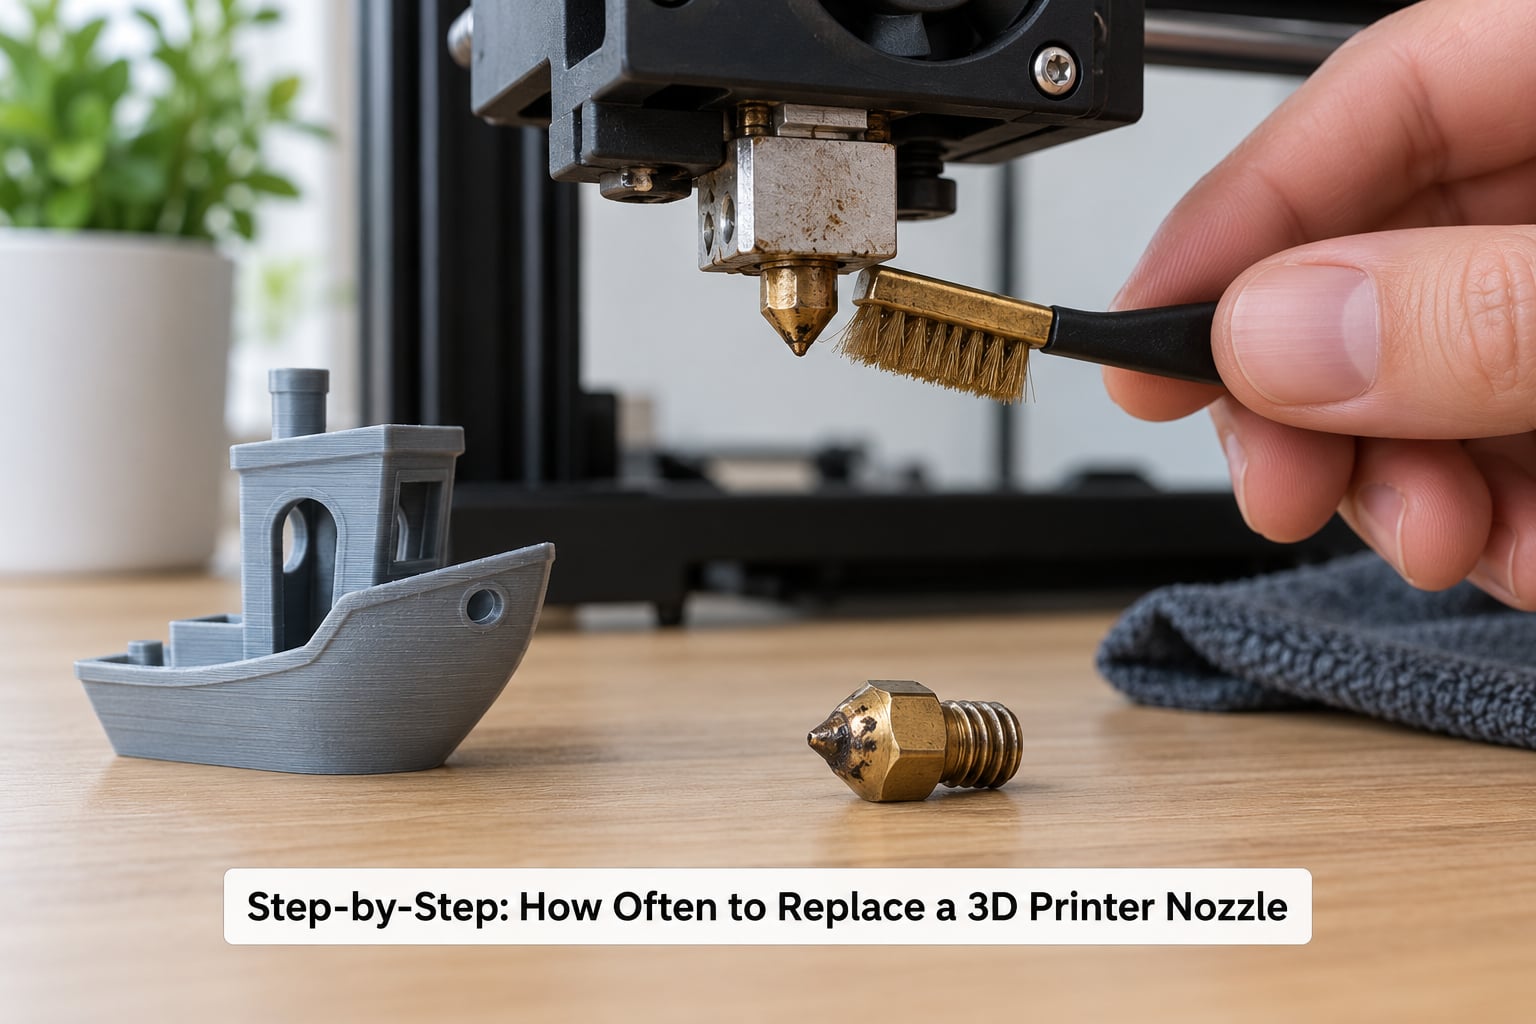
Visual inspection beats any timer. Pull the nozzle and hold the tip under direct light, then compare it against a new one of the same type. These are the seven signs worth acting on, in the order they usually appear:
- Inconsistent extrusion. Walls look thinner than the slicer says, corners stop meeting cleanly, and the flow test in your slicer comes out under 100 mm. Under-extrusion that a cold pull does not fix is the single most reliable indicator.
- A rounded or blunted tip. A new orifice is flat with a crisp circular hole. Wear rounds the point and the hole becomes oval.
- An enlarged orifice. If the hole looks wider than the filament’s 1.75 mm cross-section should make it, material is passing unevenly. Some slicers show this as stringing that gets worse without any retraction change.
- Filament curling sideways on exit. Instead of dropping straight, the strand bends and sticks to the side of the nozzle. That means the hole is deformed.
- Repeated clogs. If you are cold-pulling or clearing the orifice more than once every few dozen prints, cleaning is no longer solving the problem.
- Ooze and leaks that return after cleaning. Melted plastic around the heater block that comes back within days is often deformed plastic leaking around the nozzle seat.
- Poor first layers and layer adhesion. Squashed or split layers, gaps at the start of a wall, and nozzle drag on the first layer all trace back to extrusion width no longer matching the commanded width.
Not all of these mean replace. A clog, a mis-set Z-offset and a tired extruder all produce similar symptoms, and swapping a good nozzle rarely fixes a mechanical fault. That is why the flow test comes before the purchase decision.
Clean Before You Replace
Most nozzles that get thrown out only needed cleaning. Heat the hotend to around 200°C for PLA or 240–260°C for tougher materials, extrude a short length until the tip is soft, and wipe it with a cotton swab while it softens. Then hold the cold tip against a brass brush or push a 0.4 mm cleaning needle gently through the orifice — gently, with a twisting motion, no force.
Never use steel needles. Never scrape the tip with anything harder than brass. And never drill a clog out, because swarf from drilling lands inside the heat break, where it causes heat creep and jams far more often than the original clog ever did.
Two other cleaning habits shorten nozzle life, so keep them occasional rather than routine: scrubbing the tip with a brass brush while hot wears the orifice, and pulling the ooze off with a hard tool nicks the coating. A soft swab and a wipe is enough.
Replace and Test the Nozzle
When cleaning does not restore consistent extrusion, do the swap with the hotend hot. Preheat to your filament’s normal working temperature, unload the filament, and raise the Z-axis so the toolhead has clearance.
Hold the heater block firmly with one wrench and turn the nozzle with the other. Threading a nozzle into a cold or slack block is what strips threads and cracks heat breaks — the exact failure the Prusa and Bambu communities complain about most. Once the old nozzle is free, wipe the seat clean of melted plastic before threading the new one in, hand-tight first, then snug with both wrenches. Do not crush the block; if the nozzle bottoms out with a gap, you have the wrong thread length.
Refit the heater block and silicone sock, re-level the bed, and re-check your Z-offset, because a new nozzle sits at a different height than the old one even when it is the same part number. Run a single-wall flow test or a temperature tower rather than jumping straight back to a long print — twenty minutes of calibration is cheaper than a twelve-hour failure.
Finally, check the diameter you just fitted matches what your slicer profile expects. A 0.4 mm nozzle with a 0.6 mm profile will run under-extruded and make a worn nozzle look like the problem.
Common Mistakes
Replacing a nozzle that only needed cleaning. If a cold pull or a proper swab and needle clear it and the flow test comes back at 100 mm, the nozzle is fine. Check the orifice diameter with calipers or a flow test before ordering a part.
Forcing a blocked nozzle. A clogged orifice does not clear because you pushed harder. If two careful needle passes do not restore flow, the nozzle is damaged or the blockage is upstream in the heat break, which is a bigger job.
Installing the wrong diameter or an incompatible thread. Nozzles are not universal across machines. Buy the part the printer manual specifies for your hotend model, including the V6-style setups where a standard M6 thread will not seat correctly.
Overtightening the nozzle screw. The nozzle is a heat transfer part, not a structural one. Snug is enough; the block is aluminium or brass and it deforms before the screw needs more torque.
Skipping the temperature check. Swapping a nozzle for one rated for a lower temperature and then printing ABS at 250°C will cook the polymer inside the hotend and cause exactly the clogs people blame on the new part.
Cleaning or removing a hotend while it is cold. This is the common thread running through heat break and thread-stripping reports on the forums. Preheat first, every time, and use two wrenches.
Believing the calendar rule too literally. “Every three to six months” assumes a printing volume most hobbyists do not have. Someone running one part a week and someone running a small print farm on the same machine are not on the same schedule, which is why owners distrust calendar advice.
Frequently Asked Questions
How often should I replace a 3D printer nozzle?
Replace a brass nozzle roughly every 500 to 1,000 print hours when printing PLA or PETG, every 50 to 300 hours with abrasive filaments such as carbon fiber PETG or glow-in-the-dark PLA, and every 1,500 to 3,000 hours or more with hardened steel, ruby, or tungsten carbide. Treat those as estimates, not deadlines. Inspection beats a timer: check the tip and run an extrusion flow test every few hundred hours and swap when quality changes.
What are the signs that a 3D printer nozzle needs replacing?
Look for under-extrusion that a cold pull does not fix, a rounded or blunted tip, an orifice that has gone oval or visibly enlarged, filament curling sideways as it exits, clogs every few dozen prints, ooze that returns right after cleaning, and first-layer gaps or layer splitting. Any one of these is worth checking. Two or more together usually mean the nozzle is done.
Can I clean a clogged nozzle instead of replacing it?
Often, yes. Heat the hotend to around 200°C for PLA or 240 to 260°C for tougher filaments, extrude until the tip softens, wipe with a cotton swab, then work a brass cleaning needle through the orifice with a light twisting motion. Never use steel and never drill a clog out. If two careful passes do not restore flow, the blockage is usually in the heat break and the nozzle should be replaced.
How often should I clean a 3D printer nozzle?
Once every few dozen prints for most setups, and after any print using an abrasive or high-temperature filament. Wipe the tip with a soft swab while the hotend is hot and brush away loose residue with a brass brush. Frequent hard scrubbing and steel needles do more to shorten nozzle life than most filaments, so keep cleaning reactive rather than scheduled.
When should I use a hardened steel nozzle instead of brass?
Switch as soon as you print anything with filler in it: carbon fiber PETG, glow-in-the-dark PLA, wood-fill, or metal-filled filament. Those abrasives widen a brass orifice in tens to hundreds of hours. Hardened steel, ruby, and tungsten carbide options extend that dramatically and also suit high-temperature materials like ABS, ASA, nylon, and polycarbonate. A silicone sock or wiper is still worth adding to an abrasive setup.
Can a bad nozzle cause first-layer problems?
Yes. A worn orifice lays down less or wider material than the profile asks for, which shows up as a squashed, split, or dragging first layer and gaps at the start of walls. Before blaming the nozzle, rule out a shifted bed level or a wrong Z-offset, since those produce nearly identical symptoms. If the flow test reads under 100 mm or the tip looks rounded, replace it and re-level.
Conclusion
Start at the hotend. Pull the nozzle, look at the tip under a flashlight, and run an extrusion flow test — that takes ten minutes and tells you more than any calendar rule. If the flow is clean and the orifice is round, wipe the tip and carry on; if it is not, clean it, and if cleaning does not fix it, replace it while the hotend is hot and re-level the bed.
Once you have swapped, write the print-hour total down somewhere you will see it. That number, paired with what you actually print, is what turns “how often to replace a 3d printer nozzle” into an answer specific to your machine instead of somebody else’s rule of thumb.