If your 3D print will not hold to the bed, the fix is almost always in this order: clean the plate, level it, pull the Z-offset down until the first line squishes slightly, slow the first layer to 20-25 mm/s, and check that the bed is actually reaching temperature. Most failures come down to a contaminated surface or a nozzle sitting too far above it, and both take about ten minutes to rule out.
A quick note on why this matters. The first layer is the only layer touching the build plate, so it carries the whole job of holding the part in place while every layer above it cools and contracts. If that bond never forms, the nozzle drags hot plastic around instead of laying it down, and there is no slicer setting that recovers from that.
Table of Contents
- What You Need
- Step-by-Step: Fix Poor Bed Adhesion
- 1. Clean the Bed and Remove Old Material
- 2. Set the Correct Bed Temperature
- 3. Check Bed Leveling and First-Layer Height
- 4. Reduce Movement With the Right First-Layer Settings
- 5. Use the Correct Surface and Adhesion Method
- 6. Retest and Isolate the Problem
- Common Mistakes
- Frequently Asked Questions
- Why does my first layer not stick to a glass bed?
- Does a glass bed need adhesive for PLA or PETG?
- Should I use glue stick or hairspray for 3D printing?
- How do I know if my bed is level?
- Why does my print stick in the center but lift at the corners?
- Can bed temperature fix most first-layer adhesion problems?
What You Need
You do not need a new printer or a new filament roll. Gather these before you start so you are not stopping halfway through a calibration routine to hunt for something.
- Your printer’s manual, or the manual for your specific bed-leveling type (four-corner knobs, auto bed leveling, or mesh correction)
- Your filament’s suggested bed temperature range
- Dish soap and warm water for a real clean
- Isopropyl alcohol above 70% concentration, plus a lint-free cloth or paper towel
- A flat plastic scraper or a thin spatula for lifting prints and old adhesive
- A sheet of plain paper for the paper-leveling test, or the printer’s own leveling routine
- An adhesion aid such as a glue stick or hairspray, only where the filament and plate combination calls for it
A filament dryer or a warm, dry storage box helps too, but treat it as a later step. Moisture matters, though it rarely explains a first layer that has never once stuck.
Step-by-Step: Fix Poor Bed Adhesion
1. Clean the Bed and Remove Old Material
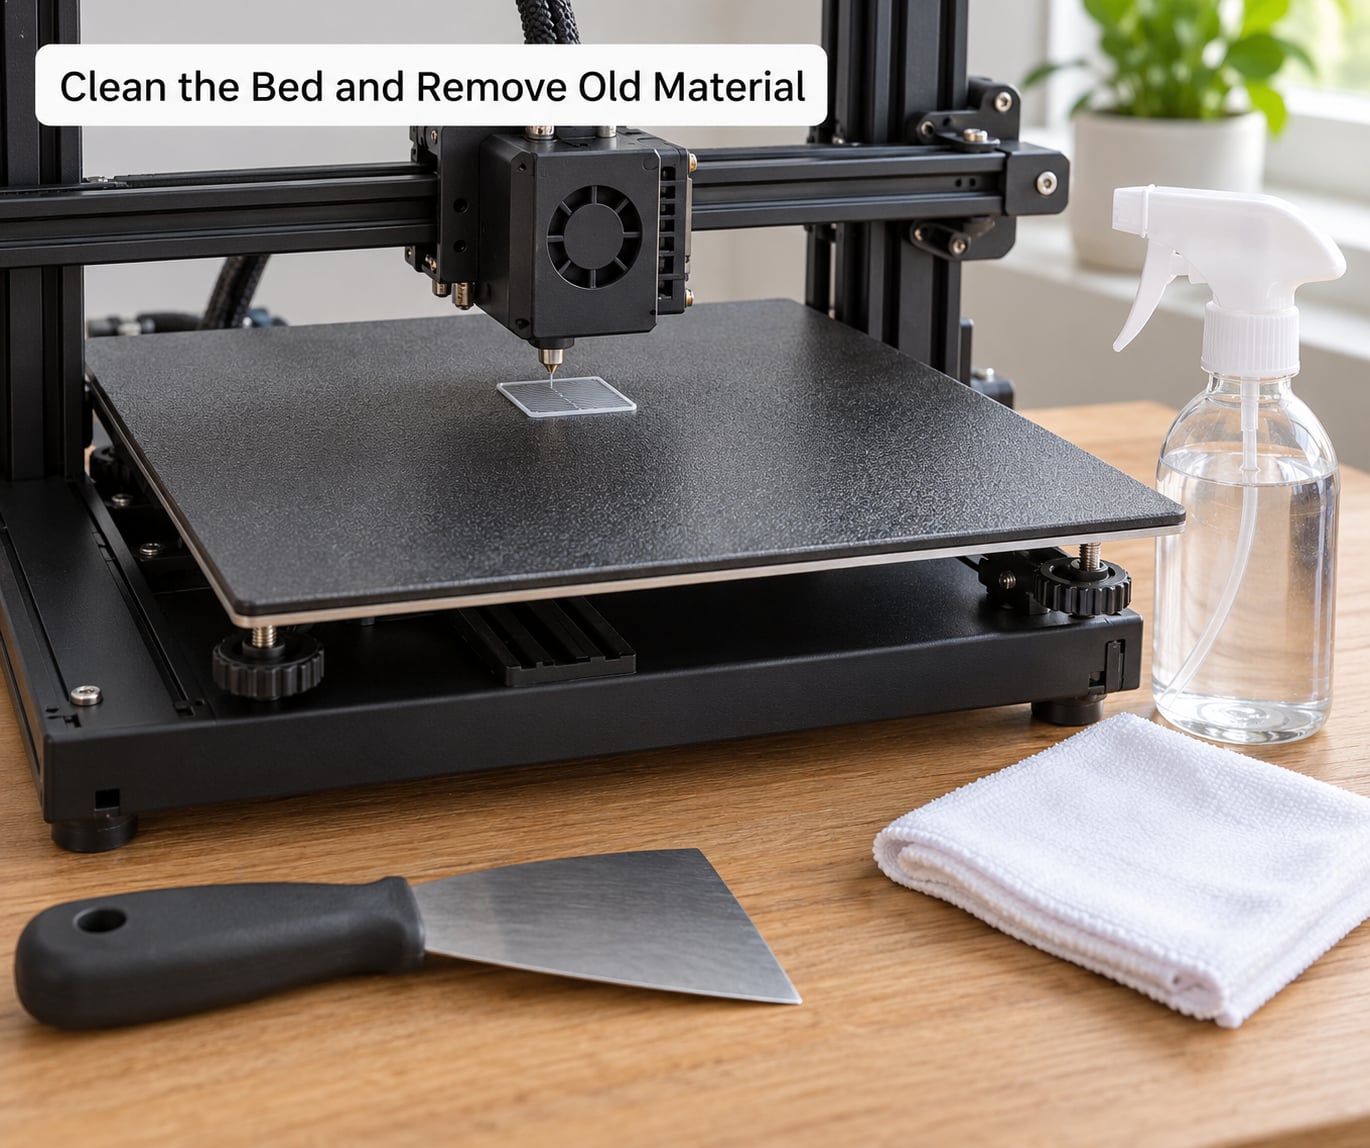
Grease, fingerprints, dust and old glue stop molten plastic from fusing to the plate, and a bed that once worked can stop working quietly as residue builds up. Wash the plate with dish soap and warm water first, rinse it, then wipe it with isopropyl alcohol above 70% and let it dry fully.
While it is clean, look at it under a light. New scratches, a dull patch, or a faint film means the surface itself has degraded rather than just being dirty. That is the point where swapping the plate beats cleaning it again.
For glass, never use anything abrasive and skip acetone on a plastic or coated sheet. If you used glue earlier, remove it fully, because leftover PVA under a new print is its own adhesion problem.
2. Set the Correct Bed Temperature
Cold plastic simply will not bond, so the bed needs to be at the temperature your filament manufacturer recommends, not a number you remember from another spool. PLA usually runs 55-65 C, PETG 70-85 C, ABS and ASA 90-110 C, and TPU is typically printed cool or cold.
Confirm the plate is really getting there. Run the preheat, then check the actual plate temperature with an infrared thermometer or a contact probe laid flat on the surface, since the sensor only reports the heater, not the plate.
If the reading runs well under the set temperature, the problem is the heater, the thermistor, the wiring or the bed’s mounting pressure, and no slicer change will fix it. If it matches the target but the first layer still fails, move on to leveling.
3. Check Bed Leveling and First-Layer Height
Bed leveling is the step most people repeat without ever fixing, so do it once properly. Heat the bed, home the nozzle, and run your printer’s leveling routine if it has one, checking all four corners plus the center.
For manual leveling, put a sheet of paper under the nozzle and turn the corner knob until the paper drags with a light, even scrape. Too much resistance means the nozzle is too close at that corner. Repeat at every corner and the middle before you tighten anything down.
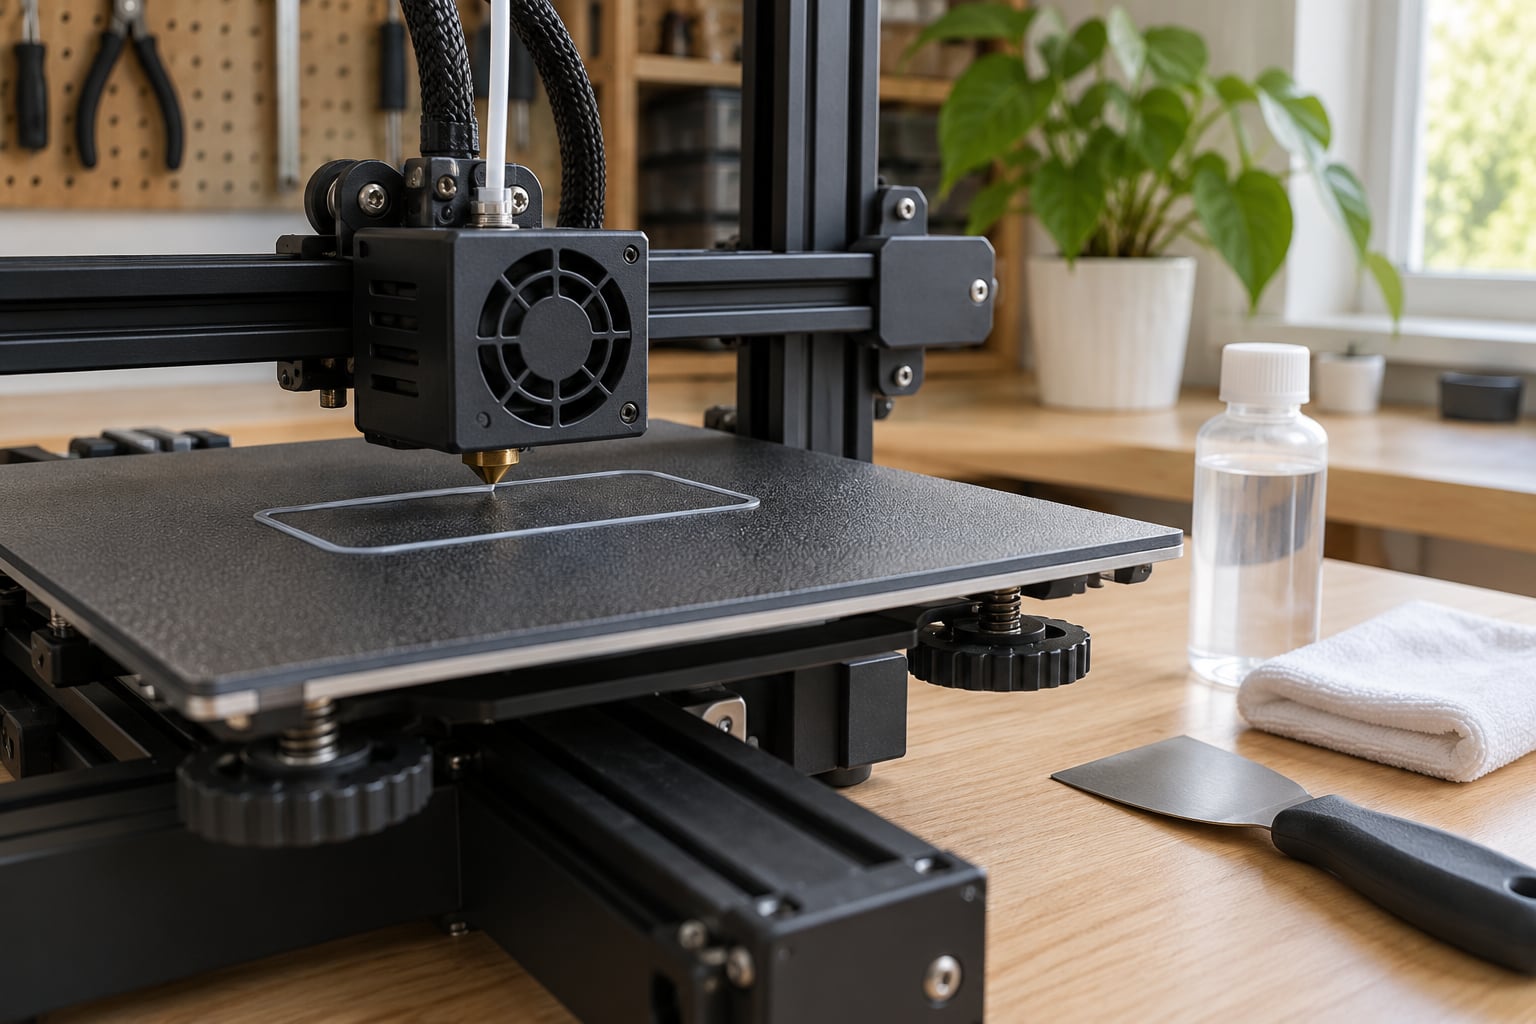
Z-offset is the fine adjustment after leveling, and the practical target is roughly 80% of your first layer height. Adjust in 0.05 mm steps, print a single test line, and read the result: no gaps means too high, visible squish and a slightly wider line means about right, and a flattened, smeared line means you have gone too low.
Too low gives you an elephant’s foot, where the bottom edge bulges out and then peels away on the second layer. ABL machines still fail at the edges because they correct a plane but not the local slope, so mesh leveling or a probe offset adjustment is the fix when one corner keeps letting go.
4. Reduce Movement With the Right First-Layer Settings
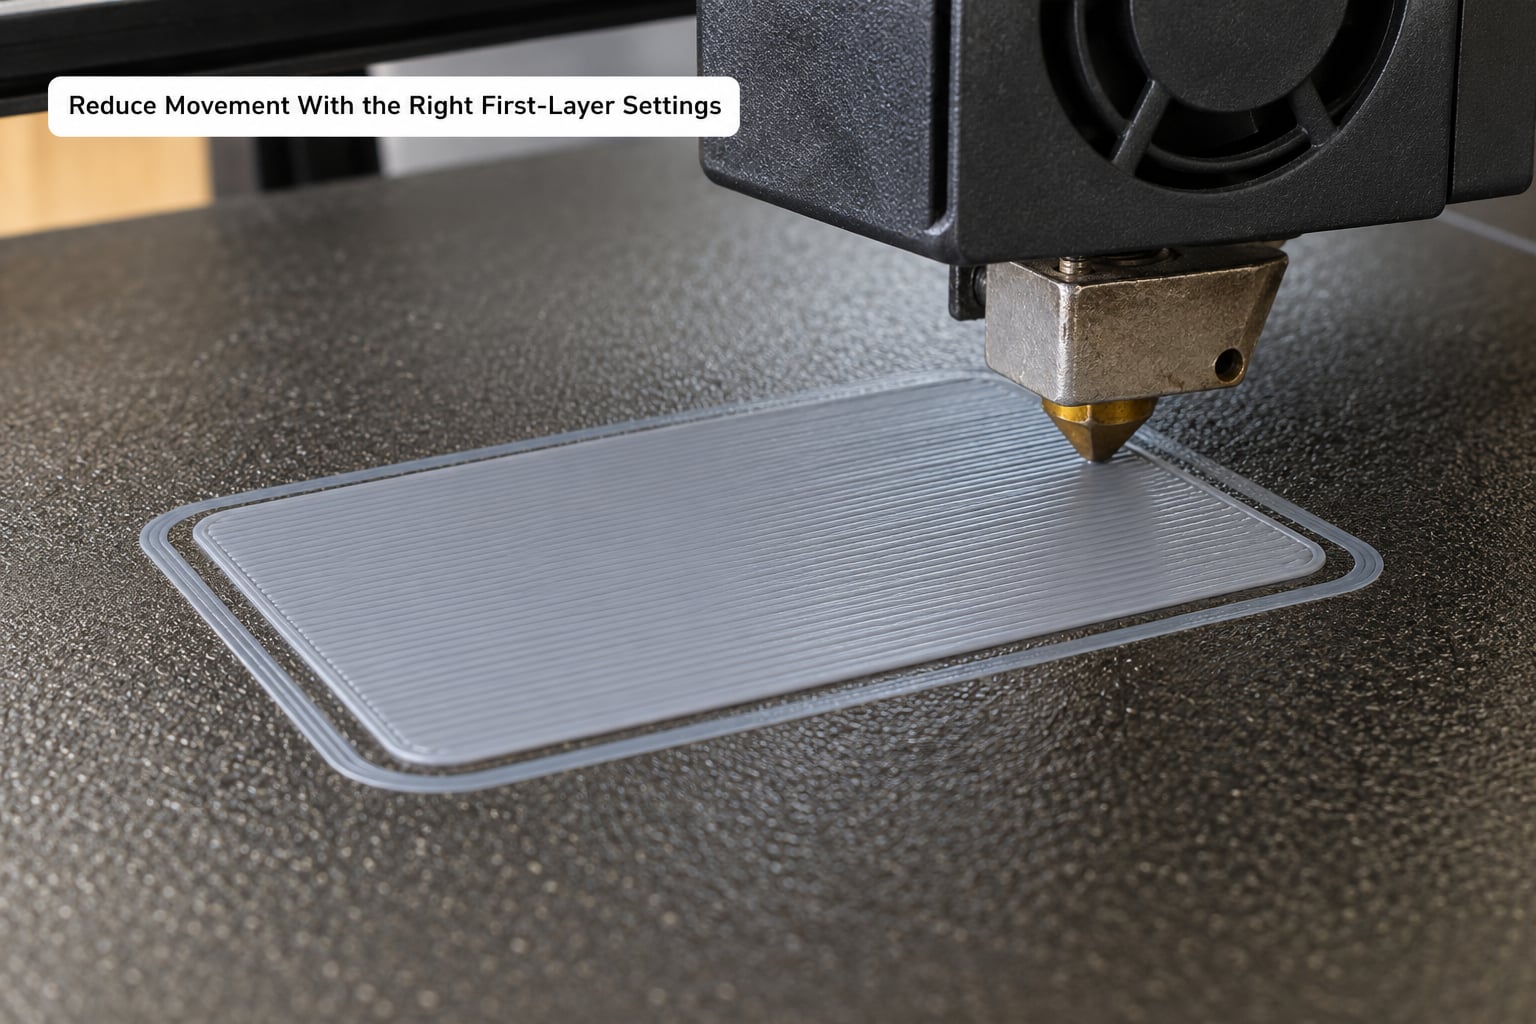
Set the first layer to 20-25 mm/s so the nozzle has time to lay a consistent bead instead of pushing it around. Turn the part cooling fan off for the first three layers, since blowing air across a fresh line cools it before it can bond, and re-enable it from layer four onward.
Make sure the first layer’s flow is roughly 100-110% if your slicer offers that control, since it compensates for the squish. Add a brim on small footprints and thin-walled parts, where a 5-8 mm skirt of extra material gives more surface area to hold on. Leave later layers alone unless you have a reason, because chasing the whole print usually makes the problem harder to read.
5. Use the Correct Surface and Adhesion Method
Match the plate to the material. Smooth PEI is excellent for PLA and fine for PETG at moderate temperatures. Textured or satin PEI grips PLA well but can scorch at the higher temperatures ABS and ASA need. Glass needs an adhesive for most materials and no adhesive for plain PLA at 60 C or below.
This is where a lot of advice gets inverted. Glue stick and hairspray are frequently used as release agents, especially for PETG, so that the part can be popped off a smooth sheet without taking the surface with it. If your problem is a part fused to the plate, adding more adhesive makes it worse, not better.
For a stubborn PLA print on bare glass, a thin PVA layer and a bed around 60-65 C usually solves it. Clean the glue off fully before switching materials, and never overlap adhesive tape strips, since the ridge between two pieces ruins the first layer.
6. Retest and Isolate the Problem
Run a small single-layer test or a tiny square print rather than a full job. Then read the failure pattern, because it tells you what category you are in: the whole part shifting means leveling or a dirty plate, corners lifting means bed slope or drafts, spaghetti means the filament never contacted the plate at all, and a print that starts well and releases around layer 30 points at cooling, drafts, or wet filament rather than first-layer settings.
Mid-print detachment deserves its own check. Print sticking at first and letting go later usually means air movement from a window or an open enclosure door, a bed cooling too much on a large flat part, or condensation in the spool. Drying filament at 45-50 C for four to six hours is the standard starting point, and an enclosure removes the draft variable in one step.
Common Mistakes
Most repeated failures come from doing these in the wrong order or skipping the diagnostic step entirely.
- Adding glue before checking level. A glue layer makes an uneven surface worse. Level first, then consider adhesive.
- Raising bed temperature to fix everything. Beyond about 5 C above the recommended range you get soft bottom edges and an elephant’s foot rather than better adhesion.
- Leaving the part cooling fan on. Even at low speed it cools the bead before it bonds. Off for the first three layers is the usual rule.
- Printing over old tape or glue residue. The new layer bonds to the residue, not the plate. Clean down to bare surface first.
- Ignoring condensation. Wet filament bubbles and pops at the nozzle, and the extra moisture in the layer hurts bonding. Dry it before blaming the printer.
- Trusting ABL to fix a sloped bed. Auto leveling corrects a plane but not a warped sheet. Use mesh leveling or a probe offset adjustment.
- Printing large flat parts with no enclosure. On ABS and ASA especially, chamber temperature swings warp corners off the plate no matter how good the first layer was.
- Never re-checking a bed that used to work. A plate that has been in service for months can be contaminated, worn, or sitting against a drifting probe.
Frequently Asked Questions
Why does my first layer not stick to a glass bed?
Glass is smooth and non-porous, so most filaments have nothing to grip. PLA is the exception: at 60 C or below, a clean bare glass plate often works. PETG, ABS, ASA and TPU need a thin PVA layer, and PETG in particular bonds chemically to smooth PEI without any adhesive. Check the plate for grease first, since a fingerprint on glass is enough to break the bond.
Does a glass bed need adhesive for PLA or PETG?
PLA usually does not on a properly cleaned glass bed, as long as the plate sits at 60 C or below and your first layer has slight squish. PETG does need it on smooth surfaces, because it is stickier than PEI and will bond to the glass itself. Most people end up swapping to a textured PEI sheet eventually, since it handles both materials without glue.
Should I use glue stick or hairspray for 3D printing?
Both work, and both are used more often as release agents than as bonding helpers. A thin PVA layer on glass helps PLA and ABS, while glue or hairspray on smooth PEI lets PETG pop off cleanly. Neither fixes leveling or a Z-offset problem, so rule those out before adding anything to the plate. Clean the adhesive off completely when switching materials.
How do I know if my bed is level?
The paper test is the honest answer: heat the bed, home the nozzle, slide a sheet of paper under it, and adjust each corner until you feel the same light drag everywhere, including the center. Repeat the check at all four corners and the middle because printers rarely sit flat. For auto-leveling machines, print a single test line and look for consistent width, since gaps mean one side is still high.
Why does my print stick in the center but lift at the corners?
That pattern almost always means bed slope, not contamination. The center is close enough to the nozzle while one or more corners sit a fraction of a millimeter higher, so the bead bridges the gap instead of squishing. Re-leveling all four corners without checking the center often changes nothing. On an auto-leveling printer, add mesh leveling at several points or adjust the probe offset instead.
Can bed temperature fix most first-layer adhesion problems?
Not most of them. Temperature only fixes failures caused by a cold bed, and it cannot compensate for grease, an unleveled plate or a Z-offset that is too high. Warm the bed to your filament’s recommended range, then check it with a thermometer to confirm the plate gets there. If the temperature is correct and the layer still fails, the cause is surface condition or geometry.
Start where the odds are: wash the plate with dish soap and warm water, follow with isopropyl alcohol, level all four corners plus the center, then drop the Z-offset in 0.05 mm steps until a single test line shows light squish with no gaps. Once that first line looks right, slow it to 20-25 mm/s, hold the cooling fan off for three layers, and confirm the plate temperature with a thermometer. If it still fails after that, dry the filament and look at drafts before you change anything else. One of those steps fixes it, and you will know which one.