To dry wet filament at home, heat it gently with moving air so the moisture can escape, then seal it back up. A food dehydrator is the safest first setup; a kitchen oven works if you verify the real temperature with an oven thermometer. Most spools need 4 to 6 hours at 45 to 65°C depending on material.
The whole job takes one afternoon. If you print nylon, TPU, PC or support material, drying isn’t optional housekeeping either. It’s the difference between a spool that feeds cleanly and one that shreds your extruder gears.
Before you heat anything, make sure the problem really is moisture. Stringing and popping can also come from a loose extruder screw, a clogged nozzle or a too-tight retraction, and drying won’t fix any of those.
Table of Contents
- What You Need
- How to Dry Wet Filament at Home Step by Step
- Step 1: Identify the filament and check its drying requirements
- Step 2: Prepare the spool for even drying
- Step 3: Dry the filament at a controlled temperature
- Step 4: Cool the filament completely before handling
- Step 5: Test and store the dried filament
- Common Mistakes
- Frequently Asked Questions
- What is the most effective way to dry filament at home?
- What happens if my filament is wet?
- How long should I dry PETG before printing?
- What temperature and time should I use for TPU?
- Will filament dry in a dry box?
- Can I dry PLA and TPU at the same time?
- Your Next Step: Dry One Spool and Test It
What You Need
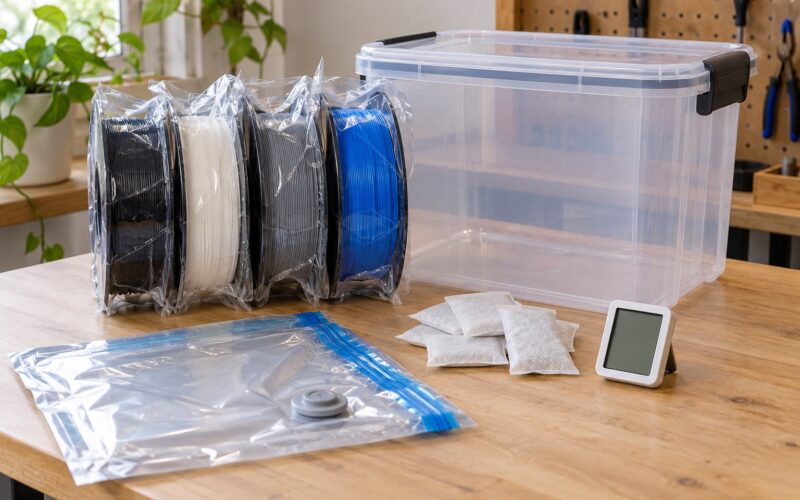
The filament itself, obviously. Beyond that, four things do most of the work: a way to identify the material, a thermometer, something heat-safe to hold the spool, and a sealed container with desiccant for afterwards.
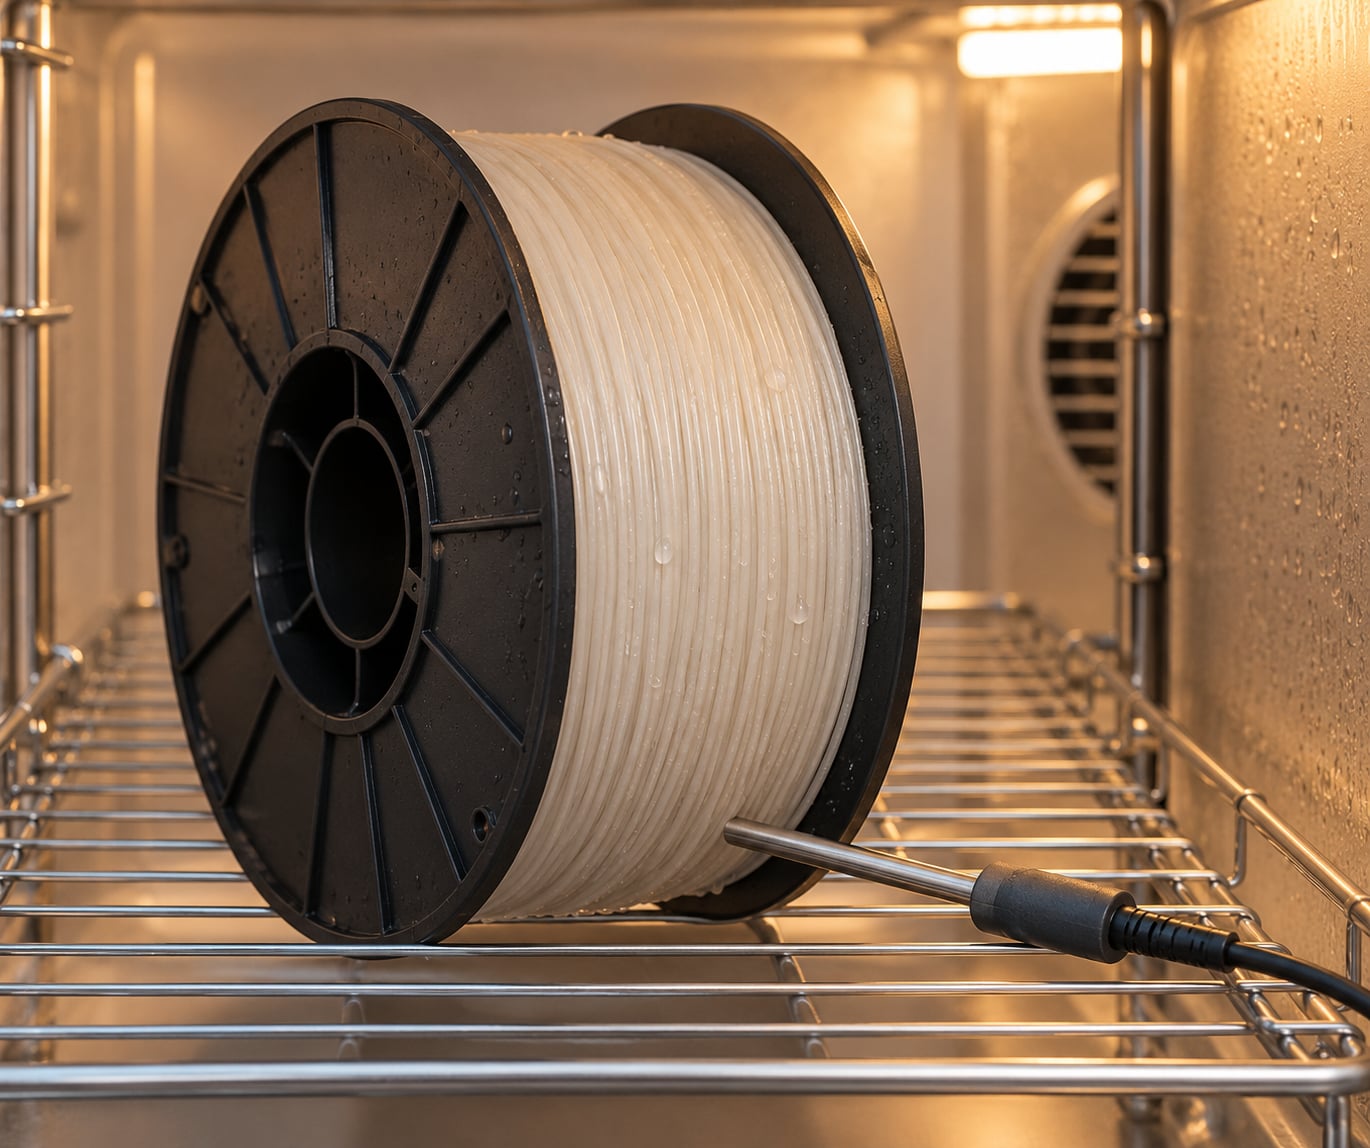
A thermometer matters more than most beginners expect. Oven dials and dehydrator displays are frequently wrong by 10 to 20°C, and an oven set to 60°C can spike near 90°C near the heating element. An oven thermometer or a cheap probe thermometer sitting next to the spool is the difference between drying filament and warping it.
A heat-resistant container or rack keeps the spool off the oven floor and lets air move around it. A metal baking rack inside a cardboard box, or a purpose-made spool cradle, works. Avoid anything plastic that isn’t rated for the temperature.
Silica gel desiccant is for storage, not drying. It keeps a sealed spool from re-absorbing moisture but cannot pull water out of an already-wet spool. People who buy a dry box expecting it to fix wet filament end up disappointed; dry boxes prevent moisture, they don’t remove it.
Filament manufacturers publish their own drying ranges and those charts beat any generic table, including the one below. Check the spool’s packaging or the brand’s site first.
How to Dry Wet Filament at Home Step by Step
Step 1: Identify the filament and check its drying requirements
Filament is hygroscopic, which simply means it pulls water vapor out of the air. Different materials absorb at very different rates. Nylon, PC, PVA and TPU are aggressive. PETG is moderate. PLA is the least sensitive, though an opened spool sitting in a humid room for a few weeks can still ruin prints.
Identify by feel and colour: PLA is stiff and often matte at room temperature, PETG is slightly rubbery and usually clear or grey, ABS and ASA are harder and more opaque, TPU is genuinely flexible, nylon has a slightly waxy surface, and PVA dissolves in water. When in doubt, check the spool label.
Then use the material’s range rather than a single setting. Drying works by driving water out while staying below the glass transition temperature, the point where the plastic goes soft and sags. Stay well under it and the round spool keeps its shape; overshoot and you get a flattened, brittle spool that feeds badly forever after.
| Material | Drying temperature | Drying time | Notes |
|---|---|---|---|
| PLA | 40 to 45°C | 4 to 6 hours | Go gentle. Higher temperatures soften the spool and it can crease. |
| PETG | 55 to 65°C | 4 to 8 hours | Very sensitive to moisture. Common cause of popping and rough walls. |
| TPU | 50 to 60°C | 4 to 6 hours | Print straight from a dryer for long jobs. Nylon and TPU rarely need re-drying more than twice. |
| ABS / ASA | 70 to 80°C | 4 to 6 hours | Warps easily. Keep it in the chamber while it cools. |
| Nylon | 70 to 80°C | 12 to 24 hours | The wettest offender. Dry it before every print after opening. |
| Polycarbonate | 80°C | 6 to 8 hours | Near the ceiling of most home ovens and dehydrators. Check the thermometer. |
| PVA / support material | 40 to 45°C | 4 to 6 hours | Hygroscopic and dissolves in water, so never store it anywhere damp. |
These are the ranges brand manufacturers publish for their own material. Treat them as a starting point and adjust after a test print.
Step 2: Prepare the spool for even drying
Pull off any loose or tangled filament first. A knot buried in the outer wrap will not dry properly and can snap later mid-print.
Wipe the outside of the spool clean and check the free end. If it has been sitting out, the outer layers absorbed the most moisture, and rotating the spool so fresh filament feeds first can get you back to printing sooner.
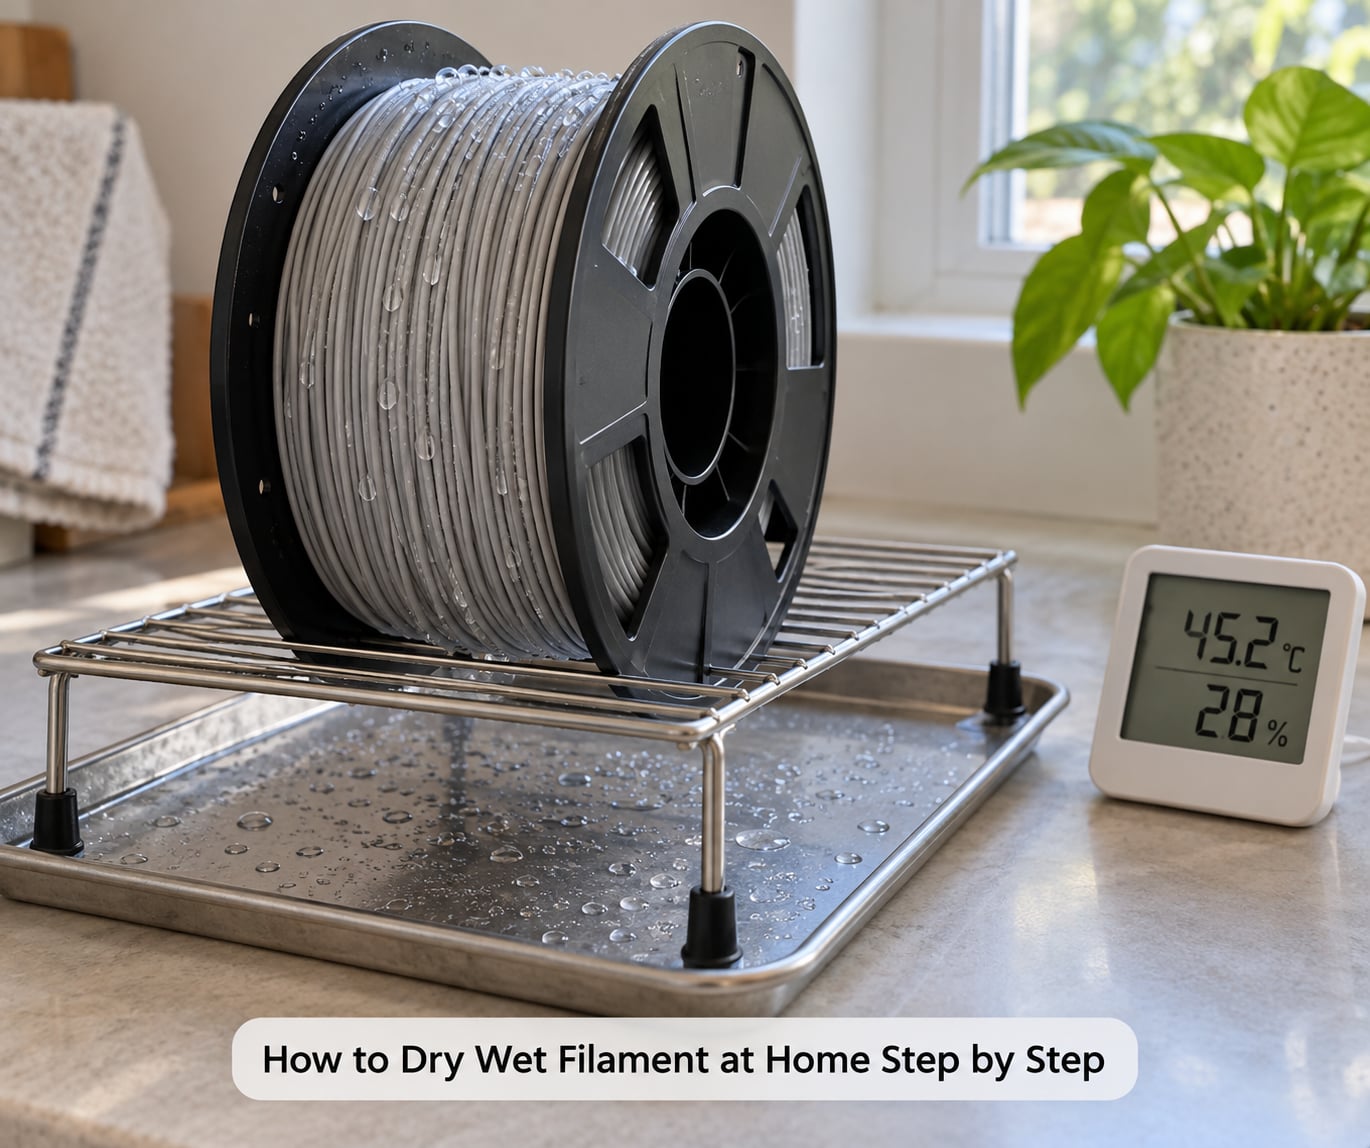
Set the spool on a rack or in a heat-safe container so warm air reaches all sides. Where the spool is wide, a single flat layer of filament is the goal; where it is narrow, air will still move through the core.
Step 3: Dry the filament at a controlled temperature
There are three heated methods worth knowing and a couple of free ones that handle mild cases.
Food dehydrator. This is the best beginner option. Set it to your material’s temperature, put the probe thermometer next to the spool, and run 4 to 6 hours. The fan moves air continuously, which is what actually carries moisture out. A round dehydrator usually fits one spool; the square drawer type fits two or three if you angle them.
Kitchen oven. Work if you treat it as a box with a heater. Preheat fully first, then confirm the real temperature with an oven thermometer placed near the spool. A small fan aimed into the chamber helps. Keep the door slightly cracked if your model has a convection setting. Never use a gas oven, since combustion produces moisture and works against you. Expect a strong smell on the first cycle, particularly with PLA, and open a window.
Dedicated filament dryer. The right answer for nylon, TPU and PC, because some chambers reach temperatures a home oven can’t hold. Many can print straight from the chamber through a PTFE port, which removes the wet-spool problem entirely for long jobs.
Free methods. A cardboard box over the spool on a heated bed set to 60°C for several hours genuinely works for PETG and is the trick people on r/3Dprinting reach for when they don’t own a dryer. Sun and a fan on a windowsill is another, slower option that suits PLA. Desiccant alone only helps storage; it will not recover a wet spool.
| Method | Reaches | Best for | Watch out for |
|---|---|---|---|
| Food dehydrator | 70 to 80°C typical | PLA, PETG, ABS, TPU | Confirm the probe reading before committing a full cycle. |
| Kitchen oven | Variable, check it | PLA, PETG, ABS | Temperature swing near the element, fumes, food contamination. |
| Filament dryer | Up to 85°C or more | Nylon, PC, TPU | Costs more; not needed for PLA. |
| Heated bed plus box | Around 60°C | PETG, ABS, TPU | Slow, small batches, watch the bed surface nearby. |
| Desiccant storage | No heating | Already-dry spools | Will not dry anything. Storage only. |
Step 4: Cool the filament completely before handling
Turn the heat off and leave the spool inside the closed container until it reaches room temperature. Warm filament in open air re-absorbs moisture in minutes, which partly undoes the whole cycle. This is the step people skip and the one that makes drying look unreliable.
Step 5: Test and store the dried filament
Run a short extrusion check: heat the hotend, push filament through by hand and watch it come out smooth and consistent rather than bubbly or separated. Then run the same test file you used before drying and compare. Cleaner walls, no popping and no oozing at the nozzle are your confirmation.
Put the dry spool straight into an airtight container or a sealed bag with fresh silica gel desiccant. Mark the container with the drying date. PETG and PLA in a sealed container in a typical indoor room usually stay usable for several months; in a humid climate the same spool can absorb enough moisture in a couple of weeks to string again.
Common Mistakes
Drying every material the same way. One temperature for the whole shelf is the fastest route to a warped PLA spool and still-damp nylon. Match the setting to the material.
Opening the container while the filament is warm. Condensation forms on the cool filament and the moisture is still there. Cool it sealed.
Overheating. Trusting the dial instead of the thermometer. When a printed thread reports a setpoint of 60°C spiking toward 90°C near the element, that spool is cooked. Use an oven thermometer every time.
Drying food in the same oven afterwards. Do not. Filament releases compounds you do not want on your next loaf of bread. Bake the residue out at full temperature with the oven open afterwards, or just accept a dedicated appliance.
Using a container that is not heat-safe. Plastic tubs warp and stick to the spool. Metal and cardboard are better.
Returning damp filament to an open bag. It will reabsorb moisture within days. Seal it every time, even mid-project.
One more worth naming: wet filament is soft and abrasive, and it wears out the teeth on your feeder gears. If the extruder has been grinding a spool, drying fixes the print quality but not the gear damage. Clean the drive gear before you load a dried spool.
Frequently Asked Questions
What is the most effective way to dry filament at home?
A food dehydrator with a fan is the most effective home method, because moving air is what carries moisture out of the spool. Set it to the material’s recommended temperature, place a probe thermometer beside the spool to confirm the reading, and run 4 to 6 hours. A dedicated filament dryer is better only for nylon, PC and TPU, which need higher and more sustained temperatures.
What happens if my filament is wet?
Water turns to steam inside the hot end and flashes to gas, which you hear as popping, hissing and clicking. On the print itself you get stringing, bubbles in the wall, oozing and under-extrusion, plus poor layer adhesion that can make parts snap along the layer lines. Wet filament is also softer than dry, so it grinds down the teeth on your extruder gears over time.
How long should I dry PETG before printing?
Most manufacturers recommend 55 to 65°C for 4 to 8 hours, which is enough to recover a spool that has been open for a few weeks. Nylon-grade or naturally humid PETG can need closer to 8 hours. Cool the spool fully inside the closed container before opening it, then feed it straight into the printer so it does not start reabsorbing moisture.
What temperature and time should I use for TPU?
TPU dries well at 50 to 60°C for roughly 4 to 6 hours. Going hotter for longer does not help and can soften the spool, so most makers stop there. For long prints, print straight from a filament dryer chamber if yours has a PTFE port, since TPU left open in a humid room usually needs drying again within days.
Will filament dry in a dry box?
No. A dry box is a passive container with a desiccant that keeps existing moisture levels low and stops new moisture getting in. It cannot remove water that is already inside filament because it never heats the spool above the point where water evaporates. To recover a wet spool you need heat plus airflow, then a dry box for storage.
Can I dry PLA and TPU at the same time?
Only if the temperature suits both, and it usually does not. PLA wants 40 to 45°C to stay well below its glass transition temperature, while TPU is dried around 50 to 60°C. Running the chamber at 60°C softens and can crease a PLA spool. If you must share, dry the PLA first on its own, then move it sealed to storage and dry the TPU.
Your Next Step: Dry One Spool and Test It
Take the spool that gave you the worst stringing, check its material, and run a single four-hour cycle with a thermometer in the chamber. Cool it sealed, print the same file, and compare the two. That one loop teaches you more than any chart, and you’ll know exactly what your own setup needs next time.