Can you 3D print e-bike parts? Yes, but only some of them, and only in the right material. 3D printed e bike parts are brackets, mounts, guides, covers and obsolete replacement components built layer by layer, usually from PETG, ASA, TPU or nylon on an FDM printer, that fill the gaps where an OEM spare is unavailable, discontinued or absurdly expensive for what it is. The line is simple: mounts and guards are fair game, brakes, steering, battery structure and the frame are not. Here is what can be printed, which materials hold up outdoors, and how to check a part before you trust it with a ride.
Table of Contents
- What Are 3D Printed E-Bike Parts?
- Which E-Bike Parts Can Be 3D Printed?
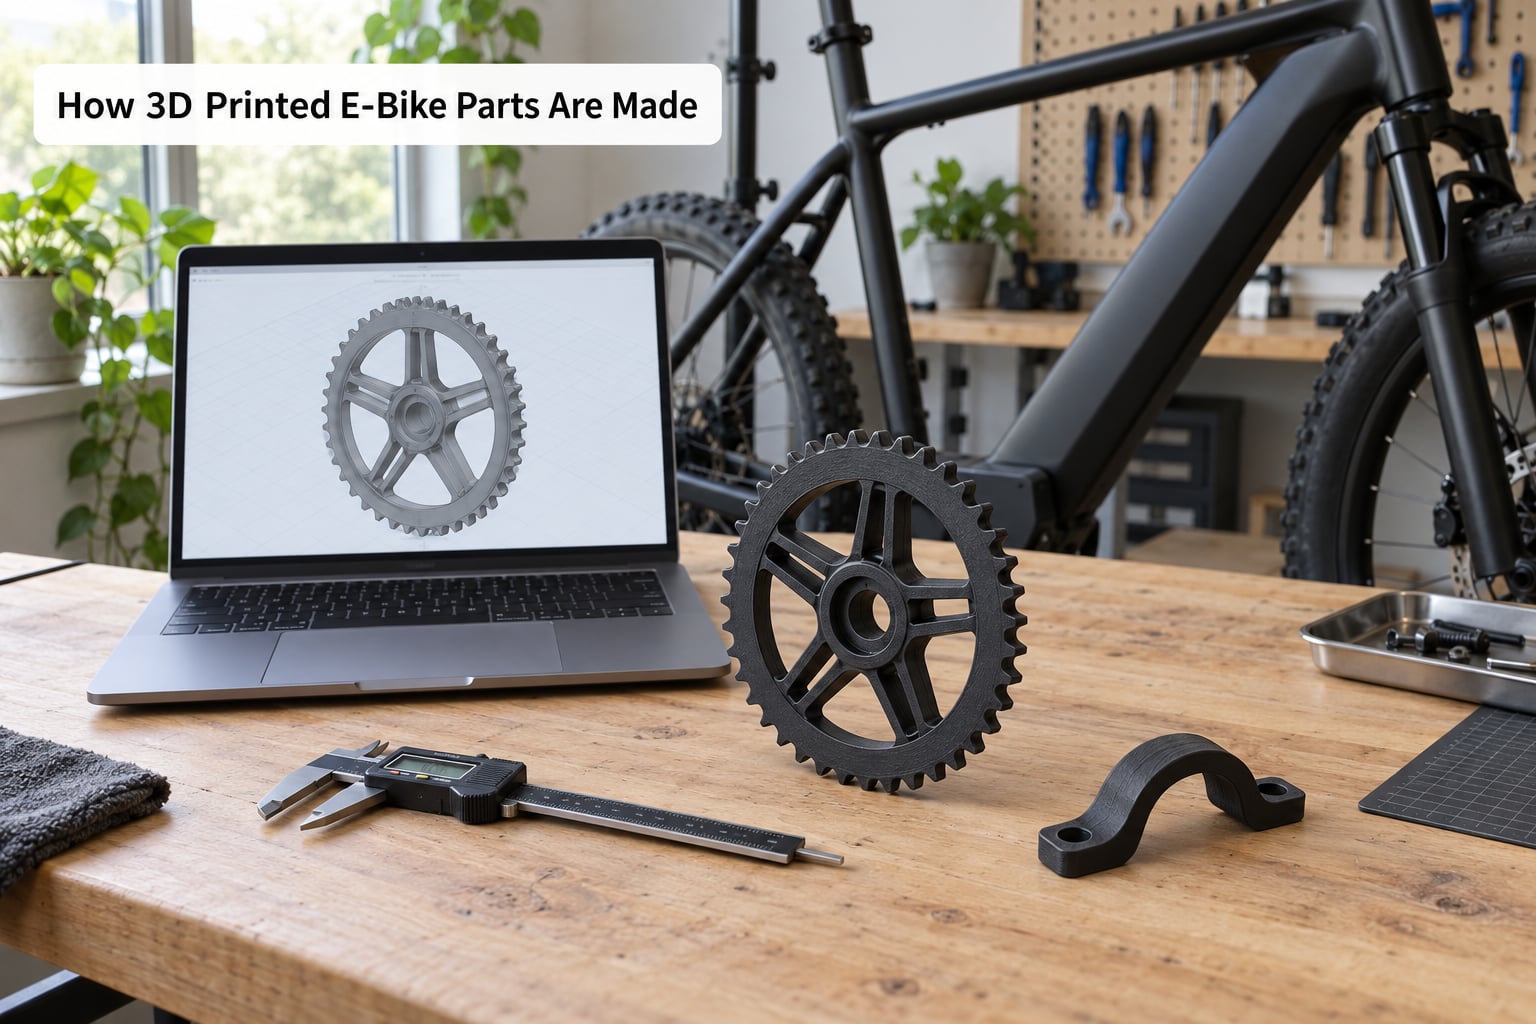
- How 3D Printed E-Bike Parts Are Made
- Measure or capture the original part
- Model it in CAD
- Slice and orient
- Print, post-process and test fit
- Which Materials Work for E-Bike Parts?
- 3D Printed E-Bike Parts Explained: Design and Engineering Choices
- Wall thickness and ribs beat infill
- Orientation sets the strength
- Fillets and sharp corners
- Fasteners, inserts and clearance
- Why a bench test is not a verdict
- How to Check Fit, Strength, and Safety
- What Are the Main Risks and Limitations?
- When Is Custom 3D Printing Worth It?
- Frequently Asked Questions
- What material is best for 3D printed e-bike parts?
- Can I 3D print load-bearing or safety-critical e-bike parts?
- Do 3D printed parts add too much weight to an e-bike?
- How long do 3D printed e-bike parts last outdoors?
- Can I scan a broken e-bike part and print a direct replacement?
- Conclusion
What Are 3D Printed E-Bike Parts?
3D printed e-bike parts are components made by additive manufacturing rather than injection moulding, machining or casting. Most home users produce plastic parts with fused deposition modeling, where a nozzle lays molten filament in thin layers until the shape is complete. Industrial versions use nylon powder, titanium powder-bed fusion or metal binder jets to make the same shapes in metals.
The reason riders end up here is availability, not novelty. E-bike motors, controllers and brackets come in dozens of near-identical variants, and the manufacturer may have discontinued a model without offering spares. A bike that is otherwise perfectly rideable sits in a corner waiting for one unavailable part. Printing it yourself turns a dead bike into a working one.
Four broad uses come up repeatedly:
- Cosmetic — covers, end caps, trim pieces that carry no load at all.
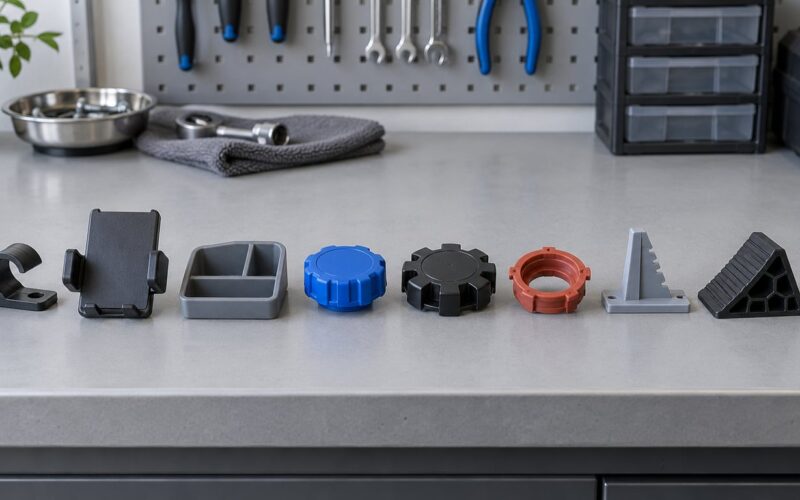
- Accessory — phone, action camera, display, light and bottle mounts, cable guides, organisers.
- Replacement — an obsolete chain guide, derailleur guard, charging port plug or sensor bracket reproduced to fit a bike that is no longer sold.
- Load-bearing — torque arms, battery cradles, dropouts, mounting nodes. Possible in specialist metal processes with engineering validation; not a home-printer project.
Worth being blunt about that last category. A consumer print that survives a bench test has not been fatigue tested, and neither you nor the slicer know how many road miles it will survive before a layer lets go.
Which E-Bike Parts Can Be 3D Printed?
The parts that print well share a trait: they are small, non-structural, and either already unavailable or awkward to source in a size that fits your bike. The parts you should not print share the opposite trait: they hold your weight, your steering or your stopping.
| Part | What it does | Typical material | Risk level |
|---|---|---|---|
| Cable routing guides | Holds motor and display cables to the frame | PETG, ASA | Low |
| Phone, camera and display mounts | Accessory mounting to bar or stem | PETG, ASA | Low |
| Chain guide and bash guard | Keeps chain and debris off moving parts | PETG, nylon | Low to medium |
| Derailleur guard | Protects the derailleur from impacts | ASA, nylon | Medium |
| Battery cradle and rail | Carries and locates the pack on the frame | ASA, nylon, CF-nylon | High — engineer it |
| Motor mount and torque arm | Transfers motor torque into the frame | Metal AM in industry only | Very high |
| Brake levers, rotors, caliper parts | Stops the bike | Never print | Not applicable |
| Frame, fork, stem, bars, seatpost | Primary structure and steering | Never print at home | Not applicable |
| Charging port plug and caps | Seals and protects the charge inlet | TPU | Low |
| Torque and cadence sensor mounts | Holds sensor arms at the right angle | PETG, ASA | Low |
Industry does print some of the high-risk items. Fraunhofer IPA’s AddRE-Mo project produced gear wheels and torque arms for production e-bike motors and validated service life, noise and temperature behaviour on test benches. Sandvik printed titanium motor nodes for GSD Global, who reported production costs falling by as much as 75% and a longer service life on the part. Those are engineered, tested, specified components produced to a drawing. A home print is not in the same category.
How 3D Printed E-Bike Parts Are Made
Measure or capture the original part
Measure mounting hole centres, tube diameters and clearances with calipers rather than eyeballing them. A phone scan or photogrammetry app is fine for capturing the overall shape of a curved top tube, but it will not give you accurate hole positions, and it copies dents and cracks exactly as they are.
Model it in CAD
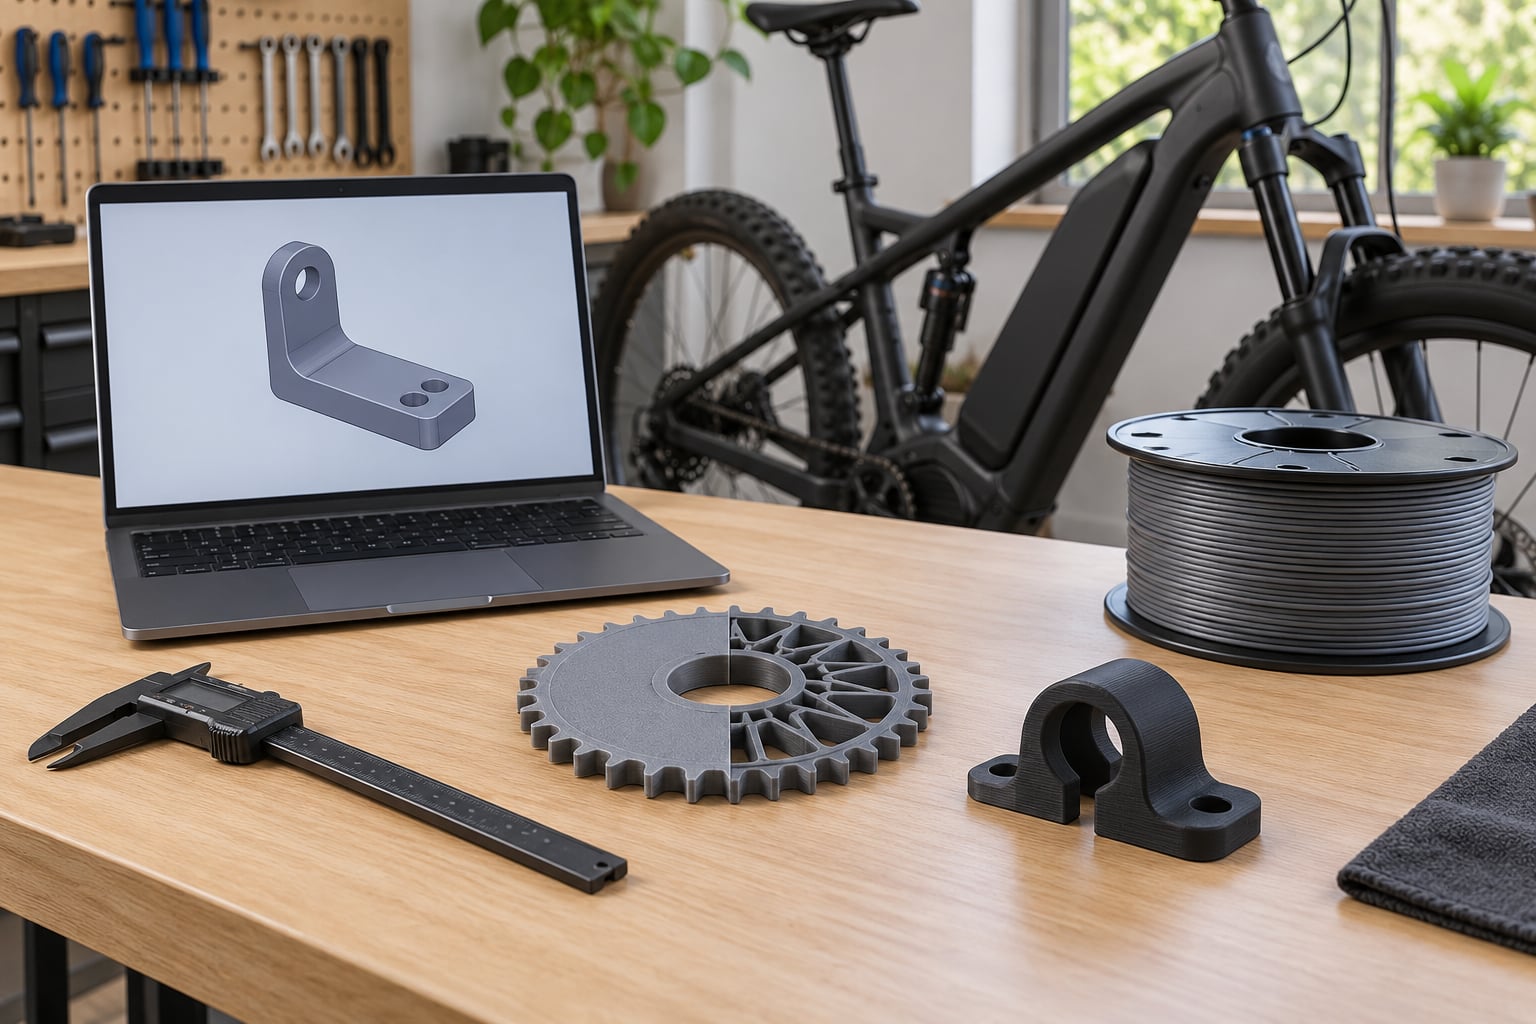
FreeFusion, FreeCAD and Onshape cover most hobby work. The mesh from a scan is a starting point: clean it, convert it to a solid, then rebuild the features that matter — holes, ribs, fillets — as real parametric geometry.
Slice and orient
Orientation decides more than layer height does. Print so the primary load runs along the layers rather than peeling them apart, and turn the part over mid-print for large flat surfaces only if you have the equipment for it.
Print, post-process and test fit
Print, remove, clean off stringing, then fit the part by hand before tightening anything. Check that nothing rubs, that no fastener bottoms out, and that nothing interferes with the moving parts at full steering lock or through a full suspension stroke.
Which Materials Work for E-Bike Parts?
Pick the filament for the job the part does, not for the printer you happen to own. Anything carbon or glass filled is abrasive and will chew a brass nozzle, so pair those with a hardened nozzle and run an enclosed, filtered machine.
| Material | Stiffness | Heat and UV | Impact | Ease of printing | Good for |
|---|---|---|---|---|---|
| PLA | Moderate | Poor — softens in a hot car | Brittle | Easy | Mock-ups, jigs, indoor parts |
| PETG | Good | Fair — keeps its shape outdoors | Tough, not brittle | Easy | Guides, mounts, general brackets |
| ABS | Good | Fair | Moderate | Hard, warps without an enclosure | Indoor structural shapes |
| ASA | Good | Excellent UV and heat for a plastic | Moderate | Hard, needs enclosure | Battery cradles, outdoor brackets |
| TPU | Soft | Good | Very high, flexes repeatedly | Slow, sensitive to retraction | Port plugs, clips, gaskets, bumpers |
| Nylon | High | Good, absorbs moisture | Excellent | Hard, needs drying and flow | Gears, chain guides, stiff brackets |
| Carbon-filled nylon | Very high | Good | Excellent | Very hard, abrasive nozzle required | Torque-sensitive non-structural parts |
Two materials deserve a warning label. PLA softens in a parked car and goes brittle in cold weather, so keep it off anything outdoors or near a hot motor bay. And nylon is hygroscopic: it takes on water from the air, which changes both its properties and how it prints, so dry it before use and store it sealed.
Nylon versus PETG comes up constantly on forums for parts that see vibration and heat. Nylon wins on toughness, stiffness and fatigue resistance. PETG prints far more easily on a typical home machine and is perfectly adequate for anything that is not carrying a load.
3D Printed E-Bike Parts Explained: Design and Engineering Choices
Wall thickness and ribs beat infill
For a bracket, perimeter walls do far more than the internal pattern. Four to six solid walls with sparse internal ribs usually beats 100% infill, weighs less, prints faster and puts material exactly where the stress is. High infill only helps when the whole cross-section is genuinely loaded.
Orientation sets the strength
A printed part is much stronger along the layers than across them. If a bracket will be loaded in tension, orient the model so that load runs in the plane of the layers. A part that fails will almost always fail at the first layer or across a layer line, not through the middle of a solid section.
Fillets and sharp corners
Every sharp internal corner is a stress riser and a crack starter. A 2 to 3 mm fillet where a wall meets a rib or a hole costs nothing in print time and can add a lot of life. This is one of the cheapest design decisions you will make.
Fasteners, inserts and clearance
Decide early whether threads are printed or captured. Printed threads strip quickly; heat-set inserts or a through-bolt with a nut strip far less. Print holes slightly undersize for self-tapping screws, and always leave a little clearance so a part that is 0.3 mm tight does not end up 0.3 mm over.
Why a bench test is not a verdict
Squeezing a prototype by hand proves it fits. It says nothing about fatigue life under continuous road vibration, thermal cycling through a parked car, or the shock load of a pothole. Surviving a bench test is one data point in a process that needs time, distance and inspection.
How to Check Fit, Strength, and Safety
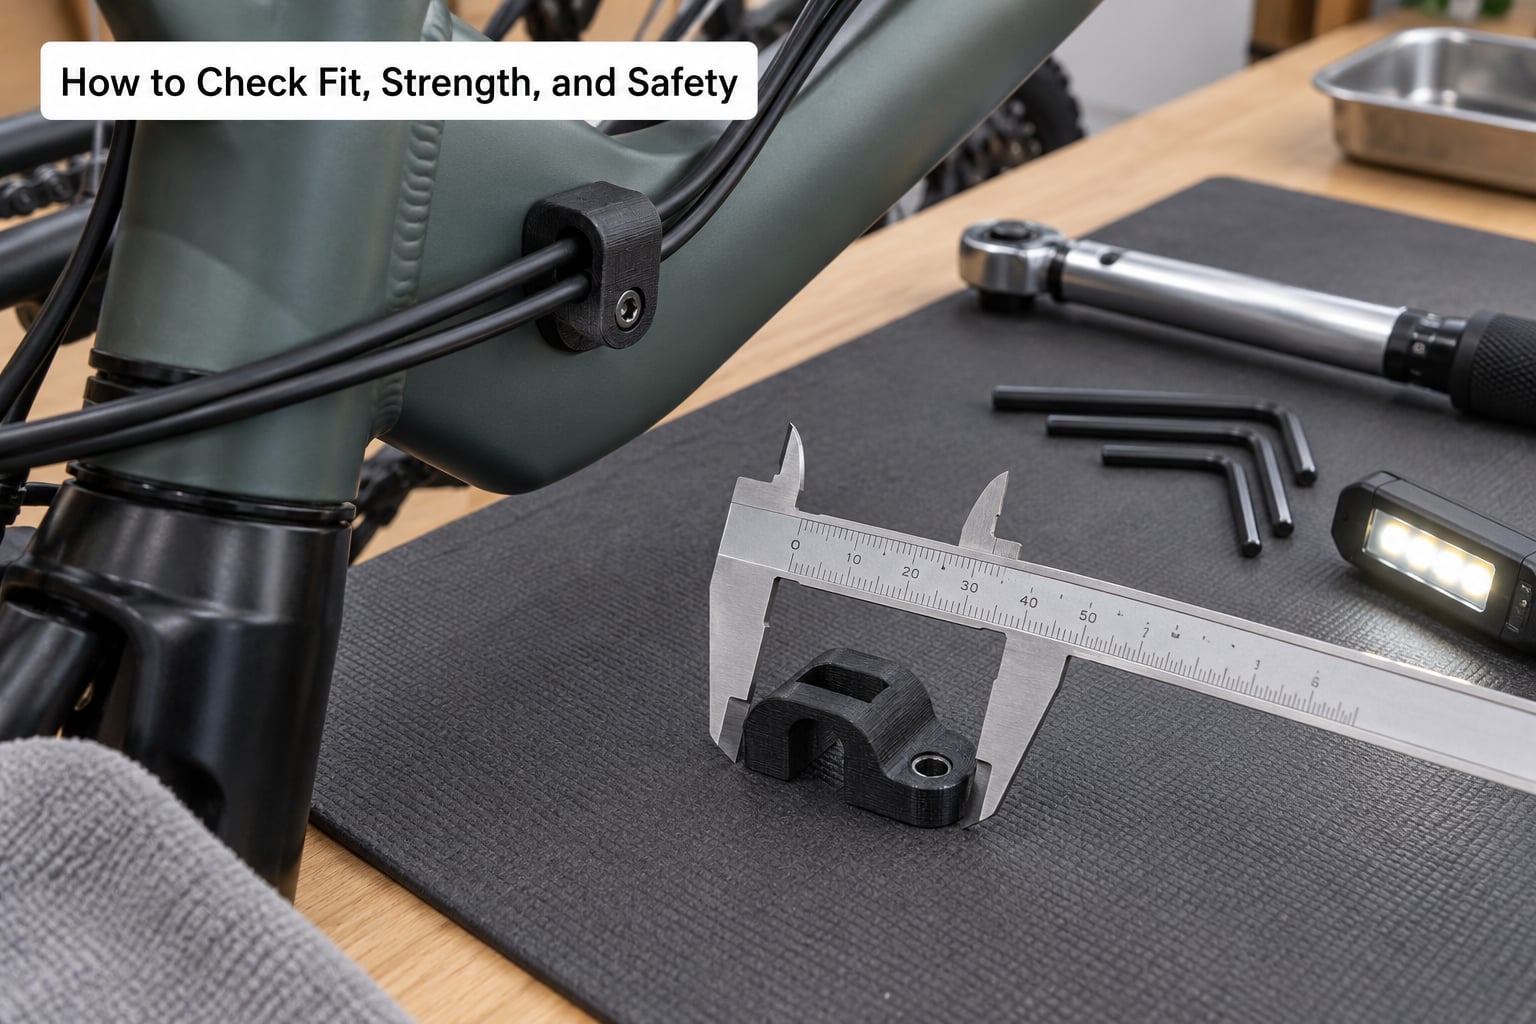
Print it in a non-critical location first. A cable guide on a commuter bike used on a back road is a very different proposition from the same part on a bike you ride at speed in traffic.
Work through this sequence:
- Check interference by hand. Full steering lock, full suspension compression, wheels fitted. Anything that rubs gets reshaped before it is ever ridden.
- Verify fasteners. Threads fully engaged, no bolt bottoming out, torque applied evenly. Over-tightening a printed part crushes the wall rather than loading the bolt.
- Load gradually. Add weight and speed in steps. Do not go straight from a garage test to a loaded ride in traffic.
- Ride away from traffic. The first test should be a slow loop somewhere you can pull over and look at the part.
- Inspect afterwards. Look for crazing, whitening at the roots of ribs, layer separation, or a fastener that has started to work loose.
- Retire anything you are unsure about. If the function is uncertain, the part is finished. That rule costs nothing and has saved people real money.
Printed parts fail quietly before they fail suddenly, and the early signs are visible if you look. Forum riders report printed mounts that started to crack and wobble during a ride long before they finally broke. A part that feels different from the day it went on is the one to pull.
What Are the Main Risks and Limitations?
- Anisotropy. Strength depends on direction, so a part can be very strong one way and weak the other.
- Layer adhesion. Bonding between layers is the weak line under repeated flexing.
- Heat. PLA softens in a hot car; a battery or motor bay adds more heat than people expect.
- UV exposure. Uncoated plastic fades, embrittles and cracks in sunlight over months.
- Moisture. Nylon and PETG absorb water, changing strength and print behaviour.
- Vibration fatigue. Road vibration is a cyclic load. Parts fail from repeated small cycles long before a static load would move them.
- Creep. Thermoplastics slowly deform under a constant load, which matters for a tight clamp that must stay tight.
- Sharp corners. Rectangular designs put stress right at the corner.
- First-layer adhesion. A contaminated bed or an unlevelled first layer quietly ruins a long print.
- Inaccurate scans. A visual match is not a dimensional match, and tolerance is what makes a part function.
The rule I would not break: a printed part does not replace a certified load-bearing or high-energy component. That covers brake rotors and pads, caliper parts, dropouts, fork and frame members, stems, bars, seatposts, and anything that retains a battery, without engineering validation behind it.
When Is Custom 3D Printing Worth It?
Additive manufacturing earns its place when the part is unavailable, personalised, low volume or in constant iteration. Replacing a bracket that no longer exists, fitting a battery to a curved top tube that was never a production frame, prototyping a layout before committing to tooling, or holding a bike together while a proper part is on order — those are genuine wins.
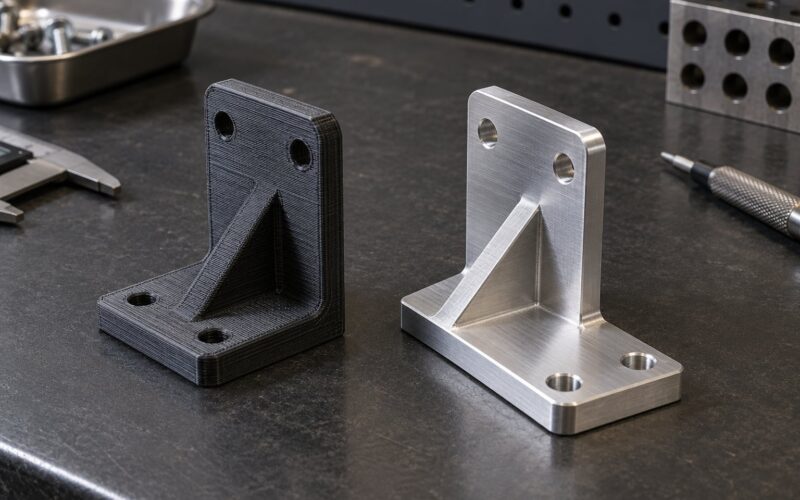
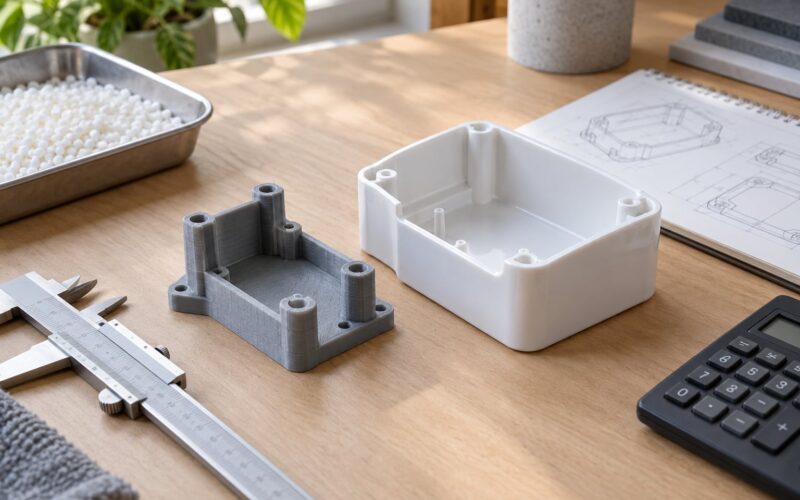
It is the wrong tool when the part is common and critical. For high-volume production of a small, strong component, injection moulding beats FDM on cost, consistency and material options. For high loads, CNC-machined aluminium or steel gives predictable strength and fatigue behaviour that a print cannot match. For frame or fork repairs, welding and tube cutting remain the honest answer.
Print services fill the gap for people who do not own a printer or who need a better process. SLS in nylon gives strong, isotropic parts with no visible layer lines, and metal powder-bed services can produce the motor-side hardware that printing cannot. Shipping one broken plastic bracket to a bureau often costs less time than learning to model it yourself.
Where should models come from if you do not design your own? STL file communities, model marketplaces and specialist e-bike forums all host ready-to-print files for popular frames and motors. Check the print orientation and material the designer used, and look for the comments: the failure reports there are more useful than the photographs.
On legality, keep it simple. Printing a part for your own bike is not the same act as selling copies of it. Manufacturing and selling a copy of somebody else’s protected design or patented part is a different legal question entirely, and forum consensus across e-bike communities is consistent on where that line sits. If money changes hands, get advice before you list anything.
Frequently Asked Questions
What material is best for 3D printed e-bike parts?
PETG is the default for most printed e-bike parts because it shrugs off road vibration, rain and moderate heat without needing an enclosed machine. Choose ASA for better UV and heat resistance outdoors, TPU for flexible clips and charging port plugs, and nylon or carbon-filled nylon for the stiffest brackets. Keep PLA for jigs, mock-ups and anything that stays indoors.
Can I 3D print load-bearing or safety-critical e-bike parts?
Not without engineering validation behind it. Printed plastic is anisotropic, layer adhesion is weak compared with a moulded or machined part, and the material creeps under sustained load, so a part that passes a bench test can still fail early in service. Treat printed battery cradles, torque arms, dropouts, brake parts and steering hardware as prototypes until they have been properly tested.
Do 3D printed parts add too much weight to an e-bike?
Usually not, for the small parts people print. A cable guide or accessory mount adds a few tens of grams, and a ribbed part printed with moderate infill can weigh less than a thick moulded original. Weight only becomes a problem if you move up to large panels or structure, where a thin-walled machined metal part wins on both mass and stiffness.
How long do 3D printed e-bike parts last outdoors?
There is no fixed lifespan, which is the real problem with printed parts. A guide tucked under a chainstay can last for years, while a sun-exposed bracket printed in PLA can go brittle within a season. Material, wall thickness, sun exposure and print orientation matter far more than infill percentage. Inspect periodically and retire any part that crazes, whitens or flexes more than it used to.
Can I scan a broken e-bike part and print a direct replacement?
You can, but a good-looking scan does not make a working part. Phone apps and photogrammetry capture shape, not dimensions, tolerance or stiffness, and they copy cracks and deformation exactly. Model from manufacturer drawings or measure the mounting points with calipers, leave slightly generous fastener clearances, print a test fit, then increase the load gradually before riding normally.
Conclusion
3D printed e bike parts solve a real problem: e-bike components are hard to replace, discontinued without notice, and priced well above what a small plastic part should cost. Print the accessories, guards, guides and obsolete brackets that keep a bike usable. Leave brakes, steering, frame and anything holding a battery to the people who engineer and certify them.
Start small. Pull the dimensions from the bike manufacturer or measure the mounting points yourself, model one non-safety-critical accessory, print a test fit, and check interference and fasteners before riding. Everything else follows from that first careful part.