3D printing costs almost nothing to set up and more per part; injection molding costs a great deal to set up and less per part. This 3d printing vs injection molding cost breakdown comes down to one number: how many parts do you need? Under roughly 500 parts, printing wins. Past about 1,000 to 10,000 parts, molding usually wins.
That rule of thumb is a starting point, not a decision. Geometry, tolerance, labor and post-processing move the crossing point a long way, which is why most cost comparisons on this topic stop too early. The table below is the fast version.
Table of Contents
- 3D Printing vs Injection Molding Cost Breakdown at a Glance
- What Does 3D Printing Cost Compared With Injection Molding?
- What Does Injection Molding Cost Upfront?
- 3D Printing Cost: Machine, Material, Labor, and Waste
- Injection Molding Cost: Cycle Time, Tooling, and Production
- How Quantity Changes the 3D Printing vs Injection Molding Break-Even Point
- How to calculate your own break-even point
- What the curves look like at real volumes
- Which Process Has Lower Labor and Post-Processing Costs?
- How Do Material Costs and Waste Compare?
- 3D Printing vs Injection Molding: Lead Time and Design Flexibility
- 3D Printing vs Injection Molding: Quality, Scale, and Risk
- Which Should You Choose?
- Frequently Asked Questions
- Is 3D printing cheaper than injection molding for 100 parts?
- How do I calculate the break-even point between 3D printing and injection molding?
- Is injection molding cheaper for prototypes?
- What costs are included in a typical injection molding quote?
- Can 3D printing produce parts suitable for mass production?
- How much does injection molding tooling cost compared with a 3D printer?
- Conclusion: Start With Total Cost, Not Unit Price
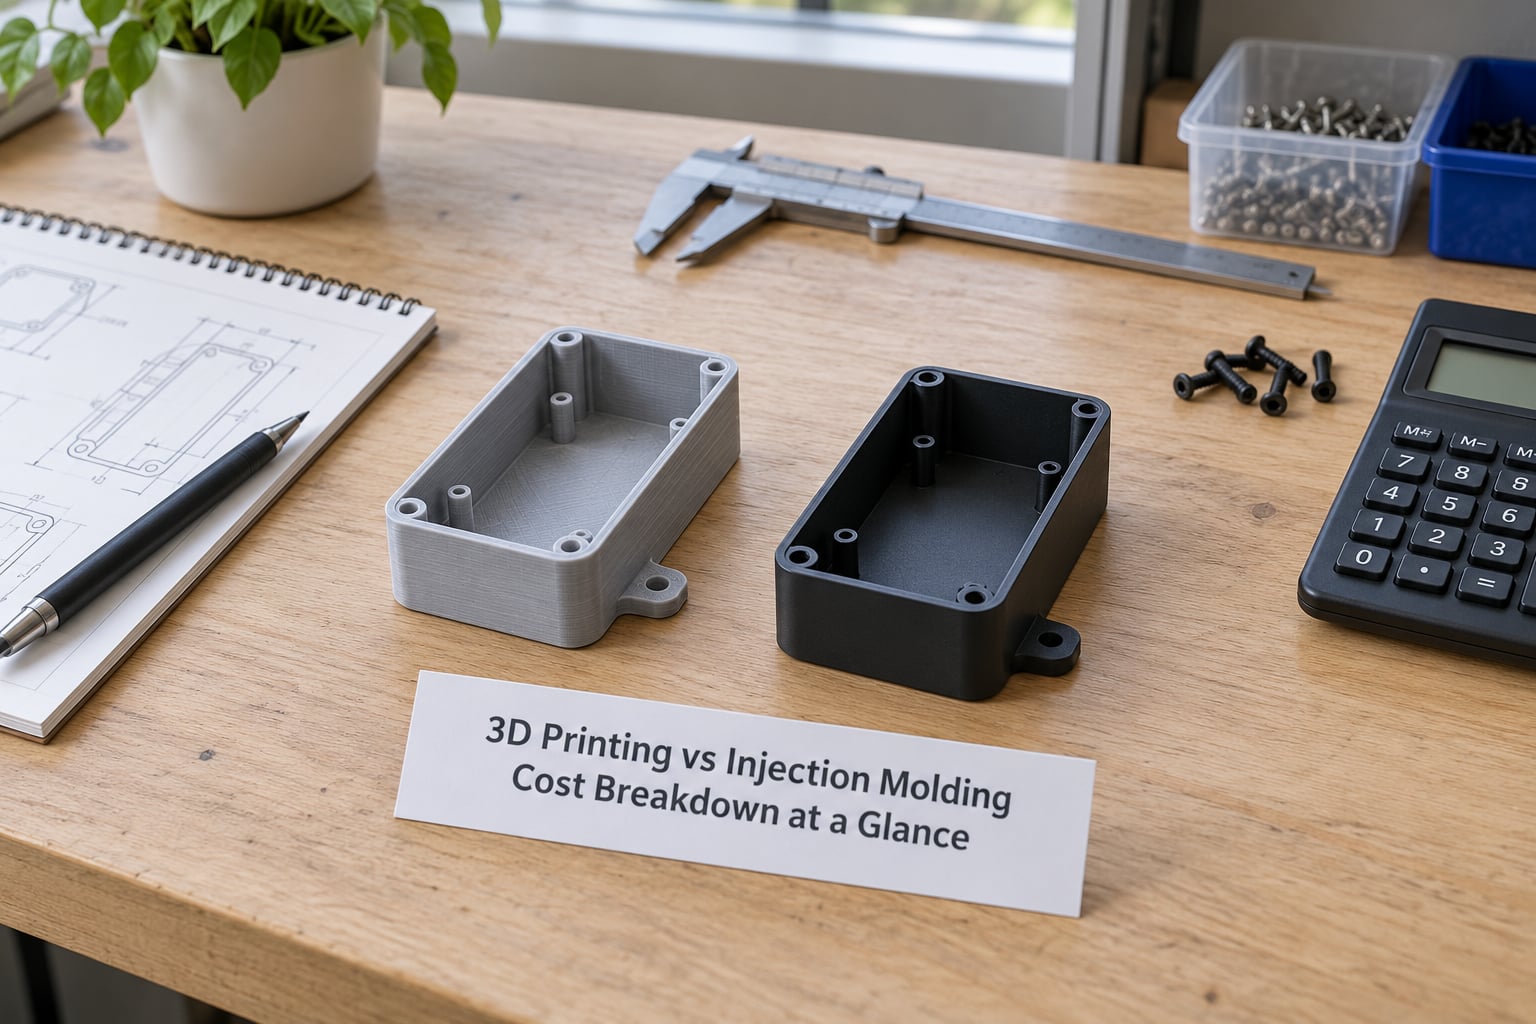
3D Printing vs Injection Molding Cost Breakdown at a Glance
| Criterion | 3D printing | Injection molding |
|---|---|---|
| Upfront tooling | None, or a 3D printed soft tool | 3,000 to 15,000 USD typical, higher for complex work |
| Cost per part at low volume | 3 to 10 USD per part | 6 to 15 USD per part once tooling is amortized |
| Cost per part at high volume | Stays roughly flat or rises with machine time | Falls toward 0.50 USD and below |
| Material waste | Supports, failed prints, unused powder | Runners, sprues, purge material, regrind |
| Labor | High per part, hands-on removal and finishing | Mostly attended machine time, trimmed and packed |
| Lead time per change | Hours to a few days | 2 to 6 weeks for new steel, more for revisions |
| Best production volume | 1 to about 500 parts | About 1,000 parts and up |
| Design flexibility | Change the model and reprint | Undercuts and side actions drive tooling cost |
| Surface finish | Layer lines, needs sanding or vapor smoothing | Glossy and cosmetic straight from the tool |
| Scalability | One machine, additive, easy to duplicate | Parallel presses, automation, tight repeatability |
The cheapest method is not a fixed answer. It depends on quantity, geometry and the precision and finish you need, and every row below the tooling line bends because of those three things.
What Does 3D Printing Cost Compared With Injection Molding?
3D printing has little or no tooling cost, so it is cheaper for prototypes and short runs. Injection molding has a large one-time mold cost, so it is cheaper per part once that mold is paid for. Nothing about the material itself changes that order; only volume does.
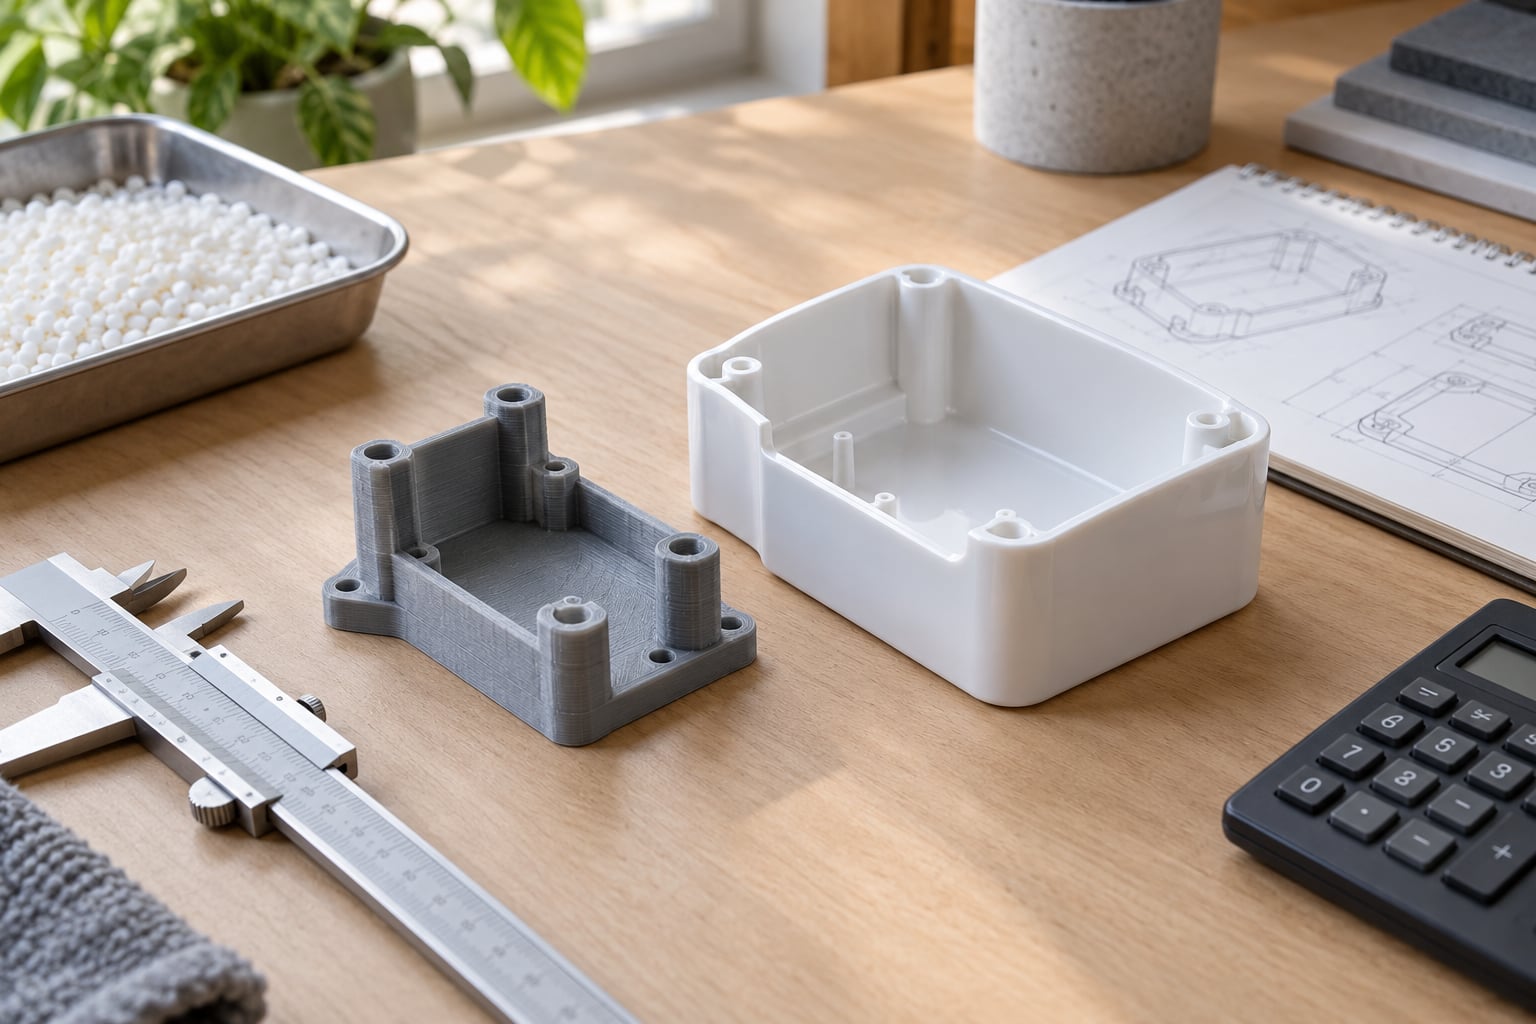
Take a simple ABS enclosure, about 120 grams of material with light post-processing. Printed with an FDM machine, a fully loaded cost of roughly 8 dollars per part is reasonable, and that figure already includes machine time, material, support removal and an allowance for failed prints.
Molding the same enclosure takes a 6,000 USD aluminum tool, then roughly 2 dollars per part in material, cycle time and labor. At 50 parts, printing totals about 400 dollars and molding about 6,100. At 500 parts, printing is around 4,000 dollars and molding about 7,000. At 10,000 parts, printing lands near 80,000 dollars while molding, with the mold long since amortized, sits close to 12,900.
One line item in that printed figure deserves attention. If the part needs support removal, sanding, bead blasting and a primer pass, hand labor can quietly add as much again to the part cost. Published roundups rarely price it, and that omission is where a lot of supposed savings disappear.
What Does Injection Molding Cost Upfront?
A production injection mold for a small consumer part usually runs 3,000 to 15,000 USD, and practitioners quote higher. The widely repeated figure of 1,000 dollars for a mold is a disingenuous low estimate, as a Hackaday thread on true per-part costing put it in October 2024, noting that most real molds land in the 5,000 to 20,000 dollar range.
That NRE, the non-recurring engineering cost, is made of specific line items, and each one is worth arguing about in a quote.
| Mold cost driver | Typical cost impact in USD |
|---|---|
| Mold design and engineering | 500 to 2,000 |
| Aluminum prototype tool, single cavity | 3,000 to 8,000 |
| Production steel tool, single cavity | 8,000 to 20,000 |
| Each extra cavity in a multi-cavity tool | 1,500 to 4,000 |
| Side action or cam mechanism | 1,000 to 2,000 per action |
| Complex cooling, conformal or insert work | 1,000 to 5,000 |
| EDM, texture and cosmetic work | 500 to 3,000 |
| First article validation and sampling run | 300 to 1,500 |
| Annual maintenance, repair and storage | Recurring |
Two things surprise people here. A physically small part is not automatically a cheap part to mold, because a small but geometrically awkward part needs a bigger mold base, inserts and more involved cooling. And an aluminum prototype tool cuts the bill and the lead time sharply, at the cost of a shorter tool life measured in thousands of shots rather than hundreds of thousands.
There is also the hidden tier most people meet: small shops quoting desktop tooling around 1,495 dollars per mold. It is real, it works for short runs, and it is not the tool you want for a product you plan to sell for years.
3D Printing Cost: Machine, Material, Labor, and Waste
3D printing cost is dominated by machine time, and machine time is dominated by how long the part sits on the bed. A 40 gram part that prints in six hours costs far more than a 40 gram part that prints in two, whatever the material price per kilogram says.
The cost per part for printing breaks into build hours multiplied by a machine rate, material weight multiplied by price per kilogram, support removal and finishing labor, and an allowance for failed prints.
Not every print process carries the same weight of labor or waste, and the differences matter when you are past the prototype stage.
| Process | Typical use at each volume | Cost behaviour |
|---|---|---|
| FDM | Enclosures, jigs, low to mid volume | Cheapest per part, highest labor and support cost |
| SLA | Detailed prototypes, dental and medical models | Resin and post-processing both add up fast |
| SLS | Complex geometry, short runs without supports | Unpowdered parts still need finishing, powder is largely reusable |
| Metal DMLS or SLM | Functional parts, low volume where strength matters | Highest machine time, machining of bores often required |
Waste is the other quiet adder. A failed FDM print is a whole part of material, machine time and labor gone. Support structures in FDM and SLA get removed by hand, and a 3D printing vs injection molding cost breakdown that leaves that out flatters the printing side.
One more correction, because it changes the per-part math. Adding a second or third machine does not help a print shop the way it helps a molding shop, because each printer still runs one job at a time and each one needs its own operator attention. The labor scales with the fleet, not with automation.
Injection Molding Cost: Cycle Time, Tooling, and Production
Injection molding cost per part is what remains after the mold is divided by the run: cycle time multiplied by the machine rate, plus resin, plus labor, plus a scrap allowance.
Cycle time is measured in seconds, typically 20 to 60 seconds for a small plastic part, and the press does that over and over while a person feeds pellets, checks the first shots and pulls parts from the gate. A hardware team reported injection molding running roughly 27 times faster than a comparable FDM print run on the same part, which is dramatic, though most of the total cost in molding still sits in making the tool rather than in the machine time.
For a 10,000 part run of that enclosure: 6,000 USD of tooling, 0.60 USD per part in material, 0.55 USD in cycle time and machine overhead, 0.45 USD in labor, trimming, inspection and packing, and 0.30 USD for expected scrap and rejects. That lands near 1.90 USD per part, or about 19,000 USD for the run against roughly 80,000 USD to print the same 10,000 parts.
Scrap is the line buyers argue about most. Flash at the parting line, sink marks over a thick boss, and short shots from a cold cavity all come out of the same budget, and a thin flash fix after the tool is running can cost a full sampling cycle.
How Quantity Changes the 3D Printing vs Injection Molding Break-Even Point
Break-even is the production quantity where the cumulative cost of molding drops below the cumulative cost of printing. For most small parts it falls somewhere between 1,000 and 13,000 pieces, and closer to 500 for simple, small, low-tolerance parts.
How to calculate your own break-even point
Three numbers give you the answer: the mold cost, the fully loaded cost to print one part, and the fully loaded cost to mold one part excluding the mold. Break-even volume equals the mold cost divided by the difference between the printed part cost and the molded part cost.
Using the enclosure above: 6,000 divided by (8.00 minus 1.90) is roughly 983 parts. Swap in a 20,000 USD steel tool and the same formula gives about 2,460 parts, which is why quoting range so often changes the decision.
What the curves look like at real volumes
| Parts needed | 3D printing total in USD | Injection molding total in USD | Cheaper route |
|---|---|---|---|
| 1 | 8 | Not viable, mold cost dominates | 3D printing |
| 10 | 80 | About 6,020 with a minimal tool | 3D printing |
| 100 | 800 | About 6,190 | 3D printing |
| 500 | 4,000 | About 7,000 | 3D printing |
| 1,000 | 8,000 | About 7,900 | Roughly level |
| 10,000 | 80,000 | About 12,900 | Injection molding |
The shape of the two curves explains everything. Printing is nearly flat per part, so its total climbs in a straight line. Molding starts high, then flattens almost immediately, so its per-part cost keeps falling as the run grows. Wherever the straight line crosses the flattening line is your answer.
Move the geometry and the crossing point moves with it. A part with sharp cosmetic surfaces, tight tolerances or snap-fit features pushes the crossing point right, sometimes to 13,000 pieces or beyond. A simple, small, matte part pulls it left, sometimes under 500.
Which Process Has Lower Labor and Post-Processing Costs?
Injection molding has the lower labor cost per part once you are in a real production run, because a person supervises a press that works continuously. Printing labor grows with the number of parts, because every part can need a hand.
A printed part might need support broken off, burrs removed, layer lines sanded, bead blasted, a vapor smoothing pass, primer, paint and a cure cycle. Ten minutes of finishing on a part priced at 8 dollars is a large slice of it, and nobody puts those ten minutes in the per-part quote.
Molded parts need less. Gates and runners get trimmed, flash is removed, and parts are inspected and boxed, but those are minutes per hundred parts rather than minutes per part. A supportless SLS print narrows the gap, since there is no support structure to cut away, though the unpowdered surface still has to be finished.
The exception is low volume with high complexity. Printing twenty internal-channel parts that nobody wants to hand-finish can cost more labor than molding a hundred simple ones, and that is a design problem as much as a process problem.
How Do Material Costs and Waste Compare?
Material cost per kilogram is the least useful number in this comparison, because the finished part is only part of what you paid for. A kilogram of ABS pellets is cheaper than a kilogram of SLA resin, and the ABS part usually ends up costing more.
On the printing side, the loss shows up as supports, raft, brim, failed prints and for SLS the powder left in the bin. On the molding side it is the runner system and sprues, purge material during color and material changes, and the flash and short shots that go in the regrind stream. Runners and sprues are typically 10 to 25 percent of the resin that goes in.
Because waste is a percentage, it scales differently. Ten percent waste across 10,000 molded parts is a serious number. Ten percent waste across 50 printed prototypes is a rounding error. That asymmetry is part of why the break-even point drifts down as complexity rises but total volume rises too.
Regrind closes some of the molding gap, since clean single-material scrap is routinely recycled, but it has a limit. Once a part carries glass-filled nylon alongside the base resin, or a cosmetic surface that a recycled blend would spoil, the scrap becomes waste.
3D Printing vs Injection Molding: Lead Time and Design Flexibility
3D printing is faster to the first part and far faster to the tenth revision. A design change on a printed part is a re-slice and a night of machine time. A design change on a molded part can mean new steel, new EDM work and a fresh sampling run.
Molding pays for that flexibility up front with a 2 to 6 week tooling window, longer when the quote includes a complex tool. For concept work, functional testing, fit checks and market validation, that delay is the whole reason to print in the first place.
Design for manufacturability is where the tooling bill is really decided. Draft angles of one to three degrees let a molded part release from the tool. Undercuts that cannot be pulled straight off force side actions, each one adding roughly 1,000 to 2,000 USD and weeks of fabrication. Consistent wall thickness with ribs instead of solid sections cuts both material and cycle time. Splitting the parting line away from a cosmetic face saves you a sanding pass that would otherwise be paid for on every part.
Printing goes the other way. It handles internal channels, lattices, living hinges, undercuts and one-off variation almost for free, and it lets you consolidate ten parts into one printed assembly. If the design leans on any of those, the molding quote should be treated as a starting conversation rather than a number.
3D Printing vs Injection Molding: Quality, Scale, and Risk
Molding wins on repeatability and on the quality ceiling for consumer goods. Printing wins on complex geometry and on low-volume customization, where a molded tool would be wrong the moment someone changes a color or a size.
A good steel tool holds the same tolerance on part 400,000 as it did on part 400, and it produces a consistent cosmetic surface shot after shot. Printed parts vary more: layer adhesion depends on bed leveling and temperature, wall thickness varies with the slicer, and consumer FDM output is inconsistent enough that engineers describe it as a design constraint rather than a defect.
The failure modes are different too. Printed parts show anisotropy, where the layer lines are weaker than the solid material, plus warping and delamination under heat. Molded parts show flash, sink marks over thick sections, and warpage from uneven cooling. Isotropic properties and molded-in ribs are exactly why molded parts outperform printed ones in heat and load, which is the honest answer to whether printed parts can be as strong as molded parts.
Risk points both ways. Tooling a product that never sells wastes the whole mold. Printing 10,000 parts for a product that does sell can cost several times the molded route and will not hit a consistent finish. The lowest-risk path is usually to print, validate demand, then tool.
Which Should You Choose?
Choose 3D printing for concept models, appearance models, design iteration, jigs, fixtures and assembly aids, functional prototypes, medical and dental custom parts, and replacement or discontinued parts that will never see a production run.
Choose injection molding for consumer products that have proven demand, electronics enclosures with cosmetic surfaces, automotive and hardware parts under sustained load and heat, and any part where you need the same result ten thousand times.
The middle path is worth planning deliberately: print to iterate, cut a single-cavity aluminum prototype tool to prove the geometry and validate the market, then move to a production steel tool when the run justifies it. Bridge tooling gets you real production parts in about a week, at a fraction of the cost of a steel tool and with a much shorter tool life.
Before you request any quote, write down four things: annual demand, the geometry that matters, the tolerance and finish you need, and the labor you are willing to spend per part. Then ask two or three service providers for comparable quotes on the same part, with tooling, piece-part cost, scrap allowance and lead time broken out separately. Engineers who have done this tell me the quotes are only comparable when the scope is.
Last, price the cost of a design change before you commit. For a printed part it is a reprint. For a molded part it can be a new tool. That one figure moves more decisions than any per-part price on a quote.
Frequently Asked Questions
Is 3D printing cheaper than injection molding for 100 parts?
Almost always yes. At 100 parts a 6,000 USD mold alone costs 60 USD per part before a single part is made, while a printed part with machine time, material and finishing typically lands between 3 and 10 USD. Printing also keeps the design editable, which matters more than the money if the part is still changing. Ask for a quote once you know the annual run, not just the pilot batch.
How do I calculate the break-even point between 3D printing and injection molding?
Divide the mold cost by the difference between your fully loaded printed part cost and your fully loaded molded part cost. Using a 6,000 USD mold, 8.00 USD to print a part and 1.90 USD to mold one gives roughly 983 parts. The two numbers that matter most are the top of the molding quote and the honest printed cost including support removal and finishing.
Is injection molding cheaper for prototypes?
No, and it is not even close. A prototype does not amortize tooling across a run, so you would pay the entire mold cost on one or two parts. Printing delivers a prototype overnight for the cost of the material and machine time. The exception is a cosmetic or fit-critical surface, where a cheap single-cavity aluminum prototype tool can make more sense than hand-finishing printed parts.
What costs are included in a typical injection molding quote?
A complete quote separates non-recurring engineering from piece-part cost. The NRE line covers mold design, steel or aluminum, machining and EDM work, cooling, texture, first article validation and often annual maintenance. The piece-part line covers resin, cycle time and machine time, labor, packaging and an expected scrap allowance. Ask which of those are inside the per-part number and which are extras.
Can 3D printing produce parts suitable for mass production?
Yes, in specific cases. SLS in nylon and SLS or MJF in TPU handle production quantities for functional parts, and metal AM serves low-volume aerospace and medical work where traceability matters. What printing does not do is match a molded part on cosmetic consistency, cost per part at high volume, or repeatability across thousands of shots. For a visible consumer product with proven demand, molding is still the stronger choice.
How much does injection molding tooling cost compared with a 3D printer?
A small production mold runs 3,000 to 15,000 USD, and practitioners quote 5,000 to 20,000 USD for real production tools, while desktop and entry-level tooling exists around 1,495 USD. A capable FDM printer is a small fraction of that figure and needs no maintenance to keep making parts. The comparison is misleading on its own, though: the printer is a repeatable asset, the mold is a consumable that must earn its cost back.
Conclusion: Start With Total Cost, Not Unit Price
The 3d printing vs injection molding cost breakdown resolves into two different curves, not two different prices. One starts at zero and climbs. One starts high and flattens. Find out where your volume sits on that second curve before you spend anything on tooling.
Do four things this week. Write down your realistic annual demand. Get your part into a design for manufacturability review and simplify the geometry that drives tooling cost. Ask two or three service providers for comparable quotes with tooling, labor, waste, post-processing and scrap broken out. Then run the break-even formula with their real numbers rather than a rule of thumb.
If the run stays under a few hundred pieces a year, print it. If it is heading into the thousands and the geometry can be molded, tool it, and expect the mold to pay for itself somewhere between the first thousand and the thirteenth thousand parts.