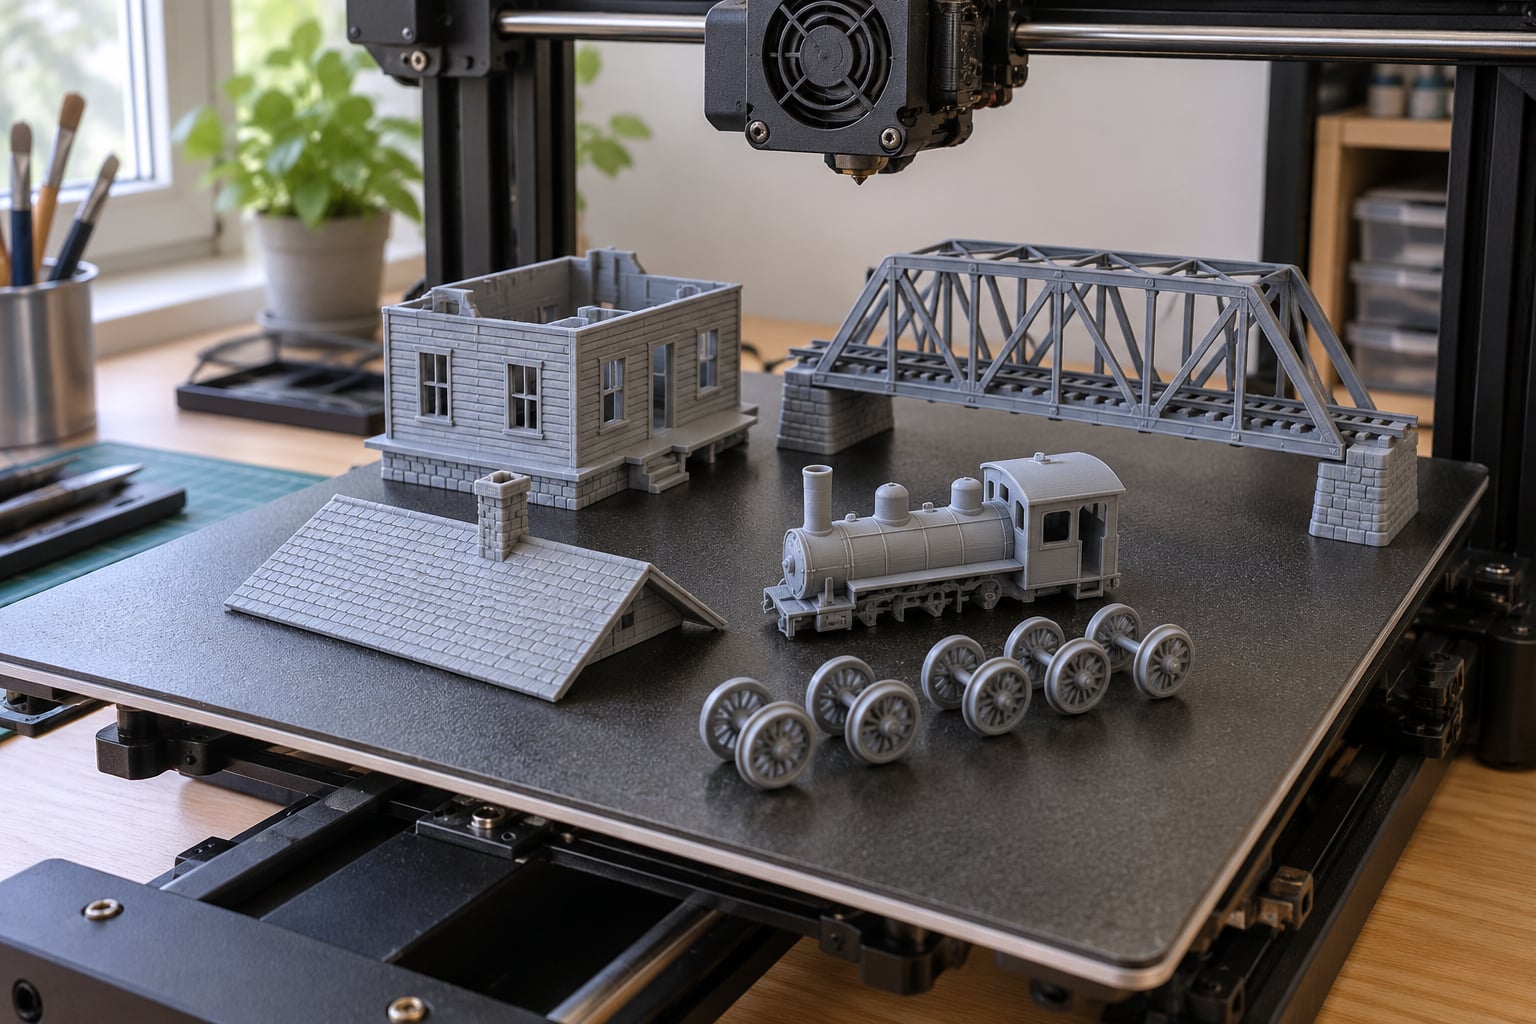
3D printing for model railroads is simply the practice of making track, buildings, rolling stock, figures and repair parts on a desktop printer instead of buying them in kit form. A filament printer handles bulk scenery and structures, a resin printer handles fine detail, and the gap between the two is what decides how your finished layout looks up close. A first project is maybe a weekend of work and a handful of small failures, not months of training.
Most people arrive at this hobby with a track plan, a few kits, and a realization that the one building or the one car body they need was discontinued years ago. Printing solves that in an afternoon. This guide walks the whole path: picking a machine, choosing material, getting the scale right, slicing, printing, and finishing the part so it does not look like a hobby project.
Table of Contents
- What You Need
- Why Printing Beats Buying Kit Parts
- Step-by-Step: Preparing Your First Model Railroad Parts
- How Do I Choose the Right Printer for Model Railroad Projects?
- How Do I Choose the Right 3D Printing Material for Model Railroads?
- How Do I Model Parts at the Correct Scale?
- How Do I Set Up the File for Printing?
- How Do I Print Track, Buildings, and Train Parts?
- How Do I Remove and Finish Printed Parts?
- How Do I Avoid Printing Failures?
- Common 3D Printing Mistakes Model Railroaders Make
- Scaling a downloaded file after the fact
- Printing wheels in the wrong orientation
- Using support trees everywhere on a building
- Sanding resin too hard before priming
- Skipping the clearance test
- Putting brittle resin parts outdoors
- Frequently Asked Questions
- What is the best 3D printer for making model railways?
- Can you 3D print model train tracks?
- Is it illegal to 3D print anything?
- How much does 3D printing a model cost?
- Do 3D printed model trains run on real model track?
- How do you paint 3D printed model trains and buildings?
What You Need
You need four things to start, and only one of them is the printer itself. Most early frustration comes from skipping the file preparation stage, not from the hardware.
- A printer. An enclosed or open-bed filament printer for structures, or a masked stereolithography resin printer for anything under about 1 mm thick. Many hobbyists end up running both eventually.
- A slicer. PrusaSlicer, OrcaSlicer, Bambu Studio and Cura all read STL files and produce the toolpath the printer follows. Resin printers pair with ChiTuBox or the printer’s own software.
- Material and a cleanup kit. PLA or PETG filament, or resin plus 99 percent isopropyl alcohol, nitrile gloves, a wash station and a curing lamp.
- Post-processing tools. Files, sanding sticks in several grits, hobby knives, CA glue, primer, and a small airbrush or rattle can.
Add a decent digital caliper. Scale work lives and dies on dimensions, and measuring a printed wall or a coupler pocket takes seconds with calipers and ages without them.
Why Printing Beats Buying Kit Parts
Commercial kits win on repeatability: ten identical grain cars, ready to run, with wheels that already fit the rails. Printing wins on everything singular. A prototype-specific depot for a specific European region, a one-off signal box for a module, a replacement coupler pocket for a discontinued car, a switch stand for a turnout that no manufacturer covers.
The math is simple. A spool of filament runs a long way, and most structures use a fraction of what people expect once the build plate is laid out well. A resin bottle covers hundreds of figures. The real cost is your weekend and the learning curve, and a failed print teaches you something a purchased kit never will.
One caution from the forums, and it is the most sensible warning in the hobby: do not buy a machine you will treat as a second hobby. A printer that is reliable, cheap to run and easy to maintain beats a faster machine you will constantly tinker with. People on r/3dPrintingInModelRail repeat the same advice: start with the simplest setup that produces the detail you need at your scale.
Step-by-Step: Preparing Your First Model Railroad Parts
How Do I Choose the Right Printer for Model Railroad Projects?
Choose by the smallest feature you plan to print and the size of your largest part. Build volume decides what fits in one go: a 7 inch cube machine handles a small engine house, while a full HO scale station with a canopy often needs splitting into sections or a larger plate.
Fused deposition modeling extrudes melted plastic through a nozzle, so the practical limit is nozzle diameter. A 0.4 mm nozzle is fine for buildings, terrain and coarse rolling stock. A 0.2 or 0.25 mm nozzle, or an 0.8 mm nozzle in fine layer mode, is what you want for N scale details and coupler parts.
Masked stereolithography resin cures liquid plastic with a masked UV light source, and its resolution is set by pixel pitch. Monitors with 35 to 50 micron pixels reproduce railings, ladders and window frames that filament simply cannot hold. That is why fine-scale modelers usually start with resin.
There is one hard rule of scale accuracy, and it is the XY resolution. The rule of thumb hobbyists use: your nozzle or pixel pitch should be no more than 1/20th of the smallest dimension that matters. For N scale, that points firmly at resin.
| Scale | Ratio | Smallest common feature | Recommended technology | Usable XY resolution |
|---|---|---|---|---|
| Z | 1:220 | Under 0.4 mm | Resin only | 25 to 35 microns |
| N | 1:160 | 0.5 to 1 mm | Resin strongly preferred | 35 to 50 microns |
| HO | 1:87 | 1 to 2 mm | Resin for details, filament for structures | 50 to 80 microns |
| S | 1:64 | 1.5 to 3 mm | Filament or resin | 80 to 150 microns |
| O | 1:48 | 2 to 4 mm | Filament | 150 microns or better |
| G | 1:32 and up | Over 4 mm | Filament, large build volume | 200 microns is plenty |
Do not chase speed early. Bed levelling consistency, filament drying and a quiet, well-lit work area matter more to finished quality than a faster carriage.
How Do I Choose the Right 3D Printing Material for Model Railroads?
Match the material to where the part lives. A part that sits under a desk and a part that sits on a garden railroad in summer sun have nothing in common.
- PLA is the default for buildings, terrain, structural shells and jig templates. It prints cleanly at low temperatures and sands beautifully. It softens in a hot car, so keep it away from windowsills and light fixtures.
- PETG is tougher and more heat resistant, which makes it the sensible pick for large outdoor structures, road surfaces and anything that takes handling. It is slightly stringier and needs more drying.
- ABS and ASA need an enclosure and good ventilation, print with a strong layer bond, and ASA adds real UV and weather resistance for outdoor G scale work.
- TPU gives flexible parts: rubbery bushings, uncoupler pins, hoses and trackside cable insulation.
- Resin gives the detail. Grey or black model resin for general work, tough or fibre-reinforced resin for wheels, couplers and load-bearing details, water washable resin if you want a far easier sink cleanup.
The practical advice that comes up most often in model railroading communities is to start with water washable resin. It cleans with a brush and running water instead of a careful isopropyl alcohol bath, which matters when you are working at a kitchen table after a long evening session.
How Do I Model Parts at the Correct Scale?
Scale mistakes are the single most common reason a downloaded file disappoints. Files arrive in whatever scale their designer used, and resizing a model after the fact makes fine features look soft.
Measure a real prototype dimension, then multiply. An HO scale freight car body is about 50 mm long over the body alone. A 1 mm wide wall at 1:220 becomes 0.22 mm, which no filament machine can hold and which resin can barely hold. Work that number backwards and you instantly know whether the design is printable.
Build in clearance. Printed parts are dimensionally consistent but not always dimensionally correct, and a coupler pocket that is exactly prototype size will not accept a coupler. Leave a tenth of a millimeter of slop on mating faces, and check with calipers after the first print rather than guessing twice.
Wall thickness matters as much as scale. Anything thinner than about 0.4 mm snaps during support removal. A good rule for scenery shells is two to three perimeters at 0.4 mm nozzle width, which gives roughly 1 mm of solid wall that files down cleanly.
How Do I Set Up the File for Printing?
Get the file right before you touch the printer. The sequence is: acquire, verify, repair, orient, slice, preview.
- Acquire. Printables, Thingiverse and Cults3D hold the largest free libraries. Search by scale, not just by object, and read the description for the actual scale ratio rather than trusting the category tag.
- Verify. Open the file in any mesh viewer. Look for the reported scale, the number of parts on the build plate, and whether the model is a single solid or a set of pieces on a build platform tree.
- Repair. Run the slicer’s repair tool. Non-manifold or self-intersecting geometry causes silent failures mid-print, and automatic repair catches most of it in seconds.
- Orient. Build plate contact matters more than the “up” direction. Put the largest flat surface down, aim the FDM nozzle along the top of thin vertical walls so layer lines run lengthwise rather than breaking a rail post into stacked discs, and put large flat areas where the nozzle can travel without much travel movement.
- Slice. For FDM, 0.15 to 0.2 mm layers with four or five perimeters is a sane starting point for scenery. For resin, 0.05 mm layers with normal orientation. Raise the wall count on load-bearing parts.
- Preview. Walk through the layer preview in the slicer. Overhangs, string paths and thin islands show up here and nowhere else.
That last preview step is where most beginners save themselves. Ten seconds of scrolling shows you exactly where the supports go and where the rail will come loose.
How Do I Print Track, Buildings, and Train Parts?
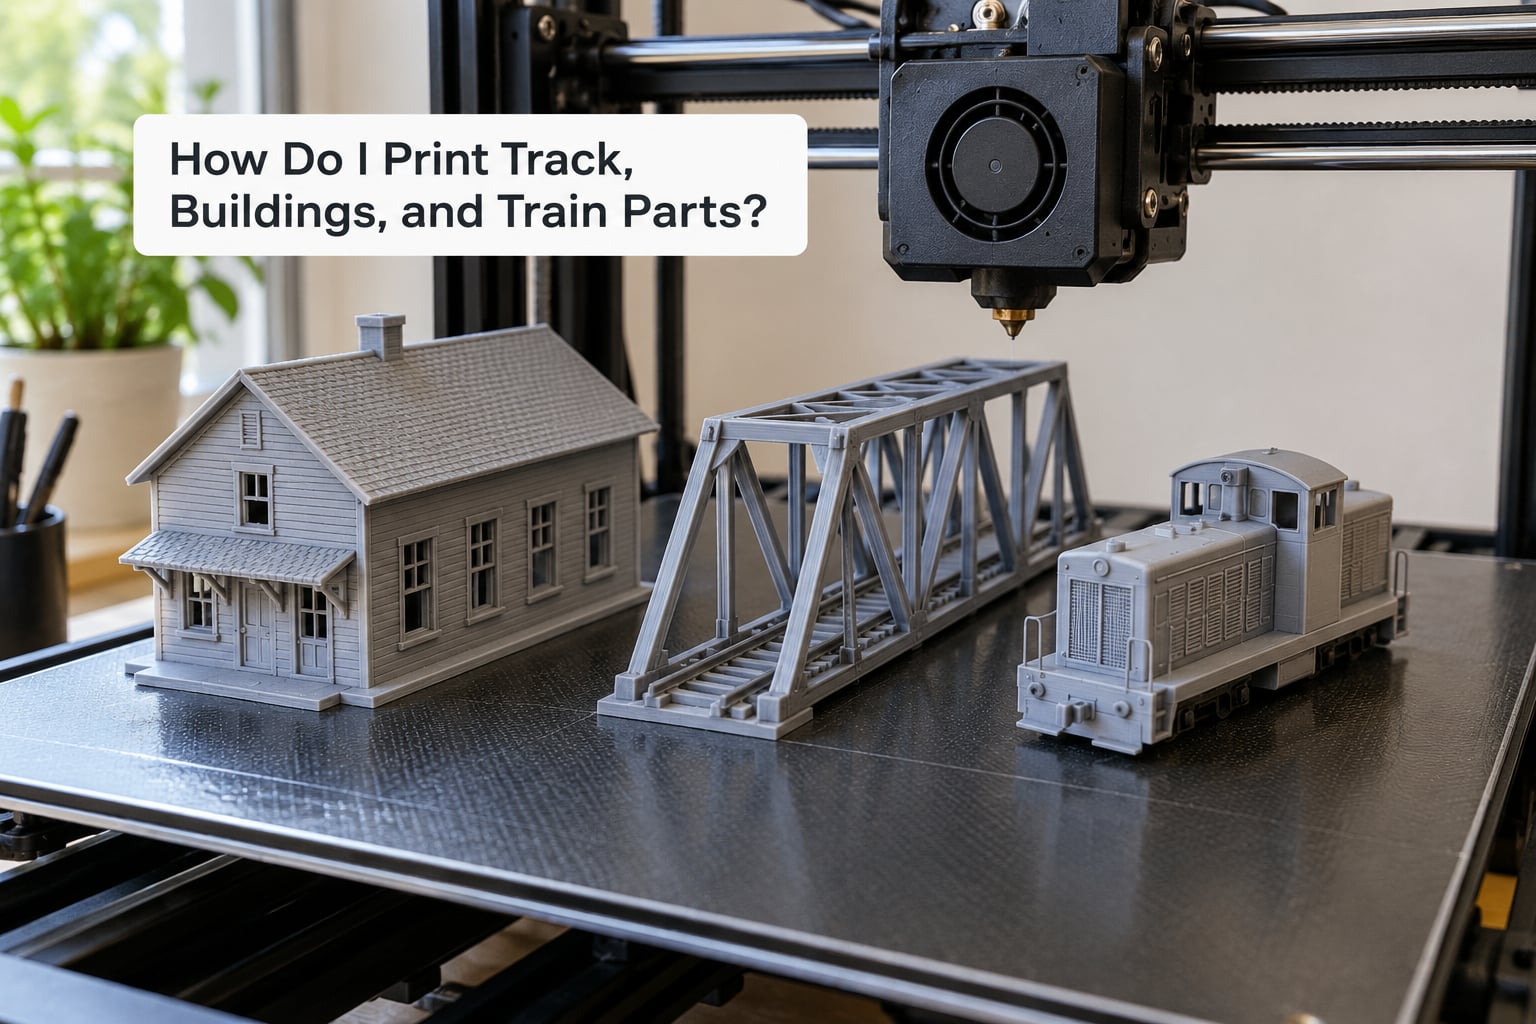
Track is printable, but read the gauge before you start. Printed track works best for module edges, sidings, yards, industrial turnouts and temporary alignment guides. Full mainline running track is better bought, because metal rail has a stiffness and a wheel-to-rail relationship that printed rail cannot match long term.
Print sleepers and rail sections flat with the rail profile running along the X axis so the extrusion is continuous. Print rails for scenery in resin, standing them on their side with supports. Print guard rail and check rail detail in one piece with the turnout rather than as loose parts that can disappear down a carpet seam.
Buildings and terrain suit filament printing almost perfectly. Large, boxy, low detail geometry is exactly what FDM is good at. Orient the shell so its footprint is on the plate, add tab-and-slot joints at the corners, and print the roof as a separate piece. That single change saves hours of supports and makes a two-story structure possible on a small machine.
Train bodies and wheelsets are where resin earns its keep. A locomotive shell, a freight car body, or a set of wheels with spokes and counterweights needs a 0.8 mm nozzle at best on filament, and resin handles it comfortably.
Wheels need attention. Printed wheels run when the tyre is a clean circle, the diameter matches your rail height, and the flange is a separate feature rather than a vague ridge. Print wheels lying flat on the plate so the circular error stays in the plane of the track, then test each wheelset by rolling it along a length of rail on your bench. If it wobbles, sand the high spot; if it binds, relieve the flange.
Split long structures into printable sections with pegs or slots. A 400 mm station roof printed in four interlocking halves assembles into something that would never fit a small bed in one piece, and the seams are easy to hide on a fascia line.
How Do I Remove and Finish Printed Parts?
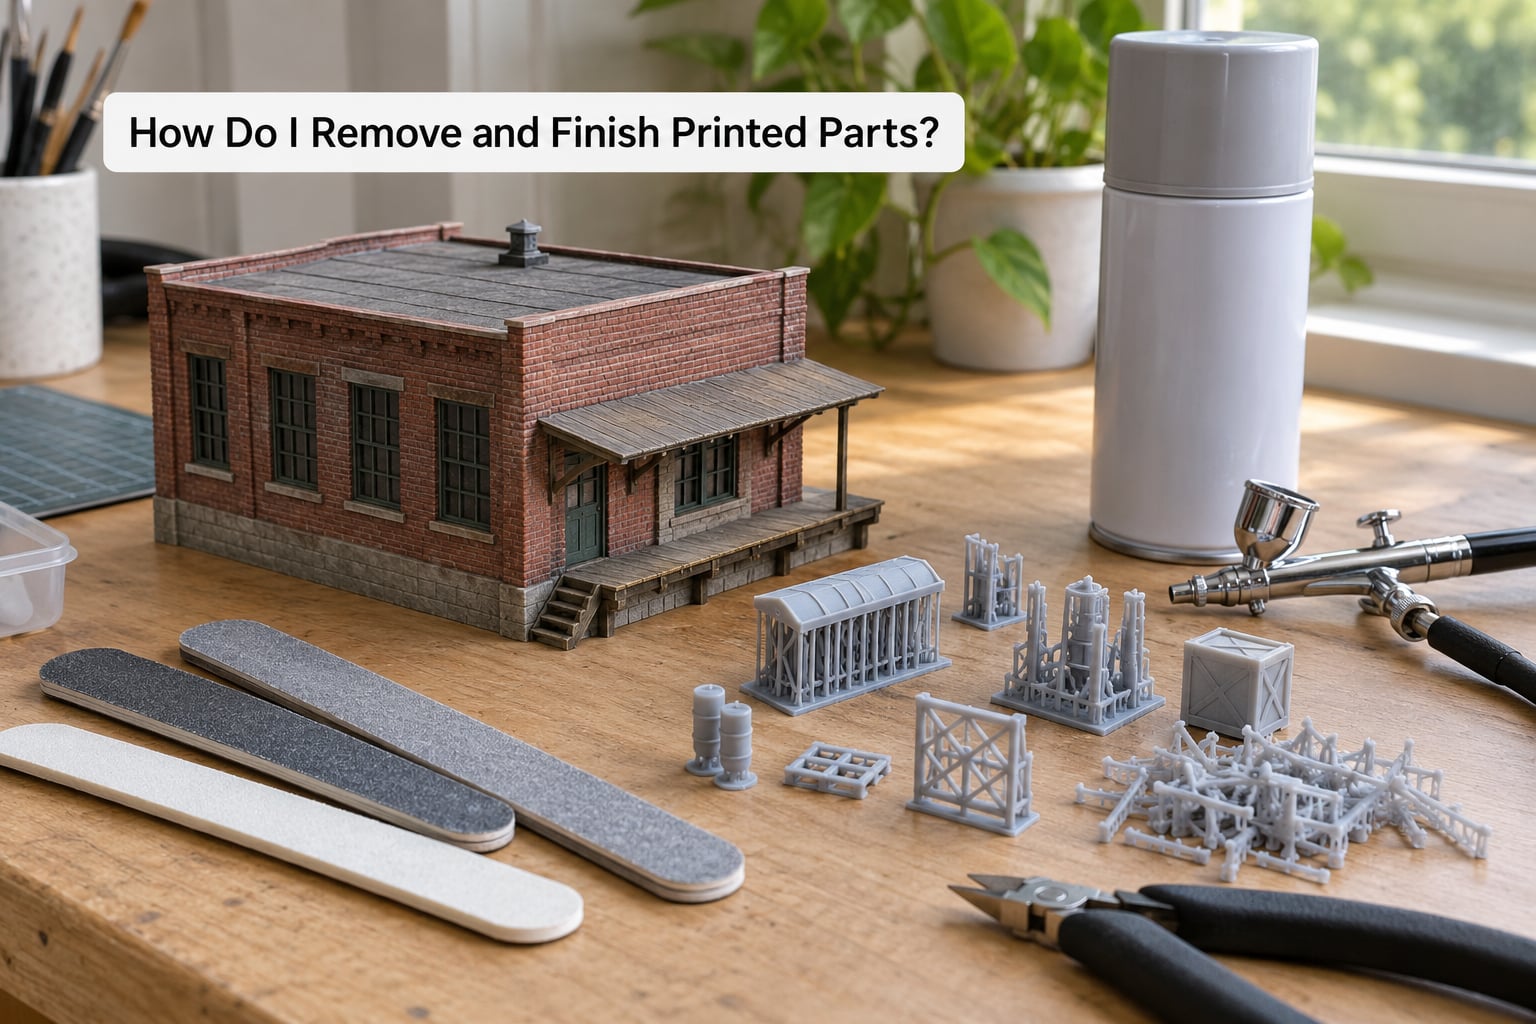
Resin parts come off the plate cured and brittle, still attached to their supports. Wash in 99 percent isopropyl alcohol, cure under a UV lamp until the part is not tacky anywhere, then cut the supports off with sharp flush cutters. Cut at the base of each support where it meets the surface, and finish with a sanding stick rather than a knife.
Support removal is where fine detail dies. On railings, ladders and foliage, clip the tree at the trunk and leave a small stub, then break the stub off carefully rather than tearing the whole branch away. If a branch breaks off, it is usually glueable with CA and almost invisible after painting.
Filament parts need less ceremony. Pop the part off the plate, remove the brim and any visible support scars with a sanding stick, working from coarse to fine.
Both materials need the same finishing sequence afterwards: sand, prime, paint, weather. Use a filler primer on resin prints to fill the layer texture, and take resin down to 800 grit before you spray. Thin it in two or three light coats rather than one heavy one.
Weathering is what sells the finished look. Apply a dark wash into recesses, dry brush a lighter tone over the top surfaces, and finish with a flat or matte clear coat. Printed parts in a wrong color read as plastic no matter how well painted they are, so get the base coat right first.
Assemble with CA glue and keep the mating surfaces clean. Scrape, sand and re-test fit before the glue goes on, because a glued mismatch is permanent.
How Do I Avoid Printing Failures?
Almost every failure in model railroading printing is predictable, and each has a specific fix. Work through this list before blaming the machine.
- Warping and lifted corners. Keep the enclosure closed for ABS and ASA, clean the plate with isopropyl alcohol before every print, and add a brim on large flat footprints. Fresh filament that has absorbed moisture also causes warping, so dry it.
- Layers that split apart. Raise the nozzle temperature in 5 degree steps and slow the print speed. FDM bonds by melting into the layer below, and underextruded or too-fast moves leave weak seams.
- Stringing and blobs. Raise retraction, wipe the nozzle, and dry the filament. Strings appear on every support and every small part, which is a big part of post-processing time.
- Overhangs that droop or break. Rotate the part rather than adding supports everywhere. A 45 degree chamfer under an eave beats any support tree. Where you do need supports, use a contact-type setting for a clean first layer and moderate density.
- Parts printing 2 to 3 percent too small. This is elephant-foot and flow on FDM, or a shrink compensation setting on resin. Calibrate a test cube with calipers and enter the measured correction in the slicer.
- Brittle small parts. Printed couplers, handrails and pegs snap during handling. Print them in tough or reinforced resin, or thicken the design, and glue failures back with CA rather than trying to hide them.
- Tracks and trees wrecked by support removal. Print resin parts on a build plate with a small pad under each tree, so the connection is one clean cut instead of a web of contact points.
The check that catches the most wasted filament is the layer preview. Walk it before you commit hours to a print.
Common 3D Printing Mistakes Model Railroaders Make
Beginners repeat the same handful of errors. Each one is cheap to fix once you know it exists.
Scaling a downloaded file after the fact
Resizing a finished model makes its fine detail look soft and its wall thickness wrong. Check the stated scale in the description before printing, and search the library again for the same object in your scale if it is wrong.
Printing wheels in the wrong orientation
A wheel printed on its edge becomes an oval. Print wheels flat on the build plate so any error stays out of the rolling plane, then test each one on a length of rail before you install it.
Using support trees everywhere on a building
Supports under every roof edge and window take hours to remove and leave scars. Rotate the building so it prints on its footprint, print the roof separately, and add supports only where the geometry genuinely cannot be self-supporting.
Sanding resin too hard before priming
Aggressive sanding on an unpainted resin part rubs the surface glossy and uneven. Take it to 800 grit, fill with primer, then do the final smoothing on the primed surface instead.
Skipping the clearance test
The first coupler, wheel or tab that fits should be a cheap test piece, not the finished car body. Print one of everything at 1:1 scale first and check the fit with calipers.
Putting brittle resin parts outdoors
Uncoated resin yellows and goes brittle under UV exposure. For outdoor and garden railroad work, print in ASA or PETG, or print in tough resin and coat it thoroughly with UV-resistant paint and clear coat.
Two habits catch most of the rest. Print a small test of anything unfamiliar before committing to a full plate, and keep a log of the slicer settings that worked. Six months later that log is worth more than the machine.
Frequently Asked Questions
What is the best 3D printer for making model railways?
For structures, terrain and HO or larger scale rolling stock, a filament printer with a 0.4 mm nozzle is the most forgiving start. For N and Z scale detail, coupler parts and anything with railings or window frames, a masked stereolithography resin printer with a 35 to 50 micron pixel display is the right tool. Many hobbyists run one of each, using filament for scenery and resin for details.
Can you 3D print model train tracks?
Yes, with limits. Printed track works well for module edges, sidings, yards, industrial turnouts and temporary alignment guides, and it saves real money on complex trackwork. For mainline running, bought metal rail holds its gauge and stiffness far better over time. Printed wheels on printed rail need frequent cleaning, and the flange-to-rail fit drifts within a few weeks of running.
Is it illegal to 3D print anything?
Printing a part for your own personal use is generally fine. The legal grey area is commercial reproduction, especially of designs still under copyright or trademark such as brand names and specific commercial products. Do not sell printed copies, do not use protected logos, and do not pass off a print as the original. When in doubt, check the file license before printing something you plan to sell or give away.
How much does 3D printing a model cost?
Material is a small share of the cost, not the main one. A spool of PLA runs through dozens of buildings, and a bottle of resin covers hundreds of figures. Electricity is minor. The real expense is the printer itself, plus your time and post-processing effort. Printed parts are far cheaper than kit parts, but they are not free, and a failed plate is the most expensive thing in the hobby.
Do 3D printed model trains run on real model track?
They do, with preparation. Print wheels flat so they stay round, check the diameter against your rail height, and test each wheelset on a length of rail before installing. Filler added to coupler pockets during painting can foul the coupler, so mask the pocket. Light oil on the rail and occasional cleaning keep printed wheelsets running, but they wear faster than metal wheels.
How do you paint 3D printed model trains and buildings?
Sand the part, fill with primer, sand again, then apply a thin base coat. Thin paint coats dry properly and avoid clogging fine detail. Once the base color is right, apply washes into recesses and dry brush the raised surfaces, then finish with a flat or matte clear coat. Mask couplers and wheelsets before painting so paint does not foul the running surfaces.
Start with one small filament print this week: a small building, a switch stand or a jig for a task you already do. Get the whole path right, from file to painted part, on something cheap. Once that workflow is boring, move to resin for the fine detail that 3D printing for model railroads is genuinely good at.