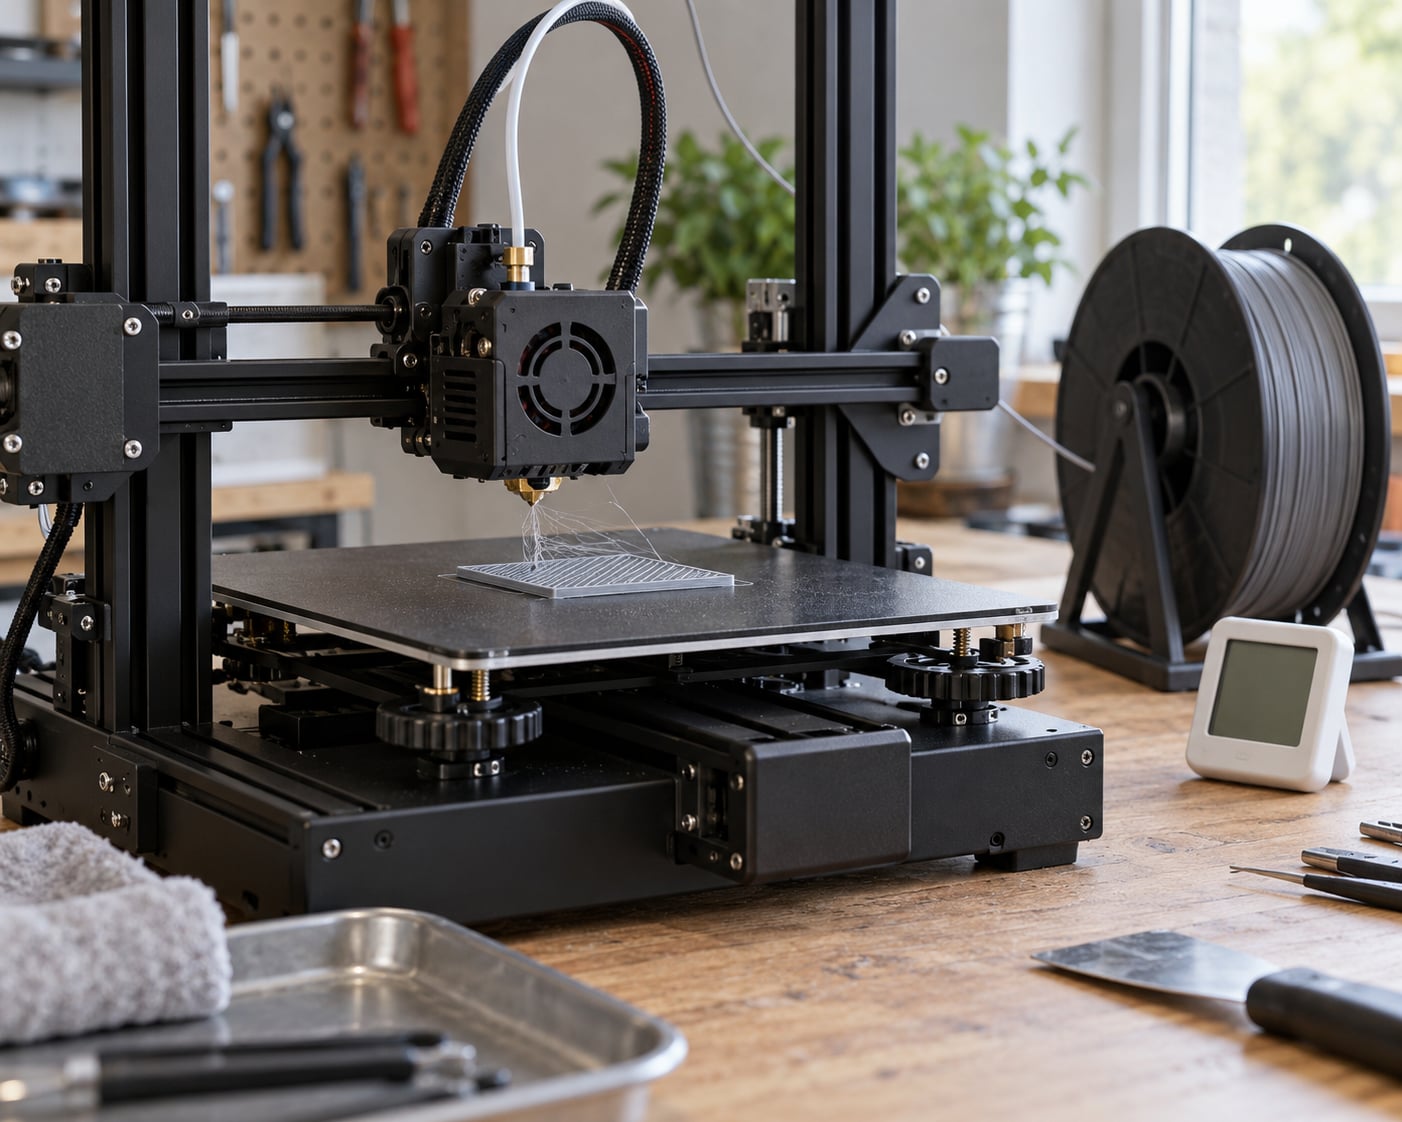
Stringing is the thin, hair-like plastic your printer leaves between parts of a model. It happens when the nozzle leaks a little molten filament during travel moves, and almost every case traces back to one of four causes: nozzle temperature too high, retraction set wrong, wet filament, or a dirty or damaged hotend. Work through those in that order and you will usually clear it in an afternoon.
The order matters more than the effort. Changing six slicer settings at once tells you nothing about which one helped, and chasing stringing with temperature alone is how people end up with a print that looks cleaner and breaks in your hand. I would rather you change one thing, print a small test, and know what happened.
Table of Contents
- What You Need
- Step-by-Step: How to Fix Stringing on a 3D Printer
- 1. Identify where the stringing appears
- 2. Clean the nozzle and check the filament path
- 3. Tune temperature and retraction to fix stringing on a 3D printer
- 4. Check travel speed and acceleration
- 5. Inspect filament drying and feeding
- 6. Check nozzle condition and mechanical settings
- 7. Improve cooling and print environment
- 8. Run a controlled test print and record the result
- Common Mistakes That Make Stringing Worse
- Frequently Asked Questions
- What temperature should I use to fix stringing on a 3D printer?
- Should I increase retraction to stop stringing?
- Why does my printer string only when printing PLA?
- Does stringing mean the nozzle is clogged?
- Conclusion
What You Need
You do not need a new printer or any specialty equipment. Everything below is either already on your desk or costs about as much as a coffee.
- Your printer, with a known-good print at the same temperature so you have a baseline.
- Your slicer — Cura, PrusaSlicer, Orca Slicer or Bambu Studio all have the same settings under different labels.
- The same spool you were using when stringing started, plus one sealed spare if you have one.
- A filament dryer or dry box with fresh desiccant. A food dehydrator also works if you add a spacer insert so the spool is not pressed against the fan.
- Cleaning supplies: a brass wire brush, cotton swabs, isopropyl alcohol, and needle-nose pliers.
- A test model — a retraction tower or a small calibration shape with several separate towers.
Step-by-Step: How to Fix Stringing on a 3D Printer
1. Identify where the stringing appears
Where the strings show up tells you more than anything else. Look at where the strands connect before you touch a single setting.
| Where you see strings | Most likely cause | First thing to try |
|---|---|---|
| Between two separate islands or across a gap in the model | Normal travel ooze | Retraction, then temperature |
| From the top of a tall support tower down to the bed | The nozzle dwells while the support prints below | Enable combing and avoid crossing perimeters |
| Only after a long pause, colour change or single-layer section | Ooze builds while the nozzle sits hot and still | Lower temperature 5 degrees C |
| At the very end of the print, as a drip | Nozzle too hot at park position | Enable wipe before travel or a park position off the bed |
| Only at wide 0.6mm perimeters | Higher flow and pressure at the nozzle tip | Tune linear advance, then re-check temperature |
| Blobs and thick sticky deposits, not strands | Partial clog or contamination | Clean the nozzle before changing settings |
| Oily or greasy film on the print | Nozzle material degrading on the print, usually at high temperature | Drop temperature, consider a steel nozzle |
| Every model, always, regardless of settings | Moisture in the filament | Dry the spool |
Thin, hair-fine strands mean low-volume ooze. Blobs that smear or a rough surface mean something different, usually debris or a partially blocked tip, and temperature changes will not fix those.
2. Clean the nozzle and check the filament path
A nozzle with burnt plastic fused to the tip or a burr on the tip will ooze inconsistently no matter how good your slicer profile is. This takes about ten minutes and it is the step most people skip.
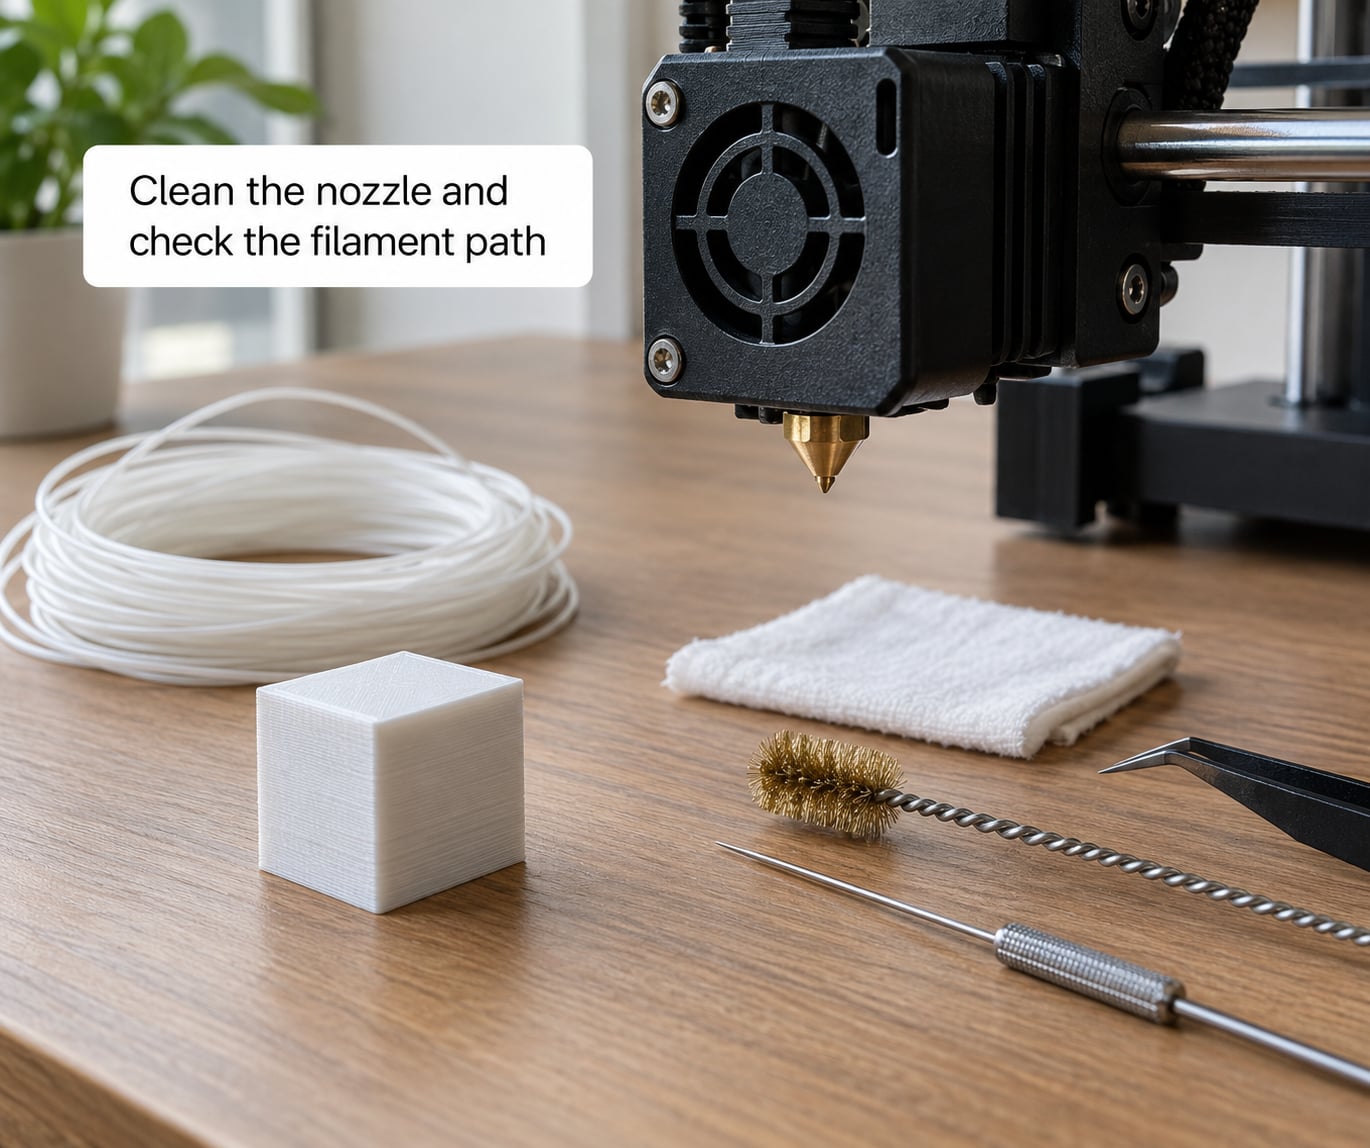
Heat the hotend to printing temperature and loosen the nozzle while it is hot, so the threads are soft rather than welded. Pull it off with pliers, then hold it in a flame or heat gun for a few seconds until the old plastic softens, and wipe it on a wooden block until you see the full orifice clearly.
Push a needle-nose brush through the hole from both directions and heat it again to clear the tip. While the hotend is still warm, clean around the heater block with a cotton swab and isopropyl alcohol, and wipe the melt zone inside the heat break where gunk collects.
On a Bowden machine, check the PTFE tube. It should sit flush against the cold side of the heatsink with no gap, and a tube that has gone soft or fuzzy from a hot nozzle needs replacing. On a direct drive machine, look at the extruder gear for shiny, flattened teeth — those teeth grind filament instead of gripping it, and worn filament will ooze and spit.
3. Tune temperature and retraction to fix stringing on a 3D printer
Retraction pulls filament back into the nozzle so pressure drops and the melt stops seeping out. It does not cool the nozzle, which is why retraction alone often cannot fix stringing on a very hot setup.
Start with temperature. Drop your nozzle temperature 5 degrees C at a time and reprint the same test until the strings go away or the print starts showing under-extrusion. Going lower than the filament maker’s range usually trades stringing for poor layer adhesion and a brittle part.
| Extruder type | Retraction distance | Retraction speed | Typical printers |
|---|---|---|---|
| Bowden | 4 to 7 mm | 45 to 60 mm/s | Ender 3, CR-10, most carts |
| Direct drive | 0.5 to 2 mm | about 45 mm/s | Prusa MK4, Bambu X1 and P1, Voron |
If you are on a Bowden and stringing is already gone at 8 mm, come back down. Past about 6 mm you are mostly grinding filament, and that shows up later as gaps and weak layers rather than cleaner prints.
Move the labels across slicers so you can find them: in Cura it is Settings, Print Settings, Retraction, with Enable Retraction checked; in PrusaSlicer and Orca Slicer it is Filament Settings, Retraction distance and Retraction speed; in Bambu Studio it is Filament, retraction distance in the filament profile, and you usually also want Z-hop when retracted enabled at 0.2 mm.
Minimum travel distance is the fourth knob people forget. At 0.4 to 0.8 mm, tiny moves skip retraction entirely, which saves time but leaves small strings behind.
| Material | Nozzle temperature | Retraction (Bowden / direct) | Drying temperature | Drying time |
|---|---|---|---|---|
| PLA | 200 to 220 C | 5 mm / 1 mm | 45 to 50 C | 4 to 6 hours |
| PETG | 230 to 250 C | 5 mm / 1 to 2 mm | 60 to 65 C | 6 to 8 hours |
| TPU 95A | 220 to 240 C | 5 mm / 1 mm | 55 to 60 C | 6 hours |
| ABS / ASA | 240 to 260 C | 6 mm / 2 mm | 70 to 80 C | 4 to 8 hours |
| Nylon | 250 to 270 C | 6 mm / 2 mm | 70 to 80 C | 8 to 12 hours |
4. Check travel speed and acceleration
The faster the head travels, the less time ooze has to build into a long strand. Most printers can handle 150 to 250 mm/s travel without trouble; slower than about 100 mm/s usually makes stringing worse.
Raise travel speed in steps of 20 mm/s rather than jumping to the maximum, and watch for skipped steps on the axes. If the printer starts skipping or the noise pitch changes, you have gone too far for the stepper and belt tension, so back off 20 mm/s.
Keep travel acceleration high rather than low. Smooth, gradual direction changes are what leave the most ooze behind, because the nozzle moves slowly at the moment of the turn.
5. Inspect filament drying and feeding
Wet filament is the root cause behind most stringing that ignores every slicer setting. Regulars on the Prusa forum put drying first for a reason — in humid air a spool can start causing problems within hours, not weeks.
Look for the warning signs without a moisture meter: popping and crackling in the sound of extrusion, bubbles and pits on the surface, a rough or fuzzy texture, and stringy filament that looks wet on the spool. Brittle filament that snaps easily in the extruder means it has been over-dried, which is the opposite problem and equally worth knowing.
Materials differ here. PETG, TPU, nylon, PVA and most plant-based blends are hygroscopic, meaning they pull moisture out of the air and need regular drying. ABS and ASA absorb more slowly but still need it after a few months open. Solid PLA is the least sensitive, which is why PLA stringing almost always points at temperature or a dirty nozzle instead.
Check the spool side to side. A spool that spins freely has loose filament and will feed unevenly, so set the spool holder snug enough to stop the rotation but loose enough to unwind. On a direct drive extruder, make sure the drive gear bites the filament through both sides of the teeth rather than the flat of the filament.
6. Check nozzle condition and mechanical settings
A brass nozzle wears out. When it wears, the orifice becomes uneven and the tip can pick up burrs that catch and drag, and both show up as inconsistent ooze. Brass is a consumable; a steel or tungsten carbide nozzle simply lasts longer.
Tighten the nozzle while the hotend is at temperature. A nozzle that loosens as the metal heats expands lets melt leak down the threads, and that leak looks exactly like stringing from the tip but no slicer setting will touch it. Re-tighten, cool down fully, and check it again when cold.
If you see the same string on every single print, check the frame and belts next. Worn belts, loose gantry wheels and an unsteady table let the head vibrate, and vibration plus an ooze-prone temperature equals strands that reappear on every model. Confirm your Z offset too — a nozzle sitting too low drags along the top surface and smears what it touches.
7. Improve cooling and print environment
Part cooling is the most direct way to stop ooze from travelling. Raise the print fan to 50 to 100 percent for PLA and PETG. One Prusa forum user found the opposite helped their setup, dropping from the 100 percent default to 20 percent cut stringing noticeably and made the machine far quieter, so treat fan speed as something you test rather than a rule.
TPU is the exception. Keep the fan low or off for flexible filament, since fast cooling makes the surface uneven and can cause feeding problems.
An enclosure changes things for the high-temperature materials. ABS, ASA and nylon need a warm chamber; a cold chamber lets the outer skin shrink and crack, and ooze that should have hardened stays soft. Keep an enclosure door shut and avoid a draught from an open window or a fan pointed at the machine.
Handling counts too. If the nozzle is still hot and you bump the bed or the frame, the sudden movement can pull a fresh strand. Let the nozzle cool a minute before you reach in.
8. Run a controlled test print and record the result
This is where most troubleshooting goes wrong. Slice a retraction tower or a small model with a few separate towers, then change exactly one variable per print and write down what you changed.
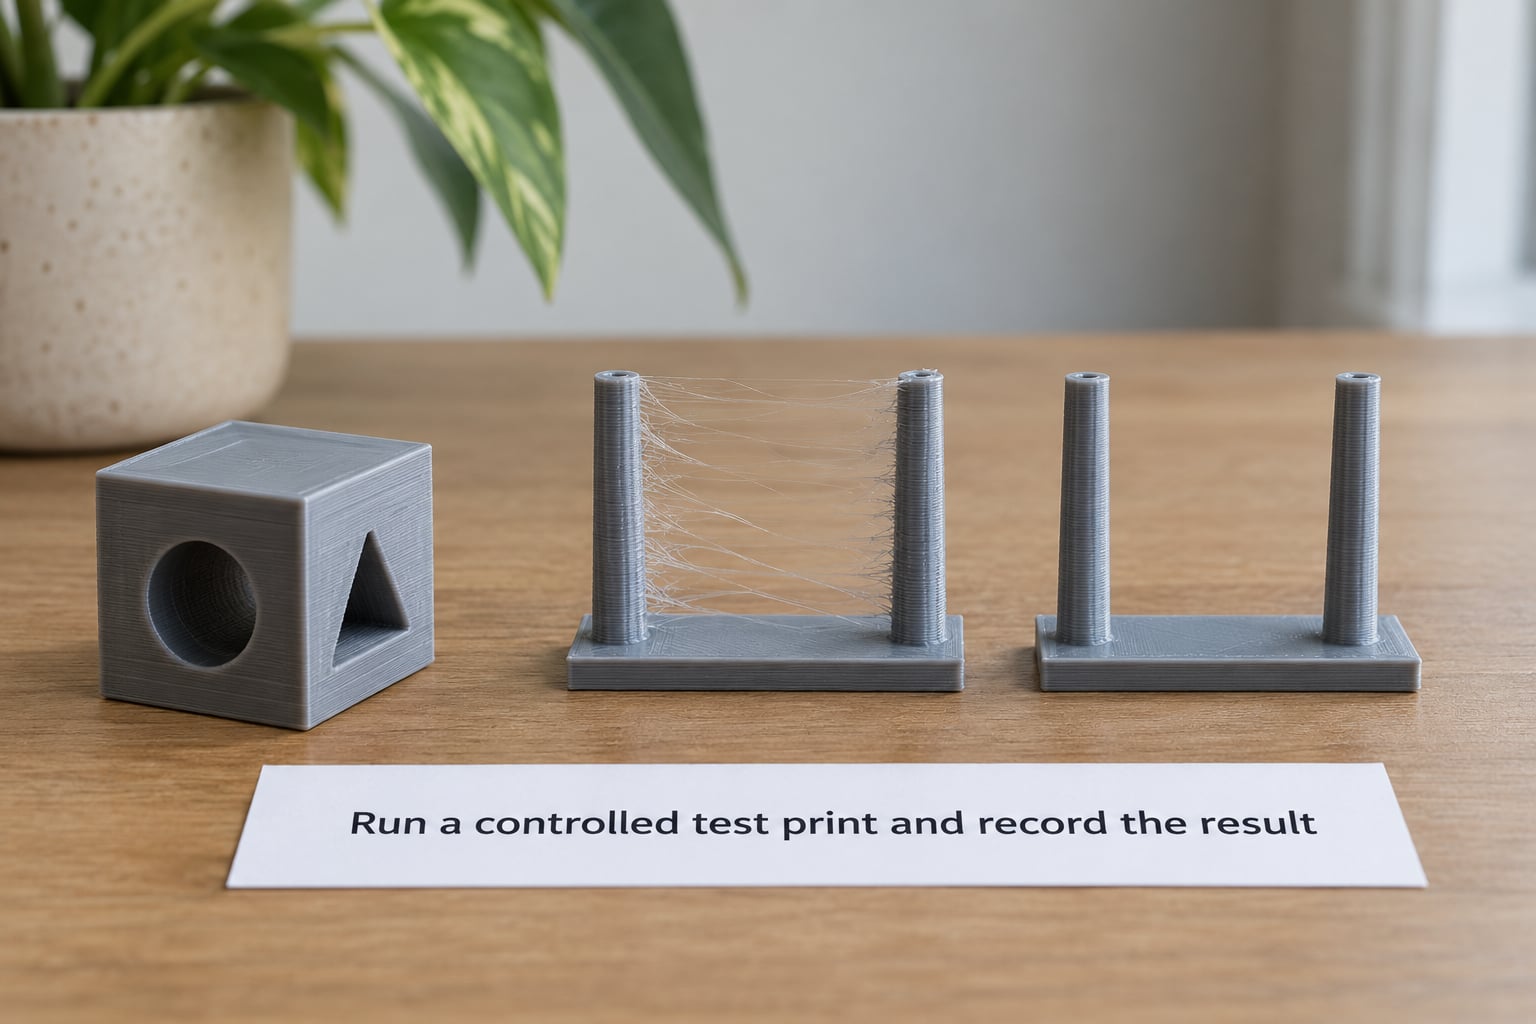
A temperature tower prints the same small shape up a series of steps, each 5 degrees C higher than the last, with a label under each one. Read it by looking at the stringing on each label: the lowest temperature where the strings disappear is your number. If that step also shows gaps in the walls or a weak layer bond, the step below is your real ceiling.
A retraction tower does the same thing for retraction distance, each step 0.5 mm higher. Run it after you have fixed temperature, not before. Once you find a clean step, copy that exact value into your material profile so it sticks.
Keep a short note in a phone or notebook: temperature, retraction distance, retraction speed, travel speed, fan percentage, filament and whether the spool was dried that day. Next time a new filament stringes, you will not be guessing from memory.
Common Mistakes That Make Stringing Worse
Changing five settings at once. You learn nothing and you cannot tell which change helped. One variable, one test print, one note.
Adding retraction without a ceiling. On a Bowden, climbing past 6 to 7 mm often causes under-extrusion and weak layers, and it does not always stop the strings. A Prusa forum owner reported the counter-intuitive result that more retraction and a lower temperature both made stringing worse on their MINI, with a theory that retraction stretches the filament and leaves gaps that let air and moisture expand.
Dropping temperature far too low. The strings get shorter, then the layers stop bonding and the part snaps along its seams. Move in 5 degree C steps.
Running the fan at full blast on everything. Over-cooling TPU and thin overhangs causes its own set of problems, and a fan set too low for PLA lets ooze travel.
Calling every blob stringing. Stringing is thin strands from travel moves. Blobs at corners, smears and rough surfaces point to a dirty nozzle, a bad Z offset or excess flow.
Skipping the dry test. If you never tried a dry spool against a wet one, you cannot rule moisture in or out. This is one cheap test that eliminates a whole category of causes.
Leaving the nozzle loose because it looked fine cold. Metal expands when hot. Always re-tighten a nozzle at temperature.
Frequently Asked Questions
What temperature should I use to fix stringing on a 3D printer?
Lower the nozzle temperature in small increments, typically 5 degrees C at a time, because excess heat makes filament ooze during travel moves. Start near the lower end of the material maker’s range: about 200 to 210 C for PLA, 230 to 240 C for PETG, 220 to 230 C for TPU. Print a temperature tower and pick the lowest step where the strings stop. Going below that usually brings under-extrusion and poor layer adhesion instead of a cleaner print.
Should I increase retraction to stop stringing?
Not automatically. Retraction relieves pressure in the nozzle, but it does not cool the tip, so on a hot or wet setup extra retraction adds nothing. Start at the normal range for your extruder, 4 to 7 mm on a Bowden and 0.5 to 2 mm on a direct drive, and confirm the filament is dry first. Increase in 0.5 mm steps only while prints stay clean, and back off the moment you see gaps or grinding.
Why does my printer string only when printing PLA?
PLA is the least stringy common filament, so heavy stringing on it usually means something else is wrong. Check the nozzle temperature first, since 200 C is often plenty and many profiles run hotter than needed. Then clean the nozzle tip, since burrs and burnt plastic ooze at any temperature. Dry the spool if it has been open for more than a few weeks. A loose nozzle that leaks at temperature also produces PLA strings.
Does stringing mean the nozzle is clogged?
Not always. A partial clog causes uneven extrusion, blobs and rough surfaces more often than clean strands. True stringing is usually ooze from temperature, moisture, retraction or travel settings. That said, debris on the nozzle tip can ooze too, so cleaning the tip is a cheap early step either way. If extrusion is visibly inconsistent or you hear grinding from the extruder, clean the nozzle and check the drive gear before touching slicer settings.
Conclusion
Start with filament condition, then nozzle cleanliness, then temperature, then retraction. That order catches the large majority of stringing, and each step tells you something the previous one could not.
Change one setting at a time, print a small test, and write the result down. Ten minutes of note-taking saves an evening of guessing, and the settings you confirm today carry straight over to the next filament you buy.