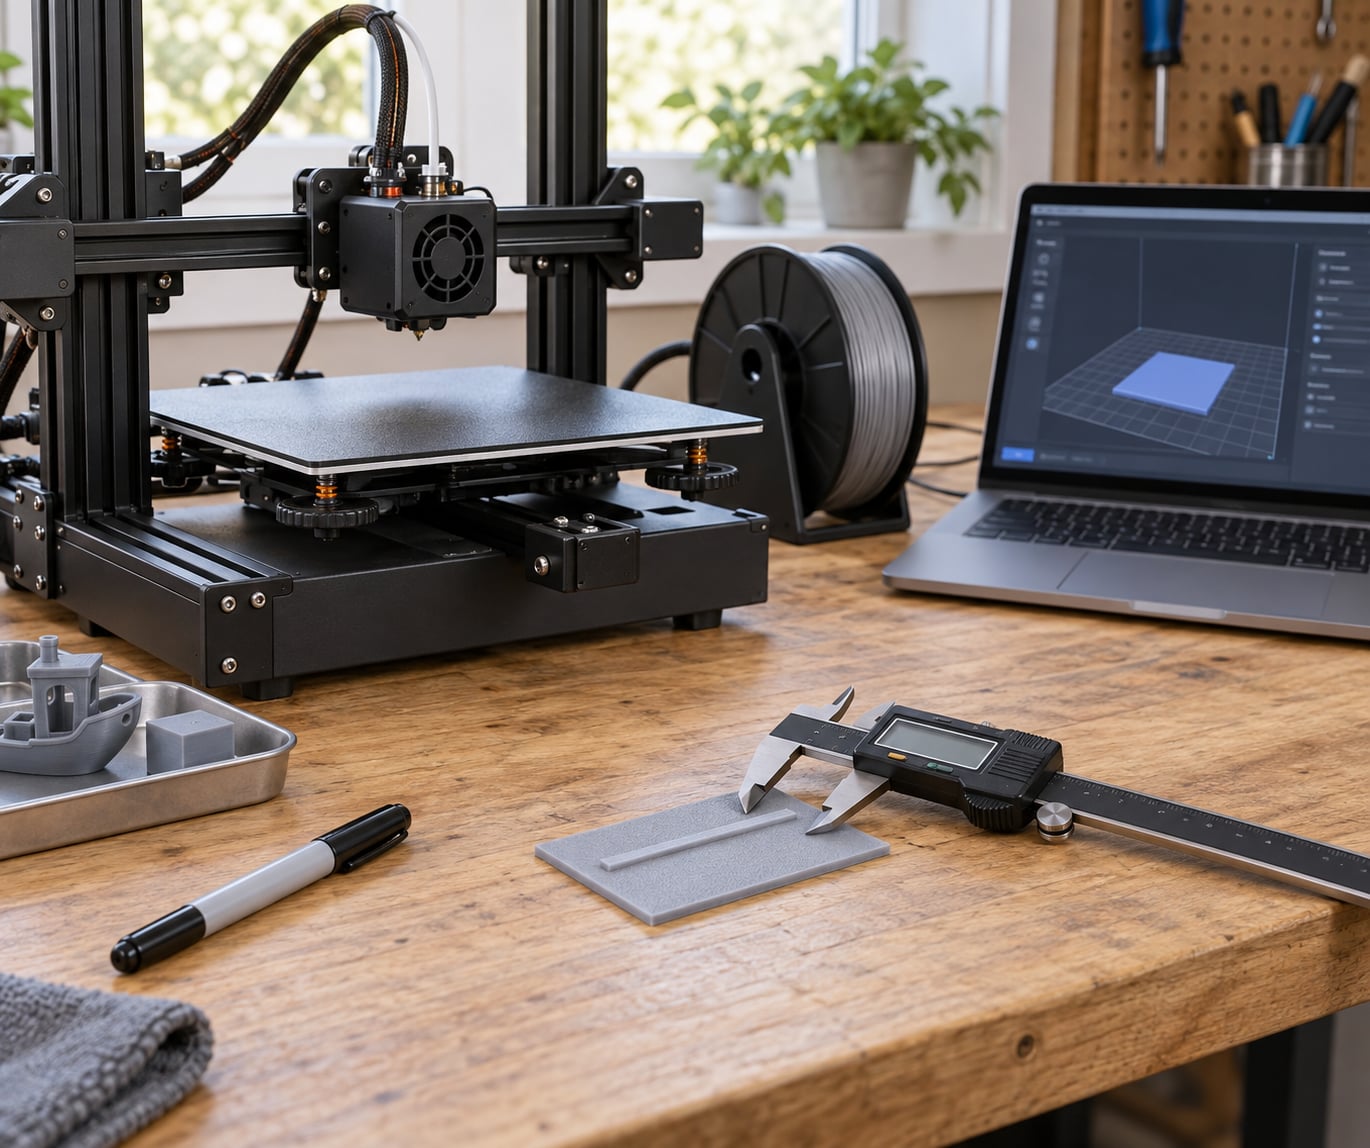
E-steps are the firmware value that tells your extruder how many motor steps equal 1 mm of filament, and working out how to calibrate E steps on a 3D printer takes about ten minutes with nothing more than a marker, a ruler, and a way to send G-code. You mark the filament, ask the printer to push a known length, measure what actually came out, and apply a ratio to the number the printer is using now. Get that number right and a pile of slicer flow tweaks stop being necessary.
Most people who land here have already tried the obvious fixes. Gaps in the top surface, weak layer bonding, stringing between distant features, a nozzle that unplugs itself mid-print. Those all point at the same thing, and no amount of temperature tuning will fix a wrong extrusion value.
Table of Contents
- What You Need
- Step-by-Step: How to Calibrate E Steps on a 3D Printer
- 1. Check the printer and slicer settings
- 2. Print a reliable test pattern
- 3. Measure the printed line accurately
- 4. Calculate the new E-steps value
- 5. Enter the value and test again
- Where E-Steps Fit in the Calibration Order
- Common Mistakes and Calibration Tips
- When to Recalibrate E Steps
- Frequently Asked Questions
- What are e-steps in 3D printing?
- Do I need to calibrate E-steps if I have a BLTouch?
- Should I calibrate E-steps or just adjust flow rate in the slicer?
- Can I calibrate E-steps without heating the hotend?
- How accurate do E-steps need to be?
- Why do my E-steps change every time I calibrate?
- Conclusion
What You Need
Nothing here is specialised equipment. Gather this before you touch anything:
- A G-code terminal — Pronterface, OctoPrint, a serial monitor, or your printer’s own LCD menu if it exposes the configuration screens.
- A metric ruler or digital calipers — calipers are better, because you are measuring a 1.75 mm mark and eyeballing it with a cheap ruler is where people go wrong.
- A permanent marker — for the distance mark on the filament.
- A calculator or spreadsheet — the arithmetic is trivial, but doing it twice in a row without writing it down is how the old value sneaks back in.
- A clear nozzle and a clean drive — you want the extruder working, not fighting a clog.
- A test model — either a thin single-wall line for printing, or nothing at all if you use the free-air G-code method below.
Preheat the hotend to your normal printing temperature for the filament you are using. A cold hotend adds restriction and changes what you are measuring.
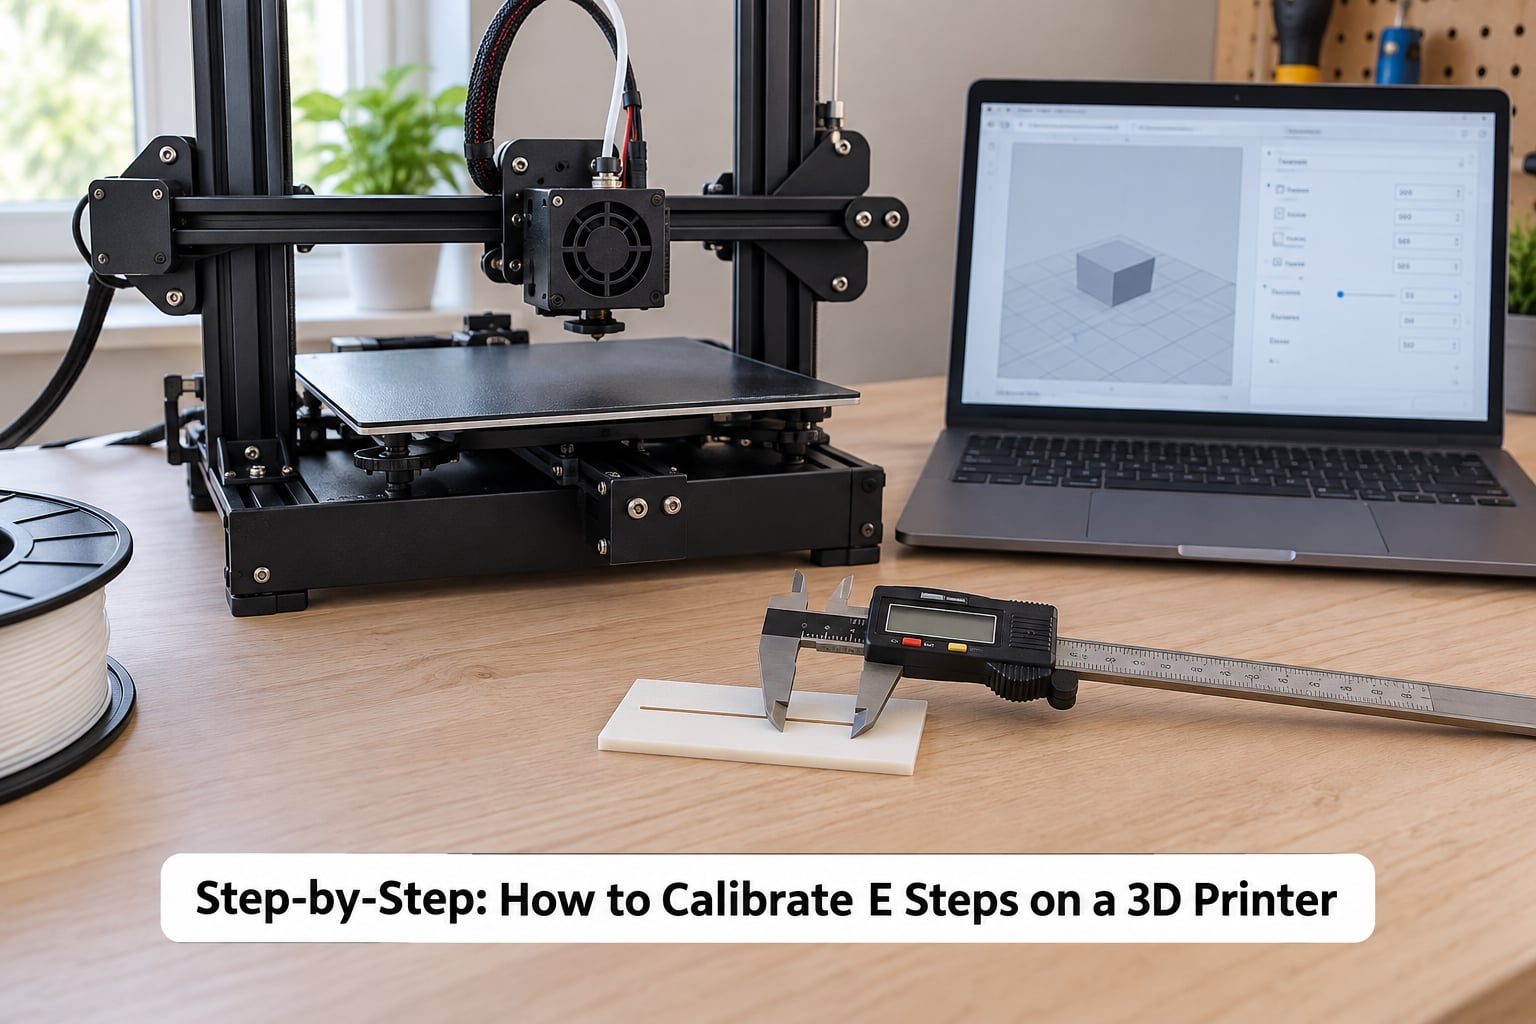
Step-by-Step: How to Calibrate E Steps on a 3D Printer
1. Check the printer and slicer settings
You cannot improve a number you do not know, so read the current value first. Send M503 from your terminal and the printer replies with a report of its settings, including the E-steps line for each extruder. On Marlin firmware that report includes a line reading M92 E93.00 or similar, and 93 steps per mm is a very common factory value.
If your printer is running Klipper, the same job is done in printer.cfg, where the extruder section carries a rotation_distance line instead of a steps-per-mm number. Log in through a browser and run SET_REFERENCE_POSITION, or simply open the config file in Fluidd, Mainsail, or Cura. Klipper uses millimetres of filament per motor rotation rather than the reverse, which trips up nearly everyone arriving from Marlin.
Also confirm the filament diameter in your slicer matches reality, and that you are not running a slicer flow multiplier above 100 percent. If the slicer is already correcting for a wrong E-steps value, your test print will lie to you.
2. Print a reliable test pattern
Your test model should be a single straight wall printed as one continuous extrusion. Slice it thin, in the XY plane, with no first-layer offset, no variable width, no spiral vase, and no seam in the middle of the line you intend to measure. Variable extrusion width or a seam right where you measure will corrupt the number.
Print it, then measure along the centre of the wall rather than across it. A 20 mm line is the usual target, and a 100 mm line gives you a better ratio if you have a decent caliper.
If you would rather not slice anything, use the terminal method. Send G91 to switch to relative extrusion mode, then G1 E100 F50 to command 100 mm of filament at roughly 50 mm per second of G-code time. If your printer is in absolute extrusion mode, M83 puts it in relative mode, and the Klipper equivalent of G91 is the same command sent through the terminal. Keep the hotend on, or lift the nozzle clear of the bed and extrude into free air, which is the method most calibration guides use.
3. Measure the printed line accurately
Put a mark on the filament 120 mm from the point where it enters the extruder, then command 100 mm of movement. That leaves 20 mm of travel for you to measure without the mark disappearing inside the drive. If your printer over-extrudes badly, mark at 150 mm instead so the line stays visible.
Measure from the extruder entry to the new position of the mark, and write the number down. Repeat three times along the line and average them. Anyone measuring from the PTFE fitting or the Bowden coupler instead of the extruder body gets a number that is off by the length of the connector, and then blames the formula.
Digital calipers beat a ruler here. Most people underestimate the distance from the entry point by a couple of millimetres, and a couple of millimetres on a 100 mm test is a 2 percent error before you have even started calculating.
4. Calculate the new E-steps value
Multiply your current E-steps by the distance you commanded, then divide by the distance that actually happened. If the printer pushed 95 mm when you asked for 100 mm, it is under-extruding by 5 percent, and the new value has to go up to match.
New E-steps = Current E-steps × (Commanded mm ÷ Actual mm)
Worked example: current value 93, commanded 100 mm, measured 95 mm. So 93 × 100 ÷ 95 gives 97.9. Enter 97.9, not 98 and not 98.1. Round to one decimal place and let the verification run tell you whether it landed.
The same ratio works in reverse for an over-extruder. If you measured 103 mm, the new value is 93 × 100 ÷ 103, which comes out at 90.3. Never correct this by adding the 3 mm difference to the old value. That gives you a number that looks close and drifts further with every filament change.
On Klipper the calculation is the mirror image of the one above. Divide the current rotation distance by the actual distance and multiply by the distance you asked for, then round to three decimal places. Klipper also lets you trim the filament as it extrudes, which many users find easier than doing arithmetic: mark the filament, send G91 then G1 E50 F60, and trim the filament flush at the extruder entry when the command completes.
5. Enter the value and test again
On Marlin, send M92 E97.9 to set it, then M500 to write it to EEPROM so it survives a power cycle. If M500 returns an error, your firmware was built without EEPROM support, which is common on entry-level Creality boards, and the setting will vanish on reboot. On those machines, edit the value in the board’s own configuration file and re-upload it, or accept the reset and re-enter the value after each power-up.
On Klipper, put the new number in rotation_distance in printer.cfg, issue RESTART, and run SAVE_CONFIG to make it permanent. A firmware reflash wipes the file back to whatever was in the image, so note the value somewhere outside the printer.
Run the test a second time with the new value. You should land within a millimetre or so of the target, and well inside 2 percent. Close enough is close enough — chasing a value correct to within 0.1 percent is wasted effort. A second run that gives you 98.5 when you calculated 97.9 usually points at a mechanical problem, not an arithmetic one.
Where E-Steps Fit in the Calibration Order
E-steps come early, before flow rate, before pressure advance, before temperature towers. If the firmware value is wrong, every downstream measurement is compensating for the error instead of measuring the machine. Bed levelling, Z-offset, and auto bed levelling probes such as a BLTouch are entirely separate systems — a BLTouch measures the bed height and does nothing whatsoever for the extruder, a point that confuses a remarkable number of new owners.
Common Mistakes and Calibration Tips
Measuring the wrong feature. Measuring the outside of a wall, a seam, or a corner gives you a number the printer never produced. Measure the centre of a single continuous extrusion.
Measuring from the wrong reference point. The mark is measured from where the filament enters the extruder body, not from the tube fitting, not from the nozzle, and not from the edge of the bed.
Extruding too fast. A fast test builds back pressure in a cold or partly restricted hotend and the stepper motor starts skipping. Around 50 to 60 mm per second of feedrate in the G-code command is the range most guides settle on, and slower is safer than faster.
A motor that skips steps. If the extruder stutters, clicks, or the filament chews rather than feeding, the measurement is worthless. Fix the tension on the extruder idler, confirm the motor can actually move that load, and only then calibrate. This complaint comes up constantly on r/FixMyPrint and r/ender3, and it is almost always a tension or motor current problem rather than an E-steps problem.
Forgetting to save. Setting a value without storing it in EEPROM is the single most common reason someone recalibrates a month later and gets the old number back. Verify with M503 after a power cycle.
Calibrating against a wrong filament diameter. If your slicer is set to 1.75 mm filament and the roll is genuinely 1.78, no extruder value will make prints consistent. Measure the diameter with calipers at a few points before you start.
Expecting E-steps and extrusion width calibration to be the same thing. They are not. E-steps is a hardware and firmware property, fixed per machine. Extrusion width or flow rate is a per-filament, per-temperature adjustment in the slicer, and you do it after E-steps. Fix E-steps once and then tune flow per material. Anyone running 110 percent flow to cover bad extruder steps is making their real problem harder to see.
Repeating and getting a different answer each time. If three runs give three different values, stop recalibrating and look at the causes: stepper current too high and the motor running hot, a hotend that has partly clogged, idler tension drifting, filament diameter variation across the spool, or a Bowden tube tugging on the filament during retraction. Free-air extrusion avoids most back-pressure effects and needs no hotend heat, though it can differ slightly from extruding through the hotend because you remove the melt resistance the real path has.
When to Recalibrate E Steps
Recalibrate when something about the drive or the firmware has changed, not on a schedule. The list is short:
- You are setting up a printer for the first time.
- You replaced or upgraded the extruder, the extruder motor, or the drive gears — a common upgrade path involves a different gear ratio, which changes the value completely.
- You switched between a Bowden tube and a direct drive extruder.
- You changed the stepper motor or altered microstepping in the firmware.
- You flashed or updated the firmware, which restores factory defaults.
- You are compensating with a flow multiplier well above 100 percent and want to know why.
- Under-extrusion appears suddenly on a machine that used to print the same file perfectly.
What you do not need to do: recalibrate on a schedule, or after every filament change, or every time a print looks slightly rough. E-steps do not drift on their own. If yours seems to move, something physical or electrical changed, and finding that change matters more than the new number.
Frequently Asked Questions
What are e-steps in 3D printing?
E-steps, or extruder steps per millimetre, is the firmware setting that converts the extruder movement in your sliced G-code into real filament travel. The printer counts a requested millimetre of filament, multiplies it by the E-steps value, and sends that many impulses to the extruder stepper motor. Too high a value under-extrudes, too low a value over-extrudes.
Do I need to calibrate E-steps if I have a BLTouch?
A BLTouch or any other auto bed levelling probe has nothing to do with the extruder. It measures bed height and sets Z-offset, and it never touches how much filament comes out of the hotend. E-steps still need calibrating on a printer with a BLTouch, exactly as on one without it. Same goes for a heated bed, mesh levelling, and firmware-managed first layer height.
Should I calibrate E-steps or just adjust flow rate in the slicer?
E-steps first, always. Flow rate is a per-filament, per-temperature compensation layer that lives in the slicer, and calibrating it on top of a wrong E-steps value bakes the error in. Get the machine value right, then fine-tune flow per spool. If your flow sits much above 100 percent, that is a strong hint the underlying E-steps value needs fixing.
Can I calibrate E-steps without heating the hotend?
Yes, and many people do it by detaching the hotend and extruding into free air. A cold extruder has no melt resistance, so the result is usually very close to a hot measurement. Keep the test slow, and remember that a partially clogged nozzle is one of the most common reasons a hotend-through calibration gives a different number than a free-air one.
How accurate do E-steps need to be?
Within about 2 percent is plenty for almost all printing, and within 1 percent is where most people stop bothering. Chasing a value correct to within 0.1 percent buys nothing visible on a finished part. Take three measurements and average them, then do one verification run. If the second run disagrees with the first by more than a millimetre, look for a mechanical problem rather than adjusting the number again.
Why do my E-steps change every time I calibrate?
Inconsistent results almost always come from the machine, not the arithmetic. The usual culprits are a hot stepper motor running at too much current, a hotend with partial restriction, extruder idler tension that drifts, filament diameter variation across the spool, or a Bowden tube tugging on the filament during retraction. Confirm the test is not skipping steps, extrude slowly, and average several runs before you decide the value has moved.
Conclusion
If you take one thing from this guide, make it the measurement: mark the test line, measure it properly, calculate the corrected value, and write it down somewhere you can find it after a firmware reflash. One pass of marking, measuring, and applying the ratio is usually enough to fix under-extrusion that months of slicer tweaking never did.
Once the value is saved and verified, move on to flow rate and leave it alone. The next time it needs attention will be after an extruder change or a firmware flash, not on a schedule.