A 3D printed cast is a custom immobilisation device built from a digital model of an injured limb rather than from bandages wrapped by hand. A 3D printed splint does the same job with a shorter, fitted design that comes off for washing and skin checks. Both hold a wrist, forearm, ankle or hand still while bone or soft tissue heals, and both exist to protect a healing area, not to replace a diagnosis.
That distinction matters more than the technology does. Nothing in this article tells you whether you need one. If you think something is broken, a clinician decides that, and if a printed device is appropriate, that same clinician chooses the design, the material and the fit. What follows is an explanation of the technology itself, as it stood in 2026.
Four things drive nearly all the interest in these devices: they are thin and ventilated, they shrug off water, they can be converted from a cast to a removable splint as healing progresses, and they are shaped to one person’s anatomy rather than to a stock size. Those same four things create the limits, which we get to below.
Table of Contents
- What Are 3D Printed Casts and Splints?
- How Are 3D Printed Casts and Splints Made?
- 1. Capture the limb geometry
- 2. Build the CAD model
- 3. Set print orientation and layer path
- 4. Print and post-process
- 5. Fit it and adjust it
- What Materials Are Used?
- How do PLA, PETG and nylon behave when printed for body contact?
- How Do They Differ from Traditional Casts and Braces?
- What Are the Main Benefits and Limitations?
- Can You Make Your Own Cast or Splint?
- Who Can Use 3D Printed Casts and Splints?
- Frequently Asked Questions
- What are the disadvantages of a 3D printed cast?
- Do 3D printed casts heal fractures faster than fiberglass casts?
- What is the difference between a cast and a splint?
- Is anything illegal to 3D print?
- Is TPU toxic to print compared to PLA, and is nylon stronger than PETG?
- Can you 3D print a cast at home for a fracture?
- Conclusion
What Are 3D Printed Casts and Splints?
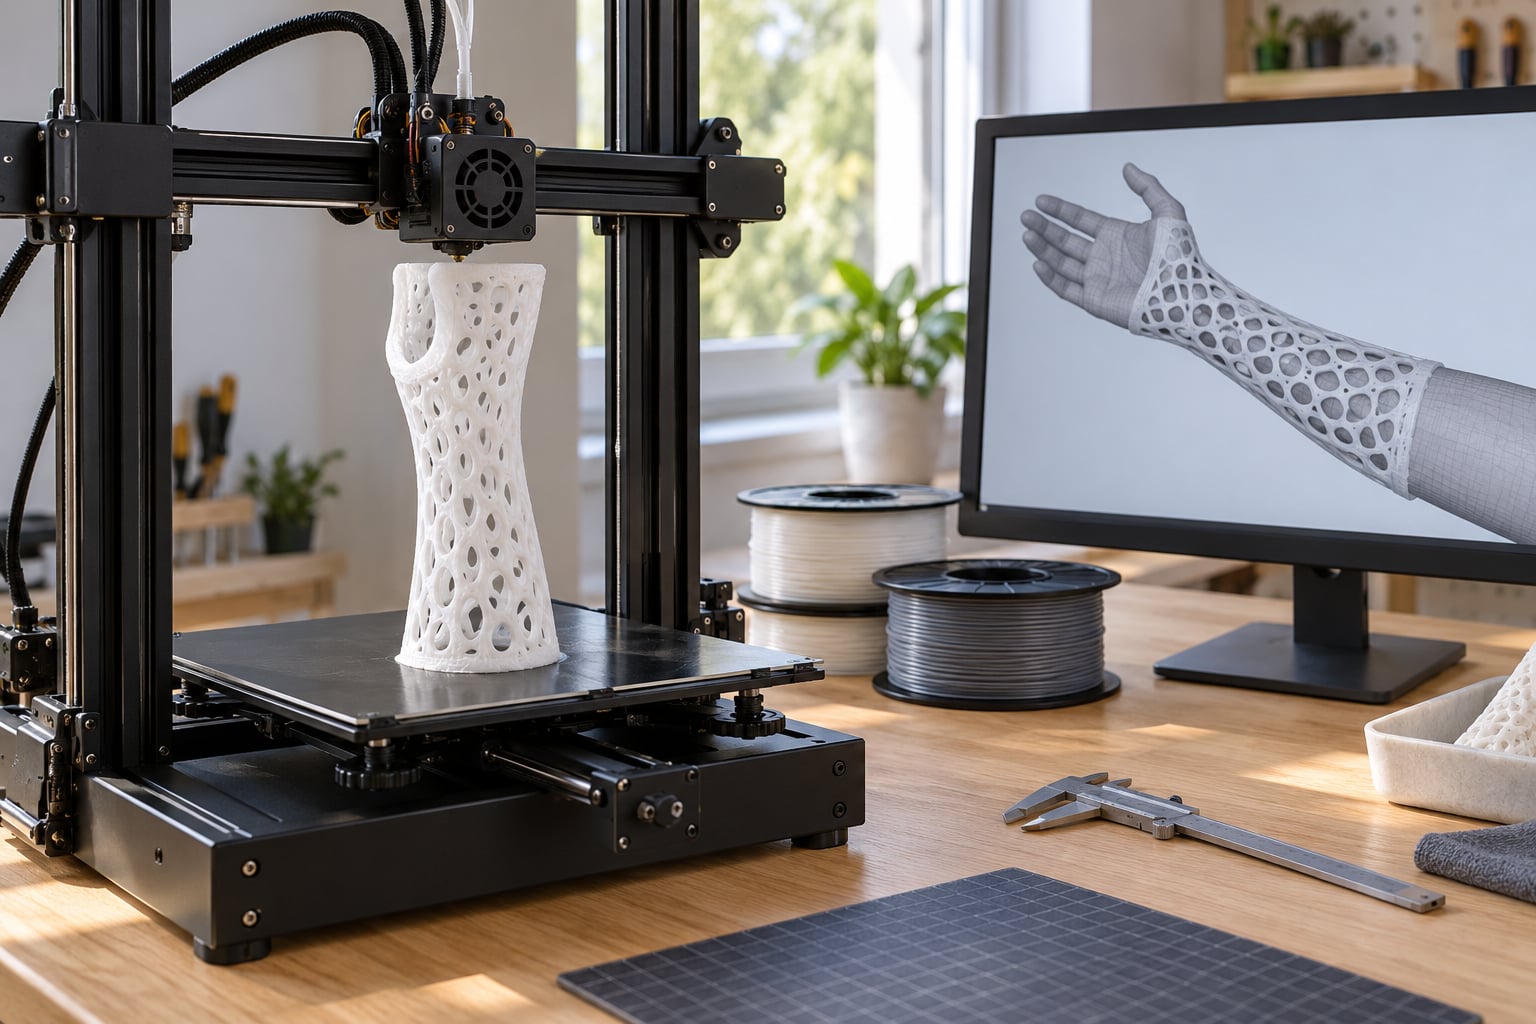
The short definition: a 3D printed cast is a rigid or semi-rigid shell generated by scanning the injured limb, modelling a ventilated lattice around it in CAD software, and printing the shell layer by layer in a thermoplastic polymer so it matches the patient’s own geometry.
The word that separates the two devices is how long you stay in them and whether they come off. A cast stays on for the length of immobilisation your injury needs, usually several weeks, and it is not designed for daily removal. A splint covers less of the limb, is fastened with straps or hooks, and comes off for washing, range-of-motion sessions and skin inspection. Searchers often merge the two terms, and plenty of clinicians will prescribe a printed device that starts as a locked-on cast and later converts into a removable splint, so the boundary is softer in practice than in textbooks.
Common uses include distal radius fractures at the wrist, forearm fractures in children, ankle and lower-leg injuries, non-surgical Achilles tendon management, sprains, tendinopathy and post-operative rehabilitation. Printers and clinicians also use the same underlying workflow for custom orthotics, thumb splints, and supports for burn contractures.
One clarification on evidence. A 2025 systematic review in the Journal of Orthopaedic Experience & Innovation pooled 20 studies published between 2015 and 2025, including 10 randomised controlled trials, and found the clinical outcomes non-inferior to conventional casting with higher reported patient satisfaction. Most of those studies involved non-displaced, non-weight-bearing distal radius fractures, and many enrolled fewer than 50 participants. So the technique looks promising and roughly comparable, not proven across every bone and every severity.
How Are 3D Printed Casts and Splints Made?
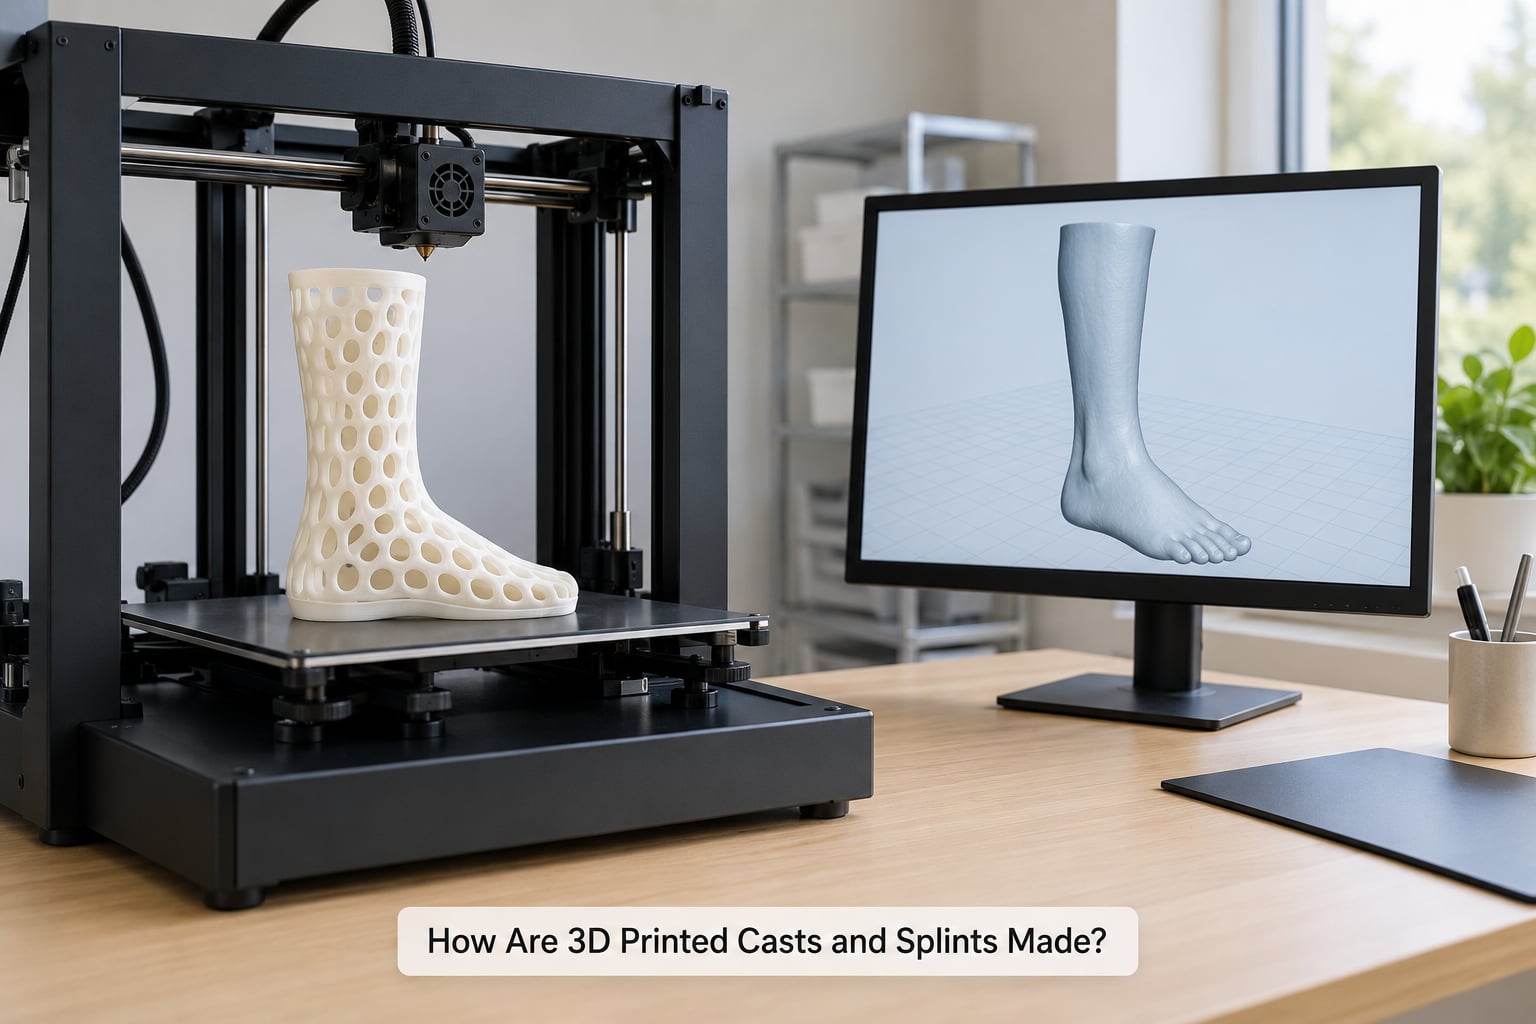
The workflow runs from a limb to a fitted device in five steps, whether that happens in a hospital clinic, a fabrication shop, or a research lab.
1. Capture the limb geometry
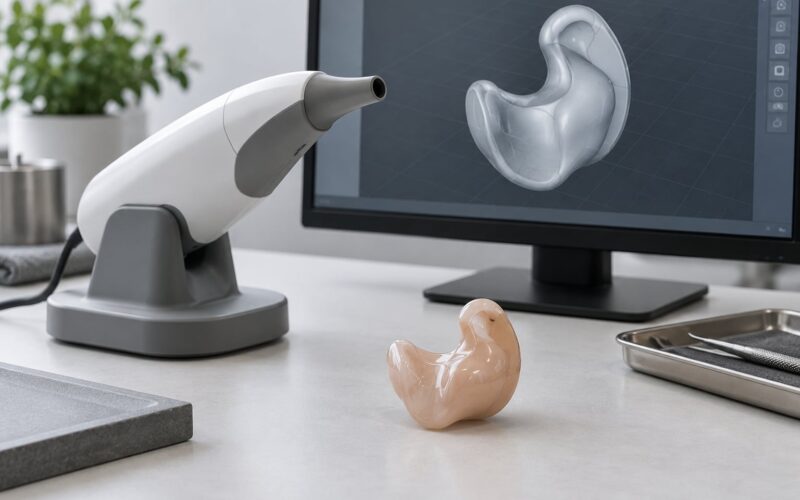
The injured area is measured as a digital surface rather than described with tape measures. Consumer setups typically use a phone app with a structured-light sensor that scans the limb while markers are placed on the skin, which is the method described in real-world accounts of getting a printed cast. Clinical setups tend to use a medical 3D scanner or CT data for fractures involving bone that must be respected by the shell. Markup lines drawn on the skin before scanning help the technician align the model to anatomical landmarks.
2. Build the CAD model
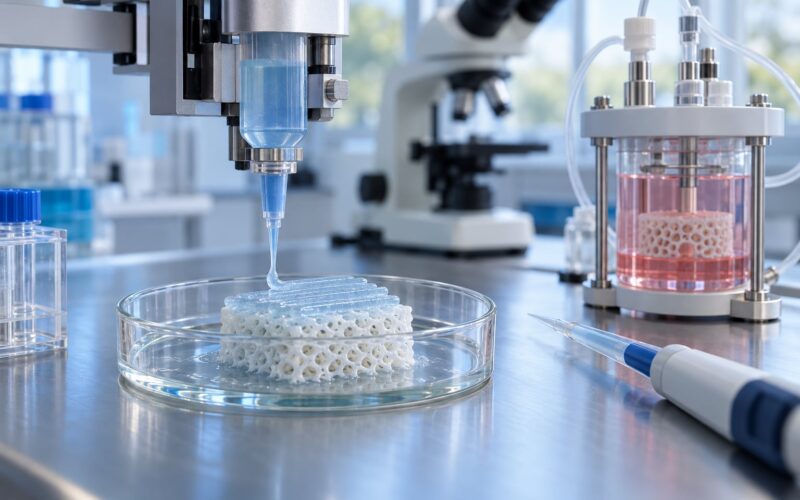
The scan becomes a surface model, and the designer adds the device around it. Two design choices matter here. The first is a uniform offset, a small gap of a few millimetres between the skin and the inside of the shell to allow for tissue that softens or changes as swelling settles. The second is the structure itself. Instead of a solid tube, most designs are hollowed into an open lattice, a crisscross of struts with small windows between them. That lattice is what makes the shell stiff without being heavy, and it is the same reason a bicycle frame can be light and rigid. Engineers often run finite element analysis on the design, a computational way of estimating how load spreads through the structure under simulated impact, so the lattice pattern is thicker where stress concentrates and thinner where it does not.
3. Set print orientation and layer path
Printed parts are stronger along the direction the layers were laid down than between them, so orientation is not a cosmetic decision. Clinical designs print the structural ribs so the load from the bone travels along the printed layers. Some designs are printed in two halves and locked together with printed clips, which keeps a tall design flat on the build plate and keeps the lattice direction sensible.
4. Print and post-process
The shell comes off the bed with support material still attached in the lattice interior, gets trimmed, deburred and washed, then checked against the limb. Edges are smoothed, because anything rough against skin causes problems over weeks of wear. Print times quoted in the review literature run roughly two to three hours for an in-clinic device, and up to about 72 hours when the design is sent to an outsourced fabrication service.
5. Fit it and adjust it
The fitting appointment is where the clinician adds padding at pressure points, trims high spots, and confirms that the device immobilises the joint in the position the treatment plan requires. Most designs leave deliberate openings over wounds, surgical pins, or areas that need visual monitoring, and they can be made with a lock-on or a removable closure depending on the stage of healing planned.
What Materials Are Used?
Material choice decides how stiff, how forgiving, how slippery with sweat, and how patient the device feels. Clinical devices use certified thermoplastics with documented biocompatibility, and the specific polymer depends on the load the device has to carry. Makers print with something else entirely, and the gap between those two worlds is worth understanding before anyone puts a printed part on skin.
How do PLA, PETG and nylon behave when printed for body contact?
PLA is the default hobby filament: cheap, stiff, easy to print, and the most common polymer in published cast research alongside PETG. Its weaknesses are heat tolerance, moisture sensitivity in long use, and brittleness at thin lattice struts, where layer adhesion becomes the failure point. PLA also has no meaningful skin-contact certification.
PETG prints more forgivingly, holds up better to moisture and body heat, and is tougher than PLA at thin sections. Its weakness in a rigid lattice is layer separation under repeated cyclic loading, which matters over weeks of daily wear.
Nylon is stronger, tougher and more fatigue-resistant than PETG, and it is closer to what engineering applications want. It absorbs moisture readily, which weakens printed parts unless the filament is dried and the printer is enclosed, and it needs a hardened or abrasive nozzle because it wears brass. Published cast research used it far less often than PLA and PETG.
TPU is flexible, which makes it useful for comfort liners, strap anchors and soft-splint elements rather than the load-bearing shell itself. On the question of toxicity, both PLA and TPU are generally treated as low-emission when printed on an open machine without enclosure control, and the more practical skin-contact concern is uncured photopolymer resin, not finished filament.
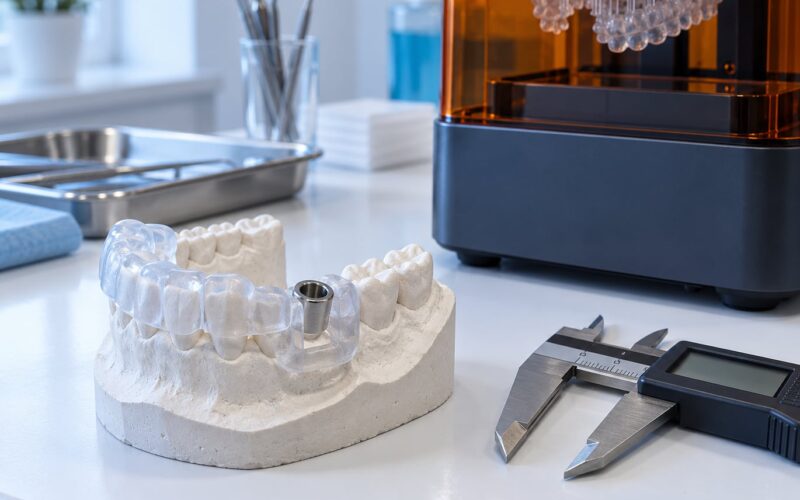
Photopolymer resins give the smoothest surface and best detail, and they are the least forgiving choice for direct skin contact, because uncured resin left on a part is a genuine irritant and sensitiser risk. That is why most printed splints that reach patients come from certified filament rather than hobby resin. It is also why a maker print is treated as a prototype rather than a device.
The practical takeaway for anyone making something non-clinical: strength matters less than you would think, because skin contact and comfort dictate the design far more than load does. Print thick walls and generous lattice struts rather than thin optimised ones, round every edge, and test for hot spots against your own limb before trusting a design for hours at a time.
How Do They Differ from Traditional Casts and Braces?
A fiberglass cast is a resin-coated woven tape wrapped around padding; a plaster cast is a bandage dipped in plaster and wrapped the same way. Both are strong, cheap and proven, and both arrive on your limb within minutes. Here is how a printed device compares on the criteria people actually ask about.
| Criterion | 3D printed cast or splint | Fiberglass cast | Plaster cast |
|---|---|---|---|
| Weight on the limb | Very light, lattice shell | Moderate | Heavy |
| Ventilation | Open lattice, air moves through | None, sealed surface | None, sealed surface |
| Water exposure | Showering and swimming possible | Must be kept dry | Must be kept dry |
| Skin monitoring | No removal needed to check | Removal appointment required | Removal appointment required |
| X-ray | Transparent, no removal needed | Partially transparent | Partially transparent |
| Customisation | Exact limb geometry, cutouts, lock-on or removable | Standard wrap, limited options | Standard wrap, limited options |
| Production time | About 2 to 3 hours in clinic, longer if outsourced | Applied in minutes | Applied in minutes |
| Failure mode | Cracking or deformation under impact | Cracking, especially over weak points | Cracking, heavy and brittle |
| Healing time | Not changed; set by the injury | Not changed; set by the injury | Not changed; set by the injury |
The rows that change how an injury is lived are ventilation, water and skin monitoring, not strength. A wrist cast that a patient can shower in and that a clinician can inspect through a window changes daily life more than any load-bearing improvement, because the polymer distributes force differently and does not transmit impact to the bone the way a rigid wrap can.
What does not change is healing time. No study in the 2025 review found printed casts heal fractures faster; the finding was that healing was comparable and satisfaction was higher.
What Are the Main Benefits and Limitations?
Start with the benefits, because they are real and measured, then the limits, because they decide whether the technology suits your situation.
Benefits:
- Geometry matched to one limb. The shell is generated from that person’s own surface, so pressure concentrates far less than in a wrapped device.
- Ventilation. The open lattice lets air and moisture escape, which targets sweating, maceration, itching and skin breakdown inside a sealed cast.
- Waterproofing and hygiene. A polymer shell can be washed and sanitised, so swimming or showering stops being a negotiation with plastic bags.
- Monitoring without removal. Skin checks and follow-up X-rays happen through the lattice, saving removal appointments that can be uncomfortable.
- Convertible design. A locked-on cast can become a removable splint by adding or removing a printed section as healing progresses.
- Rapid iteration. Changing thickness, coverage or a cutout is a design edit rather than a new appointment.
- Patient satisfaction. Consistently higher comfort scores in trials and in clinical practice, which matters most for children and for long immobilisation periods.
Limitations, drawn from the systematic review and from clinical adoption reports:
- Cost. Direct production cost in studies ran up to roughly 50% above conventional casting, even before you count scanners and printers. Insurance coverage changes the picture entirely for patients, where a prescribed device may be covered.
- Production time. Two to three hours in clinic, and up to about 72 hours when fabrication is outsourced, compared with minutes for a hand-wrapped cast. That delay is the single biggest reason adoption stalled.
- Durability. Reported breakage and deformation events exist. A cracked lattice section in a sealed cast is an appointment you did not plan for.
- Swelling outruns the scan. Tissue volume changes after injury, and a rigid device made to one day’s geometry can be too tight on another day or loose a week later. Clinicians handle this with padding and planned conversion, but it is a real constraint on custom fit.
- Capital and workflow cost. A clinic needs a scanner, a printer, a technician and a design pipeline before it can offer anything, which is why most hospitals outsource rather than print in-house.
- Regulatory and standards gap. Devices marketed as orthoses are listed and certified by specific manufacturers, not blanket-certified as a category. ActivArmor, for example, describes an FDA Class I splint listing and ISO 10993 biocompatibility for its own products.
- Thin evidence base. 20 studies sounds substantial until you look at what they cover: mostly small trials, mostly on one fracture type, many with fewer than 50 participants.
None of these limits are hidden in the fine print, but they do explain why you will find these devices in some clinics and not others. They also explain why the technology stalled after early prototypes around 2014 and only began appearing in routine US practice more recently.
Can You Make Your Own Cast or Splint?
This section is for makers, and the honest answer has two halves. Home production is entirely legal and is genuinely useful for prototypes, visualisation and design practice. It is not a substitute for clinical fracture management, and the reason is not legal, it is physical.
Printing per se has no restriction attached to it. What carries regulatory weight is the intended use of the object. Fabricating a device intended to immobilise a fracture without clinical oversight is a different question from hobby printing, and it is the reason that market devices are listed and certified rather than sold as open designs. Two related material questions come up constantly in maker threads: PLA and nylon do not reliably bond without an intermediate adhesive layer or a mechanical interlock, so treat a mixed-material part as an assembly rather than a single print; and for supports under flexible TPU, PETG adheres better than PLA because of lower surface energy mismatch, though many workflows use a separate release-friendly support material instead.
The real physical obstacle is fit. Hobby threads from 3D printing forums consistently identify sizing and scaling as the failure point: a splint modelled at the wrong scale, or fitted to a limb whose volume has changed since the scan, either does nothing useful or does damage. Older threads from hobbyists attempting a custom cast hit exactly this. A parent on a forum thread described wanting to replace cracking thermoplastic splints for a child with brittle bone disease, which is a replacement and reusability problem, not an immobilisation problem, and the workflow that answers it starts with a clinician.
So a reasonable maker path looks like this. Model a device for a non-clinical use such as a prop, a practice model, a display piece, or a repeatable support for a chronic condition already prescribed. Scan or measure carefully, and verify scale against a real object rather than trusting the software units. Print with rounded edges and thick struts. Test it on your own limb for short periods and watch for pressure marks, heat and numbness. And take any change in your injury back to a doctor, because a device that presses on a healing bone is not a comfort problem, it is a new injury.
If you are printing something that goes on a body and the goal is immobilisation, the sensible first call is a clinician. They can tell you whether immobilisation is needed at all, and whether a certified printed device is available to them.
Who Can Use 3D Printed Casts and Splints?
It helps to separate the people who prescribe and fit devices from the people who build the workflow behind them, because the same technology serves both.
Patients and athletes. Anyone with a fracture or soft-tissue injury managed without surgery may be offered a printed device, with the strongest fit for distal radius and paediatric forearm fractures. Athletes who need to keep training, children who scratch and itch more, and patients with diabetes or vascular compromise whose skin needs close monitoring are the groups most often described as benefiting.
Clinicians. Orthopaedic and emergency clinicians choose whether a printed device suits a given fracture, prescribe it, fit it and adjust it. The evidence supports asking the question; the fitting stays clinical.
Hospitals and rehabilitation providers. Larger centres increasingly outsource fabrication rather than owning the hardware, which is why availability varies so much by region. Rehabilitation providers use printed supports and orthotics for tendon and joint conditions across longer time frames.
Engineers and designers. This is where the maker lane fits properly. Designing an open-lattice shell that meets load requirements, running the analysis, setting layer orientation and finishing the part is real engineering work, and it is the part of the field that grows fastest.
What none of these groups should do is decide suitability for an individual injury without imaging and examination. That judgement belongs to a qualified clinician every time.
Frequently Asked Questions
What are the disadvantages of a 3D printed cast?
The main drawbacks are cost, production time and durability. Studies report direct production cost up to roughly 50% above conventional casting, print times of about two to three hours in clinic or up to 72 hours when outsourced, and reported cracking or deformation. Swelling can also change limb geometry faster than the scan-to-print cycle can track. The evidence base is small and concentrated on one fracture type.
Do 3D printed casts heal fractures faster than fiberglass casts?
No study has shown faster healing. The 2025 systematic review of 20 studies, including 10 randomised controlled trials, found outcomes non-inferior to conventional casting, with higher patient satisfaction. Most trials involved non-displaced, non-weight-bearing distal radius fractures with small participant numbers, so the evidence covers a narrow slice of fracture care rather than every bone and severity.
What is the difference between a cast and a splint?
A cast stays on for the full immobilisation period and is not designed for removal. A splint covers less of the limb, fastens with straps, and comes off for washing and range-of-motion work. Immobilisation length is set by your injury and your clinician, not by the device. Some printed designs start as a locked-on cast and convert to a removable splint as healing progresses.
Is anything illegal to 3D print?
Printing itself has no restriction attached to it. Regulatory weight comes from the intended use of the object. Devices marketed as orthoses are listed and certified by specific manufacturers, with ActivArmor describing an FDA Class I splint listing and ISO 10993 biocompatibility for its own products. Home printing a model for practice is fine; making a device to immobilise a fracture without clinical oversight is a different matter entirely.
Is TPU toxic to print compared to PLA, and is nylon stronger than PETG?
Both PLA and TPU are generally treated as low-emission on an open printer without enclosure control, and the real skin-contact concern is uncured photopolymer resin rather than finished filament. On strength, nylon is tougher, more fatigue-resistant and stronger than PETG, but it absorbs moisture and needs drying plus an enclosed, hardened setup. PETG prints more easily and tolerates moisture better. Research on printed casts has used PLA and PETG most.
Can you 3D print a cast at home for a fracture?
You can print device models, prototypes and practice aids at home, and you can build a support for a chronic condition that a clinician has already prescribed. What you should not do is print a device to immobilise an undiagnosed or newly injured fracture. Fit is the obstacle, not legality: swelling changes limb volume after injury, and a rigid shell made to one day’s measurements can press on healing bone. A clinician decides and fits any immobilisation device.
Conclusion
3D printed casts and splints earn their attention for ventilation, waterproofing, convertible design and a fit matched to one person’s anatomy, with 2025 clinical evidence showing healing outcomes comparable to conventional casting and satisfaction consistently higher. The practical blockers are production time, per-device cost, hardware cost for clinics, and an evidence base still narrow in scope.
If you are weighing this for an injury, the first step is not a search for a provider or a printer. Ask your clinician whether immobilisation is the right treatment, whether a printed device suits your specific fracture, and whether your insurance covers it before you plan around one.