To finish cosplay props for a smooth look, work in an ordered stack: sand the surface, fill the seams, prime, paint in thin coats, then protect it with a top coat. The order matters more than the products you pick. Skip a stage and its job lands on the next one, which is where cracks and tackiness come from.
Budget a full day for a small prop and a weekend for a helmet or a pair of armor pieces. The sanding and drying stages are passive time, so the calendar cost is bigger than the hands-on cost. Beginners usually lose most of that time to one thing: trying to fix a surface problem with paint instead of filler.
Table of Contents
- What You Need
- Step-by-Step
- How to Finish Cosplay Props for a Smooth Look: Inspect and Prepare the Surface
- Level Visible Layers, Seams, and Print Lines
- Sand Through a Controlled Grit Sequence
- Apply and Smooth Filler or Surfacer
- Prime for Better Adhesion and Color
- Paint With Thin, Controlled Coats
- Seal, Cure, and Inspect the Final Prop
- Common Mistakes
- Frequently Asked Questions
- What is the best way to smooth a cosplay prop made from 3D-printed plastic?
- Should I sand cosplay props before or after filling the surface?
- What primer and top coat work best for plastic, resin, foam, and wood props?
- How do I remove FDM layer lines without damaging fine prop details?
- Can I paint over scratches and small holes after filling a cosplay prop?
- How do I prevent a finishing coat from making foam or resin look damaged?
- Conclusion
What You Need
The supplies change completely with the base material, so sort your kit by what the prop actually is before you buy anything. A 3D-printed PLA helmet and a piece of craft foam share almost no finishing chemistry, even though they end up side by side at a convention.
- Preparation
- A craft knife or flush cutters to remove supports and burrs, a stiff brush, warm soapy water, plastic primer compatibility, masking tape, and a tack cloth. Isopropyl alcohol at 90 percent or higher works well for cleaning styrene and resin without leaving a film.
- Abrasives
- Sandpaper from 180 to 400 grit for general leveling, 600 to 1200 grit for pre-paint smoothing, and 2000 to 3000 grit for wet sanding a gloss base coat. Foam-backed sanding sponges and a sanding block matter more than grit: a flat prop needs a flat surface, and your fingertip is not flat.
- Filler and surfacer
- Thin two-part epoxy filler or polyester body filler for divots and print lines, lightweight surfacer or spray filler for wide flat areas, and a flexible filler such as a paintable sealant for foam. Wood gets wood filler or spackle. Resin gets epoxy filler or a resin-compatible primer surfacer.
- Primer
- Adhesion-promoting plastic primer for styrene, PVC, and printed plastic, self-adhesion primer for craft foam, and high-build wall primer for wood and MDF. A primer that states it works on your exact substrate saves an afternoon of peeling paint later.
- Paint
- Acrylic model paint for detail work, acrylic enamel for larger surfaces, airbrush acrylic for smooth blends, and spray enamel for fast coverage. Chrome and metal effects need a smooth gloss base and a compatible metallised top coat, not a silver paint applied over texture.
- Top coats
- Matte acrylic varnish, satin acrylic varnish, and a clear gloss coat. Two-part polyurethane spray is the toughest option and the least forgiving during application, so it is a choice for final protection rather than a first coat.
- Safety gear
- Nitrile gloves, a particulate respirator for sanding and spraying, a spray booth or open window with a fan blowing outward, and a respirator-rated mask for two-part urethane spray. Isocyanate spray is genuinely hazardous to breathe; treat it that way.
Gloves matter for a reason beyond skin protection. Oils from your hands migrate into filler and primer, and they show up days later as blotchy gloss spots no amount of thin coats will hide.
Step-by-Step
Eight stages, run in order, with a checkpoint at the end of each one. The checkpoint is how you know the stage actually worked before you stack the next one on top of it.
How to Finish Cosplay Props for a Smooth Look: Inspect and Prepare the Surface
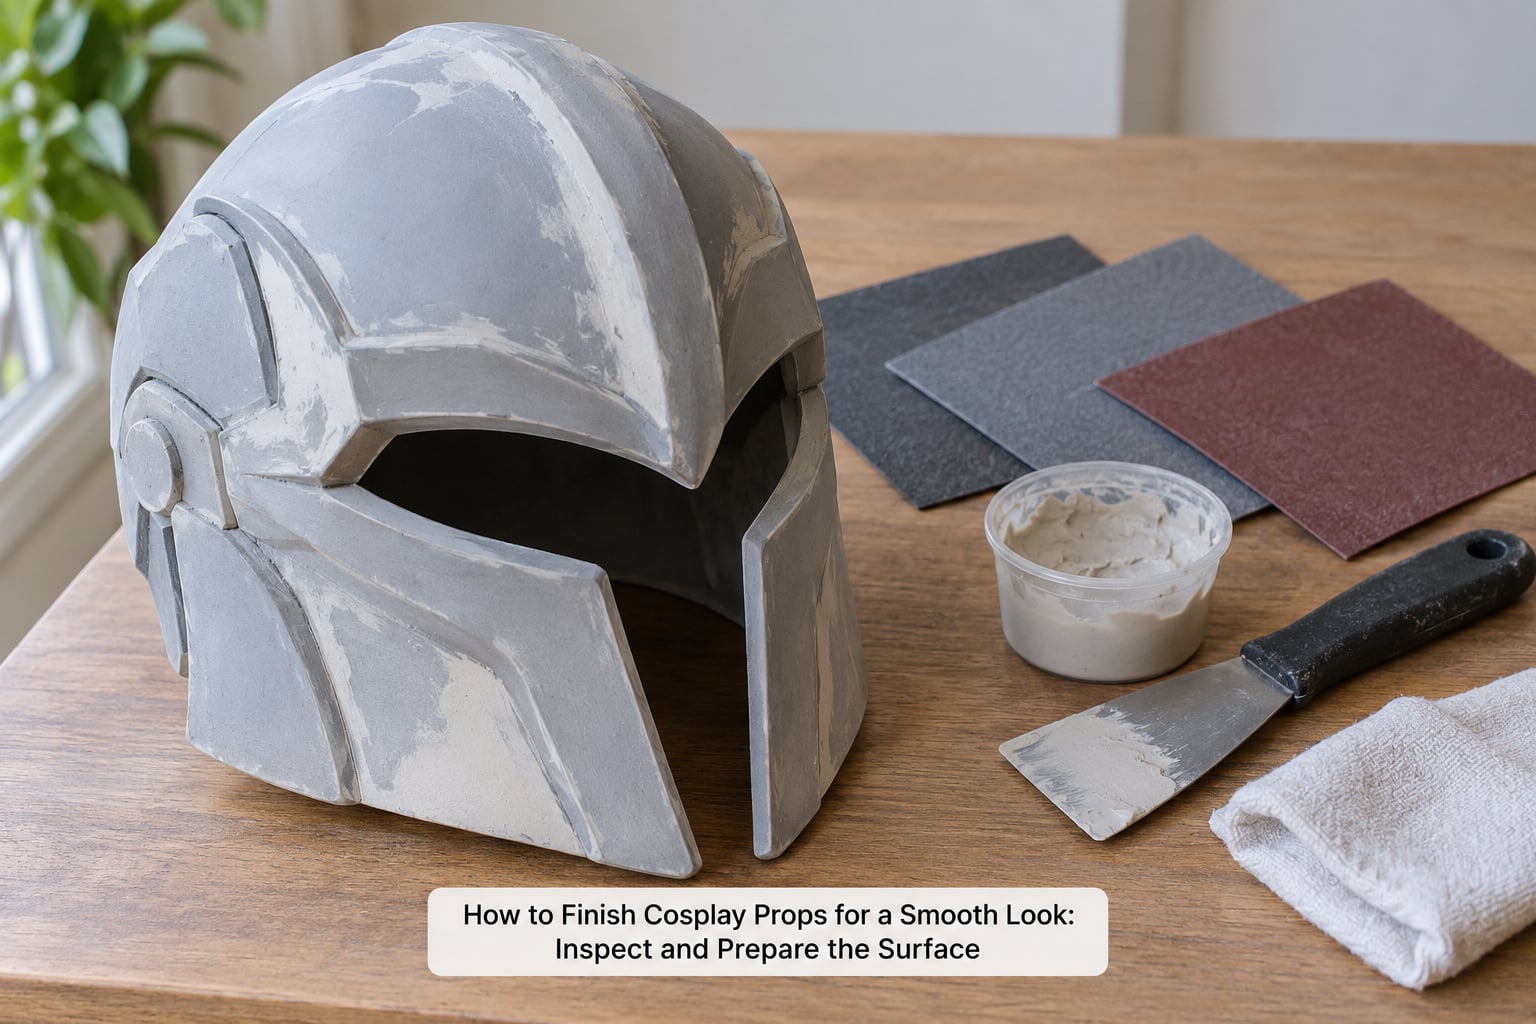
Start by naming the material out loud: printed PLA or PETG, cast resin, craft foam, EVA foam, styrene sheet, PVC, or wood. The finish stack that works on one of those will actively fail on another, and the failure usually appears as peeling rather than a visible mistake at the moment of application.
Then clear the surface. Knock off every support, cut the burr flush with the part, and wash away release agent, dust, and skin oils. Printed parts hide a surprising amount of powder in the layer valleys, and that powder will sand into the finish instead of sanding out.
Checkpoint: run a fingernail across the surface. If you catch on a line, a burr, or a support scar, you are not ready for filler yet. Test your chosen primer and top coat on a scrap of the same material first, ideally somewhere the finished prop will hide it.
Level Visible Layers, Seams, and Print Lines
Decide whether the defect needs filling, sanding, or both. That is a per-material call, and getting it wrong is the most common reason a smooth-looking prop still looks rough under lights.
On FDM prints, layer lines under 0.2 mm tall are a sanding problem. Taller lines, holes, and the ridge where two halves of a print meet are a filling problem. On resin prints, dust from supports usually sands off, but the pits left by unsupported overhangs need filler. On foam, the mould seam from a heat gun is a filling problem first, and only then a sanding one.
On assembled joints, any gap that light gets into is a gap that paint will find later. On wood, check for movement along the grain before you coat anything, because a rigid film over seasonal movement is a crack waiting to happen.
Checkpoint: every defect you identified sits level with the surrounding surface. Nothing protrudes, nothing is concave, and no gap shows daylight through it.
Sand Through a Controlled Grit Sequence
Sand progressively and never skip a step. Going from 180 straight to 400 leaves scratches that primer and gloss coat amplify instead of hiding, and you end up back at the low grit with filler on the part.
On printed plastic, resin, styrene, and PVC, dry sand with a sanding block. On filled areas, stay dry too, because water swells most lightweight fillers. Wet sanding only makes sense once a gloss or gloss-adjacent base coat is on the surface and cured, which is a later stage entirely.
For a prop with sharp details, sand with the shape, not across it. Wrap paper around a pencil for tight inside corners, and stop at the first grit that leaves the detail soft rather than round. On a curved armor plate, a foam sanding sponge conforms to the surface and a flat block digs a flat facet into it.
Checkpoint: run a clean fingernail perpendicular to the grain. A light, even scratch is acceptable at this stage. A ridge you can catch is not. Wipe the part down with a damp cloth and let it dry fully, because moisture in a seam will bubble the primer later.
Apply and Smooth Filler or Surfacer
Mix filler thinner than the instructions suggest and work it on with a flexible spreader, not a palette knife. A thin coat that dries hard beats a thick one that sinks hours after you thought you were done.
Push the filler into defects rather than dragging it across them. On foam, keep the coat thin and skip the raised detailing entirely, because filler that bridges a vent or a panel line flattens the feature permanently. On printed plastic, a spray surfacer on a cured thin coat levels wide flat areas in a way hand-applied filler cannot, and it will not shrink into a bowl the way heavy filler does.
Let each layer cure to the manufacturer’s full time before sanding, even when it feels dry to the touch. A half-cured filler sands rubbery and pulls out of the defect you just filled. Then knock the high spots down with 180 to 220 grit, and repeat the coat if the defect is still visible after sanding.
Checkpoint: the filled area is indistinguishable from the surrounding surface under raking light, and it does not sink below the adjacent plastic after a day of curing.
Prime for Better Adhesion and Color
Primer does three jobs: it gives the next layer something to grip, it blocks the material from staining the colour, and it gives you a uniform light or mid tone to judge your colour against. Choose by substrate first, flexibility second.
Printed plastic, styrene, and PVC want an adhesion-promoting plastic primer and nothing exotic. Wood wants a high-build or self-etching primer if you skipped filler, because the open grain drinks the first coat and drags colour unevenly. Foam wants a self-adhesion or flexible primer; a rigid lacquer-style primer on foam is a crack the first time you flex it, and the crack will spread into the paint.
High-build primer fills small defects in the coat itself, so it is worth an extra pass on a prop that will be photographed up close. Lay it on in thin, even coats and keep the can moving at a consistent distance.
After the primer cures, knock the sheen down with 400 to 600 grit. A primer that has been sanded flat takes paint more evenly than one that has been left glossy, and it stops brush marks and finger marks from showing under a gloss top coat.
Checkpoint: the primer is even, matte after sanding, and there are no glossy patches left in corners or around joints. Gloss patches are where your colour will end up blotchy.
Paint With Thin, Controlled Coats
Thin coats beat thick ones in every situation, and the failure mode of thick coats is a wrinkle, a sag, or a slow cure you did not plan for. Thin the paint enough to spread under its own weight, and expect three or four coats where you hoped for two.
For brush work, load the brush lightly, pull long strokes in one direction, and keep the part moving so you are not fighting a skin that is forming mid-stroke. For airbrushing, start further out than feels necessary, bring the trigger down first, and finish the pass by releasing the trigger before you move the air off the surface. That last habit is the whole difference between a smooth coat and a speckled one.
Control your edges deliberately. A base coat slightly larger than the detail coat gives you a clean line later; a base coat that stops short leaves a stripe of primer showing. Give each coat the full drying time on the label, and go to the next one when the previous coat is genuinely dry to light touch rather than merely dry to the hand.
If you are going for a metal effect, the base must be genuinely smooth first. Silver paint over texture reads as textured silver, which is exactly what you were trying to avoid. Build the base through filler and surfacer, then use a gloss clear or a metallised spray as the shine layer.
Checkpoint: no brush marks, no runs, no lap lines, and no primer colour showing at any edge. Hold the prop under a lamp at a shallow angle; imperfections that are invisible in room light show up instantly here.
Seal, Cure, and Inspect the Final Prop
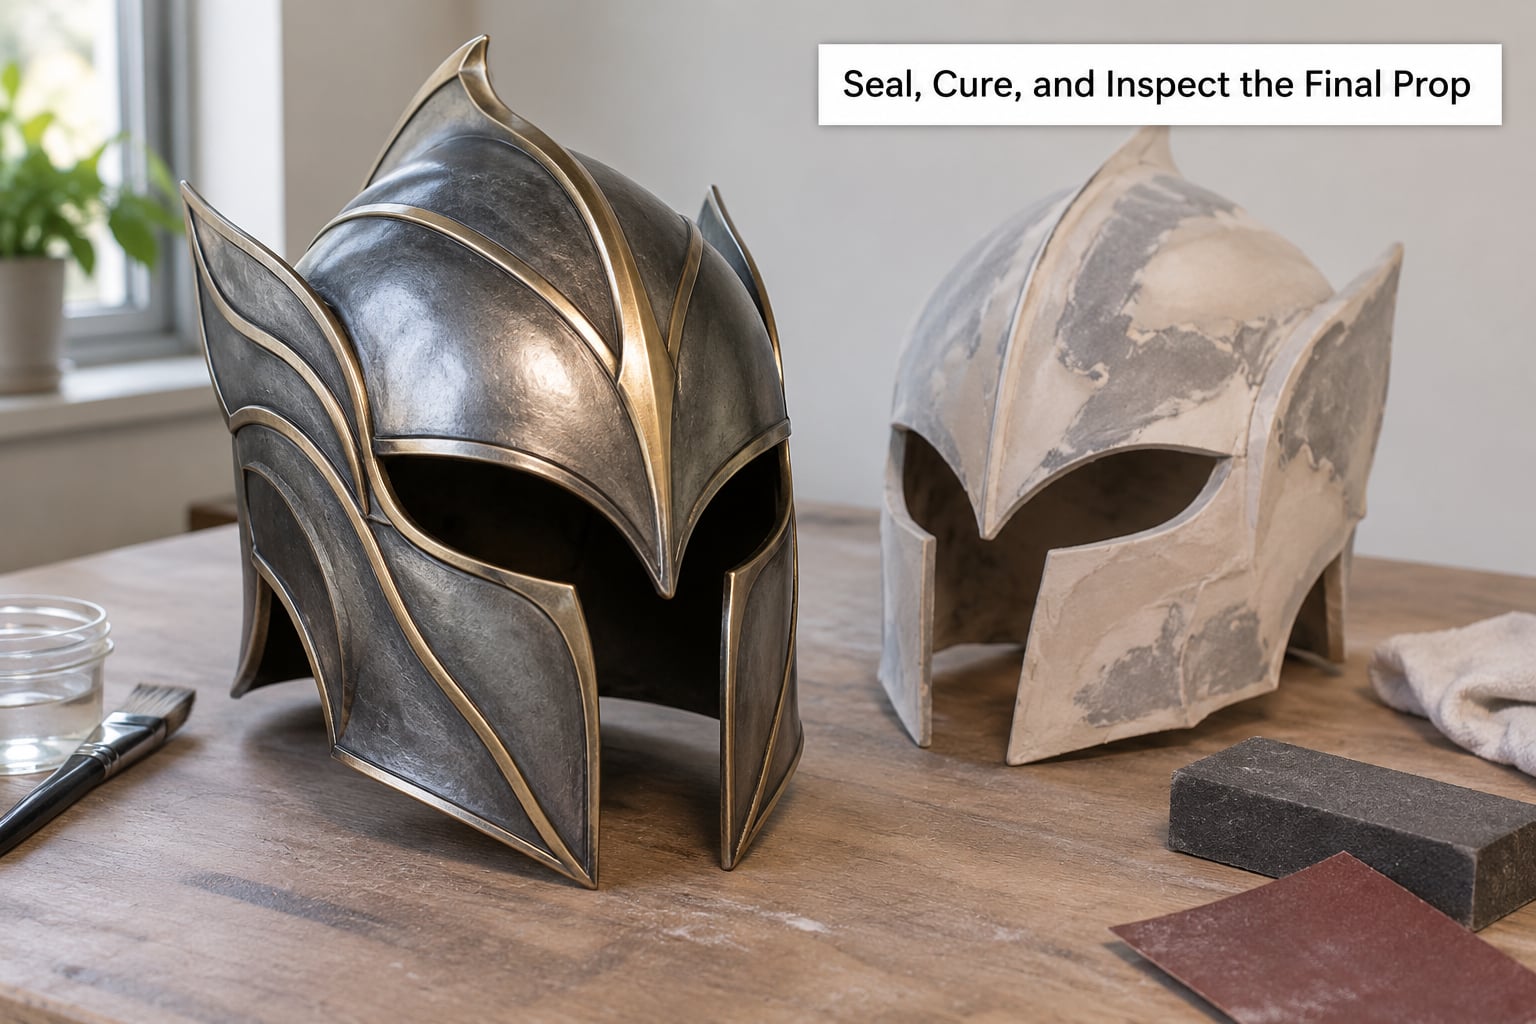
The top coat sets the sheen and takes the handling, so pick it for where the prop goes. Matte hides imperfections and reads as heavy material, which suits armour and cloth-textured surfaces. Satin is the safe middle and the easiest to make look even. Gloss reads as polished metal, glass, or hard plastic, and it shows every remaining flaw, so it only works on a surface you have already made genuinely smooth.
Acrylic varnish is flexible, forgiving, and easy to repair later. Two-part polyurethane spray is harder and more scratch resistant, but it is unforgiving about surface prep, thickness, and the drying time before you move the part. On foam, use a flexible coat; a hard film will crack the first time the piece bends at the shoulder or the elbow.
Coat in light passes with a long gap between them rather than one heavy coat. Then leave the prop alone for the full cure time before you handle it, pack it, or put decals over it. Paint that is dry to the touch is still soft, and a fingerprint at that stage is permanent.
Final inspection, in this order: run a fingernail along every edge, check the sheen under a raking light, look for missed areas at the back and inside the strap lines, and flex the piece gently at each joint. Then confirm nothing inside a moving or locking joint has been coated shut.
Checkpoint: the sheen is even across the whole prop, edges are crisp, there are no missed patches, and the joints still move.
Common Mistakes
Nearly every bad finish I have seen traces back to one of these, and each has a straightforward correction.
Jumping grit sizes. You start at 400 to save time, and the 180 scratches you never removed reappear under gloss. The fix is to go back to the low grit, re-sand, and move up one step at a time.
Sanding before the supports are off. Trapped resin and plastic get dragged across the surface, and the scratches show up under colour. Remove every support first, then clean, then sand.
Incompatible coatings. A rigid primer or top coat on flexible foam will crack the moment the prop is worn. Check that every product in the stack states compatibility with your substrate, not just that the two sound like reasonable partners.
Filling over detail. Thick filler across vents, panel lines, and embossed texture flattens features you cannot get back. Mask them, or work around them with a thin coat and a flexible blade.
Rushing the drying time. A finish that is handled before it cures picks up fingerprints, and a second coat applied over a tacky first coat lifts. Budget the cure time into your schedule before the convention, not after.
Coating foam too heavily. Multiple heavy coats build weight on a piece you carry all day and stiffen it until it cracks. Thin passes, more of them, and a flexible product solve this.
Before you call it finished, this checklist catches most of the above: supports off, surface clean, every defect filled and sanded flush, primer sanded matte, thin even coats, full cure time observed, joints still free.
Frequently Asked Questions
What is the best way to smooth a cosplay prop made from 3D-printed plastic?
Sand the part progressively from about 180 to 400 grit with a sanding block, then fill any line taller than your fingernail with thin coats of filler or spray surfacer. Sand the filler flush, prime with a plastic adhesion primer, and knock the primer down with 400 to 600 grit before paint. FDM layer lines under 0.2 mm usually need no filler at all, only sanding. Check your progress by wiping the part and viewing it at a shallow angle under a lamp.
Should I sand cosplay props before or after filling the surface?
Both, in that order, and they fix different problems. Sand first to level everything that stands proud: layer lines, tool marks, mould seams on foam. Fill second to close anything concave: holes, pits, gaps at joints, divots. Then sand the filler flush. Sanding a filled area first wastes abrasive and you will still have to go over the filler afterward. If a filler layer sinks after curing, apply a second thinner coat and sand it back.
What primer and top coat work best for plastic, resin, foam, and wood props?
Match the product to the substrate and the flexibility. Plastic, styrene, and PVC take an adhesion-promoting primer plus acrylic or enamel top coat. Resin takes epoxy-compatible filler with a plastic adhesion primer. Foam needs a self-adhesion or flexible primer and a flexible clear coat, because a hard film cracks when the piece bends. Wood takes high-build primer for its open grain, then anything. Two-part polyurethane is the toughest top coat but the least forgiving.
How do I remove FDM layer lines without damaging fine prop details?
Sand with the shape rather than across it, and use the lowest grit that visibly reduces the line. Stay off the abrasive where details are tight, wrapping paper around a pencil for small inside corners. Stop the moment a sharp edge begins to round, since that moment is where the damage becomes permanent. If the lines are taller than about 0.2 mm, fill them instead of chasing them with paper, then prime. Fine detail work gets painted and highlighted after priming, not sanded.
Can I paint over scratches and small holes after filling a cosplay prop?
Yes, but the repair has to be sanded level and primed before any colour goes near it. Paint applied over un-sanded filler sits on a lump and shows the repair under gloss. Sand the filler flush with 180 to 220 grit, wipe the dust off with a damp cloth, prime, then knock the primer down with 400 grit. For a scuff that has already been painted, sand the local area, spot prime, and reapply colour with a soft blend so the patch does not read as a halo.
How do I prevent a finishing coat from making foam or resin look damaged?
For foam, use a flexible self-adhesion primer and a flexible clear coat, applied in thin passes rather than one heavy coat. Rigid coatings on foam create a hard skin that cracks along every flex line, and thick coats add weight you carry all day. For resin, avoid solvents that attack the surface and do not scrub aggressively, since cured resin scratches readily. Test any new product on a scrap piece of the same material, in a hidden area, and check it after a full cure.
Conclusion
A smooth cosplay prop comes from an ordered stack, not from a better brush. Sand what stands proud, fill what sits below the surface, prime for the material you actually used, lay down thin coats, and protect the result with something suited to how the piece will be worn.
Start with the first job: identify the base material and clear off every support, burr, and film of dust. Then repair the worst defects before you touch primer, and choose a sanding and filling sequence that matches that material. Everything after that is detail work, and detail work goes far faster on a surface that has already been prepared properly.