3D printing custom insoles and orthotics means a foot is captured as digital data, turned into a parametric 3D model, and built layer by layer so arch height, heel cup depth, forefoot geometry and regional stiffness are tuned to one person and reproduced exactly on reorders. It is a manufacturing method, not a clinical category — what a device does for your feet depends on the assessment and design behind it, not on the printer that made it.
The reason the method matters is geometry. A milled or vacuum-formed shell follows the surface of a last or a cast, while an additively manufactured shell can vary stiffness across the medial forefoot, the first midtarsal joint and the heel without a tooling change. The catch is that the same freedom lets a provider sell you a cosmetically personalised insert with no clinical reasoning behind it.
Below is what actually happens between foot assessment and finished insert, where errors creep in, what the materials can and cannot do, and the questions that separate a real custom device from a printed shell over a foam impression.
Table of Contents
- What Are 3D-Printed Custom Insoles and Orthotics?
- How 3D Printing Custom Insoles and Orthotics Works
- The Digital Workflow From Scan to Finished Insert
- How 3D Printing Custom Insoles and Orthotics Differs From Conventional Manufacturing
- Which 3D-Printing Materials Are Used?
- What TPU works for 3D printed footbeds
- Print settings that change the finished device
- What Are the Main Benefits and Limitations?
- How Much Do 3D-Printed Insoles and Orthotics Cost?
- How to Choose a Provider or Evaluate a Device
- Questions worth asking before you order
- Are 3D-Printed Orthotics Safe?
- Frequently Asked Questions
- Do I need a 3D foot scanner to get custom insoles?
- How long does it take to make 3D-printed custom insoles?
- Are 3D-printed orthotic insoles durable enough for daily use?
- Can a 3D-printed insole replace prescription orthotics from a doctor?
- Are 3D-printed insoles suitable for children, running, or sports?
- Conclusion
What Are 3D-Printed Custom Insoles and Orthotics?
An insole is a removable layer that sits inside a shoe. An orthotic is a foot support designed to change how load moves through the foot rather than simply make it feel better. The term gets blurred constantly, and marketing leans into that blur.
A printed device falls into one of three practical categories. The first is a comfort product: a heat-moulded or scanned insert upgraded with a printed shell and a breathable lattice, sold mainly on fit and feel. The second is an activity-specific insert built around a sport, a shift pattern or a work boot. The third is a clinician-directed orthosis, where a podiatrist, pedorthist or orthotist prescribes the design and the printed part is simply the manufacturing route.
Appearance settles nothing. A lattice-structured shell, a precise scan and a professional-looking report can all wrap around a design nobody clinically reasoned about. And 3D printing is not automatically more precise than the alternatives it replaces — a foam impression box captures a load-bearing impression of the foot, while a surface scanner captures a detailed surface but not how you stand on it.
This is general information, not medical advice. Persistent pain, deformity, diabetes, neuropathy, open wounds or mobility concerns need an in-person assessment by a podiatrist or another qualified professional before any device goes underfoot.
How 3D Printing Custom Insoles and Orthotics Works
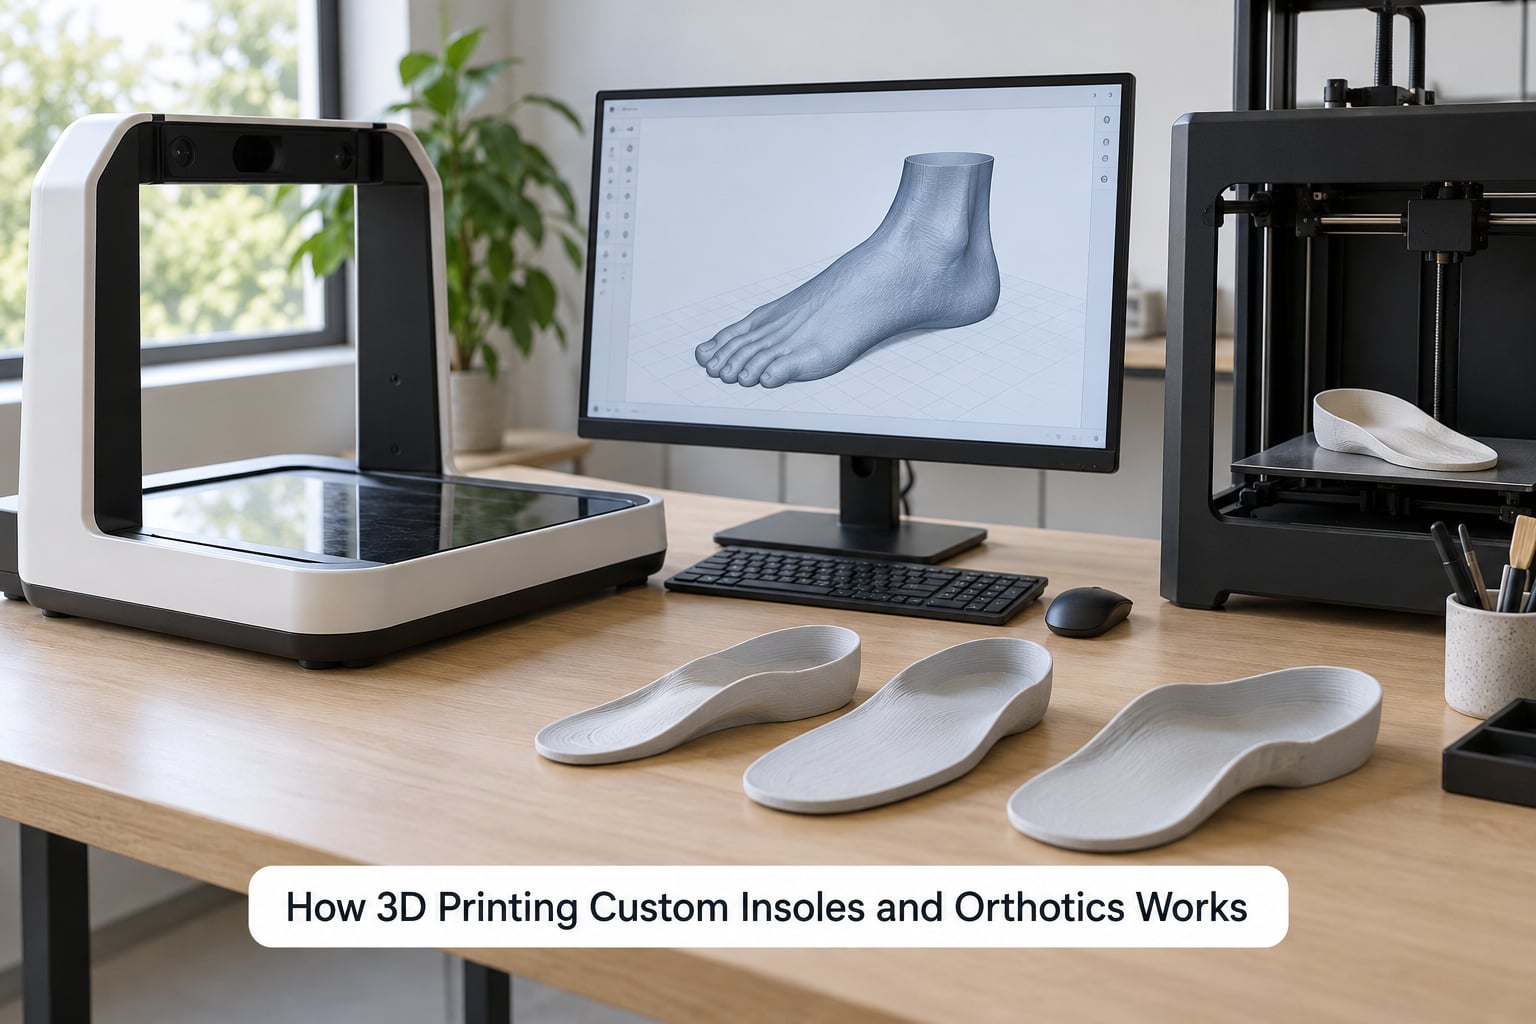
The process runs in six moves: assess the foot, capture it as data, model the device, choose the material and infill, print it, then finish and fit it. Only two of those six steps involve a 3D printer, which is why the final result usually tracks the quality of the first three rather than the machine.
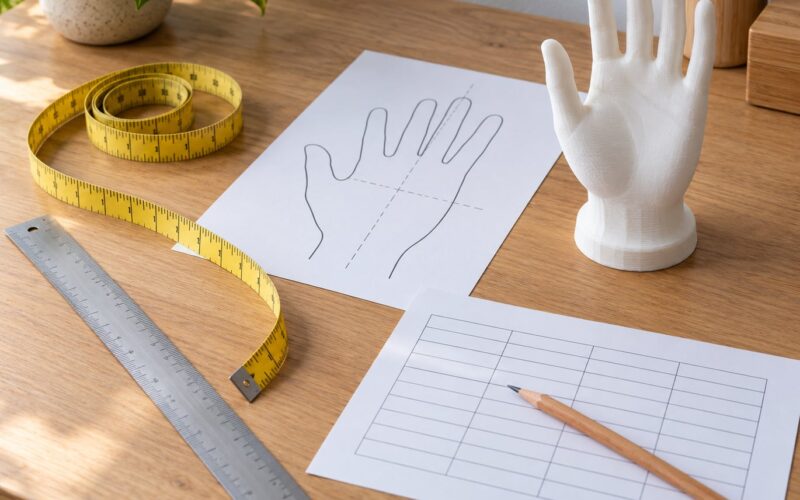
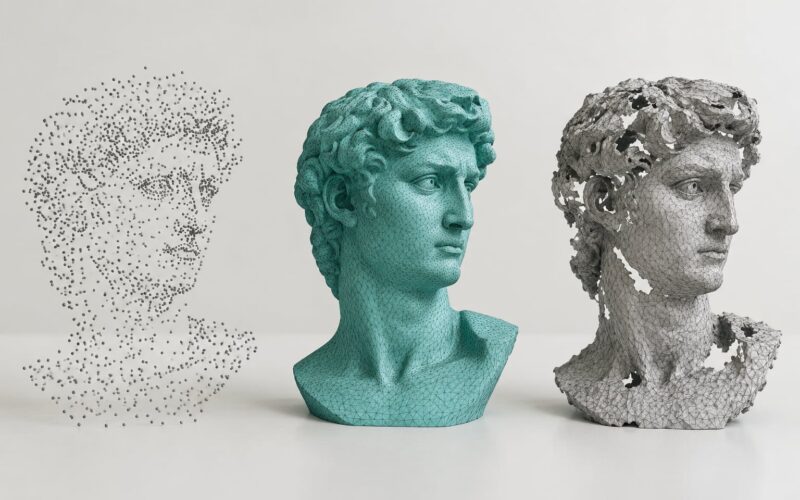
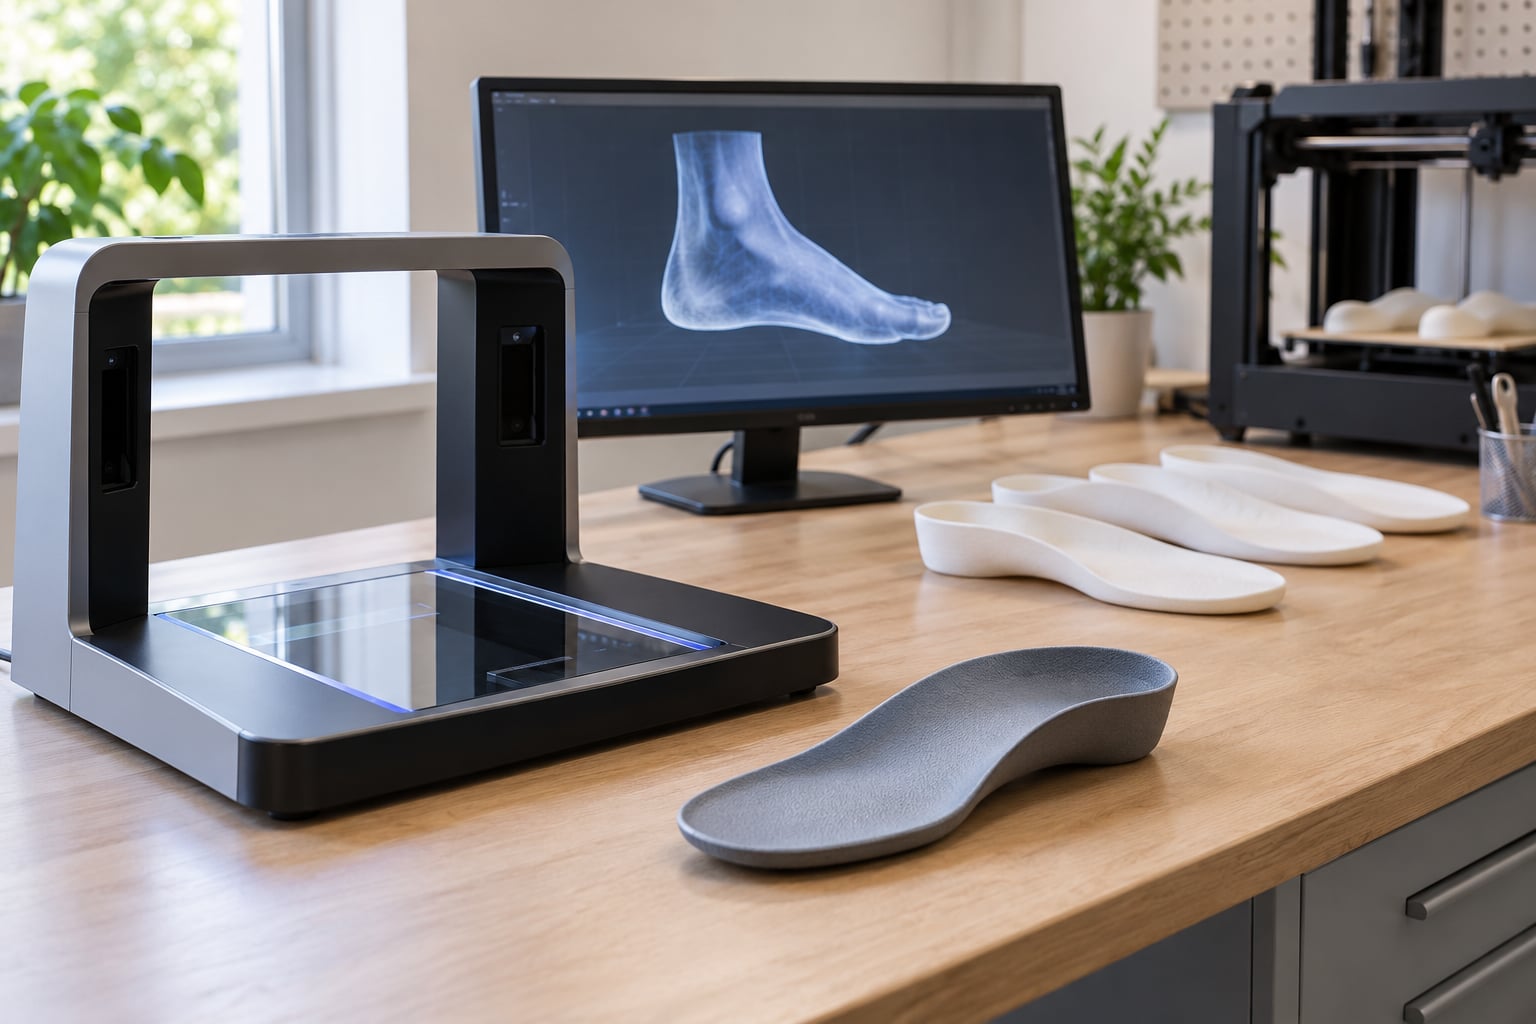
At the assessment stage a clinician records range of motion, gait, the shape of the foot while standing and the site of symptoms. Surface scanning or a pressure plate then produces a mesh, usually in a neutral or corrected position rather than a flat, unloaded one. A non-weight-bearing scan of a relaxed foot gives a shape that does not match how the foot actually loads, and that mismatch is baked into every later stage.
Modeling is where prescription-grade correction separates from cosmetic personalisation. A parametric CAD model applies arch height, heel cup geometry, a Kirby skive, a fascial groove, forefoot wedging or medial posting, and then varies internal infill density so one region is firm while another stays flexible. A cosmetic job changes the colour, the topcover and the surface pattern and leaves the load path alone.
The device is then printed, trimmed, finished with a topcover, and fitted — ideally back into the shoe with the sock you actually wear. If the shell is only tested standing on a shop floor, the fit is unverified.
Two details decide whether the result feels good. Per-region infill is the big one: dense infill raises stiffness and lowers it in the same print, which no vacuum-formed or milled shell can do in a single part. Post-processing is the other, and it is where printed devices most often disappoint, because a bare FDM surface is rough against skin.
The Digital Workflow From Scan to Finished Insert
Each stage takes input from the one before it, so an error at step two is still present at step six. Knowing where the weak points sit tells you what to interrogate a provider about.
| Stage | What gets captured | Where it goes wrong | What a provider should show you |
|---|---|---|---|
| Assessment | Foot shape under load, gait, range of motion, symptoms | Device designed from a scan alone, with no physical exam | Notes on what was tested and what the device is meant to change |
| Scanning | Surface mesh, arch height, foot width, pressure map if used | Unloaded scan, swollen foot at end of day, motion artefact | The scan file, the scanning position, and whether a pressure map informed the design |
| Modeling | Arch height, heel cup, posting, pads, per-region infill | Generic template resized to your foot instead of a designed correction | A cross-section or cutaway showing internal density zoning |
| Printing | Layer geometry, wall thickness, orientation, infill pattern | Delamination, porosity, visible lattice edges, stringing | Layer height, nozzle size and material grade used |
| Post-processing | Trim line, surface finish, topcover bond | Rough edges, topcover delaminating after a month | The finished device in hand, not a render |
| Fitting | Fit in the shoe, alignment, break-in reaction | Judging fit while standing rather than walking or running | A return or adjustment policy, and a scheduled follow-up |
The single most useful thing you can ask for is a cutaway. A vendor teardown-style photo of a real product, sliced through the middle, exposes internal density, wall thickness and whether anything is actually being done per region. If the cross-section is uniform solid, the variable-stiffness claim is marketing.
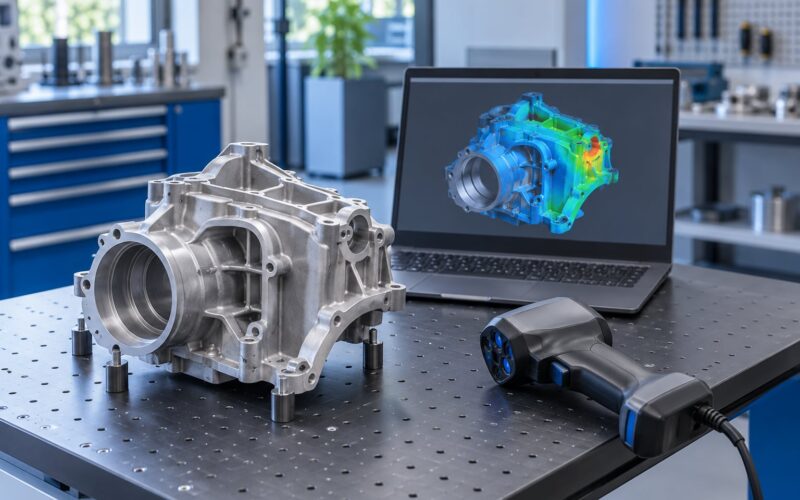
For makers reproducing an existing device, the same logic applies with one substitution. You can scan the old insole itself rather than the foot, which sidesteps swelling and load-position questions entirely, and then clean the mesh, remove any topcover, and offset the surface a set amount to make room for a cushioning layer. Reproducing shape is straightforward; reproducing clinical intent is not, because the original design rationale is not encoded in the geometry.
How 3D Printing Custom Insoles and Orthotics Differs From Conventional Manufacturing
Conventional orthotic fabrication is subtractive or thermoformed. A block of polypropylene or plastic is milled down, or a sheet is heated and vacuum-formed over a positive model, or a plaster cast is filled and finished. Additive manufacturing inverts that: you describe the finished shape and the machine builds it.
That inversion produces two real advantages and one real cost. Advantages are geometry freedom and reproducibility — a region of near-zero stiffness or a complex lattice core is trivial to print and identical every time you reorder. The cost is that nothing enforces consistency except process control, and a home printer is not a regulated production line.
| Method | Material waste | Geometry freedom | Reproducibility | Typical weakness |
|---|---|---|---|---|
| 3D printing (FDM, SLS, MJF) | Low; support material only | Very high, including internal density zoning | Excellent from the same digital file | Surface finish, throughput, material variability |
| CNC milling | High; most of the block is removed | Limited by tooling and cutter access | Good, within machining tolerance | Cost per part, time, internal features impossible |
| Vacuum forming | Moderate; sheet offcuts | Limited; uniform sheet thickness | Good while the positive model exists | No variation in stiffness within one part |
| Foam impression box | Low | None; captures a compressed impression | Poor; re-impressions differ | Little forefoot structure, compresses over time |
| Plaster or resin positive cast | Moderate | Depends on the cast | Moderate; hand finishing varies | Labor-intensive, room-temperature drift |
One number keeps coming up in trade discussions: subtractive milling removes the overwhelming majority of the workpiece to reach final shape. Additive processes flip that ratio, and for a one-off customised device with no resale volume, that is the whole economic argument.
For clinics the decision is usually not printer versus no printer. Printers for orthotic work range from modest desktop machines to industrial systems costing many times more, and most clinics send files to a central fabrication lab instead of owning hardware, because throughput and technician time rarely justify ownership at patient volumes.
Which 3D-Printing Materials Are Used?
Material choice drives feel more than geometry does. A perfect design in the wrong polymer is a disappointment, and the honest answer is that a material label alone cannot tell you whether a device is suitable or safe for prolonged skin contact.
| Material | Flexibility | Durability | Moisture behaviour | Printability | Typical role |
|---|---|---|---|---|---|
| TPU 95A | Firm, springy, returns energy | Very good | Stable | Demanding; prone to stringing | Default printed shell for sport and general use |
| Lower-hardness TPU | Soft to very soft | Good, compresses over time | Stable | Demanding | Cushioning layers, comfort inserts |
| Nylon 12 and similar | Stiff with slight flex | Excellent | Absorbs moisture, dims slightly | Needs a dry chamber and an enclosure | Rigid control shells, structural supports |
| Polypropylene | Stiff, slight spring | Excellent | Stable | Difficult; warps and sticks | Clinical-standard shell, usually milled not printed |
| Photopolymer resin | Adjustable, from soft to rigid | Mixed; some yellows | Stable | Post-cure and wash required | Fine detail, pressure-sensing prototypes |
| EVA foam | Soft | Moderate | Stable | Not usually printed; used as a layer | Cushioning top and base layers |
| PLA and PETG | Rigid | Poor to fair, creep under load | Fair | Easy | Prototypes, tooling, shoe lasts — not wear surfaces |
What TPU works for 3D printed footbeds
Shore A is the number people search on, and it maps roughly like this: 85 to 95A is firm and supportive, 70 to 85A is mid-range and forgiving, and anything below 70A lacks the structure for a load-bearing shell and belongs in a cushioning layer instead. TPU 95A is the common starting point for printed orthotic shells because it holds its shape under repeated compression while still returning energy.
Two caveats matter more than the number. First, two filaments both labelled 95A can behave differently from batch to batch, and the printed result also depends on layer height, wall count and infill, so the nominal rating is a starting point rather than a guarantee. Second, being skin-contact safe as a bulk material is not the same as being certified for prolonged contact — biocompatibility testing to ISO 10993 or USP Class VI is the benchmark to ask about.
Print settings that change the finished device
Nozzle diameter is the quiet cost lever. A thinner nozzle resolves the tight radii around a heel cup and a forefoot pad, but it takes longer and costs more in machine time; a wider nozzle is faster and slightly rough. Makers consistently report full-length custom shells taking anywhere from about one hour to a full day depending on nozzle size, layer height, infill density and whether the two sides are printed sequentially or mirrored on a dual-head machine.
Infill is the stiffness dial. Low density gives a compliant, lighter shell; high density gives a firm control layer. Because the slicer can vary density by region in a single part, a heel can be soft and shock-absorbing while the medial arch stays firm, which no single-density traditional process can deliver.
What Are the Main Benefits and Limitations?
Every genuine advantage has a matching catch, and they are usually the same fact seen from two sides. Additive manufacturing is powerful precisely because the geometry is unconstrained, and that is also why a badly reasoned design prints just as faithfully as a good one.
| Benefit | Practical limitation |
|---|---|
| Regional stiffness and density zoning in one part | Only meaningful if the design is deliberate; a uniform cross-section delivers nothing |
| Exact reproducibility of replacement pairs | Holds only while the file, printer profile and material lot stay consistent |
| Lightweight lattice structure | Lattice edges can irritate skin if the surface is left unrefined |
| Rapid iteration between appointments | Fast revisions can outrun clinical reassessment |
| Low material waste versus milling | Cost shifts to machine time, labour and post-processing rather than disappearing |
| Full-length geometry including toe area | Many designs are still three-quarter length to fit the shoe, so the toe is uncorrected |
| Digital data preserved for future reference | Data ownership, storage life and who can use the file are rarely specified |
| Low barrier entry for makers | Producers of surgical footwear, ankle-foot orthoses and other regulated devices face real legal limits |
Long-term evidence is the honest weak spot. Small and mid-sized studies have reported meaningful plantar pressure redistribution with variable-density printed footbeds, and the technique is being studied seriously for diabetic foot offloading. At the same time, comparative work has found printed insoles not clearly outperforming good prefabricated devices for general comfort. Both findings can be true, because pressure redistribution and patient outcome are not the same measurement.
Other recurring frustrations show up in maker communities: TPU stringing, layer adhesion failures on curved bases, moisture problems with nylon, and a steep learning curve for anyone moving from rigid PLA to a flexible material. Break-in soreness is common even with clinically sound devices and is not automatically a sign of a bad fit.
How Much Do 3D-Printed Insoles and Orthotics Cost?
Figures below are typical United States ranges. They vary by region, provider and complexity, and they change over time, so treat them as orientation rather than a quote.
| Device type | Typical US range per pair | What drives the number |
|---|---|---|
| Consumer comfort insert, printed or hybrid | Roughly USD 30 to 90 | Shell material, topcover, branding, retail channel |
| Scan-to-print service without clinical review | Roughly USD 80 to 200 | Scan capture, design automation level, shipping, adjustment policy |
| Commercial 3D-printed custom device | Roughly USD 200 to 400 | Pressure mapping, gait review, variable-density design, warranty |
| Clinician-designed prescription orthoses | Roughly USD 200 to 600 and above | Examination, casting or scanning, lab fabrication, follow-up visits, revisions |
| Diabetic or high-risk custom devices | Often above the standard range | Additional appointments, material certification, frequent replacement |
Clinic-fabricated devices land where they do for reasons that have nothing to do with the printer: assessment time, design time, lab labour, fittings, revisions and clinical responsibility carried afterwards. Two appointments and a follow-up visit are often a larger share of the total than the physical device.
For a maker printing at home the raw numbers are modest. A full-length custom shell in flexible TPU typically uses tens of grams of filament, machine time measured in hours, and the real cost is the printer, the scanner and your own hours. Add finishing and a topcover and the honest comparison still favours the DIY route for duplicates and prototypes. It does not favour it as a replacement for a device prescribed for a diagnosed condition.
Turnaround follows the same split. Direct-to-consumer scan-to-print services commonly quote days; anything involving a clinician, revisions or a central lab takes weeks, and the schedule is driven by the clinical steps rather than the print.
How to Choose a Provider or Evaluate a Device
Most disappointing printed orthotics are not badly printed. They are correctly printed from a design that never addressed the problem, and the questions below are what separates the two.
Questions worth asking before you order
Ask who assessed the foot and what qualifications they hold, and specifically whether a person examined you or whether the design was generated from your scan alone. Ask how the foot was captured and in what position, because a scan taken sitting down, standing and unloaded produce three different models. Ask what the design is meant to change, phrased as a mechanism rather than a benefit — medial posting, a heel skive, a forefoot wedge or a pressure offload each imply a different intent.
Ask which material grade and what infill structure sit inside the shell, and whether a cross-section is available. Ask whether the device is full length or three-quarter length, since a three-quarter shell leaves the toe area uncorrected and will not fit every shoe. Ask about revision and return terms, including the length of the adjustment window.
Then ask the regulatory question directly. In the United States, orthotics prescribed by a licensed clinician are generally exempt from premarket device clearance, while a custom device marketed directly to consumers with medical claims sits in regulated territory. A reputable provider answers this plainly; a vague answer is itself informative. Providers outside the United States work under different frameworks, so local rules apply.
Finally, ask to hold the finished device. Weight, edge finish, topcover feel and rigidity all tell you something a photograph cannot, and a real product in your hand is the cheapest quality check available.
Are 3D-Printed Orthotics Safe?
For most people a well-fitted printed insert is low risk, because the failure modes are mechanical and visible rather than hidden. Skin irritation from rough edges, pressure points from a mis-sized shell and soreness during break-in are the usual complaints, and all three are manageable with adjustment.
Introduce a new device gradually. Wear it for a few hours on the first day rather than a full shift, check your feet afterwards, and treat any blister or lasting redness as information rather than something to push through. Keep the device clean and let it dry fully between uses, since a damp insole encourages both skin problems and material odour.
Be cautious with claims. A material grade, a print temperature and a brand name together do not establish biocompatibility, and no marketing page should substitute for that. If a device is described as treating a diagnosed condition, that is a clinical claim and deserves professional oversight.
Some situations are not DIY territory at all. If you have diabetes or peripheral neuropathy, existing ulcers or wounds, active pain that has not been diagnosed, a deformity, or a history of surgery on the foot or ankle, get assessed by a podiatrist, physical therapist or orthotist before changing what goes underfoot. Same-day medical care is appropriate for a foot that becomes hot, swollen, red, ulcerated or suddenly far more painful than usual, or for numbness with no obvious cause.
Frequently Asked Questions
Do I need a 3D foot scanner to get custom insoles?
No, but accuracy improves markedly with one. Foam impression boxes and DIY plaster casts capture a load-bearing impression cheaply and are fine for prototypes or duplicating an existing insole. Surface scanners capture far more detail about arch shape and width. Pressure plates add the loading data that a surface scan alone cannot give. If your goal is genuine custom geometry rather than a copy, budget for a real scanner.
How long does it take to make 3D-printed custom insoles?
Direct-to-consumer services commonly quote several days from scan to delivery. A clinic-involved process takes longer, usually a few weeks, because assessment, fittings and revisions dominate the schedule rather than the print itself. At home, a full-length shell runs from roughly an hour on a wide nozzle to a full day on a fine nozzle, plus several hours of trimming, sanding and applying a topcover.
Are 3D-printed orthotic insoles durable enough for daily use?
For most daily and sporting use, a printed shell in TPU 95A or nylon holds up well, and small studies have used variable-density printed footbeds in daily wear without hardware failure. Expect cosmetic wear over time, and expect soft cushioning layers to compress sooner than rigid shells. Material grade, layer height and post-processing determine durability more than the printer brand does.
Can a 3D-printed insole replace prescription orthotics from a doctor?
It can be a comfortable alternative for general support, but it is not a substitute for a device prescribed for a diagnosed condition. A prescription carries a clinical assessment and a design rationale that a scan does not capture, and swapping it out without that review can leave the original problem unaddressed. If a clinician prescribed yours, ask them before replacing it.
Are 3D-printed insoles suitable for children, running, or sports?
They are used in all three, with caveats. Children’s feet change quickly, so a device needs frequent reassessment and should not be locked in with a fixed adult-style correction. Running and court sports favour firmer, energy-returning shells with deliberate forefoot control, since a soft comfort insert can destabilise a gait. Competitive rules on custom inserts vary by governing body, so check before racing in one.
Conclusion
3D printing earns its place in orthotics where a foot needs geometry that conventional methods cannot deliver: density that varies across the device, full-length forefoot structure, and exact duplicates years later. It is a manufacturing route, and the device is only as good as the assessment and the design that came before it.
So start with a professional foot assessment rather than a scan app, then judge the design on its reasoning and the device on its cross-section, its finish and its adjustment policy. If the pain is undiagnosed, or diabetes, neuropathy or wounds are involved, that conversation with a podiatrist comes before any device does.