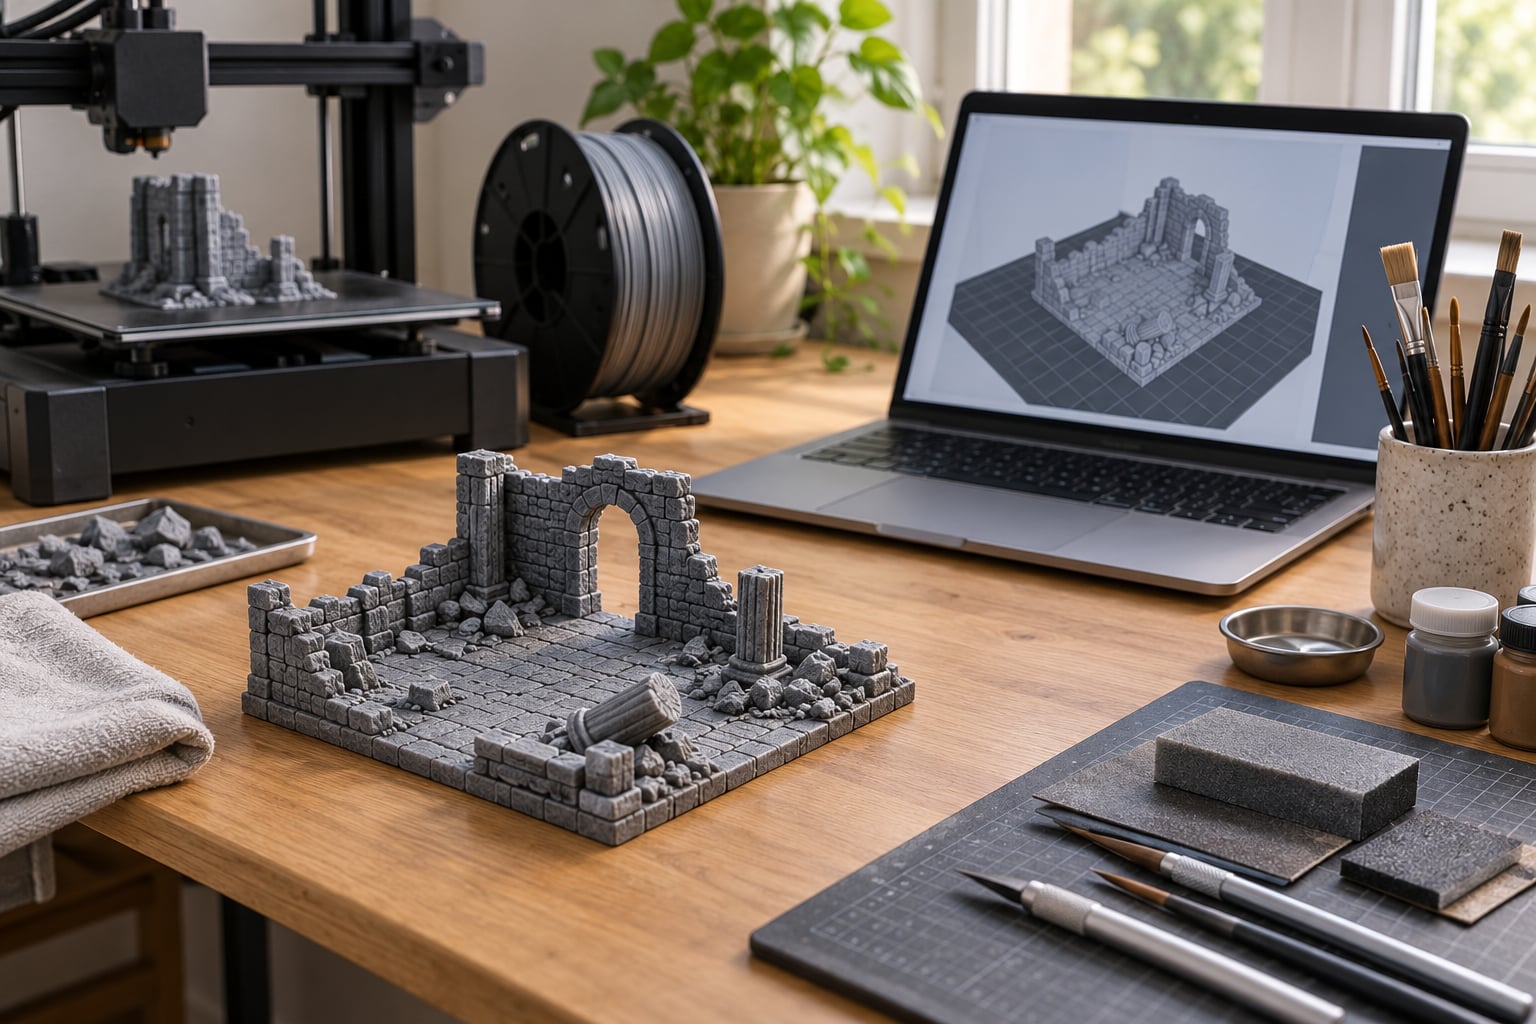
Printing tabletop terrain comes down to four decisions: get the file at the right miniature scale, lay the piece flat on its largest base, slice it with a fairly low layer height and few walls, then print it on an FDM filament machine. The community rule that keeps holding up is simple: figures want resin, terrain wants filament.
Plan on about 15 minutes of prep and anywhere from 6 to 15 hours of machine time for a single building. A four-tile dungeon set is a weekend of printing, and the first piece is usually a test print so you can dial in adhesion before committing to the batch.
Everything below is the workflow I would hand a first-time terrain printer: what to gather, how to prepare and orient the file, settings that hold up on both FDM and resin, how to deal with supports, and how to finish the piece so it survives a gaming table.
Table of Contents
- What You Need to Print Tabletop Terrain for Miniatures
- Step-by-Step
- How to print tabletop terrain files at the right scale
- How to set up the print for FDM or resin
- How to add supports without ruining details
- How to remove supports and clean the print
- How to finish terrain for tabletop use
- Common Mistakes
- Frequently Asked Questions
- What scale should I download terrain STLs in?
- Should I use an FDM printer or a resin printer for terrain?
- Is it legal to print terrain based on Warhammer or other commercial models?
- How long does a set of dungeon terrain take to print?
- Do printed terrain pieces need to be painted to look good?
- Conclusion
What You Need to Print Tabletop Terrain for Miniatures
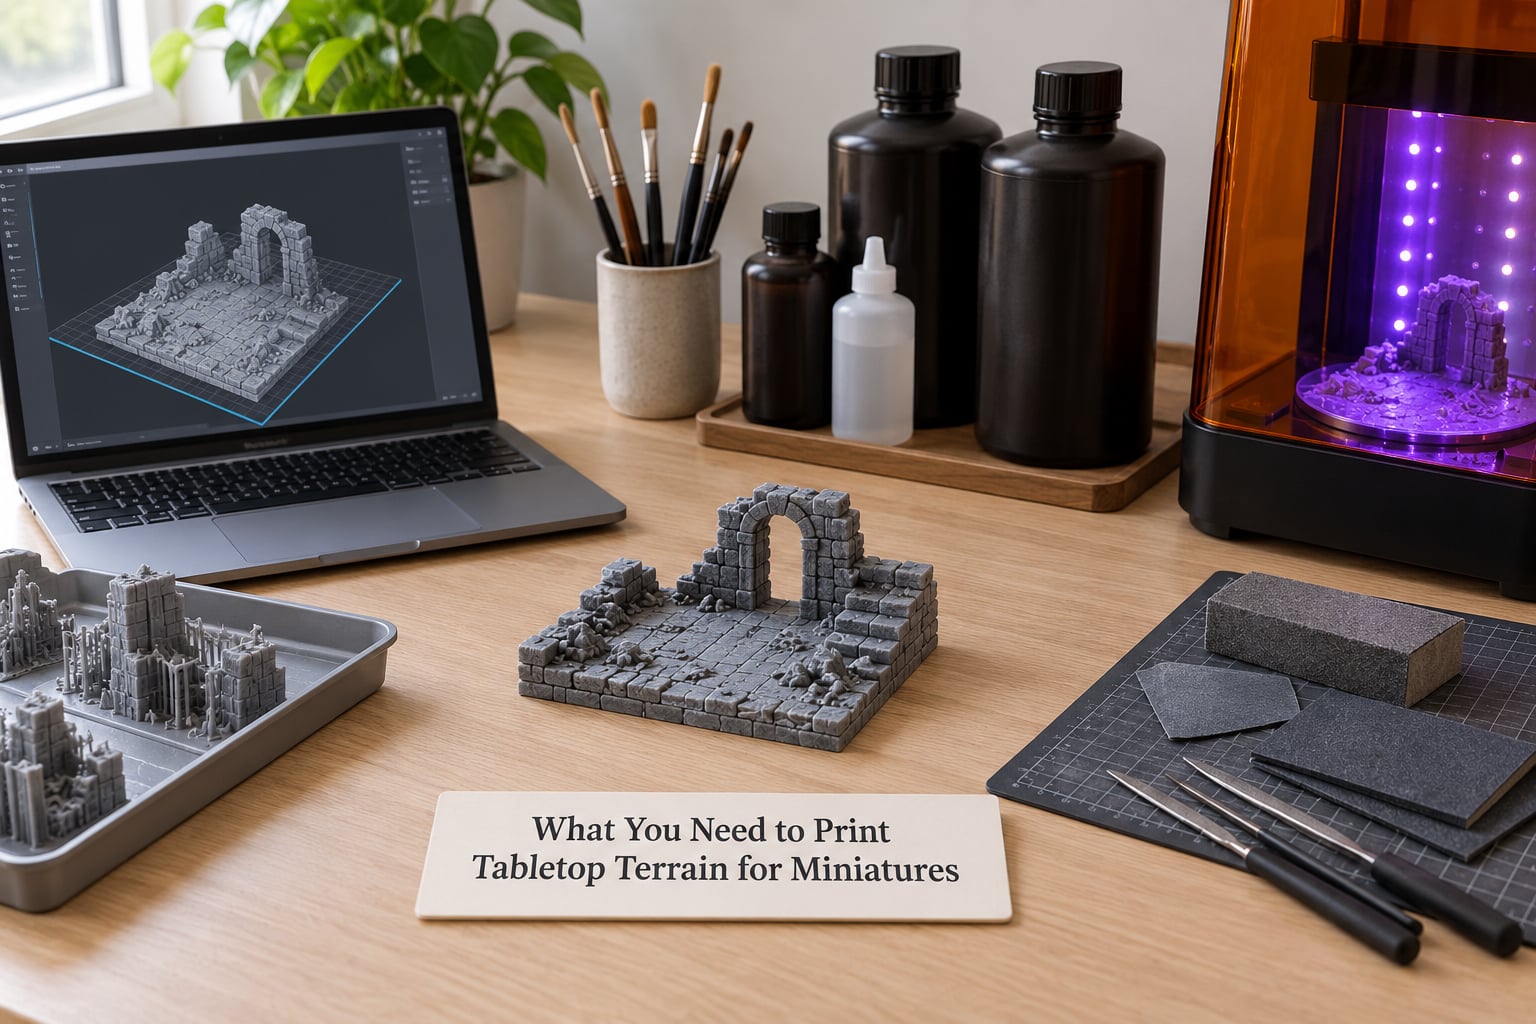
Gather everything before you download anything. The list is short, and most people already own half of it.
- A slicer. Bambu Studio, OrcaSlicer, PrusaSlicer and Cura all handle terrain files. Bambu Studio and OrcaSlicer both ship adaptive layer height, which is the single feature that makes curved terrain look better on FDM.
- Model files. STL is the common format; 3MF keeps the original scale and orientation baked in, so it saves guesswork when a seller provides it.
- An FDM printer with a flat bed. Build volume matters more for terrain than print quality. Terrain is big, flat and low-detail, so the biggest plate you can comfortably fit on your desk is the right choice.
- PLA or PETG filament. PLA prints cleaner and is easy to sand. PETG is tougher and shrugs off handling, which matters for pieces that get picked up every session.
- Safety gear. Nitrile gloves and a wash station with running water if you print resin. Resin needs ventilation and full gloves; FDM needs almost nothing beyond a pair of gloves for support removal.
- Hand tools. Flush cutters, a hobby knife, needle files, a small sanding block and 120, 220 and 400 grit paper, plus a bottle brush and dish soap.
- Finishing supplies. A spray primer, matte varnish, house paint for large surfaces and a dry palette. One community favourite routine is a grey or black spray primer followed by cheap sample paints on big flat areas.
Step-by-Step
How to print tabletop terrain files at the right scale
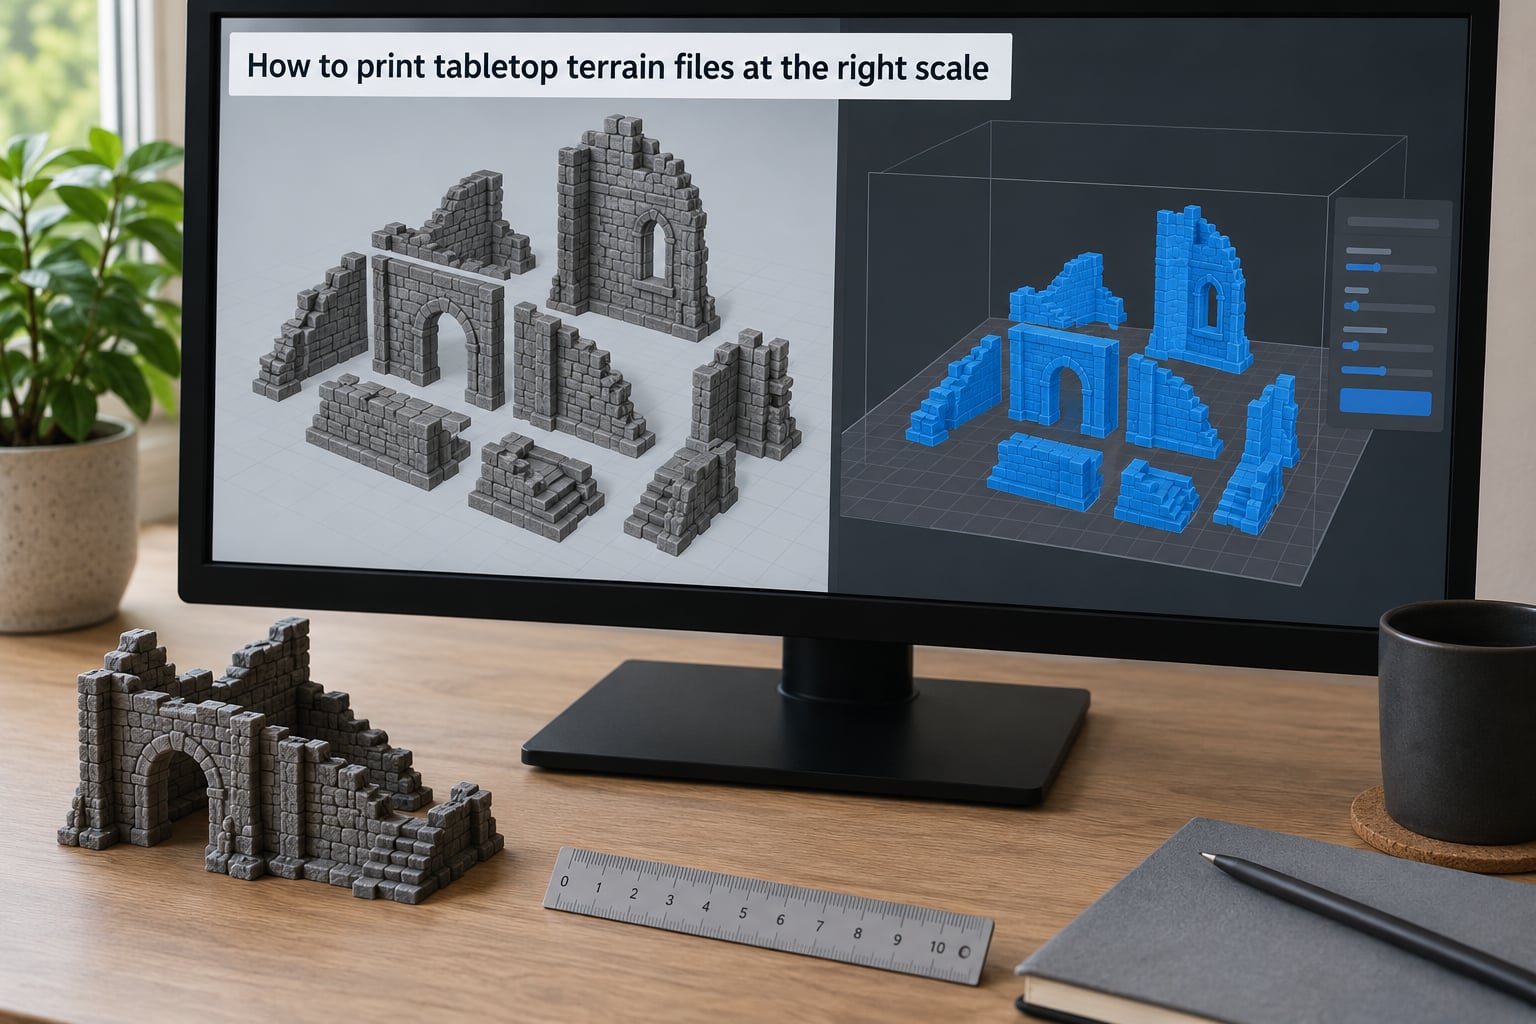
Start at the file, because a wrong scale cannot be fixed later. Miniature standards are 28mm for fantasy roleplaying, 32mm for most skirmish and wargaming systems, and 40mm heroic scale. Print the file at the scale your miniatures actually are, and terrain bought at a different standard will look wrong next to them no matter how well it prints.
Next, check the printed footprint against your build volume before you scale anything. A ruin listed as 220mm long will not fit a 180mm plate, and the fix is usually to slice the model into two or four parts in the slicer itself: select the model, use the cut or slice tool along a flat plane, and export each piece separately. Tall thin walls and archways survive this better than a base cut through the middle.
Repair geometry next. Slicers flag non-manifold edges and self-intersecting faces; most slicers fix both with a repair function, and a mesh editor such as Meshmixer gives you more control. A file that slices without warnings usually prints without surprises.
Orientation decides surface quality. Put the largest flat base directly on the bed and keep the model level, so every layer lands across a wide flat area rather than a small island. Rotate the piece until the fewest visible faces need support, and for foldable terrain, print long sections parallel to the travel moves rather than across them.
Before printing the whole set, slice one small section and inspect the preview. What you are looking for is a solid first layer, no thin slivers in the top surfaces, and no overhang steeper than about 45 degrees that will need support.
How to set up the print for FDM or resin
On FDM, terrain is forgiving. You want enough resolution to keep rock faces and roof edges readable, and enough walls to stop the piece flexing under a rulebook resting on it.
| Terrain type | Layer height | Walls | Infill | Top and bottom layers | Speed |
|---|---|---|---|---|---|
| Scatter terrain, rocks, tufts | 0.16 mm | 3 | 10-15% | 4 | 150 mm/s |
| Small buildings, walls, stairs | 0.20 mm | 3 | 10% | 5 | 120 mm/s |
| Large multi-part buildings | 0.24-0.28 mm | 4 | 8-10% | 5 | 100 mm/s |
| Delicate ruins, thin arches | 0.12-0.16 mm | 3 | 15% | 4 | 80-100 mm/s |
Turn on adaptive or variable layer height and shift the slider fully toward quality. The slicer then drops the layer height on curved and detailed surfaces and raises it across flat runs, which gives you the detail of a fine layer without the print time of one everywhere.
Use a brim, not a skirt, on anything with a footprint wider than about 100mm. A brim adds an extra ring of plastic around the base and is the single most effective fix for corners curling off the bed. For very large footprints, add a raft underneath as well.
Set the first layer thick. Around 0.2mm is the standard, and 0.25mm works well for large flat tiles because it gives the bed more to grip. Raise the bed temperature to 55-60C for PLA and 70-80C for PETG, and keep an eye on part cooling: full fan on the first layer usually hurts adhesion.
On resin, terrain needs fewer compromises and more caution. Drop to 0.05mm layers, turn off most of the hollowing since terrain pieces are rarely large enough to need it, and set exposure from a test coupon rather than guessing. Anything sloped on a resin build needs support placed on the hidden underside, and every resin part gets washed and UV-cured before you touch it with a tool.
The 0.4mm versus 0.6mm nozzle question comes up constantly. A 0.6mm nozzle cuts print time roughly in half and is fine for walls, floors and big ruins; a 0.4mm nozzle earns its place on fine detail and miniatures. For terrain as a whole, a 0.6mm nozzle at 0.2mm layers is the practical middle ground.
How to add supports without ruining details
Terrain mostly wants no supports. The models that need them are ruins with overhanging lintels, bridges and arches, cliffs with a stepped face, and thin isolated features such as a flagpole, a broken beam or a railing.
Place tree supports by hand rather than letting the slicer do it automatically. Automatic placement touches every overhanging surface, including the ones players will look at. Manual placement means touching only the underside of a ledge or the underside of an arch, which takes 30 seconds and saves you filling scars afterwards.
For resin, build the support so it meets the model at a single small point rather than a wide pad. Breaking a wide pad off a sculpted surface is what leaves a visible flat scar. Interface layer thickness of 0.3-0.5mm keeps the mark small.
For FDM, avoid tree supports on flat detail. If a feature overhangs more than about 50 degrees, it usually prints acceptably unsupported, and a thin layer height of 0.16mm will clean up the sag on its own. Add support only when the slicer preview clearly shows a droop.
A print that only exists to test support placement is money well spent. Print one ruin wall, look at where the marks landed, and then batch the rest.
How to remove supports and clean the print
Take the piece off the bed while it is still slightly warm, and work from the base upward with flush cutters. Snap supports off at the joint rather than grinding them away, and keep cutters pointed away from your face.
Resin parts get washed first. Soak the piece in isopropyl alcohol or warm soapy water, scrub the detail gently with a soft brush, then cure it under a UV lamp for the full time the lamp recommends. Work in gloves and keep uncured resin away from skin and eyes.
FDM parts get a light clean instead: warm soapy water and a brush to clear off loose filament, then let it dry fully before sanding. Check for defects while it dries, looking for layer separation, blobs on fine detail, and any place the model is thinner than its walls should allow.
Sand only what is wrong. Start at 120 grit on seams or scars, move to 220, and stop at 400. Sculpted texture like rock grain or rubble should be left alone; if you sand it flat, no amount of paint will bring the detail back.
Large buildings are worth hollowing out with fill perimeters in the slicer. You rarely see the inside of a roofless ruin, and cutting the interior can save a substantial share of the filament and hours of print time.
How to finish terrain for tabletop use
Finish the piece for the table, not for a display shelf. It will be handled, dragged across a mat, and occasionally knocked by an enthusiastic movement.
Prime in thin coats from about 25-30cm away. Grey primer works for most palettes, black primer adds depth for dark schemes, and white primer keeps colours true for vivid warbands. One thing worth repeating from community practice: skip paint-and-primer cans for the prime coat and use a real primer spray, because the combined cans leave a slightly greasy surface that makes later coats slide.
Basecoat, then drybrush the texture to catch the raised detail, then wash the recesses. House paint from a sample pot is more than good enough on the large flat areas of a cliff face or a road, and cheaper than model paint by a wide margin. If you do not want to paint at all, multi-material systems that swap filament mid-print can produce finished terrain directly, at a cost in print time and wasted filament on purges.
Seal it once it is fully dry. Two light coats of matte varnish stop handling wear and stop paint from rubbing onto your gaming mat. Skip gloss on anything matte-looking; it turns a convincing rock face shiny.
Finally, test it. Set the piece on your table and lean a rulebook against it to check stability, walk around it at mini eye level to check line of sight, and set a standard 25mm base next to it to confirm scale. Base pieces on cork or MDF discs if you want them to stay put through a heavy game.
Common Mistakes
| Problem | Cause | Fix |
|---|---|---|
| Corners curl off the bed | Stress from cooling on a large flat footprint | Brim instead of skirt, add a raft, raise bed temperature 5C, clean the bed with soap and water |
| Brim will not stick | Bed not level, dirty or too far away; first layer too thin | Re-level, clean with isopropyl alcohol, set an initial layer of 0.2-0.25mm |
| Corners lift mid-print | Drafts or a warm room | Add an enclosure or a cardboard draft shield and cool the room |
| Overhangs droop into blobs | Steep angle, poor cooling, layer too tall | Add support on the hidden side, drop to 0.16mm, raise part cooling |
| Stringy blobs on fine detail | Retraction or travel speed too aggressive for fine features | Lower retraction for direct drive, slow travel over small details, enable combing |
| Visible sanded scars after painting | Auto support touching visible surfaces | Delete those supports, add a small manual support, reprint |
| Paint peels off in play | Print still warm, dusty or primed with a paint-and-primer can | Wash and fully dry, prime with real primer, thin coats, cure before varnish |
| Terrain looks cheap beside resin minis | Layer height too high, no adaptive layer height | Enable adaptive layer height, drop to 0.16mm, iron on top surfaces |
Warping deserves one extra note since it is the most common complaint. If corners lift despite a brim, the cause is almost always layer-by-layer stress across a large flat area, and the fix order is: brim first, then a raft, then bed temperature, then an enclosure. Raising the nozzle temperature helps less than people expect, and switching to PETG helps more than any slicer setting because it shrinks less as it cools.
Frequently Asked Questions
What scale should I download terrain STLs in?
Match the scale of the miniatures you already own. 28mm suits fantasy roleplaying games, 32mm fits most modern skirmish and wargaming systems, and 40mm heroic scale suits display pieces. If your miniatures came in a mixed box, measure one with calipers before you buy files, and pick one standard for your whole collection so the table looks consistent.
Should I use an FDM printer or a resin printer for terrain?
Use FDM filament for terrain and resin for miniatures. Filament handles large flat volumes cheaply, needs almost no safety gear, and produces a piece that survives being handled, while resin is slower per volume and needs gloves, washing and curing. The exception is delicate ruins with fine carvings, where resin detail can justify the extra steps.
Is it legal to print terrain based on Warhammer or other commercial models?
Rules differ by country and by licence, so check the terms of the model rather than assuming. Printing for your own private use from a file you are licensed to use is generally treated differently from selling printed copies. Avoid distributing the files themselves, and never use a trademark or logo on something you sell.
How long does a set of dungeon terrain take to print?
A single wall or small ruin usually takes 6 to 10 hours on a typical FDM machine at 0.2mm layers and 3 walls. A four-piece building or a multi-tile dungeon set can run 30 to 60 hours in total. Cutting interiors out of buildings with fill perimeters is the fastest way to cut that down, and hollow shells use a fraction of the filament.
Do printed terrain pieces need to be painted to look good?
No. Raw grey PLA with a matte varnish reads perfectly well as unpainted terrain, and plenty of players prefer it that way for a modern look. Painting adds contrast, hides print artifacts and stops surfaces looking shiny, but it is optional. Multi-material printers can also lay down two filament colours in one print if you want some variation without a brush.
Conclusion
Start with one section. Download a terrain file at the scale your miniatures actually are, check the footprint against your build volume, slice the model with the largest flat base on the bed, and send a single piece through with adaptive layer height on, a brim, 0.2mm layers and three walls.
Print that piece, then check three things: whether the corners stayed flat, whether the detail survived, and whether the piece sits steady on your table. Fix whatever went wrong on the sample before batching the rest, and finish it with primer and matte varnish so it holds up to a year of regular handling.