How to print miniatures with fine detail comes down to one hard physical limit: on FDM the ceiling is your nozzle diameter, and on resin it is the pixel size of the LCD. Everything else — layer height, speed, cooling, supports, orientation — is about squeezing the most out of that ceiling. Get those right and a 28mm figure stops looking like a melted chess piece.
Here is the honest version before we start. A 0.4mm nozzle physically cannot resolve anything narrower than about 0.4mm, no matter how thin you set the layer height. If a sculpt has fingers, hair and strap details at that scale, no slicer setting will save it. That is a machine limit, not a skill limit, and pretending otherwise is how people spend a weekend chasing a result that was never available.
The trade-off is time. Fine-detail settings can multiply a print from two hours to twelve. Plan for that before you start a party of eight characters, or you will abandon the batch halfway through. I have done both, and the abandoned batch is always the one I regret.
Here is the workflow I use, the numbers I actually run, and the failure modes that cost me the most prints.
Table of Contents
- What You Need
- Hardware
- Material
- Preparation tools
- Finishing supplies
- Step-by-Step: How to Print Miniatures With Fine Detail
- Step 1: Choose a Model and Check Its Geometry
- Step 2: Prepare the File So You Can Print Miniatures With Fine Detail
- Step 3: Set the Printer and Material Parameters
- Step 4: Slice for Detail Rather Than Speed
- Step 5: Print, Cure, and Remove Supports Carefully
- Step 6: Finish and Protect the Miniature
- Common Mistakes
- Frequently Asked Questions
- What are the best 3D print settings for miniatures?
- Can you print 0.08mm layer height with a 0.4mm nozzle?
- Is a 0.6mm or 0.4mm nozzle better for miniatures?
- How can I reduce support scarring on 3D printed miniatures?
- Do you need supports for 28mm miniatures?
- How do you paint a 3D printed miniature so layer lines disappear?
- Conclusion
What You Need
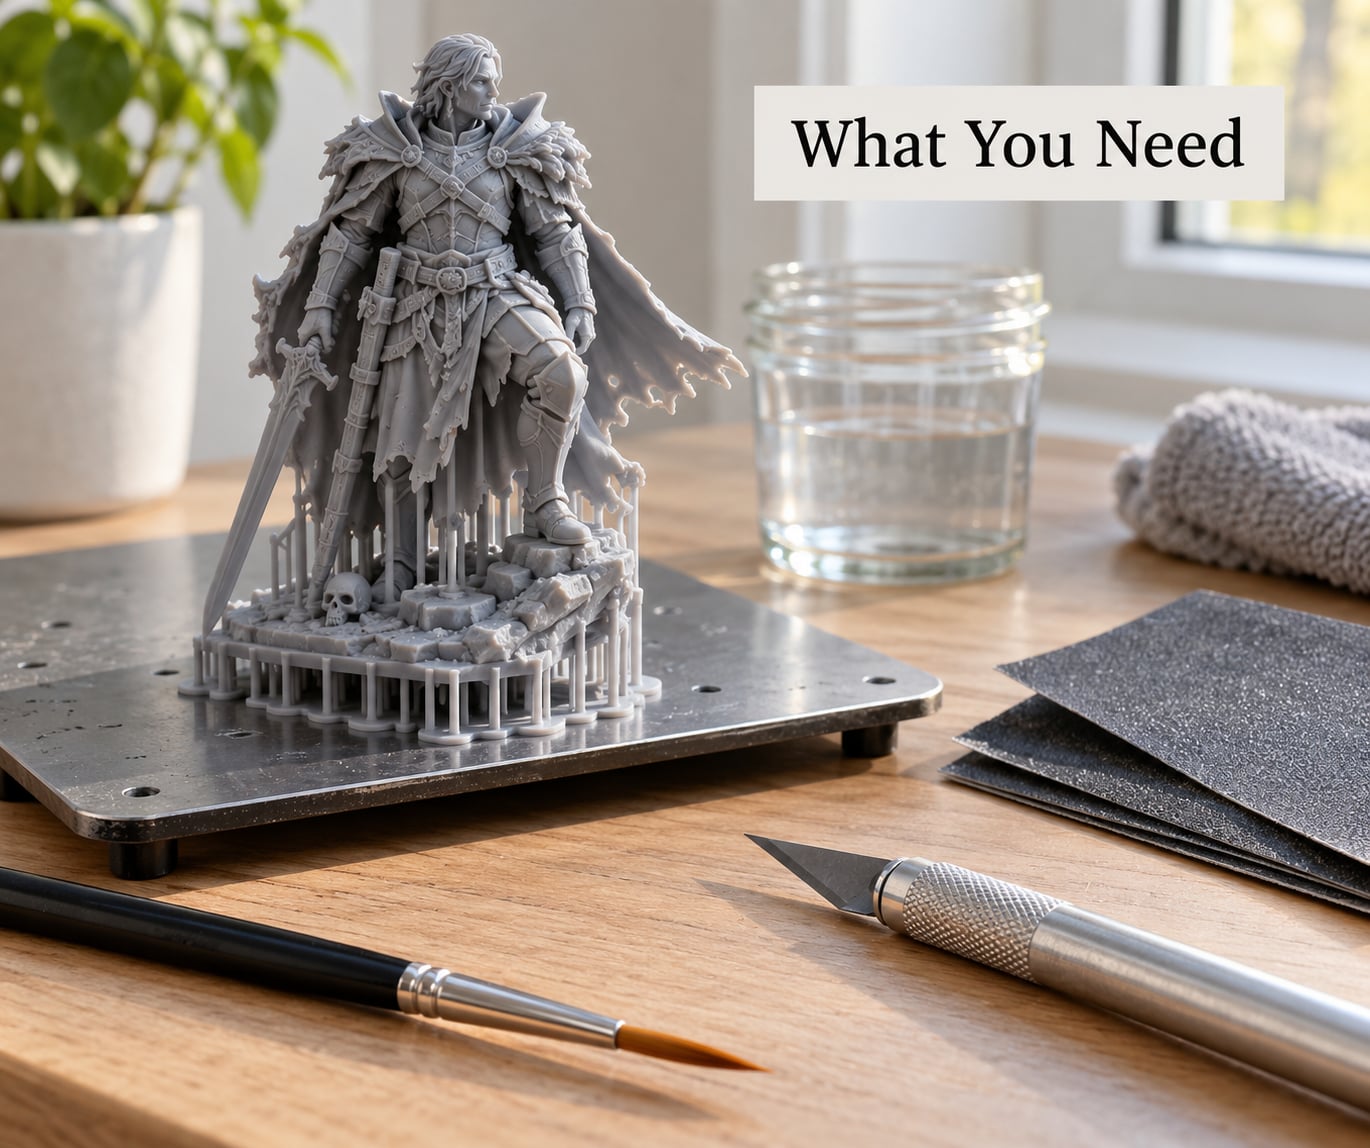
You need a printer that can hold a narrow extrusion line without overheating it, a material that stays dimensionally stable at that width, and a preparation toolchain that catches bad geometry before it costs you a print. Here is the honest list, split by what each item is actually for.
Hardware
- An FDM printer with a heated bed. Bed adhesion decides whether a miniature survives the first ninety layers. Cold beds cause the single most common small-part failure.
- A 0.4mm nozzle to start, and ideally a 0.2mm nozzle for detail work. A 0.4mm setup is fine for posing, basing and bulk characters. The 0.2mm is where faces start reading clearly.
- For resin: a printer with a tilting or bottom-up vat and a proper wash and cure station. An Elegoo Mars-class machine is the usual entry point, and the wash and cure step is not optional.
Material
- Matte PLA for gaming minis. The slightly fuzzy surface hides layer lines instead of catching light on them, which is a genuine advantage for a 20mm-tall figure.
- Glossy PLA for display pieces you plan to paint and highlight. Sharper surface definition, but every layer line shows.
- Higher-temperature plastics (PETG, ASA, ABS, PC blends) print more predictably at small scales. They flow more slowly and hold their edge better when the nozzle moves at low speed. A Bambu Lab community member with three generations of printers made exactly this point: higher-temperature plastics are easier to control on fiddly small geometry.
- For resin: a single tough or blended resin first. Standard grey resin is brittle at the layer interface, which shows up as snapped fingers and thin weapons.
Preparation tools
- A mesh repair and hollowing tool. Blender with the 3D Print Toolbox add-on does both for free and handles the whole pipeline.
- A slicing package that exposes support style and layer settings in detail: PrusaSlicer, OrcaSlicer or Ultimaker Cura for FDM, Lychee or Chitubox for resin.
- A caliper or a steel rule. Checking one dimension against the STL’s nominal size catches extrusion problems before you burn eight hours.
- Isopropyl alcohol and a lint-free wipe. A greasy build plate is the most common cause of first-layer failure on small parts.
Finishing supplies
- Filler primer in a spray can. This is the single best product for hiding layer lines on FDM minis.
- Filler putty for deeper blemishes and elephant foot.
- Wet sanding paper from around 400 grit up to 1000 and beyond.
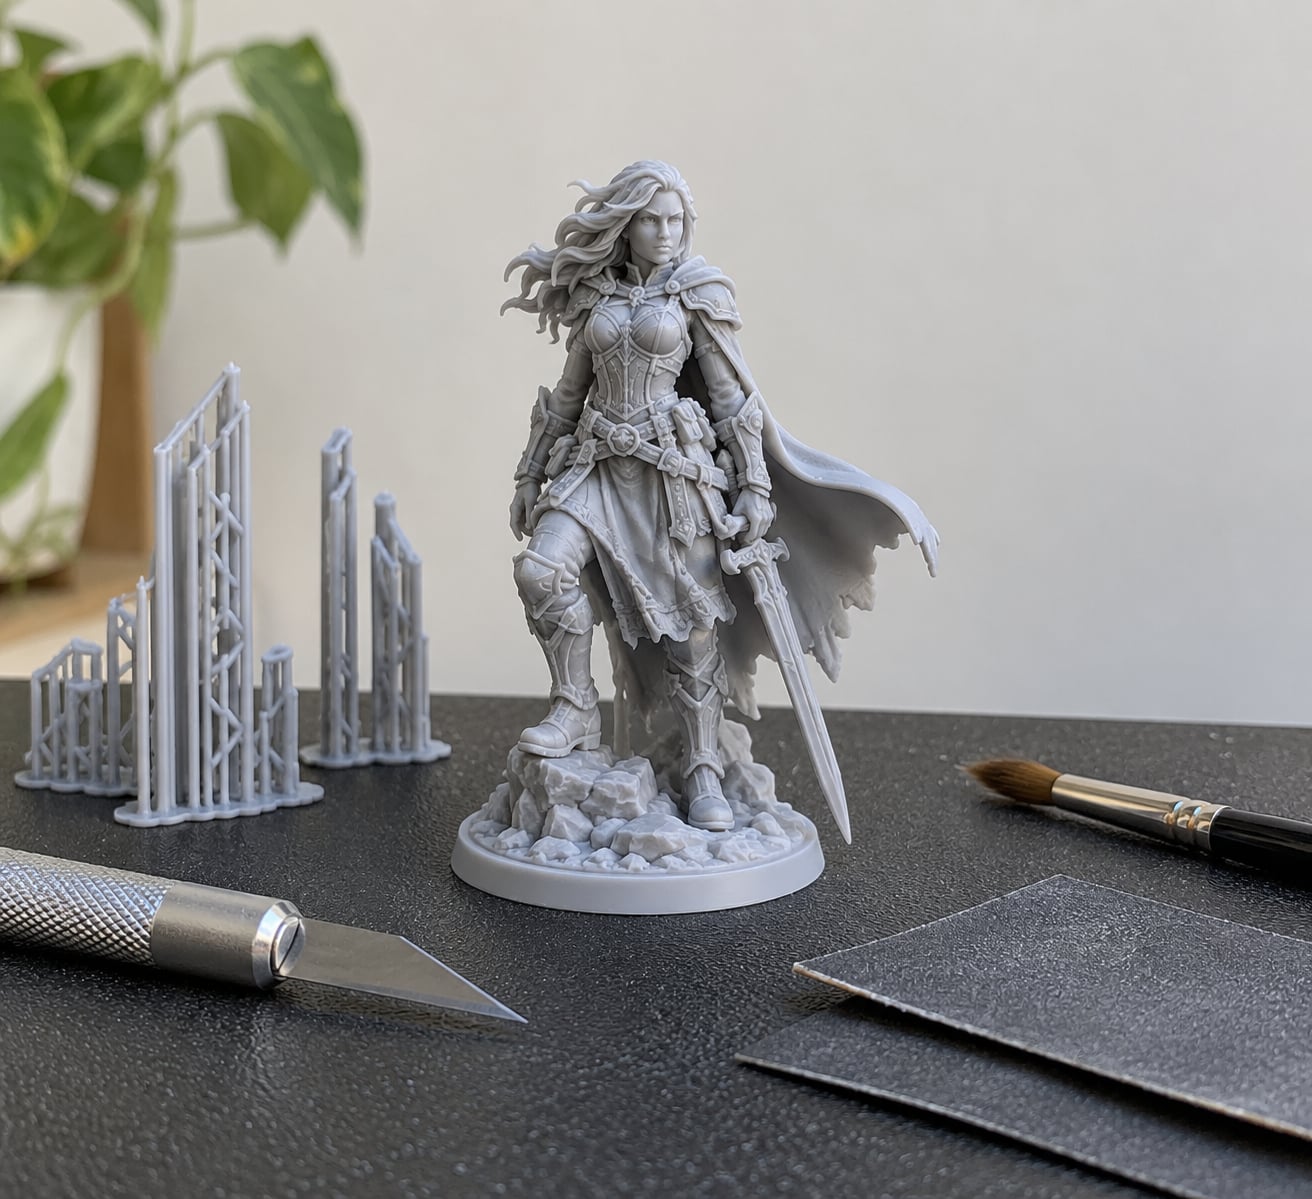
- A hobby knife, a small file, and a soft brush for support removal.
Step-by-Step: How to Print Miniatures With Fine Detail
Step 1: Choose a Model and Check Its Geometry
Most disappointing miniature prints are file problems, not machine problems. Before you open a slicer, look at the model in a mesh viewer and check four things.
- Watertight or repaired. Open shells produce holes, missing volumes and stray blobs on the print. Run a mesh repair check and fix what it reports.
- Feature size against your nozzle. Measure the thinnest deliberate feature — a sword blade, a strap, a fingertip. On a 0.4mm nozzle, anything under roughly 0.4mm is a coin flip.
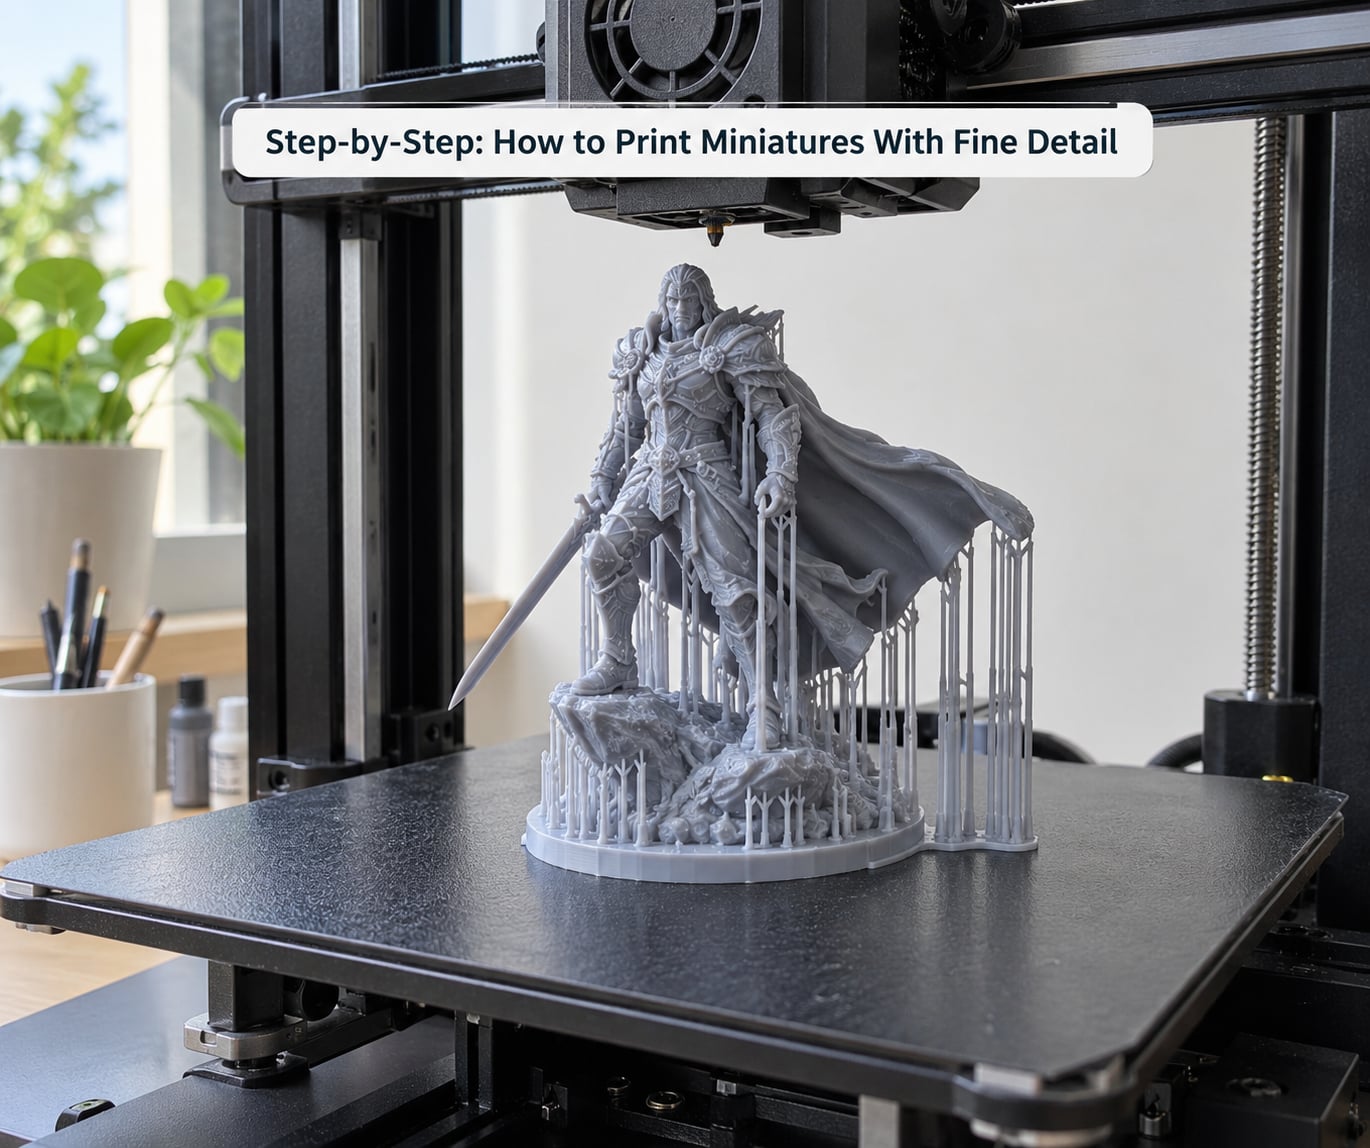
- Overhangs. Look underneath the arms, the hem of a cape, the underside of a shield and the underside of a base rim. Anything past about 45 degrees needs support.
- Scale. A 28mm miniature with a 0.4mm nozzle gives you about 70 layers of height. That is workable but tight. If the model is designed for resin, its features are often an order of magnitude smaller than a 0.4mm nozzle can hold.
Check whether the model is resin-oriented before you buy anything. Models designed for resin are typically unsupported, hollow and pre-sculpted with sub-millimetre detail. Printed on FDM they will come out looking soft no matter what you do, which is where the Resin2FDM workflow below comes in.
A user on r/FDMminiatures put the honest limit well: if the model looks good but lacks fine detail, sometimes there is nothing more the machine can do. Knowing when you have hit that wall saves a lot of filament.
Step 2: Prepare the File So You Can Print Miniatures With Fine Detail
Repair first, then scale, then hollow only if you are going to resin.
Mesh repair catches non-manifold edges, holes and self-intersections. Scale the model so the intended size matches what you actually want — a 28mm tabletop figure or a 75mm display piece. Hitting the intended scale exactly matters for wargaming rules, and it is the cheapest time saving available in this whole workflow.
Hollowing applies to resin only. Hollow with a minimum wall thickness of 2mm, hollow to no more than about 60 percent of the original interior volume, and cut drainage holes at the lowest point of every interior cavity. This is not optional. A hollowed resin model with sealed cavities can build up pressure and heat in the vat and burst, throwing uncured resin across your workspace. Every resin guide that skips this is handing you a safety problem.
For resin, add small block-out blockers over large unsupported flat faces so you are not relying on the whole base for adhesion. For FDM, skip hollowing entirely — thin walls at miniature scale are where layer adhesion fails first.
Then add supports. Do this in the slicer rather than in the modelling package, because you need to see the model in its print orientation while you place them.
Step 3: Set the Printer and Material Parameters
Set these before you slice, and adjust from there rather than treating them as a fixed recipe. Numbers below are starting points for PLA on a well-tuned machine.
FDM — 0.4mm nozzle. Layer height 0.12mm to 0.16mm. Outer wall speed 25 to 40mm/s. First layer 15 to 20mm/s with 0.2mm layer height for plate grip. Nozzle temperature follows the filament, roughly 200 to 210C for standard PLA and a little lower for matte. Part cooling at 80 to 100 percent from layer two. Infill below 10 percent because the inside of a miniature is never seen.
FDM — 0.2mm nozzle. Layer height 0.06mm, falling back to 0.08mm if the printer struggles. That pairing — a 0.2mm nozzle at 0.06mm — is the most commonly recommended recipe from people printing miniatures on FDM right now. Slow the outer wall to 20 to 30mm/s and drop the volumetric speed to roughly 3mm³/s, because the melt zone at a small nozzle cannot keep up otherwise.
Resin. Layer height 20 to 28 micrometres for a 28mm figure, 50 micrometres for larger display pieces. Calibrate exposure with a test print rather than trusting a generic profile — exposure time, lift speed and retract speed all vary by resin brand and by the machine’s LCD. Typical starting points: lift 3 to 5mm/s, retract 30 to 60mm/s, and a 6 to 8mm lift distance on a bottom-up machine. Run a resin exposure test matrix before you commit a whole plate of minis.
Do a full calibration first: flow or E-steps, extrusion consistency, bed level and belt or axis tightness. A Reddit user who posted from r/FDMminiatures recommended exactly this order — get a 0.2mm nozzle, verify E-steps and axis tightness, then start tuning slicer settings. Tuning slicer settings on a machine with a loose axis or wrong flow rate is wasted time.
Step 4: Slice for Detail Rather Than Speed
The slicer decides how the printer spends time, and on miniature geometry time is what buys detail.
Layer height. Roughly a quarter of your nozzle diameter is the practical floor for visible quality; 0.06mm on a 0.2mm nozzle and 0.08mm on a 0.4mm nozzle are realistic targets. Below that, layers start to separate because they never bond properly.
Outer wall settings. Slow the first or outer wall, enable ironing if your printer can do it cleanly, and set the seam away from the face. On a miniature, the seam and the face are the two things everyone looks at.
Infill. Low, 10 to 15 percent, and the pattern barely matters. Grid infill on a miniature is wasted material and time; a cubic or gyroid pattern at low density gives the same result faster.
Minimum layer time. This is the lever most guides ignore and it is probably the biggest one. On small cross-sections the nozzle can complete a layer in a fraction of a second, which means the plastic never has time to cool and the next layer welds into it — that is exactly what mushy detail looks like. Set a minimum layer time of 6 to 10 seconds for miniatures and let the slicer slow the whole print down to honour it. Any printer that cannot hit the required speed should simply print slower.
Walls and overlap. Three or more wall lines on a miniature gives a solid, stable shell. Increasing wall overlap a little above default helps the layers key into each other.
Overhang threshold. Around 50 to 55 degrees gives support-free undersides on most 28mm sculpts. Raising it to 60 removes more supports at the cost of droop on round forms.
Check the layer preview for anything thin. If a finger or a sword reads as two beads on screen, it will print as a single blob — go back to the file or accept a larger nozzle.
Step 5: Print, Cure, and Remove Supports Carefully
Monitor the first layers and the transition from brim to part. On FDM, a clean first line with no gaps and no lifting at the corners means adhesion is fine. If the corners lift, clean the plate with warm water and dish soap, rinse, and print again — a build plate contaminated with skin oils causes failures more often than any setting does.
Set Z-hop for miniatures so the nozzle never drags through detail. A top Z distance around 0.2mm is the value people on FDM miniature forums land on most often, and one Reddit user reported that raising top Z distance to 0.2 was their single biggest improvement on fiddly prints. If supports are knocking the model around, raise it further and slow the travel moves.
Watch for the point in the print where the miniature is mostly supported and the plate attachment is carrying the weight. That is the moment supports fail and the model gets ripped off. If your orientation puts the whole base flat on the plate with nothing else touching down, the upward pull from peeling supports at layer changes can drag the part free. Angling the model, or splitting it into pieces at the slicer stage, reduces that risk.
Removing supports is where fine detail dies. Cut supports away rather than tearing them, work from the least visible side, and use a small brush to clear fragments from under the arms. People printing resin-oriented files on FDM recommend clearing armpit-like cavities before the print finishes, because those traps are almost impossible to clean afterwards without gouging the model.
For resin, do not pull the print off the plate with bare hands. Remove it while wearing nitrile gloves, wash it in isopropyl alcohol for the time your resin datasheet specifies, then cure it under UV before you touch it with a brush. Washing and curing come before handling, always.
Step 6: Finish and Protect the Miniature
Post-processing is where an FDM miniature stops looking like an FDM miniature. Skipping it is why people think their prints are just soft.
- Remove supports and clean. Knife and file first, then wash the piece so you are not sanding plastic dust into the detail.
- Fill deep blemishes. Thin filler putty pushed into gouges and pitting, allowed to dry, then sand flush. Works well for the gouges a support left behind.
- Prime. Filler primer on a can, two or three thin coats with proper drying between them. A Bambu Lab forum user reported that after priming, layer lines were only visible on almost perfectly round objects. That is the fastest single improvement available to an FDM mini.
- Wet sand. Start around 400 grit if the surface needs flattening, finish at 1000 grit or finer. Wet sanding keeps dust out of the recesses and keeps you from gouging dry.
- Basecoat and paint. Prime, then a dark basecoat, then your colours. Contrast paints on recessed detail read better on FDM minis because the layer texture breaks edges slightly — which is also why primer helps so much.
- Seal. A matte varnish for gaming minis you handle every week, satin for display pieces. It protects the paint on the high points where fingers land.
One extra trick for resin-quality results on FDM: print at 150 to 200 percent and rescale the mesh before finishing. Every detail gets physically larger relative to the nozzle, so features survive. The print takes roughly four times longer at double scale, so use it for hero pieces rather than a whole party.
Common Mistakes
Almost every mushy, scarred or stringy miniature traces back to one of a short list of causes. Here is the symptom-to-fix mapping.
Detail merges into a smooth blob — fine features missing. Cause: features smaller than the nozzle diameter, or minimum layer time too low so layers weld together. Fix: move to a 0.2mm nozzle, drop the layer height to 0.06mm, and set a minimum layer time of 6 to 10 seconds. If the sculpt’s features are under 0.2mm, only resin will hold them.
Visible layer lines, especially on curved surfaces. Cause: layer height too high for the nozzle, or layer time too short for the plastic to set. Fix: lower layer height, add a minimum layer time, and finish with filler primer plus wet sanding to 1000 grit. Primer alone fixes most of this.
Support scars and bright marks where supports met the model. Cause: support interface layers too thin, Z-hop too low, or the nozzle dragging through the interface. Fix: enable a support interface with 4 to 8 interface layers, raise top Z distance to around 0.2mm or higher, and use tree supports so contact points are small and scattered.
Surface scars in underarms and under capes. Cause: supports trapped in enclosed cavities. Fix: use tree supports with organic branching so branches route around the cavity, raise Z-hop, and open the geometry in the file if you can. Splitting a model into printable parts in the slicer is a valid workaround.
Elephant foot — a fat, squashed bottom edge. Cause: the first layer is squashed against a slightly too-low nozzle, and miniatures have small bases so the effect is proportionally huge. Fix: raise the nozzle by a fraction of a layer, chamfer or relieve the base in the model, or sand it back after printing.
Strings between features and across the build plate. Cause: retraction not tuned, or a wet or cool nozzle during filament changes. Fix: run a retraction test and set distance and speed from the result, and make sure the nozzle reaches temperature before you start.
The model gets pulled off the plate mid-print. Cause: too little contact area, or a flat base where the peel force concentrates. Fix: add a brim or raft, clean the plate, and change orientation so more of the model rests on the plate at an angle. For resin, increase contact area and re-level the plate.
Resin print will not stick to the build plate. Cause: plate not level, plate dirty, model contact area too small, or exposure too low. Fix: re-level, clean the plate with alcohol, add raft layers, increase base exposure a few seconds at a time, and confirm the LCD is clear and the film is not fogged.
Miniatures fail partway through. Cause: contaminated build plate, and often a printer running faster than the geometry allows. Fix: wash the plate with warm water and dish soap, rinse, dry. That is the top-voted fix in the FDM miniature communities for repeated failures.
Frequently Asked Questions
What are the best 3D print settings for miniatures?
On a 0.4mm nozzle: 0.12 to 0.16mm layer height, 25 to 40mm/s outer wall speed, 10 to 15 percent infill, and a minimum layer time of 6 to 10 seconds. On a 0.2mm nozzle: 0.06mm layer height (0.08mm if the printer struggles), 20 to 30mm/s outer wall, and a volumetric speed near 3mm per second. Resin wants 20 to 28 micrometre layers with a calibrated exposure time.
Can you print 0.08mm layer height with a 0.4mm nozzle?
Yes, and most people do. A 0.08mm layer on a 0.4mm nozzle is stable on a well-tuned printer and it visibly smooths curved surfaces. It does not add detail smaller than the nozzle diameter. If your problem is a face that reads poorly or hair that merges, the fix is a smaller nozzle, not a thinner layer.
Is a 0.6mm or 0.4mm nozzle better for miniatures?
A 0.4mm nozzle is the right default for miniatures. A 0.6mm is faster and stronger on bulk figures, but its detail ceiling is roughly half again as coarse, so faces and thin props suffer. If you are printing a large party rather than a hero piece, 0.6mm is a reasonable trade. For display quality on a single model, 0.4mm is the minimum and 0.2mm is better.
How can I reduce support scarring on 3D printed miniatures?
Use tree supports so contact points are small and scattered instead of large pads. Set a support interface of 4 to 8 layers, raise top Z distance to around 0.2mm or more, and orient the model so supports attach to hidden areas rather than faces. Cutting supports away with a knife instead of pulling them leaves less damage than force alone.
Do you need supports for 28mm miniatures?
For most poses, yes. Anything past roughly 45 degrees of overhang needs them, which on a 28mm figure usually means under the arms, under a cape, under a shield and under the base rim. Set your overhang threshold near 50 to 55 degrees and use tree supports so the contact points land on less visible surfaces.
How do you paint a 3D printed miniature so layer lines disappear?
Layer lines are hidden by surface preparation, not by paint. Fill gouges with putty, sand flush, then apply two or three thin coats of filler primer and let each dry fully. Follow with wet sanding to 1000 grit or finer, then basecoat and paint. People report layer lines stay visible only on almost perfectly round objects after priming.
Conclusion
Start here: check the model’s thinnest feature against your nozzle diameter, orient it so supports attach to hidden surfaces, and set a minimum layer time before anything else. Those three decisions account for most of the difference between a soft, scarred miniature and one that reads cleanly at tabletop distance.
Then finish it properly. Filler primer, wet sanding to 1000 grit, a basecoat and a matte seal will do more for perceived quality than any slicer setting you have not tried yet. If a sculpt’s detail sits below what your nozzle can hold, scale it up 200 percent and rescale the mesh, or accept that resin is the honest answer for that model.