Learning how to print wearable parts that fit comes down to controlling four separate error sources: how accurately you scaled the model to the body, how much clearance you designed into each joint, how much the material shrinks while it cools, and how far your printer’s dimensional error moves the finished part away from the model. Get those four right and a helmet, mask, gauntlet or strap goes on the first try. Get one wrong and you find out after eighteen hours of print time.
The workflow below is the one I use whenever someone asks how to print wearable parts that fit well. It takes an extra hour up front, mostly spent measuring and printing small coupons, and it reliably saves a full-size reprint.
A few ground rules before we start. Fit is a measurement problem, not a design problem, so the numbers below are the deciding factor. Where I give a clearance value, treat it as a starting point and confirm it with your own test coupon, because printer accuracy varies more than filament datasheets admit. And a part that presses, rubs or digs in is a failed part even if the dimensions were perfect.
Table of Contents
- What You Need
- How to Print Wearable Parts That Fit: Step-by-Step
- 1. Measure the Body and Define the Fit
- 2. Model Clearance, Comfort, and Movement
- 3. Choose a Printable Material and Orientation
- 4. Print a Fit Test or Scale Prototype
- 5. Remove Supports and Finish the Surfaces
- 6. Test, Adjust, and Make the Final Print
- Common Mistakes
- Frequently Asked Questions
- How do you print wearable parts that fit without wasting a full print?
- What clearance do I need between two printed parts on a wearable?
- How do I scale armor for 3D printing to my own body?
- Should I print a test coupon before a wearable part?
- Which filament is best for joints and straps that need to flex?
- Are printed parts safe to wear against skin?
- Conclusion
What You Need
The list is short, and most of it you probably already own.
- CAD or mesh software for measuring, scaling and adding clearance. A parametric tool such as Fusion 360 lets you change a clearance value and rebuild instantly, which matters more than any single feature.
- A mesh editor like MeshLab for cleaning up a scan before you scale it, since raw scans carry noise and holes.
- A flexible measuring tape and, for anything repeated, digital calipers. The tape gives you body dimensions; the calipers give you printed-part dimensions. Those are different jobs.
- A reference object to size against if the design came from someone else’s body. A hat, a shoe, a well-fitting glove or an existing strap tells you more than a model file’s advertised scale.
- Filament for two behaviours is worth buying before you need it: a rigid material for shells and a flexible TPU for straps, gaskets and joint flex. TPU around 95A is a sensible middle ground for body-contact flex.
- Soluble support such as HIPS with ASA, or ASA with HIPS, if your printer is dual material. Inner helmets, under-arm gaps and visor recesses are exactly where hand-removable support leaves marks you cannot sand out.
- Paper, a fine pen and calipers for the fit coupon, which is ten minutes of printing and saves a whole evening.
- Gloves, eye protection and a respirator for resin work, plus ventilation. Resin fumes are the one genuine hazard in this hobby and no wearable project is worth them.
How to Print Wearable Parts That Fit: Step-by-Step
1. Measure the Body and Define the Fit
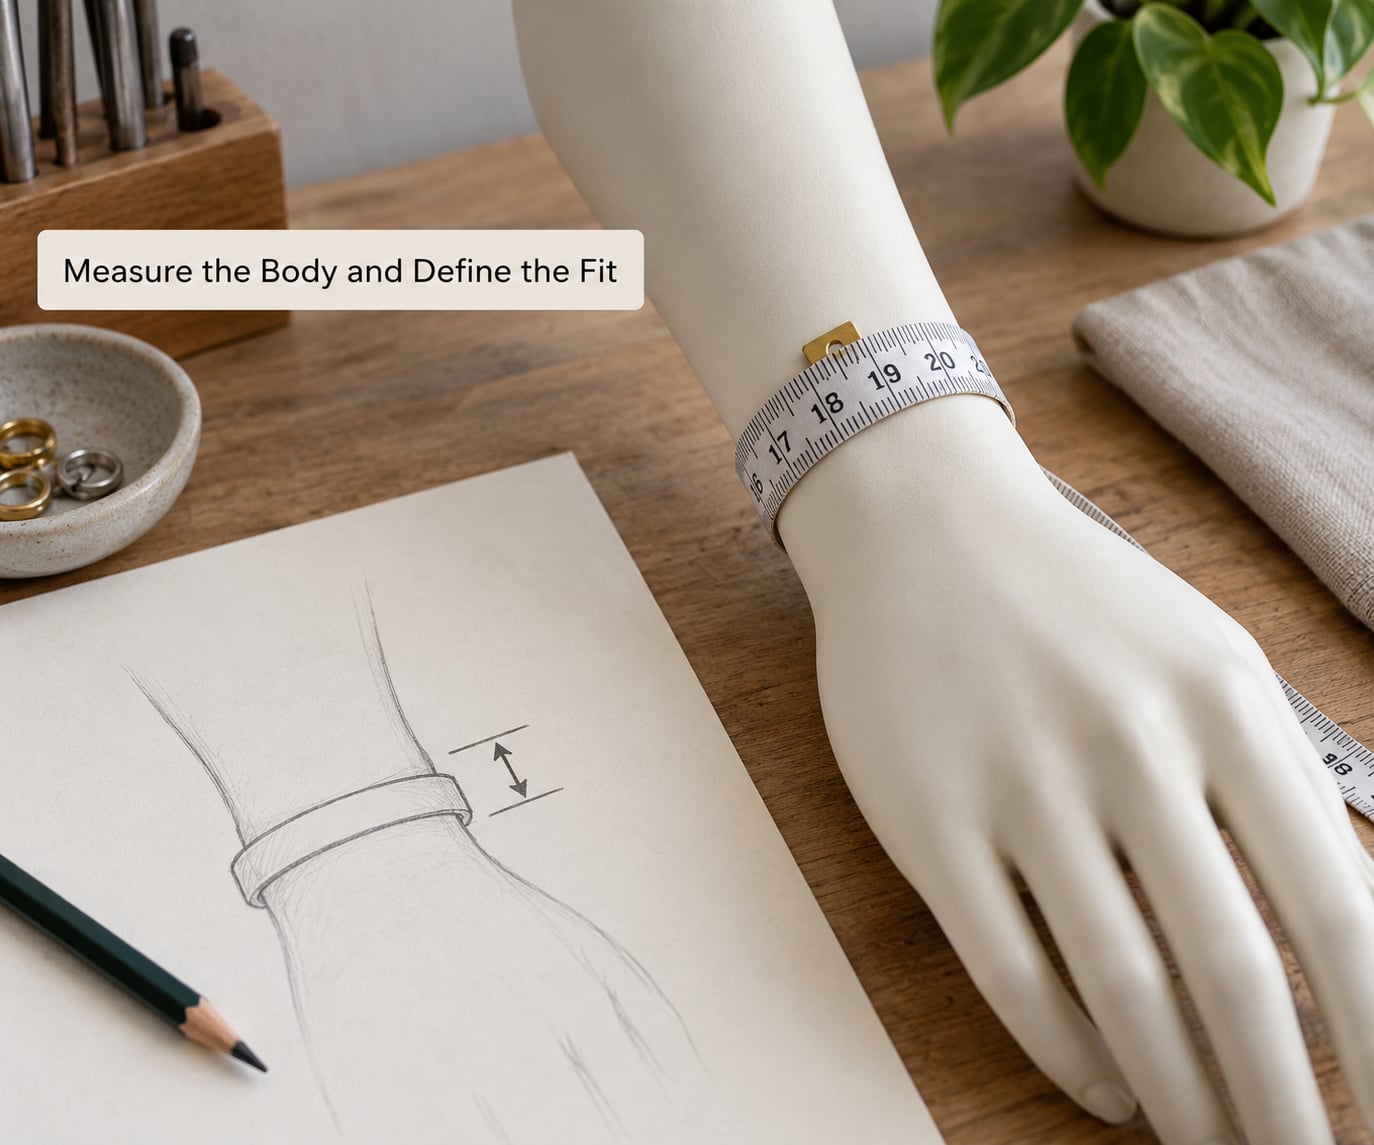
Measure the body area the part will sit on, then measure it again in a neutral pose and one in motion. A wrist measured with the hand flat differs from the same wrist with the hand curled, and that difference is the clearance your design has to absorb.
Note where the part will press hardest: the wrist bone on the ulnar side, the knuckle ridge, the sternum notch, the brow, the back of the heel. Those landmarks are where a nominally correct part ends up digging in, so they get extra gap or a padded liner.
Then decide what “fit” means for this part, and write it down as a number. Is it a slip-on that must clear the hand in one motion, a fastened piece with straps or magnets, or a snap-fit assembly you assemble once and then take off and on? Each needs a different clearance target, and the number you write down is the one you test against.
2. Model Clearance, Comfort, and Movement
Clearance is the deliberate gap between two mating surfaces, and on a wearable it does two jobs at once: it lets the part move, and it stops two hard surfaces from grinding against each other. Leave too little and you get a part that squeaks, cracks or digs in; leave too much and the part rattles and looks unfinished.
Three details do most of the work. Round every edge that touches skin, with a radius around 1.5 to 2 mm, so the contact is a soft line rather than a cutting edge. Add a flex zone instead of a hard joint wherever the part crosses a bending joint, because a rigid hinge cannot follow a real elbow. And leave room for movement: breathing moves the chest several millimetres, and a strap that fits a static torso will cut into a moving one.
Skin and soft tissue also compress. A part sized to touch bone-to-bone in CAD can sit comfortably in real life because the tissue between them squashes, so build in a little slack over padded areas and none over contact points.
| Process and material | Clearance per side | Good for |
|---|---|---|
| FDM, PLA or PETG | 0.15 to 0.20 mm | Rigid snap fits, brackets, closures |
| FDM, ABS or ASA | 0.20 to 0.25 mm | Shells that need heat resistance |
| FDM, nylon or PC | 0.25 to 0.30 mm | Impact-resistant armour, hinges |
| FDM, TPU | 0.30 to 0.40 mm | Straps, gaskets, flexing joints |
| Resin, standard | 0.05 to 0.10 mm | Detailed rigid shells, faces |
These are starting values, not laws. Flexible filament deforms at the mating surface, so a hole printed in TPU measures differently from the same hole in PLA even when both print identically on the machine. Confirm with the coupon in step 4 before you trust any figure on this page.
3. Choose a Printable Material and Orientation
Choose the material for what the part does, not for how it looks on the spool. A shell wants rigidity and layer adhesion; a strap wants flex; a load-bearing hinge wants toughness rather than stiffness. Mixing them in one design is normal and often the best answer.
Community experience in the cosplay and prop world leans toward polycarbonate and nylon over ABS, because ABS prints brittle and warps badly while PC and nylon have some give once they are printed. Both need a high-temperature hotend, and both reward a well-tuned first layer. PLA is still fine for a lightweight helmet or a practice fit, and it is much easier to sand and repair.
Orientation matters as much as material for a wearable. Lay layers so they run parallel to the direction the part flexes, otherwise every bend pulls across layer boundaries and the part snaps after a few hundred cycles. Standing a shell on its base gives you the strongest structure but usually a worse surface finish, so orient for strength and sand. Keep skin-contact faces flat against the bed when you can, because a flat face needs no filler.
A common pattern is a rigid printed shell with flexible printed segments at each joint. The rigid parts handle impact and shape; the TPU segments do the moving and take the pressure off the skin.
4. Print a Fit Test or Scale Prototype
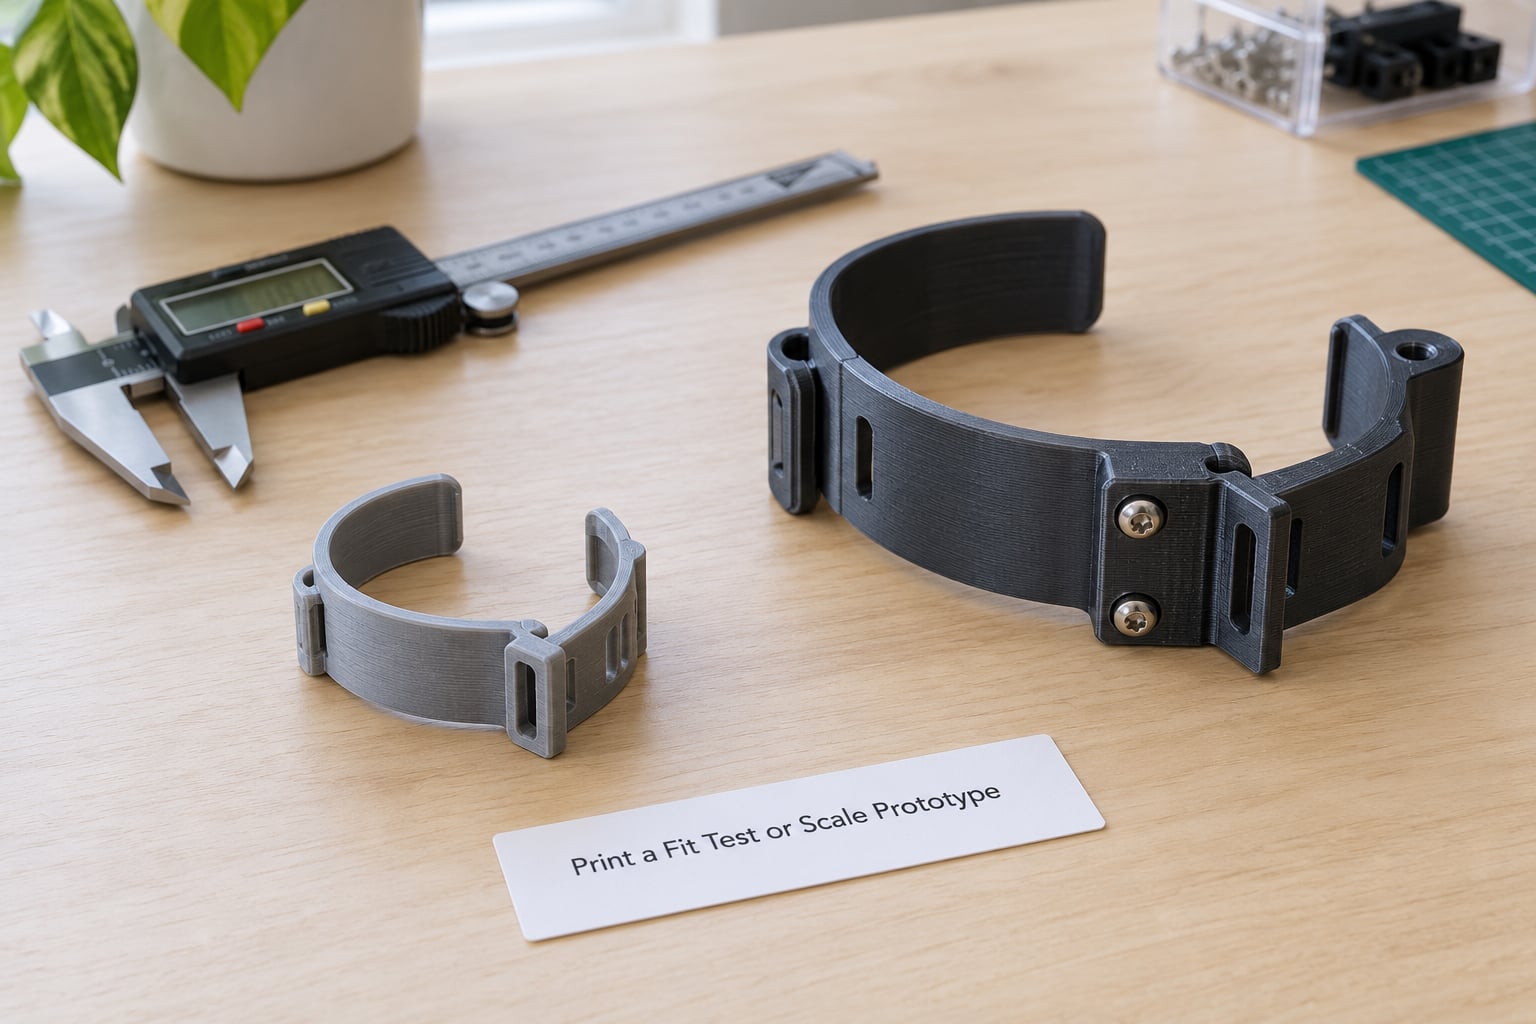
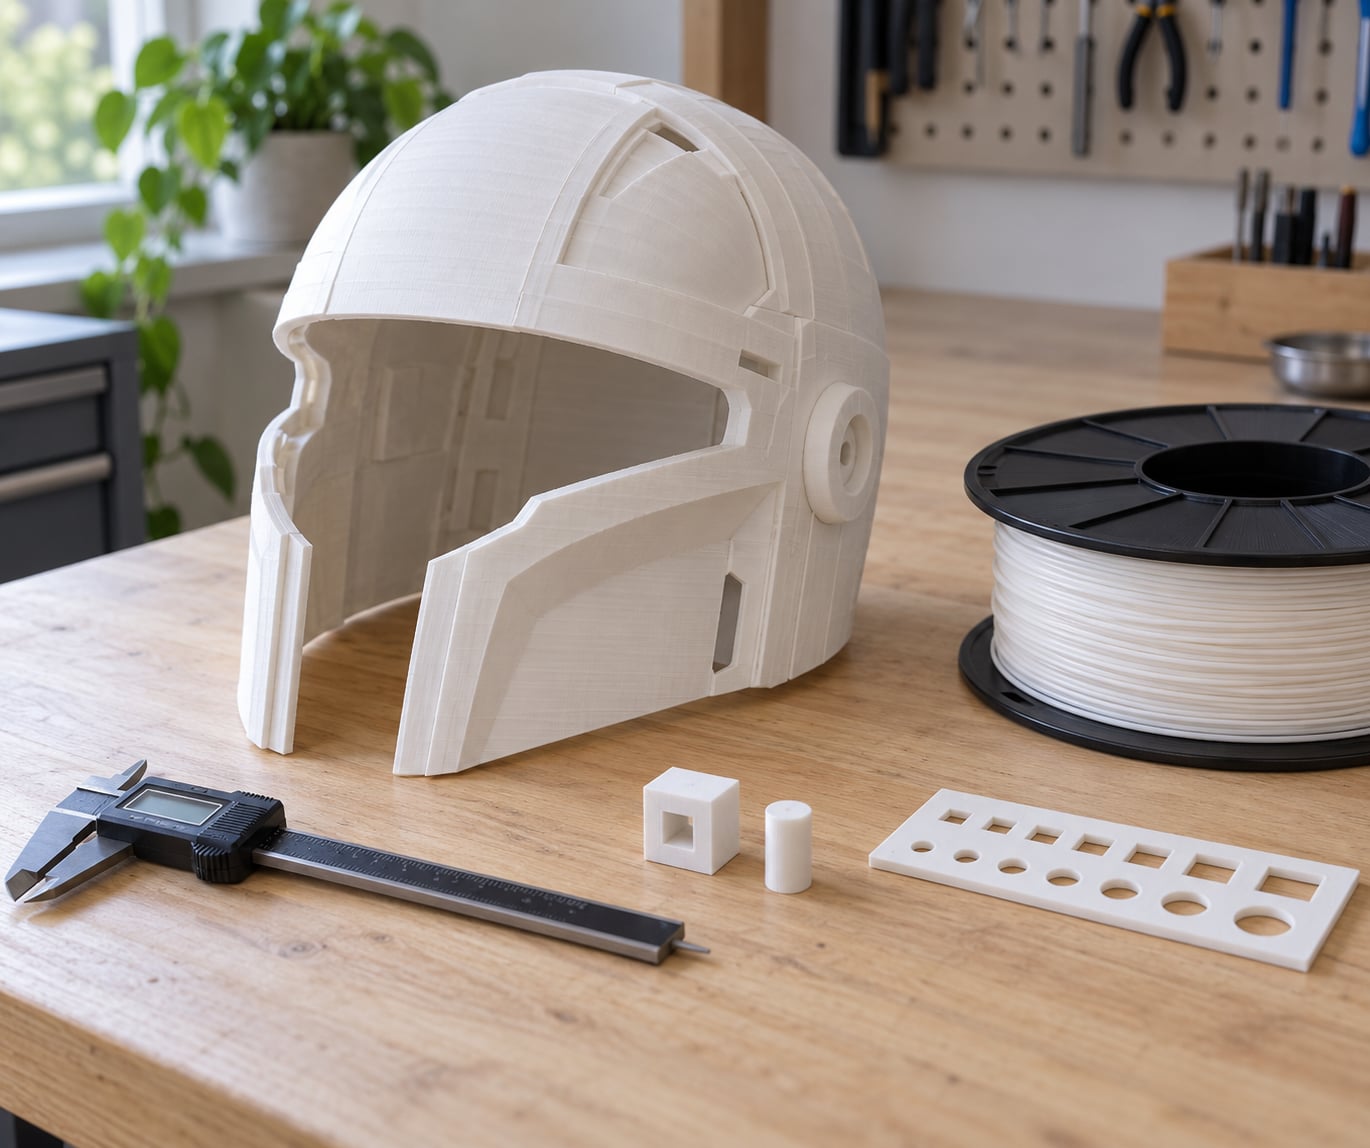
Print something small before you print something large. A coupon with one square hole, one pin and one 10 mm step costs about ten minutes of filament, and it tells you three things: how much your printer’s XY error shifts holes, how much your filament shrinks, and whether your chosen clearance actually slides together.
Measure the coupon with calipers and write down the real numbers. If a hole designed at 6.0 mm prints at 5.8 mm, that is your printer’s horizontal expansion, and you apply the correction in the slicer’s XY compensation setting rather than editing every hole in the model. If the 10 mm step comes out short, that is shrinkage, and you pre-scale by the measured percentage. Doing this once means the rest of the project inherits a correction you already know.
Then print a scaled-down version of the actual part, around half size is usually enough, and try it on the intended body area. Scaled prototypes distort thicknesses and cannot tell you about strength, but they tell you about position and proportion, which is where most wearable fit failures actually live.
5. Remove Supports and Finish the Surfaces
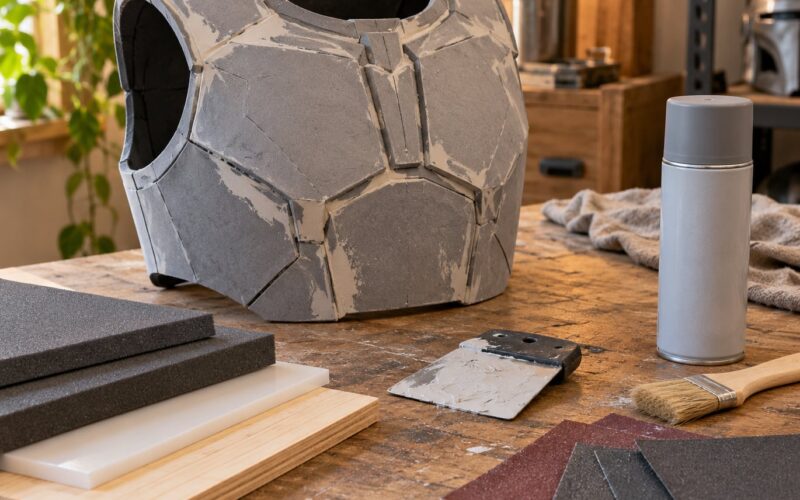
Support removal happens while the part is still slightly warm, before the plastic fully hardens, and before any filler or paint goes on. Soluble support dissolved away beats prying out of an inner helmet every time. Where support was unavoidable, work from the least visible side and use flush cutters, then a scraper, then sandpaper, taking tiny amounts off each pass.
Sand contact edges lightly rather than aggressively. Every millimetre you remove at a mating surface changes your clearance, and the surface you smoothed may be the one that was carrying load. Deburr every edge that skin will find, fill visible layer lines only on faces that will not touch the body, and leave the mating surfaces as close to the printed dimension as you can manage.
For finishing, light sanding followed by a thin primer and paint on the outside surfaces is enough. On skin-contact areas, a flexible coating is friendlier than a hard gloss, and any liner you add counts as part of your fit, so fit the part with the liner installed.
6. Test, Adjust, and Make the Final Print
Put the final part on and move. Stand, walk, bend the elbow or knee fully, raise the arms, and check for the three failures that only appear in motion: a joint that binds at the end of its range, an edge that catches skin, and a strap that rides up because the shell has no anchor point to stop it.
Wear it for a real session. Ten minutes in a workshop tells you nothing about eight hours at a convention, and pressure points show up late. Note every dimension you would change, with the amount: wrist strap 0.5 mm longer, cheek pad 2 mm thinner, hinge rotation a few degrees freer. That list is the blueprint for version two.
The same discipline applies to the parts you split and bond together. Fit each section separately before joining, because once they are glued, a bad seam is permanent. Seams belong under trim, under lining or hidden behind a joint, and a seam you can cover is a seam you do not have to fill.
Common Mistakes
Most fit failures are one of five things, and all five are predictable before the print starts.
| Symptom | Likely cause | Fix |
|---|---|---|
| Part is too tight at the wrist or neck | No clearance added, or no allowance for clothing thickness | Add 0.2 to 0.4 mm per side and measure over what you will actually wear |
| Holes print undersize, pins too fat | XY error and underextruded perimeters | Run a coupon, set XY compensation, add a wall line or raise flow |
| Part digs in after an hour | Designed against bone, ignoring soft-tissue compression | Round the contact edge and add a padded liner at pressure points |
| Joint cracks after repeated flexing | Layers run across the bend axis, or material is brittle | Reorient so layers run parallel to the flex and test TPU at roughly 95A |
| Seams and scars after support removal | Hand-prying support out of unreachable zones | Use HIPS or ASA soluble support with a dual-material printer |
| Shell fits the reference wearer only | Global scale applied to the whole assembly | Scale each part to individual body measurements |
| Rattly fit, part falls off | Clearance added everywhere instead of where movement happens | Keep tight fits at anchor points, open the clearance only where it moves |
| Dims drift between copies of the same part | Damp filament and varying temperatures | Dry the spool, log temperatures, and calibrate before long prints |
The one mistake I see most often is scaling an entire set of armour by a single percentage. Bodies are not uniformly larger versions of each other, so the factor that gets a helmet right leaves the hands and legs wrong. Scaling each piece against its own measurement is slower at the start and correct far more often.
Second on the list is skipping the fit test because the print takes six hours. Six hours is exactly why you print the coupon first.
Frequently Asked Questions
How do you print wearable parts that fit without wasting a full print?
Print a small coupon first, then a scaled-down version of the real part, and only then the full-size piece. The coupon gives you your printer’s XY error and your filament’s shrinkage, so you can correct the model before any filament is committed. The scaled prototype shows you proportion and placement, which is where most wearable fit problems start.
What clearance do I need between two printed parts on a wearable?
Start at 0.15 to 0.20 mm per side on FDM with PLA or PETG, 0.25 to 0.30 mm with nylon or PC, and 0.30 to 0.40 mm in TPU because flexible filament deforms at the mating surface. Resin printers need far less, around 0.05 to 0.10 mm. Confirm the value with a coupon, since every machine behaves a little differently.
How do I scale armor for 3D printing to my own body?
Measure the body area the piece covers rather than the whole person, then scale that region of the model to match. Scale each part separately, because body proportions differ between people and one factor cannot fit a helmet and a forearm at once. If you can, scan yourself with a photogrammetry app or a depth camera and use the scan as your reference instead of a model file.
Should I print a test coupon before a wearable part?
Yes, and it takes about ten minutes. A coupon with one hole, one pin and one step reveals whether holes print small, how much the material shrinks, and whether your clearance actually slides together. Apply those corrections once in the slicer and every later part in the project inherits them, which is far cheaper than discovering the problem after a full print.
Which filament is best for joints and straps that need to flex?
TPU is the usual answer for straps, gaskets and living hinges, and around 95A Shore hardness is a good starting point for body-contact parts that need to flex without feeling floppy. Print it direct drive if you can, and keep layers running parallel to the direction the part bends. For rigid parts that still need toughness, nylon and polycarbonate take impact better than ABS, which prints brittle.
Are printed parts safe to wear against skin?
Printed polymers are generally inert, but sweat, heat and UV degrade them over time, and a rough edge or a failing support scar can irritate skin. Round every contact edge, fit the part with any liner or padding installed, and replace parts that crack, discolour or shed layer lines. For anything worn continuously against skin over many hours, a fabric liner between the print and the body is the sensible choice.
Conclusion
Four actions decide whether a wearable print fits: measure the exact body area it sits on, scale each part to its own measurement, prototype small and measure the output with calipers, and test the part on the wearer while they move. Correct your clearance against the coupon data before the full print, then wear the result for a full session and write down what to change.
Get those four right and the fit problem mostly disappears. The rest is just print time, and print time is the easy part.