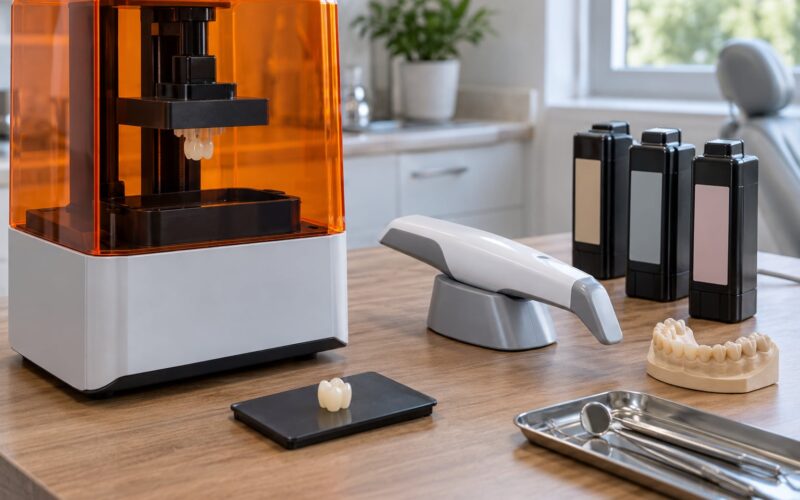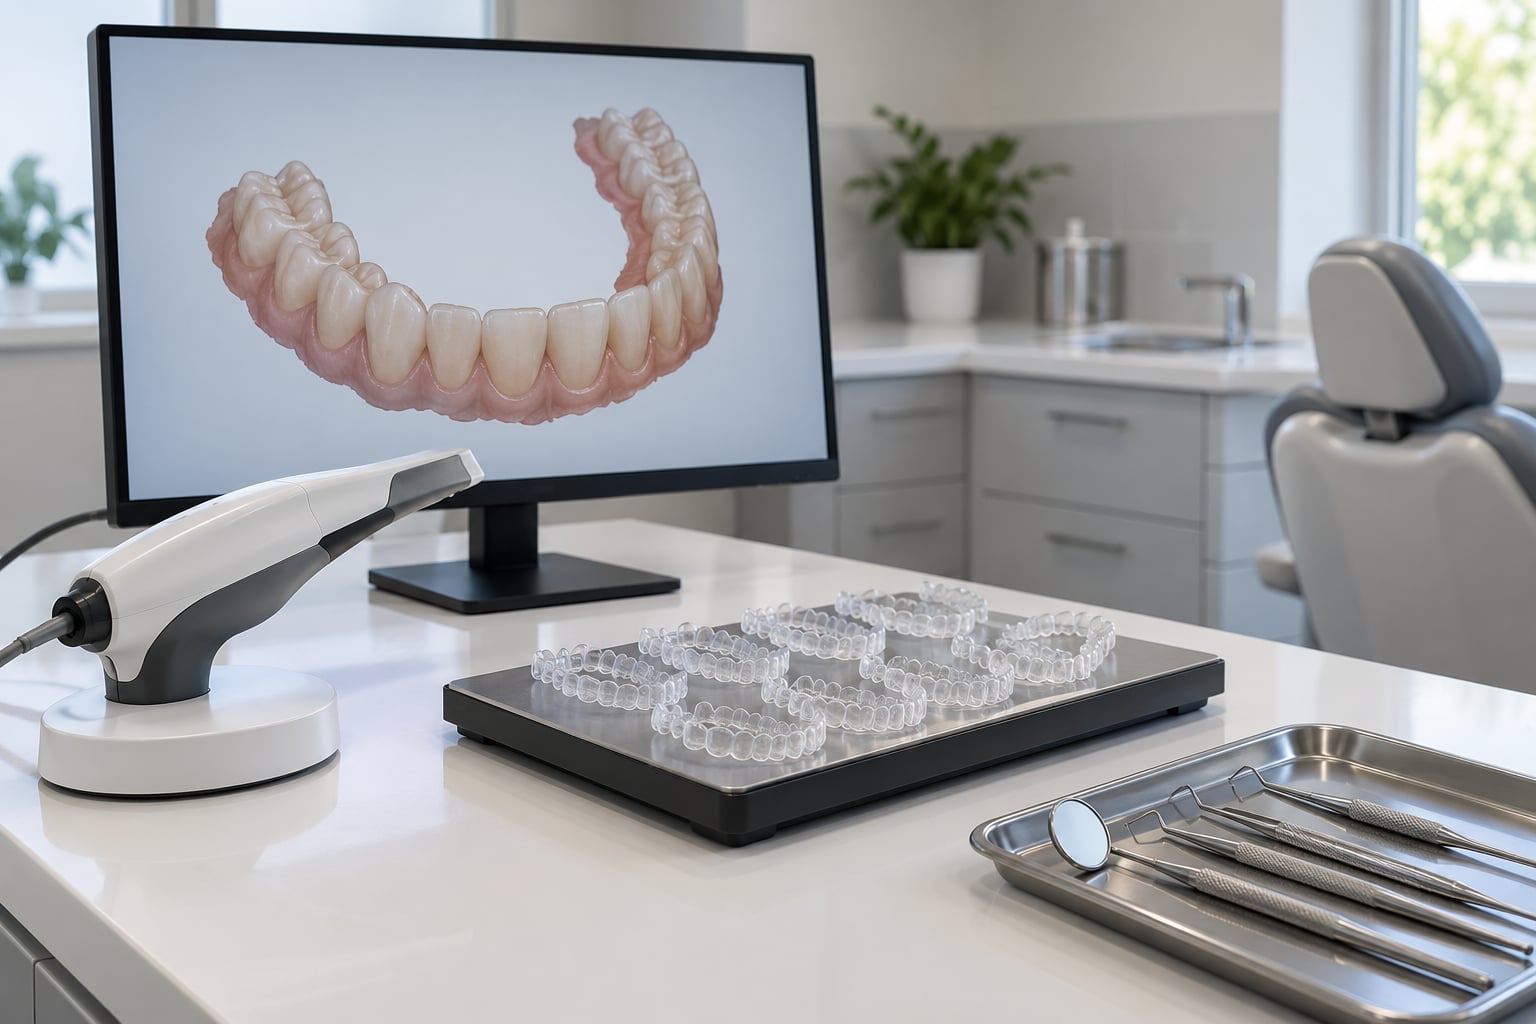
Most clear aligners are not moulded in one piece from a physical impression. They are grown from a digital file: a scan of your teeth becomes a 3D model, the model becomes a set of resin prints, and those prints either become the aligner trays themselves or become the moulds a plastic sheet is pressed over. That is dental aligners and 3D printing in one sentence, and the rest of this guide unpacks it step by step.
Once you see the chain from mouth to tray, the technology stops feeling mysterious. It also becomes easier to tell which parts matter for how well an aligner fits, and which parts are simply manufacturing steps that only the lab sees.
- Digital first: nearly every aligner today starts as an intraoral scan, not a plaster impression.
- Two production routes: aligners are either printed directly as the tray, or thermoformed from a plastic sheet over a 3D-printed model of the teeth.
- Fit is a numbers game: layer height, exposure, wash and cure steps, and how the model behaved under heat all feed the way a tray seats.
- The printer is not the clinician: diagnosis, treatment planning and progress checks stay with a qualified dental professional.
Table of Contents
- How Do Dental Aligners and 3D Printing Work?
- What Are the Main Steps in the Manufacturing Process?
- Where the clinician and the printer split the work
- How Are Clear Aligners Made with 3D Printing?
- What Is the Difference Between 3D-Printed and Thermoplastic Aligners?
- How Do 3D-Printed Aligners Fit and Move Teeth?
- What Are the Benefits and Limitations?
- How Long Do 3D-Printed Dental Aligners Take to Make?
- How Do You Care for 3D-Printed Aligners?
- What Should Patients Ask Before Starting Treatment?
- Frequently Asked Questions
- Are 3D-printed dental aligners safe?
- Do 3D-printed aligners hurt?
- Can I eat while wearing a dental aligner?
- How often do 3D-printed aligners need replacing?
- Can I use a home 3D printer to make my own aligners?
- What happens if a 3D-printed aligner does not fit?
- What to Do First
How Do Dental Aligners and 3D Printing Work?
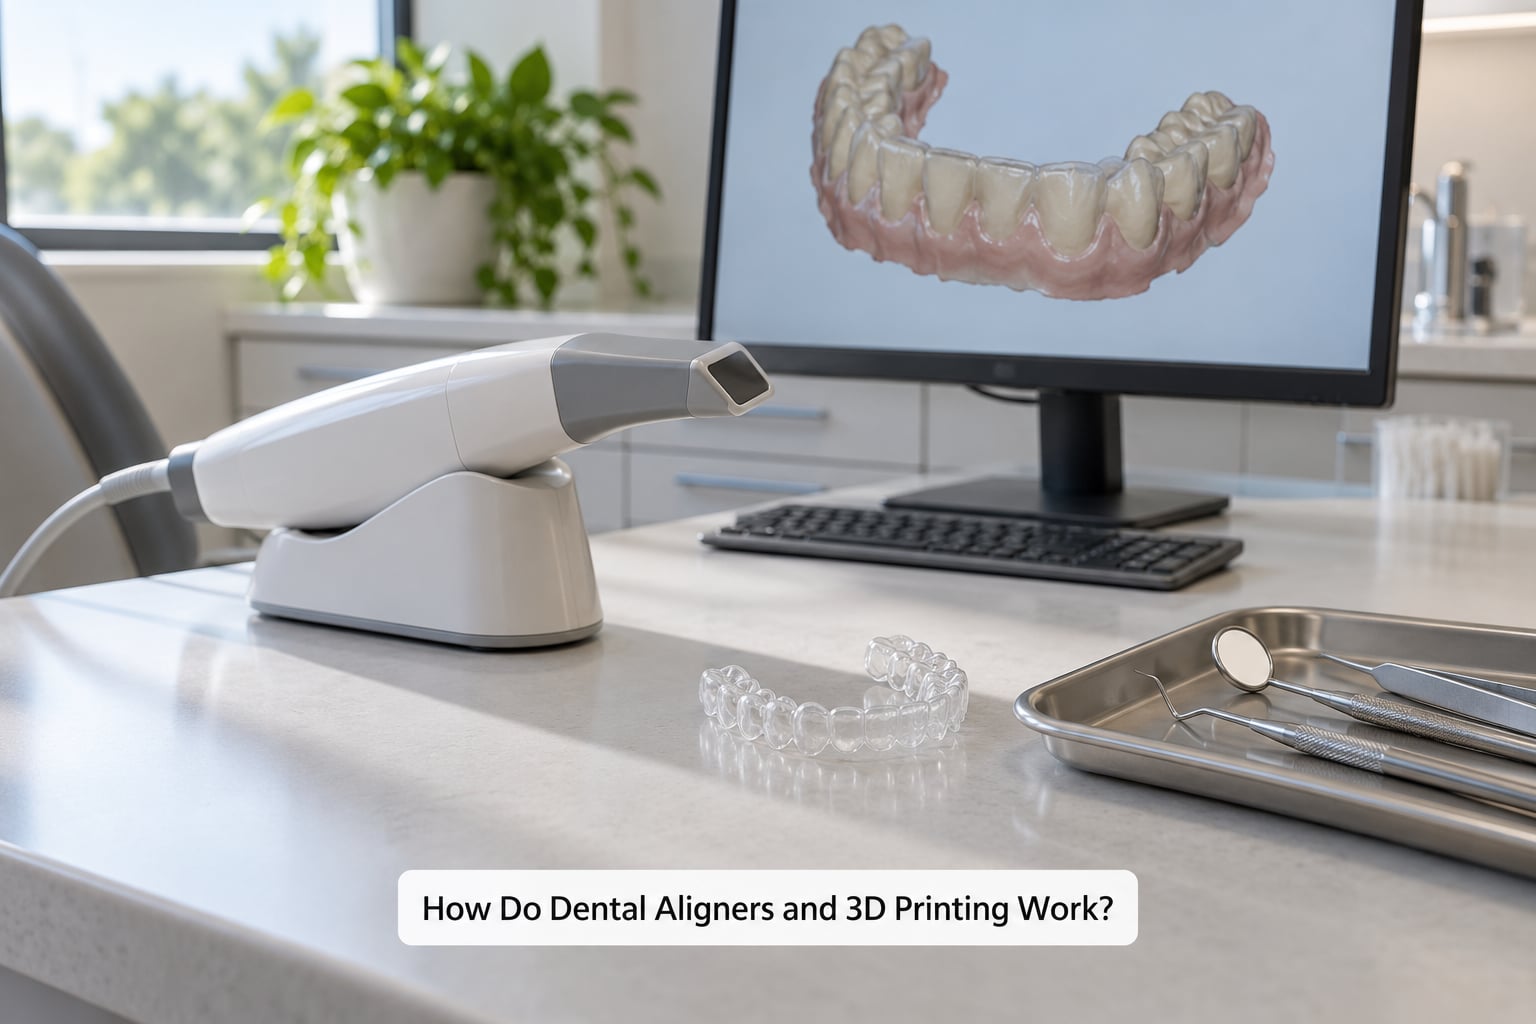
3D printing turns a digital model of your teeth into a physical object, either the aligner itself or the tooth model a plastic sheet is later formed over. The scan, the treatment plan and the clinical decisions all happen first; the printer just executes them accurately and repeatably.
The workflow runs in this order. A dentist or orthodontist examines the mouth and decides whether aligner treatment is appropriate at all. If it is, teeth are captured with an intraoral scanner that sweeps a light across them and builds a colour 3D mesh. That file moves into orthodontic CAD software, where the clinician sequences how each tooth should move, one small step at a time.
The software then produces a series of models. Model one represents the starting position, model two the position after the first increment, and so on through the whole plan. Each model is exported as a printable mesh file, usually STL or OBJ, and queued on a resin printer.
After printing, parts are washed, fully cured, inspected and trimmed. From here the two routes split: direct-printed aligners are finished as the tray itself, while thermoformed aligners go back to a moulding machine where a heated plastic sheet is vacuum-formed over the printed model and cut to shape.
One boundary matters here. The printer never diagnoses, never decides how a tooth should move and never checks whether a tray is tracking. Those stay with the treating professional. What the machine contributes is repeatability: the same file produces the same object, which is why a lab can produce hundreds of near-identical stages.
What Are the Main Steps in the Manufacturing Process?
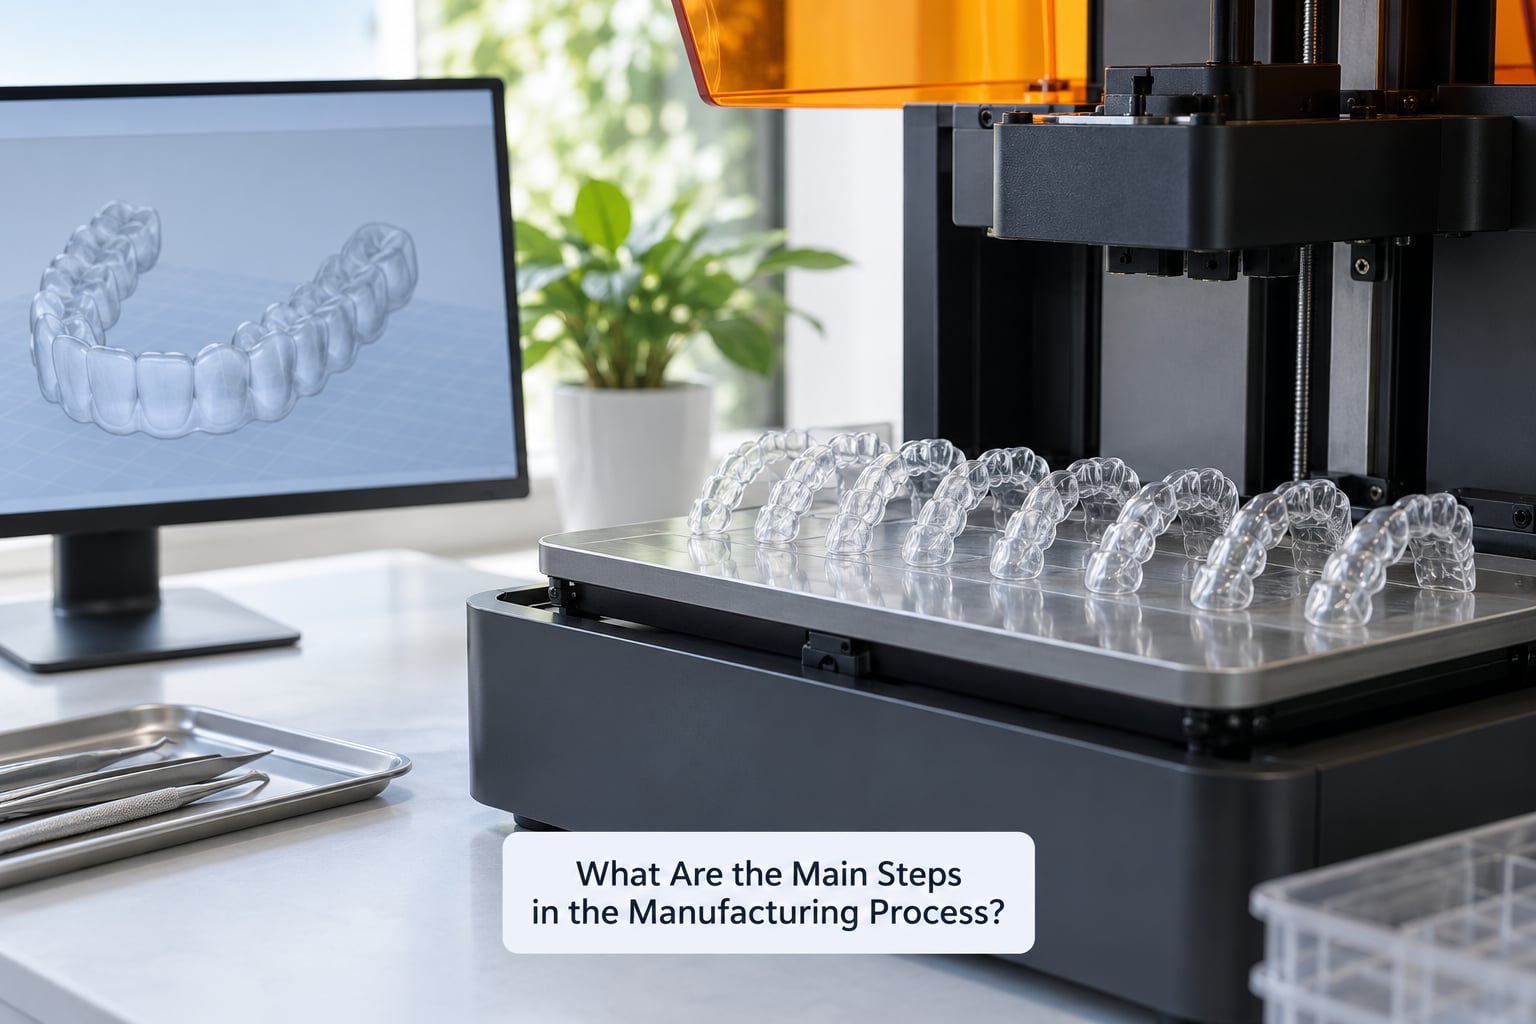
Eight steps cover almost every aligner case, whether it ends at a dental lab or on a bench inside a practice. The first three are digital, the next four are physical, and the last one puts a tray in a mouth.
- Examination and scan. The clinician checks gums, bone and bite health, then captures the teeth with an intraoral scanner. A physical impression is still a fallback in some cases, but it has to be scanned afterwards, which adds a step and a possible source of error.
- Digital treatment planning. Orthodontic CAD software such as exocad or 3Shape-based systems lets the clinician move teeth in the software, set the number of stages, and program attachments and elastics where a movement needs help.
- Mesh preparation. The exported mesh gets checked for holes, non-manifold edges and flipped normals, then repaired. This is a small step that causes a surprising share of failed prints, because a bad mesh prints badly.
- Slicing and orientation. The model is positioned on the build plate and tilted so that the print grows without needing support material. Overhangs on tooth models and along the edge of an aligner tray determine whether supports leave marks.
- Printing. A vat photopolymer printer cures liquid resin layer by layer under a light source, lifting the part on the build platform. Layer height in the range of 25 to 100 microns is typical; finer layers mean more accuracy and more print time.
- Washing and curing. Freshly printed parts are sticky and incompletely polymerised. They get rinsed in solvent, then placed in a curing unit where light and heat finish the reaction, which is when the material reaches its final strength and stability.
- Trimming and finishing. Supports come off, edges are cut back, the tray is smoothed and often laser-marked with the case and stage number. Practitioners consistently call this the labour bottleneck, which is why automated trimming has become common in labs.
- Inspection and fitting. Trays are checked against the model for seating, then fitted to the patient and monitored at intervals. A tray that does not seat is sent back rather than forced.
Where the clinician and the printer split the work
The printer handles geometry. The clinician handles judgement. Everything from diagnosis to whether the last stage is worth adding happens in software and in the chair, with a person making the call.
How Are Clear Aligners Made with 3D Printing?
Direct-printed aligners are made from a biocompatible photopolymer resin that cures under light, layer by layer, in a printer such as an SLA or DLP machine. The same resin chemistry is used in 3D-printed contact lenses and some surgical guides, which is why direct printing entered dentistry before it entered aligners.
Three properties decide whether a resin is fit for the job. Strength matters because an aligner has to survive chewing force and repeated removal. Clarity matters for a product patients look at every day. And dimensional stability matters most of all, because a resin that shrinks or warps during curing produces a tray that does not seat.
Post-processing is where good prints get ruined. Parts are washed to strip the majority of uncured resin, then fully post-cured so the remaining resin polymerises. Printers and resins vary widely here, so wash times and cure cycles should follow the resin manufacturer’s published data rather than a generic rule.
Thermoformed aligners use 3D printing one step earlier in the chain. The resin printed here is a model resin chosen for how well it holds shape under heat, because a thermoform machine presses a plastic sheet over the model at temperatures that deform a cheap resin. Water-washable and heat-resistant model resins exist for exactly this reason.
Both routes end with the same kind of inspection: does the part match the file it came from, and does the tray seat on the teeth without rocking or binding? That check is the last defence against a misfit reaching a patient.
What Is the Difference Between 3D-Printed and Thermoplastic Aligners?
Thermoformed aligners, which is how the large commercial systems including Invisalign produce their trays, press a heated plastic sheet over a printed model of the teeth. Direct-printed aligners skip the sheet and build the tray in resin. Both can be prescribed by a qualified professional, and both use 3D printing somewhere in the chain.
| Factor | 3D-printed aligners | Thermoplastic aligners |
|---|---|---|
| How the tray is made | Built directly in resin, layer by layer | Plastic sheet vacuum-formed over a printed model, then trimmed |
| What gets printed | The aligner tray | A model of each stage |
| Material behaviour | Young and slightly compliant, hardens with wear and time in the mouth | Shape-memory sheet that returns to its formed shape |
| Main strength | Fewer steps between the digital plan and the finished tray | A long clinical track record and predictable force delivery |
| Main trade-off | Newer, with fewer long-term studies on how the material ages in the mouth | Extra moulding and trimming steps for every single stage |
| Customisation | Attachments and geometry can be built into the print | Attachments are bonded on separately |
| What 3D printing is doing | Producing the final product | Producing the model the product is formed over |
The honest summary is that neither route wins on every case. Thermoforming has decades of published clinical use behind it. Direct printing removes several manufacturing steps and lets a practice produce a tray the same day. What the patient actually notices, in my read of the clinical discussion, is far less about which route was used and far more about whether the plan was sensible and whether the trays were worn on schedule.
How Do 3D-Printed Aligners Fit and Move Teeth?
An aligner works by being slightly different from the teeth it sits on. Each tray is shaped to hold the teeth in a position slightly past where they started, so the surrounding gum tissue and bone do the rest of the work by responding to steady pressure over time.
That pressure is only as good as the fit. A tray that seats fully delivers a predictable force. A tray that rocks or only clips on one corner delivers an uneven one, and patients describe that as pressure on a single tooth rather than a general ache.
Some movements need help. Small tooth-coloured bumps called attachments are bonded to the teeth so the tray has something to grip, and elastic bands can be prescribed to add a specific direction of pull. Both are clinical decisions made before or during treatment, and both depend on the tray being accurate enough to transmit the force.
Wear time is the other half of the mechanism. Aligners are generally designed to stay in for something like 20 to 22 hours a day, and a tray worn only a few hours produces very little movement. Systems often allow a short period with the tray out for eating, which is why patients are told to take them out before meals rather than chewing with them in.
Whether any of this is right for your teeth is a clinical question, not a manufacturing one. A qualified dentist or orthodontist has to look at your bite, your gum health and your bone before anyone prints anything.
What Are the Benefits and Limitations?
Both sides of the table matter. Reading only the advantages column is how people end up disappointed by a treatment that was never suitable for them.
| Potential benefits | Limitations |
|---|---|
| Discreet appearance, since the trays are clear | Not every case is suitable; severe rotations, gum disease and some bite problems need other treatment |
| Removable, so teeth can be brushed normally | Removability cuts both ways: results depend on wear time, and trays left out slow everything down |
| Digital planning shows the expected sequence before treatment starts | Costs are usually quoted for a number of stages, and cases that run long need new trays |
| Fewer appointments for some routine steps | Attachments and elastics can feel awkward, and some tooth movements still take longer than planned |
| Retainers and replacement trays can be reprinted from the original digital file | Trays wear out, lose fit or get lost, and a lost tray cannot be replaced overnight |
| Production can be in-house, cutting the wait between a check-up and a new tray | Requires professional supervision throughout; unsupervised aligner treatment carries real risk to gums and tooth roots |
How Long Do 3D-Printed Dental Aligners Take to Make?
Two different clocks are involved, and patients usually mean the second one. The first is manufacturing: a single tray takes a few hours to print depending on layer height and how many stages are in the batch, then wash and cure time on top. The second is the whole course, which typically runs from several months to a couple of years depending on how much movement the teeth need.
Where a practice prints in-house, a new tray can often be produced within a working day and handed over at the same visit that prompted it. That is the advantage practitioners talk about most: the gap between noticing a tray does not fit and getting a replacement in hand.
With an outsourced lab, the same case takes longer, because the file has to travel, the lab has to schedule it, and revisions add cycles. Case complexity, the number of refinements requested and the practice’s own workflow all move the number around.
No production speed affects whether treatment works. That is decided by the plan and by wear time, and anyone promising a fixed finish date before seeing your teeth is guessing.
How Do You Care for 3D-Printed Aligners?
Take the trays out for eating and drinking anything but water. Rinse them in cool water every time you remove them, because sugars left on a tray encourage plaque on your teeth underneath.
Brush your teeth before putting a tray back in. Food trapped between tooth and tray is the main route to a bad smell or a sore spot, and it is far easier to prevent than to treat.
Clean the tray itself gently. A soft brush with mild, unscented soap works. Avoid hot water, which can warp a tray permanently, and avoid toothpaste, which is mildly abrasive and dulls the surface over time.
One published study on printed aligner materials compared cleaning methods and found that brushing increases surface roughness more than an alkaline cleaning soak does, while alkaline soaks can slightly affect the material. Practical reading: soak gently rather than scrubbing hard, and follow whatever your provider recommends for your specific material.
Store trays in the case you were given, away from heat and out of reach of children. Keep every tray you are given in order, because a clinician may need to go back to an earlier stage if teeth drift.
Follow the schedule you were given for changing trays and for check-ups. Compliance is the single biggest factor in how well aligners work, and it is the one part of the process fully in your hands.
What Should Patients Ask Before Starting Treatment?
A short list of questions gets you much better answers than most people expect. Ask them at the first consultation, not at the point of payment.
- Will my case be scanned digitally, and will I see the planned number of stages before I commit to anything?
- How many hours a day am I expected to wear the trays, and what happens if I miss days?
- Will I need attachments or elastics, and how many appointments do those add?
- What does the quoted fee cover, including refinements, extra stages and the retainer at the end?
- Who do I contact if a tray does not fit, and is there an out-of-hours number?
- What is the retainer plan, and how often will I need a new one for life?
- Who is monitoring my progress, and how often will I be seen once treatment starts?
If you are considering aligners at all, book a clinical assessment first and ask how your bite looks in a scan. That conversation will tell you more about whether treatment suits you than any page on manufacturing process will.
Frequently Asked Questions
Are 3D-printed dental aligners safe?
Used as directed under professional supervision, printed aligners are made from biocompatible resins intended for prolonged mouth contact and are the basis of most clear aligner treatment. Safety depends far more on the diagnosis, the plan and the wear schedule than on how the tray was manufactured. Ask a qualified dentist or orthodontist to confirm whether aligners suit your teeth and gums before you start.
Do 3D-printed aligners hurt?
Most patients feel pressure or tightness for a day or two after each new tray, which usually means the tray is doing something. That feeling should fade. Persistent pain, a sharp spot on one tooth, or bleeding gums are signs to stop wearing the tray and contact your provider, because a tray that does not seat fully can concentrate force unevenly.
Can I eat while wearing a dental aligner?
No. Chewing with a tray in damages it and can bend or crack it, and food trapped underneath raises the risk of tooth decay and gum irritation. Remove the tray before meals, rinse it in cool water, brush your teeth and put it back in afterwards. Water is the one thing most systems allow you to drink while wearing a tray.
How often do 3D-printed aligners need replacing?
Aligners are normally worn in sequence, changing to the next tray on a schedule your provider sets, often every one to two weeks. A tray is also retired early if it cracks, tears, becomes rigid after heavy use or stops seating properly. Keep the trays you have already worn, since your provider may need to step back to an earlier stage if your teeth move differently than planned.
Can I use a home 3D printer to make my own aligners?
No. A consumer printer and a print-your-own aligner kit skip the parts that keep treatment safe: a clinical examination, a professionally planned sequence of tooth movements and ongoing checks on how the roots and gum tissue are responding. Misguided pressure can damage gums, cause root shortening and move teeth in directions you did not want. Print models and appliances only as directed by your treating professional.
What happens if a 3D-printed aligner does not fit?
Stop wearing it and contact your provider before the next scheduled appointment. A tray that pushes hard in one place usually means the teeth have not tracked as planned, and forcing it can injure gums or push a tooth the wrong way. Do not try to modify the tray yourself. Your provider will either request a replacement from the digital file or re-plan the remaining stages.
What to Do First
Start with a clinical assessment and a digital scan, not with a printer. Once a professional has planned the movement, the manufacturing side becomes straightforward: a sequence of models, a batch print, wash and cure, trim, check the seat, and wear the trays on schedule.
That last part is the whole ballgame. The technology is good at doing exactly what a plan asks. Keeping the plan on track is where your effort goes.