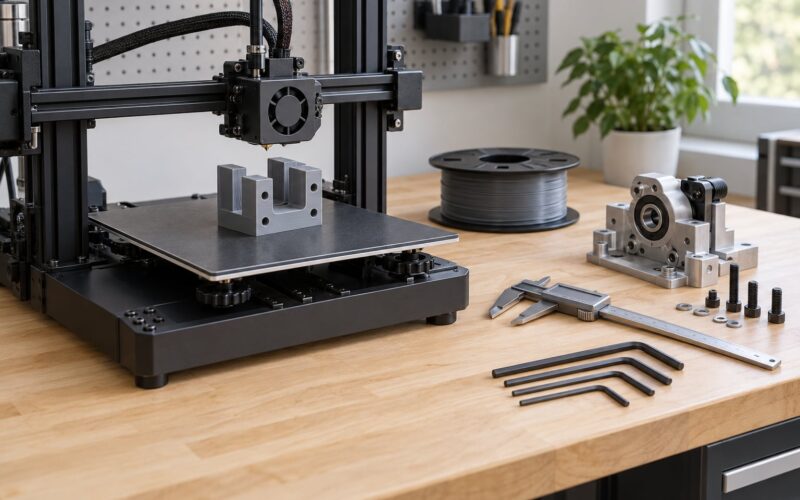
The best 3D printed tools for the workshop are the small, boring parts you would otherwise spend an hour hunting for: a drill bit rack sized to your bits, a jig that keeps a shelf pin at the same depth every time, a cable dock that stops a charging lead tangling. They are worth the filament because they fit your tools, your machine and your bench, not because they look clever. Print in PETG unless the job says otherwise, orient the part so the load runs along the layer lines, and stay away from anything that has to hold a person up.
Most of the useful prints on this list take under 200 grams of filament and less than two hours. The hard part is not the print, it is measuring the thing the print has to fit. Most failed workshop prints I have seen came from sizing a holder off a catalogue photo instead of a caliper.
Table of Contents
- 3D Printed Tools for the Workshop at a Glance
- 1. Digital Caliper Dust Cover and Storage Pouch
- 2. Modular Screwdriver Handle Adapter
- 3. Custom Drill Bit Depth Stop
- 4. Paint and Glue Brush Holder
- 5. Drill Bit Storage Rack
- 6. Sandpaper and Scraper Organizer
- 7. Reusable Soldering Aid Station
- 8. Clamp Jig for Repeatable Assemblies
- 9. Cable Spool and Charging Station
- 10. Adjustable Phone or Tablet Workbench Stand
- Frequently Asked Questions
- What material should I print workshop tools in?
- Why does my 3D printed part snap in half?
- Can I print load-bearing or safety-critical parts?
- Do I need an enclosed printer for PETG and ABS?
- Where do I get good models for workshop tools?
- Is it legal to sell parts I print myself?
- Conclusion
3D Printed Tools for the Workshop at a Glance
Here is the short version. The material column is the filament I would reach for first, not the only option.
| Tool | Best use | Material | Difficulty | Main benefit |
|---|---|---|---|---|
| Caliper dust cover and pouch | Protecting and storing measuring tools | PETG or TPU | Easy | Stops dust and drops ruining an expensive tool |
| Screwdriver handle adapter | Reaching recessed hex fasteners | PETG | Easy | One driver covers a whole row of screws |
| Drill bit depth stop | Repeatable blind holes | PETG | Medium | Same depth every hole, no depth stop accessory needed |
| Paint and glue brush holder | Model and assembly bench | PETG | Easy | Brushes dry upright, glue stays capped and reachable |
| Drill bit storage rack | Keeping bits visible and sorted | PETG | Medium | No more loose bits rolling in the drawer |
| Sandpaper and scraper organizer | Finishing work | PETG | Easy | Sheets stay flat, dust does not drift |
| Soldering aid station | Electronics bench | PETG | Medium | Iron, brass wool and tools in one fixed spot |
| Clamp jig | Repeatable glue-ups and drilling | PETG | Medium | Identical parts every time, no layout lines |
| Cable spool and charging dock | Cordless tools and small electronics | PETG or TPU | Easy | Lead coiled, not knotted |
| Adjustable phone or tablet stand | Instructions, drawings and timelapse | PETG | Easy | Hands-free reference at a safe angle |
Difficulty here means print difficulty: easy parts have few overhangs and no supports, medium parts need a brim, careful supports or a two-piece assembly.
1. Digital Caliper Dust Cover and Storage Pouch
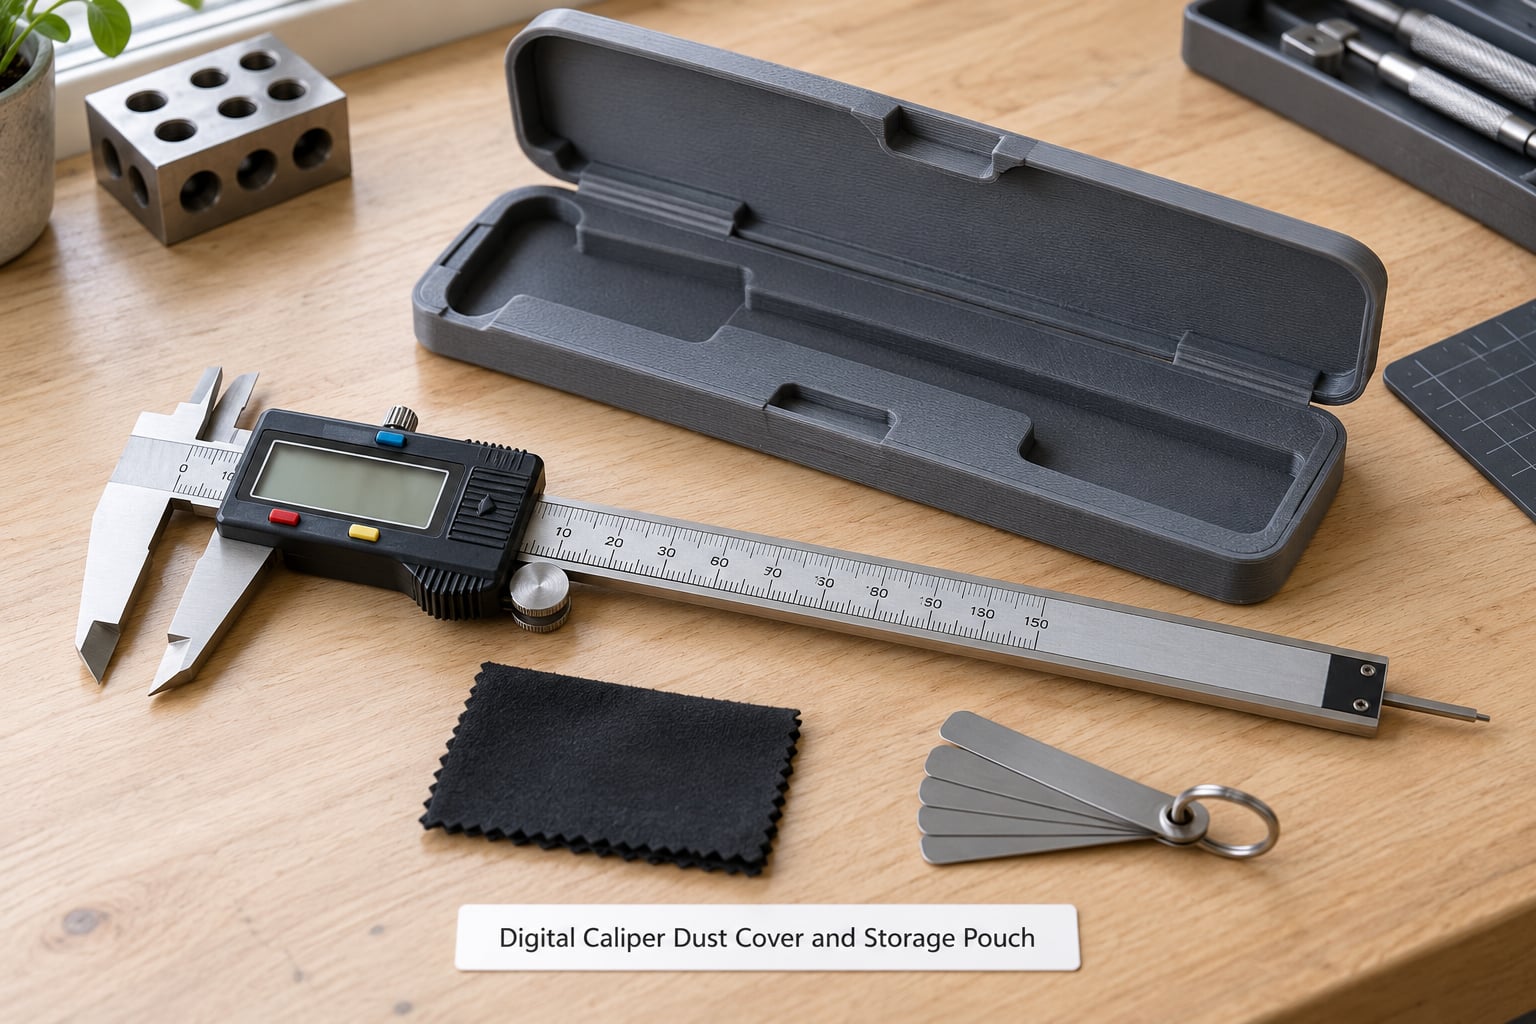
A caliper is the first tool to lose and the worst one to lose. One drop from the shelf and the jaws are bent, and no amount of cleaning fixes that.
A printed cover is a shallow tray that snaps over the closed caliper and takes the knocks that would otherwise land on the screen. Make it from PETG for stiffness, or TPU if you want it to grip the body and survive being dropped off a belt pouch. Print the tray on its back so the floor is solid and the walls rise without supports.
Size it from a caliper you actually own. For a 150 mm caliper, the closed body measures roughly 235 mm long, so the tray runs about 245 mm end to end with a 4 mm lip. Add a small lip on the LCD side so the cover cannot slide off sideways, and stop there.
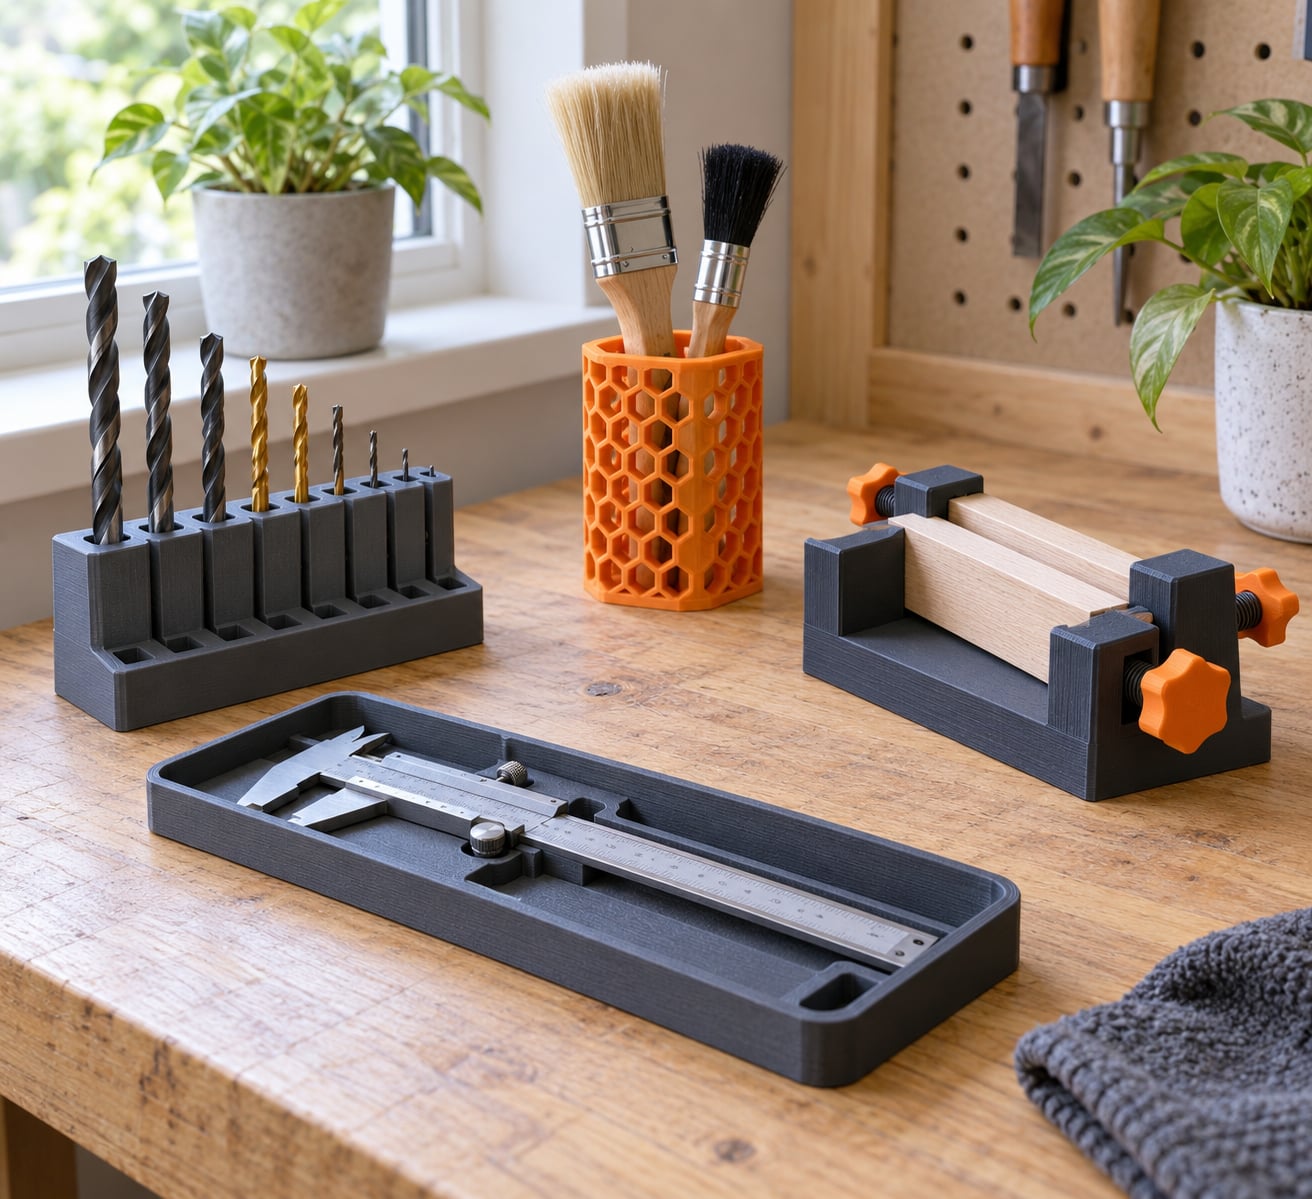
The pouch is the companion piece: a flat pocket that holds the covered caliper with a pencil, a mechanical pencil and a small metal rule. A shallow printable tray on the bench works too, and it doubles as a place to drop the caliper instead of pocketing it with glue on your hands.
2. Modular Screwdriver Handle Adapter
This one turns short hex bits into a proper long-handled driver, which is exactly what you need for the screw sitting 40 mm down inside a cabinet hinge or behind a radiator panel.
Model it as a knurled barrel with a hex socket at one end and a moulded driver handle shape at the other, sized to the bit size you use. Quarter-inch bits are the common currency across cordless drivers, torque drivers and hand drivers, so start there unless your work is all metric.
Strength rules matter more here than anywhere else on the list. Print with at least four perimeters, 40 to 60 percent infill, and orient the barrel so the long axis runs along the layer lines rather than across them. Layer adhesion is weakest between layers, so a part stacked upright will snap at the first hard twist.
Do not use it for high-torque fastening, breaking seized fasteners, or anything structural. A printed driver is for light assembly screws. If you feel it flexing, the torque is already above what the part should be carrying.
3. Custom Drill Bit Depth Stop
A depth stop makes repeated blind holes land at the same depth, which is what you need when you are drilling shelf pin holes into a cabinet side and the first one is 6 mm deeper than the last.
Build it as a collar that sits against the drill body or a two-piece block that clamps to the bit shank. The collar version is quicker but depends on your drill diameter; the shank version travels with the bit, so any drill of that chuck size can use it.
Calibration is one operation. Drill a test hole, measure the actual depth with a caliper, and adjust the stop by the difference. From then on it holds the setting. For a 12 mm shelf pin in 18 mm ply, set the hole 16 mm deep so the pin sits with a little play for glue.
Print it in PETG. PLA creeps under the constant pressure of a spinning collar on a warm drill body, and a creeping stop means a hole that gets deeper every time you use it. Clear chips from the collar between holes, clamp the bit, and wear eye protection. Stop drilling the moment the bit reaches the stop rather than leaning on the drill.
4. Paint and Glue Brush Holder
Brushes and applicators dry badly in a drawer. This holder stands them upright by the ferrule so the bristles hang free and dry in the right shape.
Make the base solid and heavy enough that it does not tip when you pull a brush out, and leave a drain path so glue residue runs into a tray instead of setting inside the holder. A shallow lip around the base catches the drips.
Material choice is about solvent, not heat. PETG handles most glues, paints and cleaning wipes without complaint. Stay away from PLA anywhere near solvent-based adhesives or nitro thinner, because the fumes and contact will cloud and eventually soften it. If you build one for cyanoacrylate, keep it away from the bottle neck.
A model-building example: one 90 mm holder on the bench for size 2 and 4 sable brushes, a second shorter holder with 12 mm holes for five glue bottles in a row. The repeat bottles become second use for applying glue to dowels or mixing cups, which is where glue bottles usually go anyway.
5. Drill Bit Storage Rack
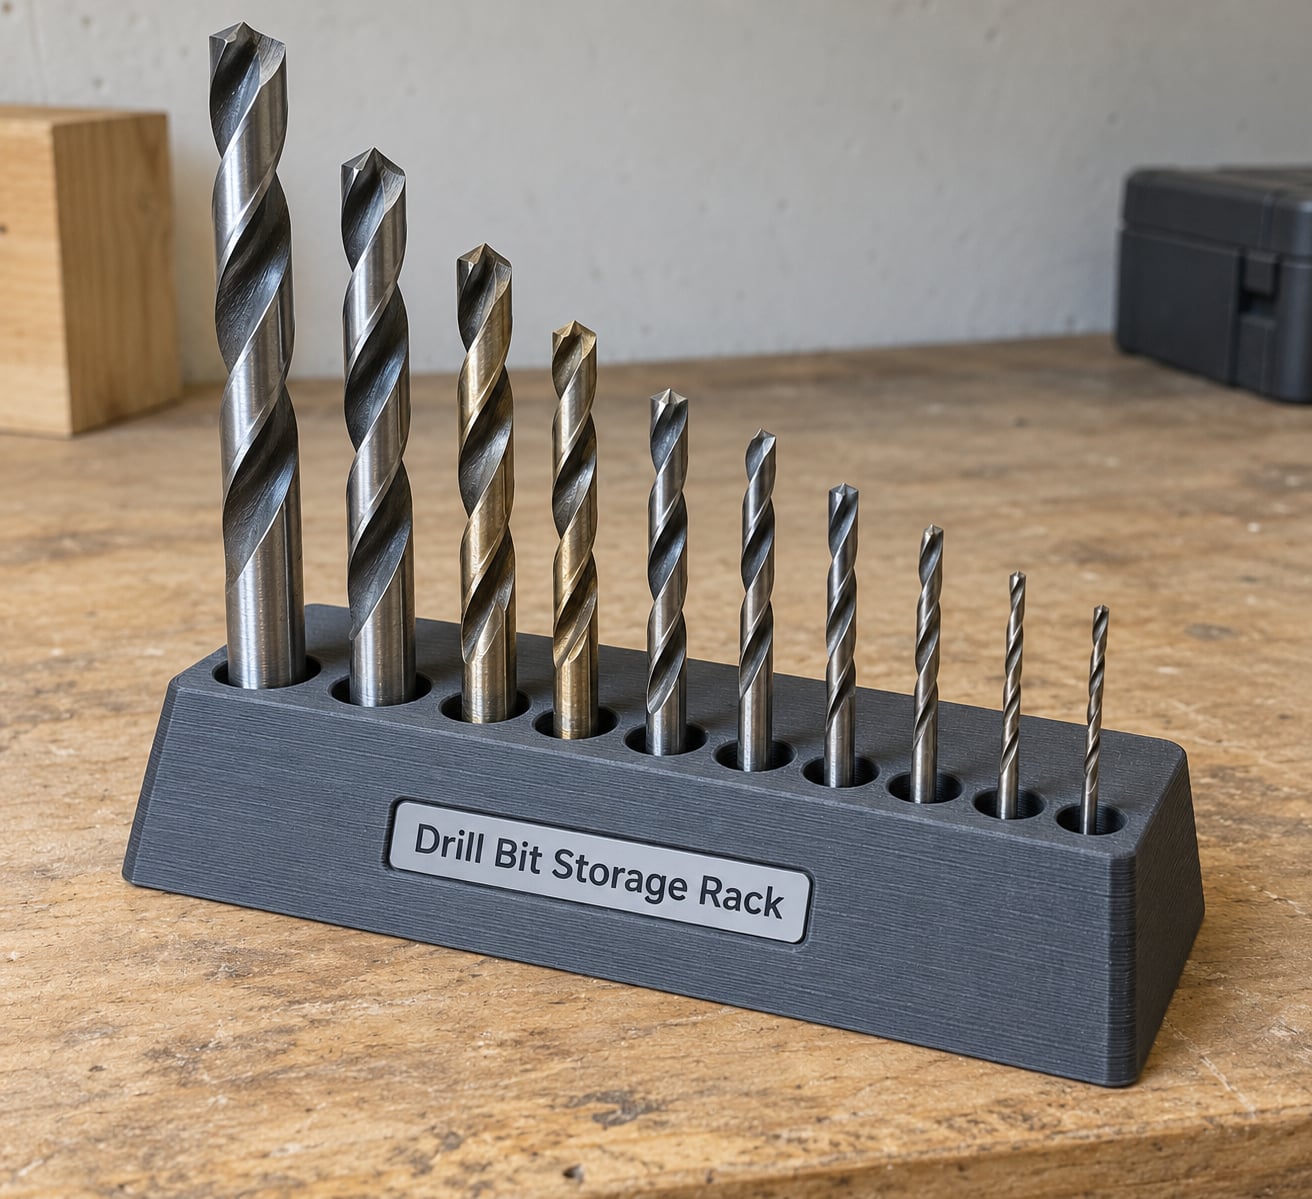
A bit rack is the single highest-value print for most shops, because loose bits in a drawer are the reason you buy the same bit twice.
Two designs work. An indexing block holds each size in its own labelled hole, like a small library, and it doubles as a gauge: the drill rests on the block and you can see at a glance whether it is the right size. A vertical rack clips the bits by shank and stands on the bench or hangs off a rail.
Size the holes to the diameter you can measure, plus a tenth of a millimetre for fit. Print-in-place blocks with a hole per size are simpler and less likely to fall apart, but they use more filament and take longer. Separate slots on a shared base print faster and let you add sizes later.
A woodwork example: one block with slots for 3, 4, 5, 6, 8 and 10 mm, sitting next to the shelf pin jig so the two jobs happen together. Use PETG, four perimeters, and support only under the overhang at the back of each slot. Keep each slot 12 mm apart so a 6 mm bit cannot fall into the 5 mm one.
6. Sandpaper and Scraper Organizer
Finishing work goes wrong when the abrasive you need is bent, contaminated or buried under a stack of other sheets. A weighted organizer fixes that by giving every sheet its own slot, standing on edge.
Build it as a box with vertical dividers spaced for half-inch and quarter-inch sheets plus a wider bay for sanding blocks and card scrapers. A removable liner in the bottom catches the dust that inevitably ends up on your sheets.
Print the liner separately so you can swap it, and use the liner as a shim stack when a sheet has worn smooth. That second use is what makes the design feel clever rather than decorative.
Material is straightforward: PETG for the body. In a drawer-sized version, print the body on its back and split the walls at 140 mm so it prints flat and fits a shallow drawer without splitting the box into four parts. Keep the top open so the sheets stay visible and grabbable.
7. Reusable Soldering Aid Station
A soldering bench loses time when the brass wool is somewhere, the tips are cleaned with whatever is nearest and small parts roll off the desk. This station puts all of it in one footprint.
Include a well for the soldering iron that matches your stand, a recess for brass wool, a slot for a brass or stainless tip cleaner, and a small dish for screws, headers and offcuts. Add a lip on the dish, because a solder blob will find the edge.
Heat spacing is the whole design problem. The iron well must hold the iron where your stand expects it, and the plastic must not touch the hot end or the shaft. Follow the soldering iron manufacturer’s instructions for stand placement and rest time, and keep the station on a heat-resistant mat rather than bare laminate.
PETG is the right pick here. It softens far later than PLA and gives up before it flows, which is why printed iron stands are almost always PETG rather than PLA. A repair scenario: replacing a USB-C port on a controller board, with the station holding the iron, brass wool on one side and the four tiny screws in the dish so they cannot roll into the case fan.
8. Clamp Jig for Repeatable Assemblies
A jig holds the work in the same position every time, so you stop re-measuring and stop stacking clamps with a pencil line as your layout.
Build it around one task: two boards that need four dowels in the same relative position, or panels that must line up while glue dries, or a part that needs holes drilled at a fixed angle. The jig has a fixed bed with stops, and the work sits into the stops every time.
Test fit with card or thin ply before you commit. Print at 0.2 mm layer height with four perimeters and a brim, and orient the flat bed flat on the plate so the stops do not gain layer strength you cannot rely on. Slot the stops for adjustment rather than gluing them fixed, so you can widen it after the first real part does not fit.
An example: identical wooden boxes with glue-up. Two side panels and two ends drop into the jig, the glue-up happens with three clamps in fixed positions, and the dowel holes go through a guide bushing in the jig rather than a mark on the wood. Print the jig in PETG and set your expectations: it locates parts, it does not clamp them, and it will not survive someone leaning on it.
9. Cable Spool and Charging Station
A short charging lead gets stuffed into a drawer and comes out knotted, then gets thrown in a bin. A printed dock solves it in about 40 grams of filament.
There are two parts. A spool with a slot for the lead so excess cable wraps instead of coiling loosely, and a cradle that holds the tool or device upright while it charges. Measure the lead length first and size the spool radius so two or three wraps fit with the connector still reaching.
For the cradle, PETG keeps its shape on a bench that warms up. TPU works well for the cable clip and entry grommet because it grips the lead without a tight hole and damps the cable instead of letting it slap. Mix them if you like: rigid body, soft entry.
Electrical precautions are simple. The print is a holder, not an electrical part: keep mains voltage wiring and connector soldering inside the tool itself, never run the printed dock through a cord strain that could expose a conductor, and never leave a charging cell in a printed cradle that could overheat where nobody would notice. A cordless screwdriver station is the classic case: the short USB lead loops onto the spool and the driver stands in the cradle between uses.
10. Adjustable Phone or Tablet Workbench Stand
A stand keeps the build instructions, the exploded diagram or the reference photo at eye level and hands-free, which is the difference between following a plan and guessing at it.
Stability matters more than looks. Make the footprint wide relative to the device, keep the centre of mass low, and print the base flat on the bed with a brim so it does not lift. A tall thin stand that leans forward the moment you touch the screen is worse than no stand. Give the device a lip at the base and a back rest so it cannot slide forward when you tap it.
Viewing angle is adjustable if you hinge the back rest and lock it with a printed wedge or a printed thumb wheel on a heat-set insert. If you plan to record timelapse footage, hold the device far enough back that your hands do not pass through the shot, and check that the model does not warp visibly over hours of heat from a lamp.
PETG holds its shape on a warm bench and shrugs off a knock. For an electronics example, a 7 inch tablet on a bench stand running a wiring diagram while you rebuild a bench power supply: the diagram stays at a 30 degree lean, the parts tray sits underneath, and nothing has to be propped against a jar.
Frequently Asked Questions
What material should I print workshop tools in?
PETG for most functional prints. It is stiffer than PLA, tolerates workshop heat, and survives a knock without snapping, which makes it the right default for holders, jigs and gauges. Use TPU for flexible clips and grips, ASA or ABS for parts near heat, and PLA for anything that stays cool and only needs to look right. Check the heat in your shop before you decide.
Why does my 3D printed part snap in half?
Almost always layer adhesion. FDM parts are weakest between layers, so orient the part so the load runs along the layer lines rather than across them, print with at least four perimeters, and raise the nozzle temperature slightly if your filament allows it. If a part flexes before it breaks, it was designed with no thickness to carry the load and no amount of infill will save it.
Can I print load-bearing or safety-critical parts?
No. Printed plastic should not carry a person, hold up scaffolding, form part of a lifting device, or take the place of a rated clamp, guard or blade. Layer direction makes the strength unpredictable and it changes with every print. Print organizers, jigs, gauges, adapters and covers. Buy certified hardware for anything whose failure could injure someone.
Do I need an enclosed printer for PETG and ABS?
PETG usually prints fine on an open-frame machine, though a draft shield helps with large parts. ABS and ASA are different: they need an enclosure to hold heat and to stop warping, and ABS also gives off fumes you want ventilated away. ASA is the better choice for visible workshop parts because it does not yellow. For everything else on this list, an open printer is enough.
Where do I get good models for workshop tools?
Printables, MakerWorld and Thingiverse hold most of the useful free library, and searching by the tool you own rather than by the print you want tends to work better. Measure the real tool before you print, and check whether the model uses heat-set inserts for screw holes, since a plain printed boss strips easily. For a broken part, scanning it yourself usually beats hunting for a file.
Is it legal to sell parts I print myself?
Generally yes, but you carry the liability. Anything considered a consumer product needs to meet the same safety standards a manufactured one does, and printed plastic is hard to certify. Sell organizers, jigs, adapters and decorative parts rather than anything load-bearing. Do not copy a commercial part protected by a patent or a trademarked design, and check local rules if you are selling to businesses.
Conclusion
Start with the drill bit rack if your bench has loose bits, the depth stop if you drill repeated blind holes, and the caliper cover if you have already bent one. Of all the 3D printed tools for the workshop, the winner is whichever one matches the job you redo every week, so pick that, measure the real tool before you slice anything, and print it in PETG with four perimeters so the layer lines sit along the load instead of across it. Adjust the dimensions once and it will still fit in five years, which no off-the-shelf holder can promise.