If you have just unboxed a printer, print a 20 mm calibration cube first, then a cable clip or a phone stand. Those two jobs teach you bed leveling, layer adhesion and the slicer workflow in under an hour, and they almost never fail. The list below ranks twelve beginner 3D printing projects by how quickly they teach you something and how forgiving they are, with typical print times, material and difficulty for each.
Every time and material figure here assumes a common entry-level FDM machine with a 0.4 mm nozzle, slicing at 0.2 mm layer height. Your times will shift with speed settings, but the order stays the same. Where a project fits a specific beginner profile, I have said which one, so you can skip nine of these and start with the right one.
Table of Contents
- 3D Printing Project Ideas for Beginners at a Glance
- 1. Custom Name and Desk-Top Organizer
- Why this works first among 3D printing project ideas for beginners
- 2. Personalized Phone or Tablet Stand
- 3. Replacement Drawer Divider
- 4. Custom Book or Tablet Stand
- 5. Simple Cable and Charging Cable Holder
- 6. Door or Wall Hook
- 7. Plant Pot or Seedling Tray
- 8. Drawer or Cabinet Label
- 9. Dice Set or Tabletop Game Tokens
- 10. Basic Camera or Sensor Mount
- 11. Replacement Household Handle or Pull
- 12. Custom Tool or Craft Jig
- Frequently Asked Questions
- What should I print first on a new 3D printer?
- What is the easiest software for a beginner 3D printing project?
- Which projects should a beginner avoid printing first?
- Do 3D prints fail often for beginners?
- What is the hardest thing to 3D print?
- How much filament does a first 3D printing project use?
- Conclusion
3D Printing Project Ideas for Beginners at a Glance
Scan the table, then jump to the section that matches your setup. The difficulty column uses three levels: Easy prints in one session with no supports, Medium needs a support or a little sanding, Hard introduces something a beginner rarely needs yet.
| Project | Typical print time | Material | Difficulty | Best for |
|---|---|---|---|---|
| Desk-top organizer | 2 to 3 hours | PLA | Medium | First custom text print |
| Phone or tablet stand | 1 to 2 hours | PLA | Easy | Small build volume |
| Drawer divider | 1 to 2 hours | PLA or PETG | Easy | Household organization |
| Book or tablet stand | 2 to 3 hours | PLA | Medium | Learning supports |
| Cable holder | 30 to 60 minutes | PLA or PETG | Easy | Fastest useful win |
| Door or wall hook | 1 to 2 hours | PLA or PETG | Easy | Everyday problem solving |
| Plant pot or seedling tray | 3 to 5 hours | PETG | Medium | Larger first print |
| Drawer or cabinet label | 20 to 40 minutes | PLA | Easy | Finishing skills |
| Dice set or game tokens | 1 to 3 hours | PLA | Easy | Gifts and play |
| Camera or sensor mount | 1 to 2 hours | PLA | Medium | Hobby projects |
| Replacement handle or pull | 2 to 4 hours | PETG | Medium | Workshop and repairs |
| Tool or craft jig | 1 to 2 hours | PLA | Easy | Accuracy and repeat work |
1. Custom Name and Desk-Top Organizer
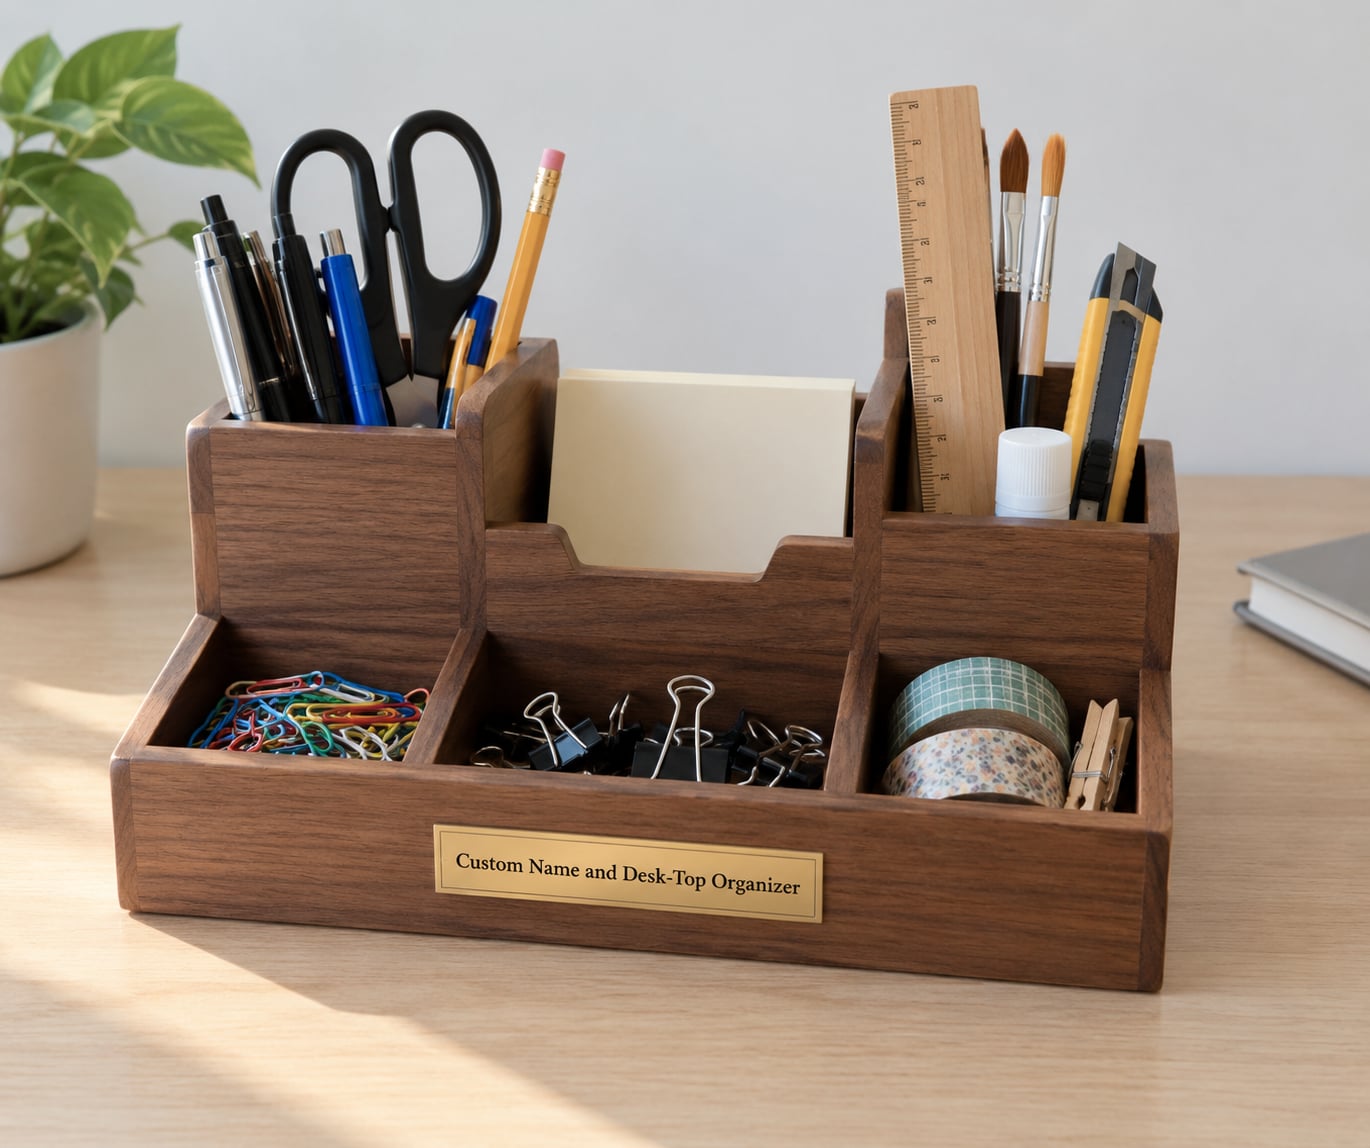
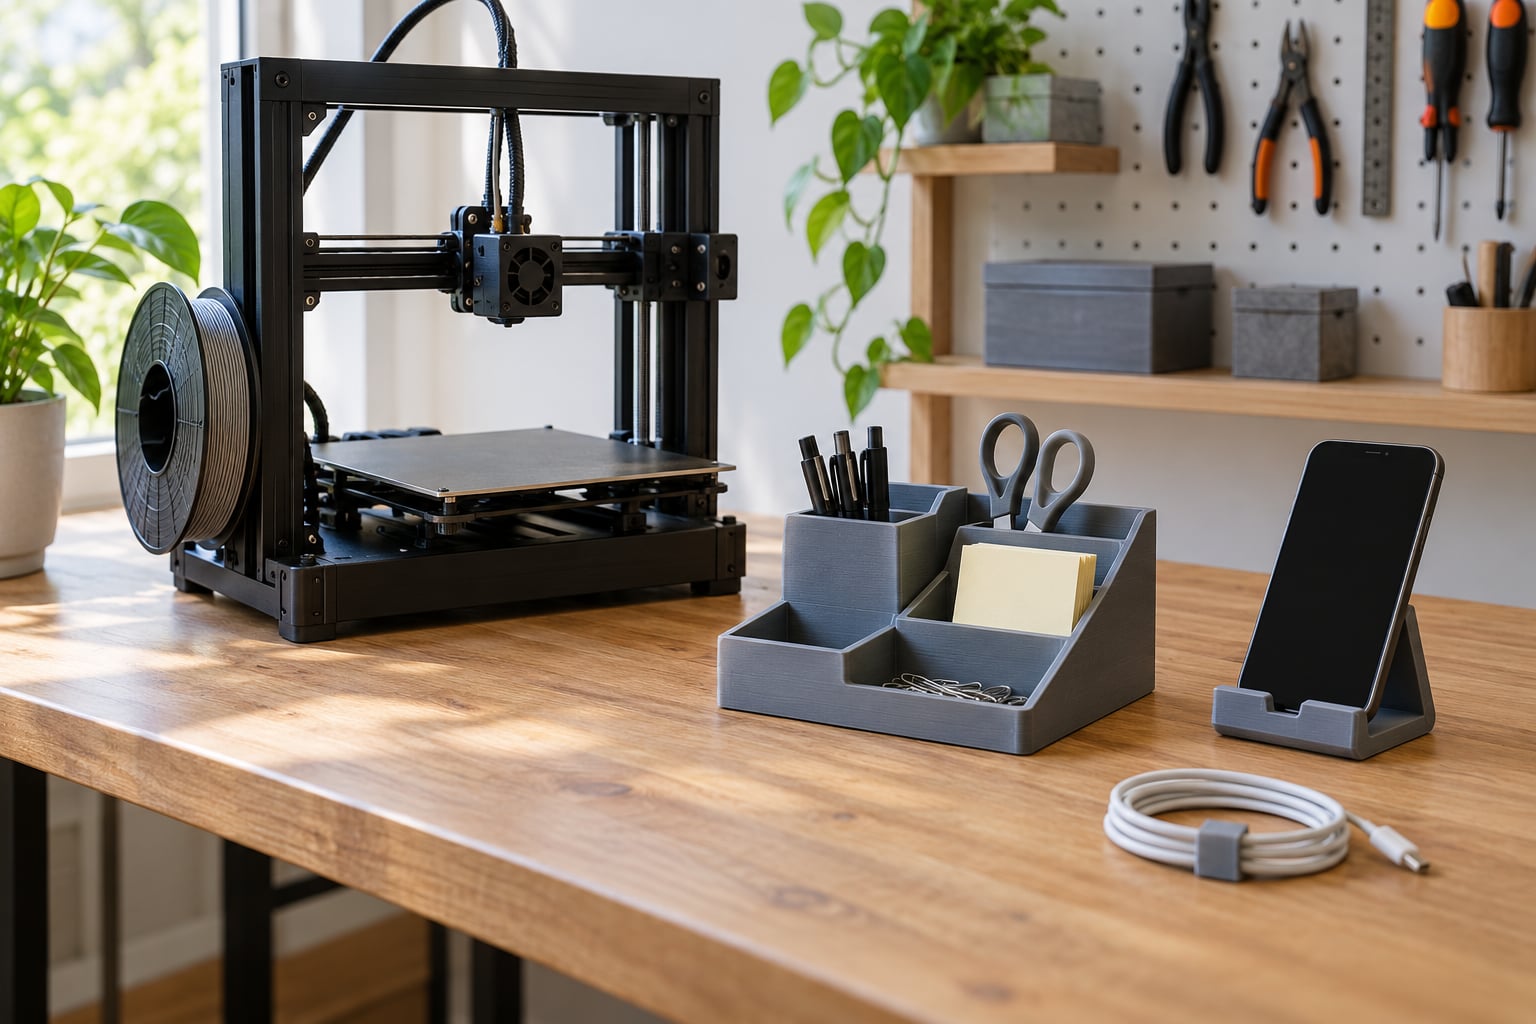
A compartmentalized desktop organizer is the first project that teaches you to change something and see the result. Download a design, then in your slicer or modeler widen one compartment, shorten another, and raise the text to a name, a room or a set of initials. Because everything sits flat on the bed, it is a forgiving first print, and the reward lands on your desk the same day.
Why this works first among 3D printing project ideas for beginners
It teaches two transferable things. First, scaling and editing a model, which is how every later project starts. Second, text: getting a name to sit flush on a surface without a visible gap looks fussy and is exactly the kind of small precision that separates a toy print from something you keep.
Adapt the width to what you actually own. Pens need a shallow slot, paper clips need a flat tray about 5 mm deep, and small craft tools such as stitch markers or tweezers need a narrow channel. Measure the longest item, add 2 mm of clearance, and set that as the compartment length. Print in PLA if it stays on a dry desk; if it lives in a garage or a car, use PETG.
2. Personalized Phone or Tablet Stand
A phone stand is the most useful thing a beginner can put on a desk, and it is small enough for almost any build volume. Start with a fixed-angle model rather than an adjustable one. Adjustable versions rely on friction-fit slots and a tight tolerance, which is a skill worth learning a few prints from now.
Three things to tailor. Set the angle to whatever you actually look at the screen from, usually 60 to 75 degrees from the desk. Widen the lip to match your phone, since a case adds 2 to 3 mm. Then add a rear cutout for a charging cable, positioned so the plug clears the back wall instead of pressing the phone forward.
Print it flat with the front face against the bed. The back is a nearly vertical face, and slicing it that way keeps the layer lines short and the part stiff. Expect 1 to 2 hours in PLA and no supports.
3. Replacement Drawer Divider
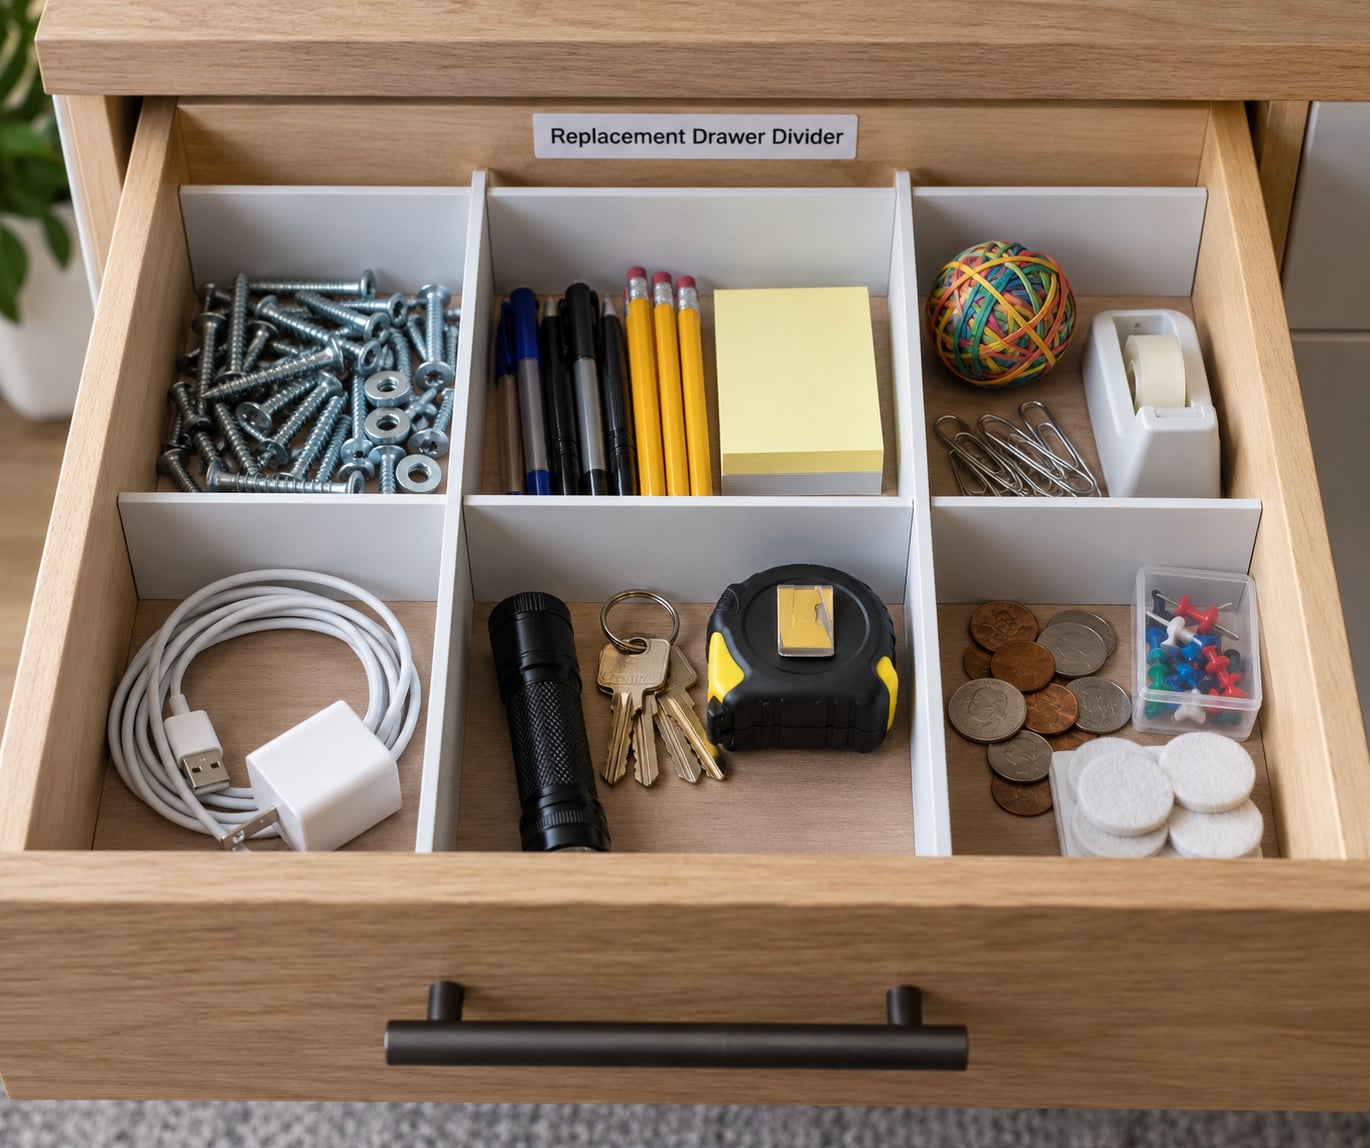
A drawer divider fixes a problem you already have, which is why it is one of the most-satisfying first projects. Measure your drawer’s internal width and depth first, then either resize an existing divider model or model a simple slotted strip yourself. A single rectangle with two horizontal slots is a perfectly good first design in Tinkercad, and it is easier than it sounds because the shape is a box with two rectangular holes.
Make the divider about 2 mm shorter than the drawer’s inner length so it slides rather than jams, and keep the height under the drawer wall. Office supplies, kitchen utensils and craft materials all work, but measure the longest object first. A compartment for a wooden spoon needs far more depth than a compartment for screws.
PLA is fine for paper and pens. Switch to PETG for a garage drawer holding tools, where the print will see heat and knocks. One to two hours, no supports, and it is the project that makes a new owner go looking for the next problem to solve.
4. Custom Book or Tablet Stand
A book stand is where beginners meet supports and larger flat surfaces. Most angled-stand models overhang at the back to form the lean, so the slicer will build support structures underneath, and removing them is part of the lesson. Choose a model with a back support post rather than a solid wedge if you want fewer support scars.
Size the angle to the object. A thick cookbook propped open at home wants a steep, stable angle, while a tablet in a case needs a shallower lean so it does not slide. If the stand wobbles, the failure is usually a foot that is too short rather than a bad print, so add length to the base before you re-slic.
Two to three hours in PLA with supports, and the printable model gives you a resting angle you can actually control. This is also the project where a bad first layer shows up most clearly, because any warp ruins a long flat panel. Get the corners down properly and the print is straight.
5. Simple Cable and Charging Cable Holder
A cable holder solves a visible everyday problem in under an hour, which makes it the best confidence builder on this list. Choose a clip style that snaps around the cable rather than one that grips the connector, because cable jackets vary far more than connector widths do.
The opening is the whole design. Measure the cable and add about half a millimeter of clearance; aim for a press fit that needs a thumbnail, not pliers. Mount it to a wall, a desk leg or a monitor arm, and print enough of them that the cable run behind your desk disappears entirely. Repeat prints cost very little filament and the difference is obvious from across the room.
Use PLA indoors. For a car mount or a spot that gets warm, use PETG, which will not go soft the way PLA does. Thirty to sixty minutes, no supports, and this is the one you will probably print again tomorrow.
6. Door or Wall Hook
A hook is a small-volume print that carries a real load, so it teaches you something about part strength that a coaster never will. The key variables are how it mounts and which way the layers run. A hook screwed flat against a wall with the layers parallel to the wall is weak. A hook printed so the layers wrap around the curved lip is dramatically stronger, even with a lower infill.
Get the mounting holes right. Print a test plate first, a thin scrap with a single hole, and check the screw fits before committing to the full part. A hole that is 2 mm too small will split along the layer line when you drive the screw in.
For keys, headphones and lightweight tools, 3 mm wall thickness in PLA is plenty. Keep heavy items off printed hooks, and use a real wall anchor rather than a screw in drywall alone. One to two hours, and this is the project where a beginner learns why print orientation matters more than infill percentage.
7. Plant Pot or Seedling Tray
A planter is a good first step up in size, and it introduces a real engineering question: water. A pot without drainage turns into a swamp within a week, so pick a design with a hole, an inner pot, or a tray underneath. If you use vase mode for a continuous wall, remember the wall follows the slicer’s outer perimeter, which makes drainage holes awkward, so a conventional solid design is easier.
Size it to what you will actually grow. Herbs fit a 70 to 90 mm pot, a small pepper needs more root room than people expect, and seedlings want a shallow tray with many cells. Keep the first pot under 15 cm tall so it fits a standard bed and prints without a brim losing adhesion halfway up.
Use PETG rather than PLA for anything that will get wet repeatedly. Three to five hours for a single pot, longer for a multi-cell tray, and this is the project where a visible brim or raft pays for itself. If the first layer lifts, the fix is a brim and a slower first layer, not more temperature.
8. Drawer or Cabinet Label
A label plate teaches clean surfaces and legible text, two things that look simple until you print them badly. Embossed text, raised off the surface, is easier to read and easier to print than recessed text, because the letters do not need a thin unsupported top layer hanging over a cavity.
Use a font with open counters, avoid anything with hairline serifs, and print the text at least 6 mm tall. Test a small sample sheet with three or four font sizes first, which takes about ten minutes and saves a wasted plate. Mount the plate with removable adhesive or a screw hole, and match the hole spacing to the cabinet or drawer front you are labelling.
Twenty to forty minutes per plate in PLA with no supports, so you can print a whole kitchen in one afternoon. This is also the natural place to start designing rather than downloading, because the model is a rectangle and a few letters, which is a much friendlier first CAD exercise than a figurine.
9. Dice Set or Tabletop Game Tokens
Dice and game tokens are where beginner 3D printing projects turn into hobby projects, and they reward experimentation more than utility. Start with a standard seven-piece polyhedral set, which is forgiving because the shapes are simple and the tolerances are loose. Test with an actual d20 and a pencil eraser for 1d checks: if the pencil rolls smoothly, the geometry is clean.
For a board game, a dice tray and a card deck box are the natural companions. A tray teaches large flat bottoms and low walls that must not flex. A deck box is close to an exercise in tolerance fitting, where the lid has to slide without rattling, so add clearance gradually and print a test lid first.
One to three hours in PLA, no supports on most designs. A small set is a decent first gift, and you can match colours to an existing game so it feels like part of the box rather than something generic.
10. Basic Camera or Sensor Mount
A small mount for a generic webcam, a monitor arm or a light sensor looks simple, and the difficulty is entirely in hole spacing and orientation. Measure the fixing holes in millimetres, not inches, because a half-millimetre error in a two-hole pattern means the part will not bolt on at all.
Think about what the mount has to survive. A time-lapse camera on a shelf needs a wide base and a joint angled slightly downward. A sensor in a workshop needs stiffness, so add ribs and print them flat to the bed rather than standing them on end. Check that your cable can still reach once the bracket is in position, which is a step people consistently skip.
One to two hours in PLA, usually with no supports if the design is well thought out. This is the first project that pushes you toward real problem solving, and it is a good bridge to designing your own mounts later.
11. Replacement Household Handle or Pull
A broken drawer pull is the most satisfying repair a beginner can print, and it is a genuinely better first design project than a downloaded model. Measure the original part three ways: the hole spacing, the overall length, and the clearance behind the drawer front. Then check the wall thickness, because thin walls are where replacement parts snap.
Print orientation decides whether this works. A handle printed flat across the bed, with the pull end raised on supports, has its strongest layers running along the grip, which is what you want. Printed on end, the grip’s load crosses the layer lines and it snaps. In PETG the part also shrugs off heat and knocks far better than PLA.
Two to four hours in PETG. Keep the printed part off any load-bearing or safety-critical application, and check that the drawer still closes before you call it finished.
12. Custom Tool or Craft Jig
A jig is a shape that removes guesswork from a repeated task, and it is the project that turns a hobby into a habit. A straight-edge guide that holds a drill at a fixed depth, a spacing guide for evenly placed holes, a wire holder for consistent cuts, or a corner square for trimming a strip to the same length all work, and all are simple geometry.
Size the opening to the tool with a sliding fit rather than a press fit. A guide that grips a 6 mm dowel too tightly will scratch it; one that is loose by a millimetre will let the work drift, and a millimetre of drift over 100 mm is 1 percent of your result. A quick test print of the fit takes ten minutes and saves the whole job.
One to two hours in PLA with no supports. Once you can make one of these, you can make the version that fits your exact tools, your exact bench, and your exact habits, which is where most 3D printing skills end up.
Frequently Asked Questions
What should I print first on a new 3D printer?
Print a 20 mm calibration cube. It finishes in about 20 minutes, needs no supports, and exposes first-layer adhesion, bed level and dimensional accuracy in one go. A 3DBenchy follows once the cube is clean, since it shows surface quality and overhangs too. Avoid starting with anything over two hours, because a long first job wastes a lot of filament before you know what went wrong.
What is the easiest software for a beginner 3D printing project?
Start with a slicer, not a modeller. OrcaSlicer, PrusaSlicer, Bambu Studio and Creality Slicer all import an STL or 3MF file, choose your filament and send the job, and they are free. When you are ready to design your own parts, Tinkercad runs in a browser and needs no install. Fusion 360 is the usual next step, but it is overkill for a first organizer.
Which projects should a beginner avoid printing first?
Skip anything over four hours, thin-wall models with no supports, large flat surfaces, and articulated or print-in-place designs with tight gaps. Those combine the failure modes that trip up new printers: weak overhangs, poor bridging and layer separation. Also skip food-contact and drinkware in PLA, since the layer lines trap bacteria. Start flat, simple and small, then add difficulty one job at a time.
Do 3D prints fail often for beginners?
Yes, especially in the first few jobs, and the failures are usually predictable rather than random. First-layer adhesion is the most common one, followed by weak overhangs, poor bridging and layer separation. Nearly all of those trace back to a dirty or unlevel bed, damp filament or a speed setting your printer cannot hold, so a clean plate and a level bed eliminate most of them.
What is the hardest thing to 3D print?
The genuinely hard categories are functional parts that need tight tolerances, such as a bearing-fit gear or a press-fit joint, and large flat panels, which warp as they cool. Multi-material prints with several colors or materials are harder again, because each interface is another place to fail. None of those are first-project material. A cable clip that fits perfectly will teach you more and cost you far less than a failed one-tooth gear.
How much filament does a first 3D printing project use?
A 20 mm calibration cube uses roughly 3 to 5 g. Cable clips, labels and hooks land around 5 to 15 g each, while a phone stand or a book stand runs closer to 40 to 60 g. A 1 kg spool covers hundreds of small projects, so buy one and print constantly rather than saving it for a large job. Keep filament dry; moisture is a leading cause of stringing and poor surface quality.
Conclusion
The easiest first projects are the cable holder, the phone stand and a label plate, because each one is small, flat and finished in under two hours. Pick one of those, check the model’s footprint against your printer’s build volume, confirm it prints in PLA, and run a test print before you commit to a full version. These 3D printing project ideas for beginners all get easier once you have watched one thing come off the bed the way you expected.