Layer shifting happens when the toolhead loses its X or Y position partway through a job, so every layer after that point prints at an angle to the ones below it. If you want to know how to fix layer shifting in 3D prints, the honest answer is that you diagnose it in order, because almost every case ends at belt tension, a snagging gantry or acceleration set too high. It is almost always lost steps on a stepper motor, and because most desktop printers run open-loop motion with no sensor confirming the toolhead arrived, the machine cannot notice and correct the error. Most cases get fixed in under an hour.
The sequence matters. Tighten every belt on the machine at once, drop the speed to a crawl, re-level the bed, and you will have no idea which change helped. Change one thing, run a short test, note the result. That habit is the difference between a twenty-minute repair and a week of swapping parts that were never the problem.
Table of Contents
- What You Need
- Step-by-Step
- Step 1: Identify Where the Layers Shift
- Step 2: Check Bed Leveling and Print Adhesion
- Step 3: Inspect the Motion System
- Step 4: Check Belt Tension and Wheel Position
- Step 5: Reduce Acceleration and Speed to Stop Layer Shifting in 3D Printing
- Step 6: Verify Temperature and Cooling
- Step 7: Check Firmware, Limits, and G-Code
- Why Shifts Repeat at the Same Height Every Print
- How to Confirm You Fixed It
- Layer Shift or Layer Separation?
- Common Mistakes When You Try to Fix Layer Shifting in 3D Prints
- Frequently Asked Questions
- What causes layer shifting in 3D printing?
- How to fix layer shifting in 3D printing?
- Why are my 3D prints shifting layers at the same height?
- How do I know if my belt is too tight or too loose?
- When should I replace a stretched GT2 belt?
- Does slowing the print speed alone fix layer shifts?
- Conclusion
What You Need
You can diagnose most layer shifts with a hand and a flashlight. The rest of the tools just make the diagnosis faster and more certain.
- The printer manual for your exact model. Belt paths, tensioner positions and firmware menus differ between an Ender 3, a Prusa MK3S and a Bambu Lab machine, and the manual settles arguments the forum cannot.
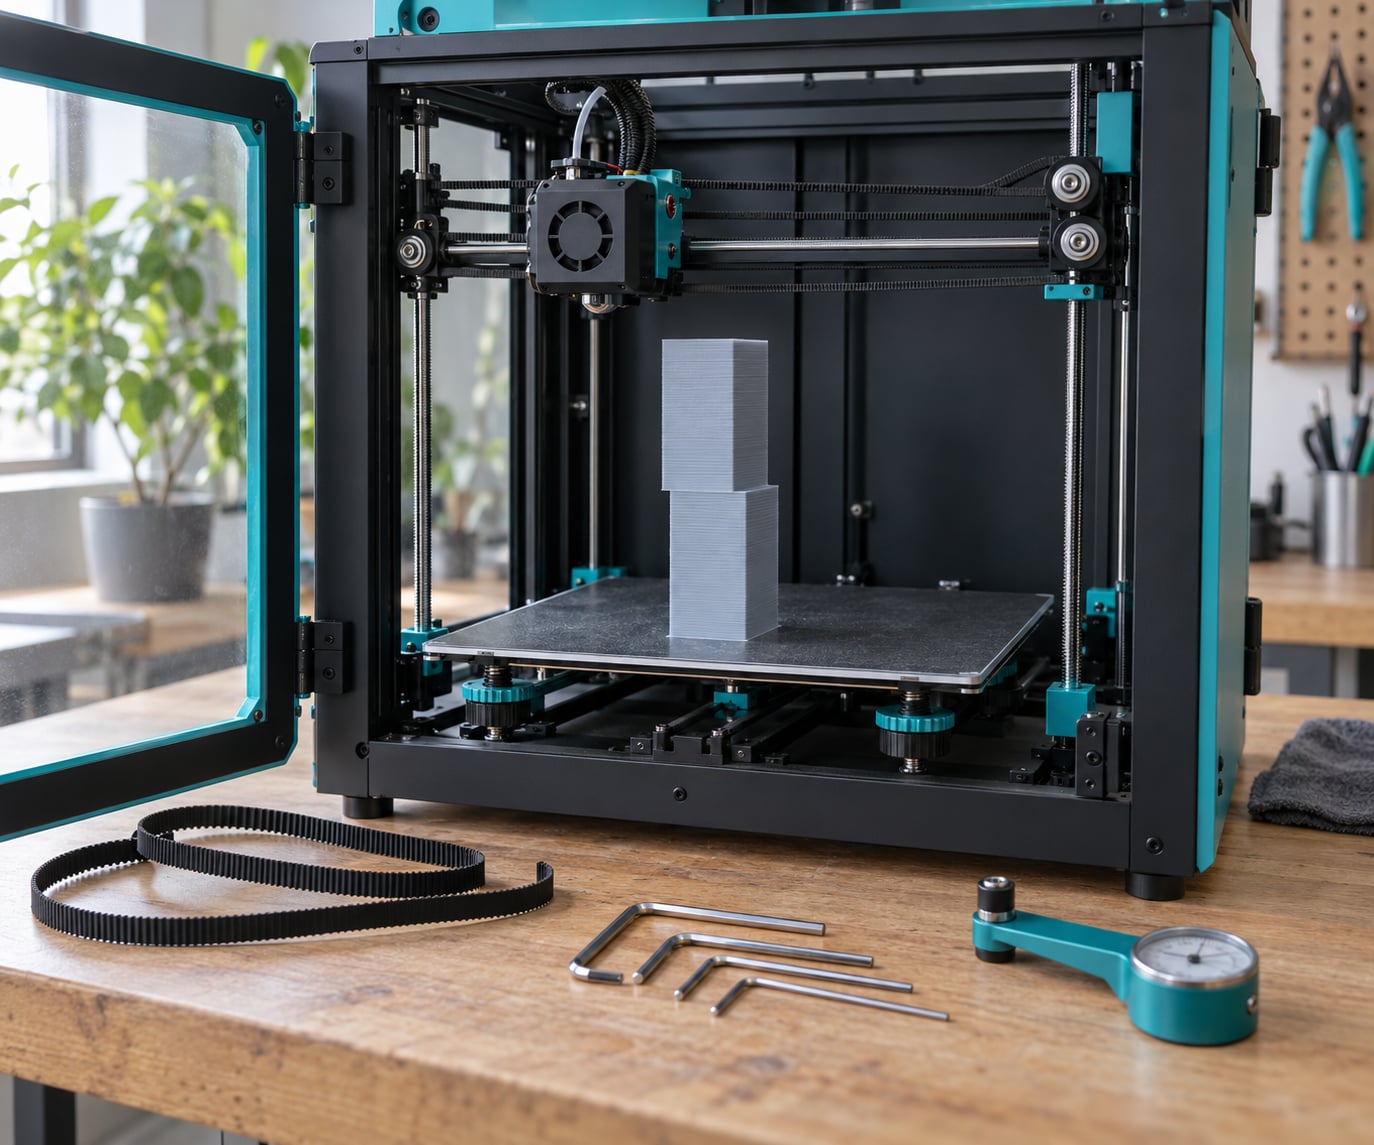
- Hex keys (Allen wrenches) in the sizes that fit your printer. Ball-end variants stop you rounding a head on a stubborn screw.
- A belt tension gauge if you have one. Without it you fall back to the deflection and pluck tests in Step 4, which are less precise but perfectly usable.
- A multimeter for checking stepper driver reference voltage (VREF) and the driver temperature sensors, if you get that far.
- A spare GT2 belt and a 6 mm hex nut for the printed DIY tensioner trick that came out of the r/AnetA8 community.
- Access to your slicer and firmware, meaning Cura, PrusaSlicer, OrcaSlicer or Bambu Studio, plus the printer control menu and any configuration interface your firmware exposes.
- A sharp eye and the failed part. The pattern in the plastic tells you more than any single test does.
Step-by-Step
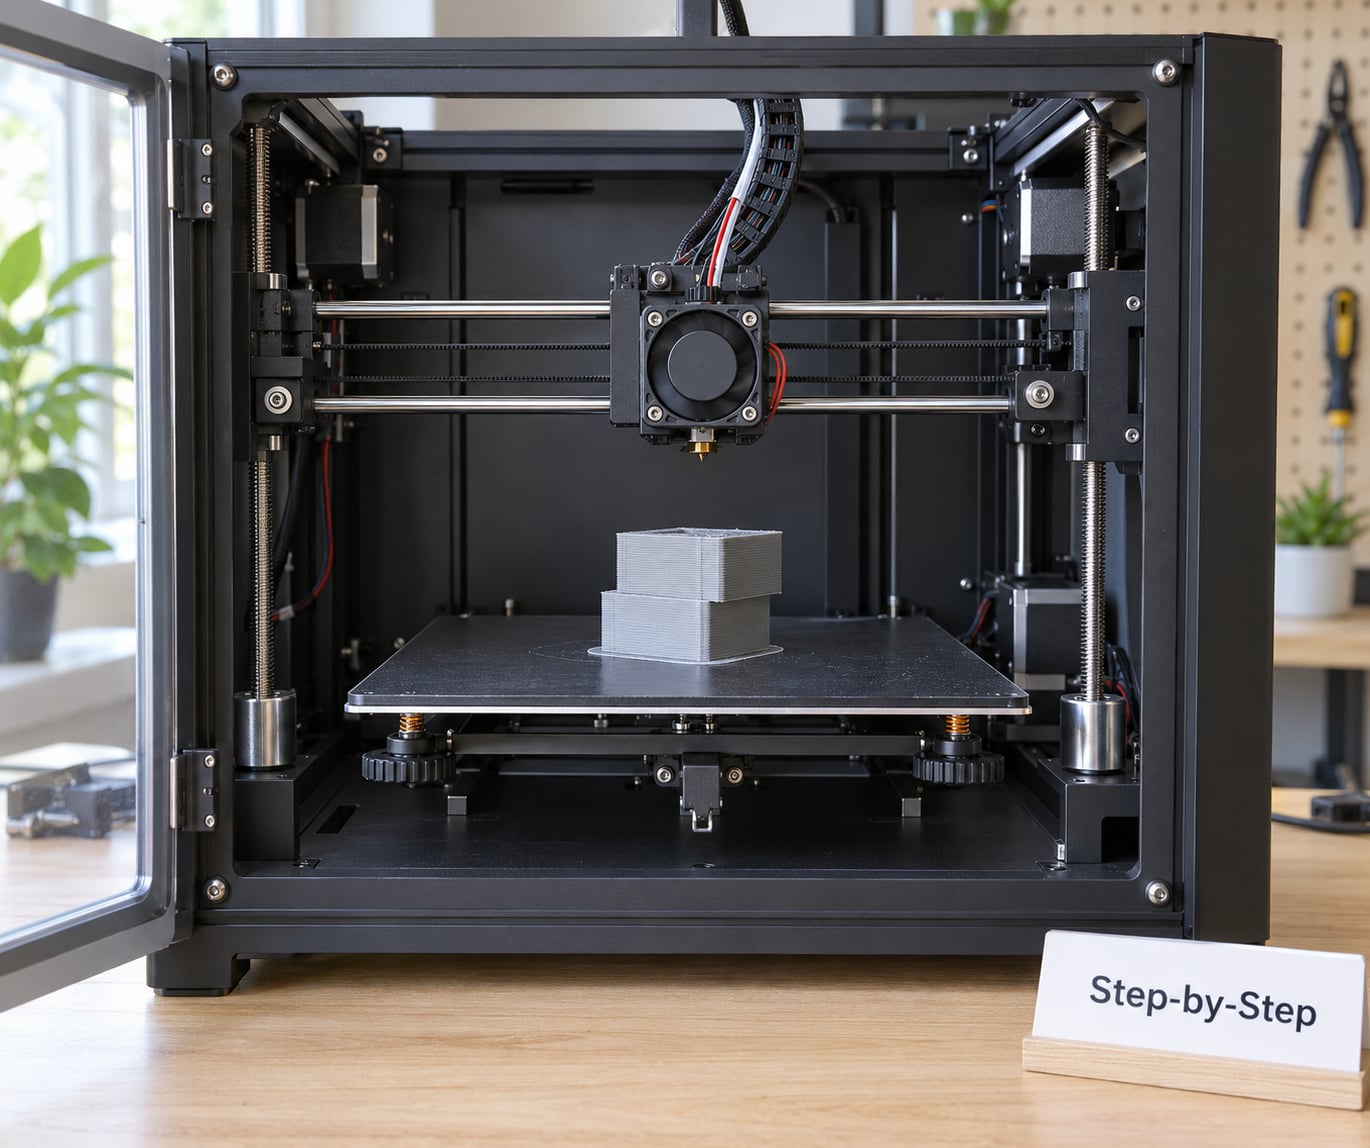
Work top to bottom and stop at the first step that explains the pattern you saw. Each step ends with a check that tells you whether to move on.
Step 1: Identify Where the Layers Shift
Read the failed print before you touch the printer, because the pattern points to the cause. A consistent offset in one direction on a single axis usually means a mechanical fault on that axis. A shift that appears at the same height on every single print almost always means a fixed obstruction the gantry hits at that exact Z height, such as a warped corner, a blob of cured filament, or a cable clipped to the frame. Random shifts scattered at different heights point at heat or speed rather than geometry.
Note which axis moved. You can tell by comparing the part to the layer below it: if the whole upper section slid along the gantry rail, that is one axis. Watch for the audible clue too. A sharp repeating click from a stepper during the shift means the motor is stalling against a load it cannot move. No sound at all usually means a positional error rather than a stall.
Check: if the shift is always at the same height, jump to Step 3 and hunt for the obstruction before anything else. That single shortcut solves a large share of cases.
Step 2: Check Bed Leveling and Print Adhesion
Rule out the part moving instead of the axis, because adhesion faults look similar on the outside. Clean both the nozzle tip and the build plate with a damp cloth or isopropyl alcohol and let them dry fully. A film of grease, or the texture of a used PEI sheet, is enough to stop the part sticking. Check the nozzle is not too close to the bed, since an over-tightened first layer can be shoved sideways as the nozzle travels across it.
Run your printer’s bed leveling routine and confirm the nozzle clears the plate at every corner with paper drag or a feeler gauge. A warped or springy bed on a belt-driven machine also flexes under load, and that flex is a classic source of shifts on tall parts.
Check: if the failed section lifted, curled or came loose from the plate, the problem is adhesion and temperature, not mechanics. Go to Step 6.
Step 3: Inspect the Motion System
With the printer powered off, move the gantry or bed by hand along the affected axis and feel for resistance. Smooth travel that ends in a distinct notch means something is binding: an obstructed rail, a dirty linear rod, a piece of debris, or a cable clipped so tight it tugs as the axis moves. On linear-rail machines, wipe the rods and rails with a lint-free cloth and check the wheels on the gantry still spin freely by hand.
Check that the gantry frame itself is square and that every mounting screw is tight. A loose gantry that leans a degree lets the wheels climb the rail under load, which produces exactly the same symptom as a loose belt. Watch the whole travel of the axis by hand and confirm nothing touches that should not.
Check: the axis should move smoothly across its full range with no gritty or catching feel, and nothing should drag behind the movement. If it does not, keep looking here.
Step 4: Check Belt Tension and Wheel Position
A loose belt is the most common cause of layer shifting, which is why almost every forum thread ends with the same fix. In the r/3Dprinting thread ranking for this query, the top reply was tightened belts plus lower acceleration, and the r/prusa3d thread on recurring shifts landed on belt tension for the same reason: loose belts make the motor work harder than it can, so it stalls and skips teeth. Users in r/AnetA8 printed their own belt tensioner after that same fix, which works well because a 6 mm hex nut gives a fixed, repeatable tension setting.
Use one of three tests. Pluck the belt like a guitar string: a properly tensioned GT2 belt gives a clear, low note and does not slap against the frame. Deflection test: press the middle of a span between pulleys with a finger and look for roughly 3 to 5 mm of give on a small machine, more on a large gantry. Gauge test: if you have a tension gauge, most hobby GT2 setups sit around 10 to 15 Hz, and the number matters less than matching it between the two ends of the same axis and keeping it stable over time.
While you are there, confirm the idler wheel sits square in the belt path and its set screw is tight against the flat of the pulley, or the pulley rotates under the screw head and the belt slips. For printers using POM rollers instead of a smooth bearing, the rollers themselves need aligning so the belt runs straight. Firmware on most machines can drive a belt tension meter for you: run the tension test, read the frequency for each side, and adjust the tensioner until both sides match.
Do not overtighten. A belt under excess tension raises bearing load, wears the teeth and the pulleys faster, and can make skipping worse, not better. Snug and even beats tight.
Check: both sides of an axis should read within a few Hz of each other, and the belt should not visibly deflect or skip when you move the axis quickly by hand.
Step 5: Reduce Acceleration and Speed to Stop Layer Shifting in 3D Printing
If the mechanics check out, the motor is likely losing steps under sudden direction changes rather than during steady movement. Acceleration is what causes those changes, so it is the first setting to lower. In your slicer, cut acceleration to roughly half its current value, drop travel speed, and leave printing speed alone until you have a clean test run. Ringing and jerk settings, where they exist, can be softened for the same reason.
Enable Z-hop so the nozzle lifts a few tenths of a millimetre during travel moves. That does not fix a lost step, but it stops the nozzle catching a curled edge, and that catch is often the thing triggering the shift in the first place. Slower travel also gives the motors time to recover from a missed direction change without losing position.
Check: if halved acceleration eliminates the shift, the mechanics are sound and the original settings were beyond what the machine could deliver. Keep them lower or upgrade later.
Step 6: Verify Temperature and Cooling
Two separate problems hide here. First, overheated electronics. A stepper driver that gets too hot thermally resets mid-move, and the axis shifts without any mechanical cause. A user in r/FixMyPrint traced persistent shifts on a closed machine to stepper driver heating, and a comment on the Ultimaker community thread suggested bringing internal air to 35 to 40C with a part cooling fan turned right down, which is the enclosure stability point below. Add a fan ducting air over the board, clear dust out of the electronics bay, and check that the stepper motors near the heated chamber are not cooking.
Second, temperature consistency for the plastic itself. A nozzle temperature that swings, or an enclosure that cools enough for the part to contract, makes layers separate and pull apart, which looks like a shift but is not one. Keep the chamber warm and stable, shut the door against draughts, and keep a lid on the spool if damp filament is a factor. The same draft can also change the timing of a collision, which is why shifts appear in a cold room and vanish in a warm one.
Check: a shift that vanishes with the chamber warmed and closed is thermal. A shift that follows a fan kicking on is a cooling or airflow problem.
Step 7: Check Firmware, Limits, and G-Code
Last, because it is rarely the cause. Confirm your steps-per-mm value matches the actual printer or extruder configuration, and that microsteps and motor direction are set correctly for the machine. A misconfigured axis direction produces an immediate crash, so a print that ran for hours usually means this part is fine. Check the firmware acceleration limits are set high enough to follow your slicer, otherwise the firmware silently caps your command and the machine runs a different motion profile than you designed for.
Look at endstop behaviour and the gantry geometry. A printer that has been jostled or re-squared can have a frame that is no longer rectangular, and the homing position then varies enough to throw off short moves. Turn on step-loss detection or logging if your firmware offers it. Klipper can report lost steps, Marlin-style firmware logs a warning when the commanded position and the endstop-switch position disagree, and Bambu firmware has a menu path under Control then Print Options for auto-recovery from step loss, which repositions the axes and resumes the G-code instead of scrapping the job. Enabling that on a machine that shifts regularly is a worthwhile safety net, not a fix.
Check: if firmware settings are correct and the shift persists, go back to Steps 3 and 4. Something mechanical is still moving that should not be.
Why Shifts Repeat at the Same Height Every Print
When the break lands at the same height on every job, the cause is repeatable geometry rather than random conditions. The gantry meets the same obstruction at the same Z height on every run. Common culprits are a warped corner lifting as the layer height crosses it, a brim or raft edge that the nozzle clips, a dried blob of filament on the nozzle, a screw head protruding above the bed surface, or a cable tie left inside the chamber that the toolhead reaches at one specific height. Once you know the height, power the machine off and move the gantry slowly to that Z position by hand, watching the nozzle tip the whole way. You will usually see what it touches within a few seconds.
How to Confirm You Fixed It
Reprint the same model, or a tall test tower with the same slicer profile you used before. Same filament spool, same room temperature. A single clean print proves very little, because intermittent faults can hide for three runs. Print twice more, and keep a note of each result. If a shift returns at the same height again, you have a geometry problem you have not found. If it returns at a different height each time, suspect heat or current instead.
Layer Shift or Layer Separation?
These get confused constantly, and the fix is completely different. A layer shift is positional: the part is intact and a whole section is offset sideways, usually as one clean step. Layer separation is bonding: the part stays aligned but the layers pull apart at one Z height, with a visible crack, a gap, or a split you can see through. Stringing is thin filament between features and has nothing to do with position. Under-extrusion shows as gaps, thin walls and missing infill. If your part shows a crack that follows the outline rather than a sideways offset, you have a bonding or temperature problem, not a belt problem.
Common Mistakes When You Try to Fix Layer Shifting in 3D Prints
Tightening every belt at once. Belts on different axes rarely need the same treatment, and an overtightened belt raises bearing load and wears teeth. Set each axis to the same measured value, not to maximum tightness.
Changing five settings in one session. If acceleration, speed, temperature and belt tension all move together, the successful change is a coin flip. Change one, test, record.
Ignoring the printer’s own manual. Community advice is broad by necessity. Your firmware menu path for step-loss recovery and your tensioner layout are specific to your machine, and the manual has both.
Treating warping as a mechanical shift. A curled corner is a temperature and adhesion problem, and a nozzle knocking into it is the trigger, not the cause. Fix the bonding, enable Z-hop, and the collision usually disappears.
Replacing motors, drivers and belts blindly. Multi-day threads with new motors, new belts, a new hotend and no fix all trace back to skipping the basics. Confirm belt tension and pulley set screws first; the evidence says that resolves the majority of cases.
Assuming good bed adhesion rules adhesion out. Plenty of people post that their adhesion is fine while the real fault is mechanical. Clean the plate and check the first layer anyway, because it takes two minutes.
Skipping the same-height clue. If the break is at one repeatable height, stop tuning motors and go find the obstruction at that height. It is the fastest diagnosis in this whole guide.
Frequently Asked Questions
What causes layer shifting in 3D printing?
Layer shifting is a lost step on a stepper motor, so the axis stops where the firmware thinks it never was. Common causes are loose belt tension, an unparked or loose pulley grub screw, a nozzle catching a curled edge, excessive acceleration or travel speed, an overheated stepper driver inside a closed machine, and obstruction at a fixed height. Because most printers use open-loop motion, the fault is silent and the print continues in the wrong position.
How to fix layer shifting in 3D printing?
Work in order. Read the failed part to identify the axis and the pattern, then rule out bed adhesion and bed leveling. Inspect the motion system by hand for binding, check belt tension and pulley set screws, and reduce acceleration and travel speed if mechanics look sound. Warm the chamber and cool the electronics if the shift appears with heat, and check firmware settings last. Change one variable per test run.
Why are my 3D prints shifting layers at the same height?
A repeatable height means repeatable geometry. The gantry meets the same obstruction at the same Z level on every run, usually a warped corner, a brim or raft edge, a dried blob on the nozzle, or a screw head standing proud of the bed. Power the machine off, move the gantry to that Z height by hand and watch the nozzle tip. You will normally find the contact point within seconds.
How do I know if my belt is too tight or too loose?
A loose belt slips teeth under load and lets the axis fall behind, causing shifts. Pluck it like a guitar string: a good belt gives a clear low note and never slaps the frame. Press the span between pulleys and look for roughly 3 to 5 mm of deflection on a small printer. With a tension gauge, most hobby GT2 setups read around 10 to 15 Hz, and both sides of one axis should match closely.
When should I replace a stretched GT2 belt?
Replace the belt when the pluck test is dull, when you can see cracked or rounded tooth faces, when frayed fibres appear on the edges, or when a marked reference line no longer lines up with the pulley tooth after a full tension set. Belts stretch during the first few hours of use and then settle, so re-tension after that break-in. A printed hex-nut tensioner gives a fixed, repeatable setting worth adding at the same time.
Does slowing the print speed alone fix layer shifts?
Only sometimes. Lower acceleration and travel speed help when the motors genuinely cannot keep up with sudden direction changes, and that is common on older machines. If the cause is a snag, a warped corner, a loose grub screw or an overheated driver, slowing down only makes the print take longer before it fails. If halved acceleration clears the shift, the mechanics are fine and the original settings were simply past what the machine could deliver.
Conclusion
Start with the pattern in the failed part, because a shift at one repeatable height is an obstruction and everything else is a mechanical or thermal fault. Then check adhesion and the bed, run your hand along the affected axis, and set belt tension and pulley set screws properly. If the mechanics are clean, halve acceleration and travel speed before changing anything else. One variable per test run, and log the result, because a fault that hides for three prints will hide for thirty.