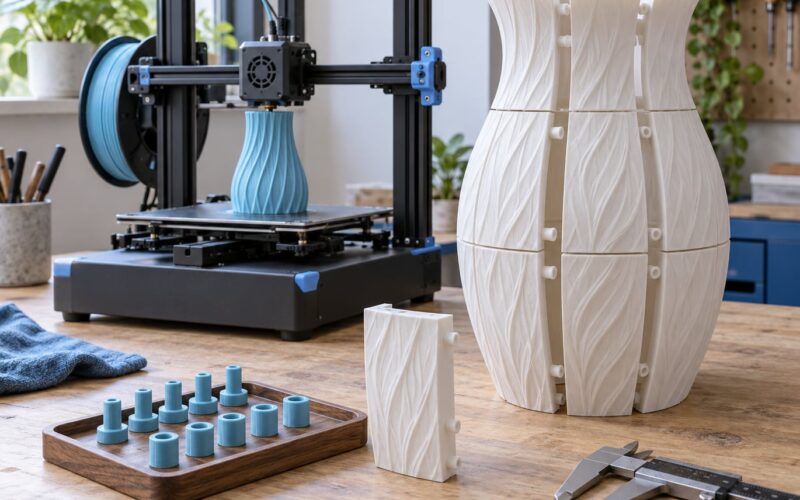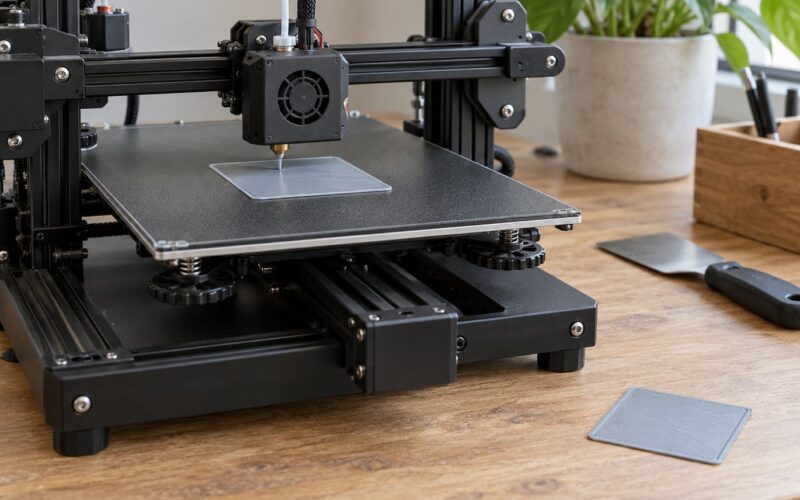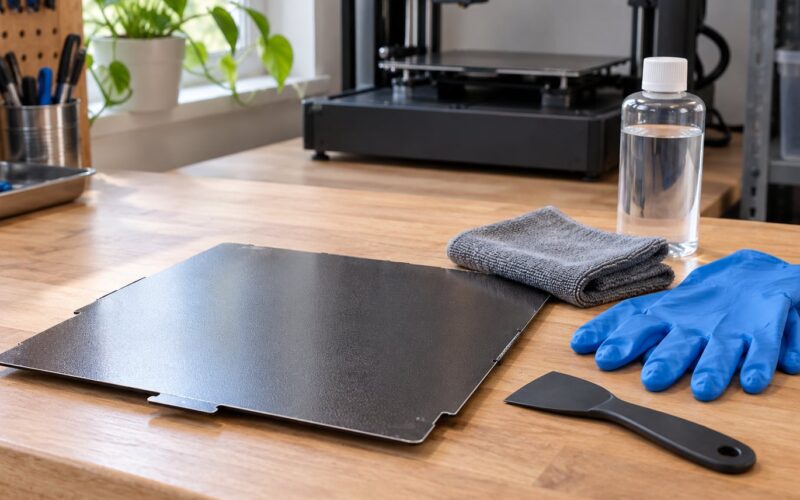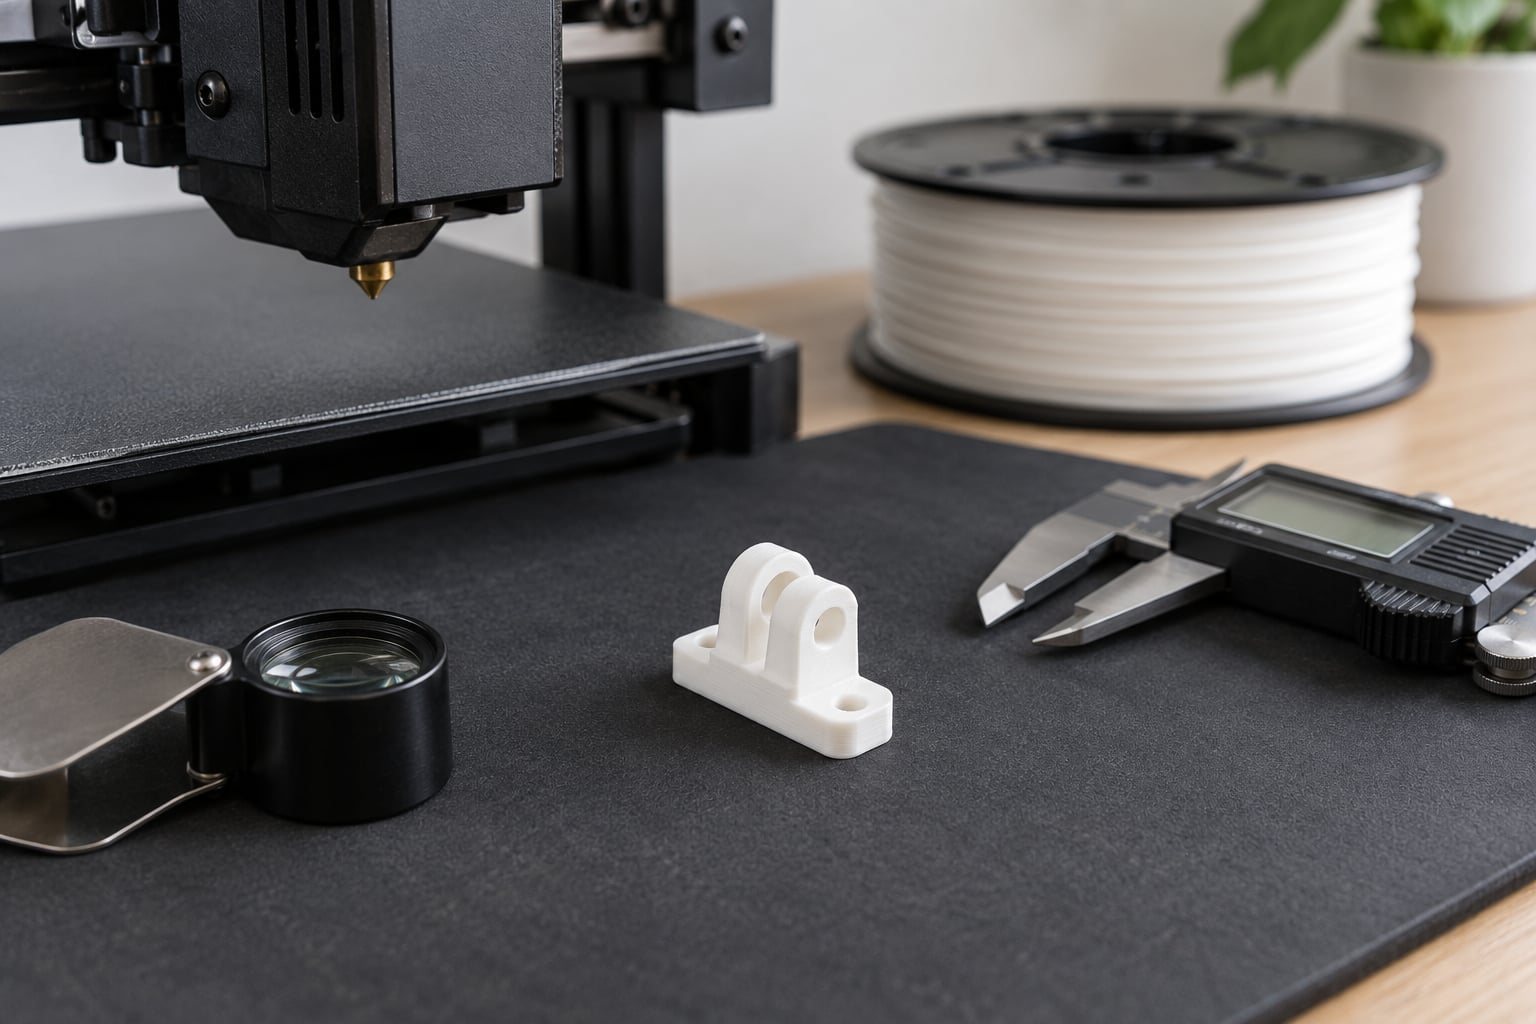
How to print small parts with fine detail comes down to four things working together: a nozzle small enough to fit the narrowest feature, a layer height thin enough to keep curves from stair-stepping, a print slow enough that the nozzle does not drag the corner it just laid down, and cooling strong enough to set that corner before the next pass. Miss any one of the four and the details come out rounded, blobby, or snapped off. Most small-part failures trace back to one of these, which is good news, because all four are adjustable before you print.
The other thing worth knowing up front: there is a physical floor. A feature narrower than your extrusion width cannot exist on an FDM print. It is not a settings problem and no slicer trick fixes it. Understanding that limit first saves you hours of tweaking settings on a model that was never printable at that size.
Below is the process I use, from checking the machine through to inspecting the finished part.
Table of Contents
- What You Need
- Printer and nozzle
- Filament
- Slicer
- Measuring and inspection tools
- Safety gear if you use resin
- Step-by-Step: How to Print Small Parts With Fine Detail
- How do you know if your printer can handle small parts?
- How do you orient a small part for better detail?
- How do you prepare and slice a model for fine detail?
- How do you print the part and preserve its details?
- How do you remove supports and finish a small part?
- How do you troubleshoot fine-detail prints that fail?
- Common Mistakes
- Frequently Asked Questions
- Can I print 0.1 mm layer height with a 0.4 mm nozzle?
- Does layer height have to match nozzle size?
- Is resin printing stronger than FDM?
- Should I remove resin supports before or after curing?
- What is the minimum wall thickness for a printable part?
- Why are my small details not printing?
- Conclusion
What You Need
You do not need a different printer for most fine-detail work. You need the right nozzle, the right filament, a few measuring tools, and a way to check results quickly.
Printer and nozzle
Any well-maintained FDM machine can print a small part. What changes is the nozzle. A 0.4 mm nozzle is the factory default and handles parts down to roughly 1.5 mm across; below that, features start rounding into their neighbours. If your work regularly involves fingers, blades, teeth, chain links, or fine embossed text, fit a 0.25 mm or 0.2 mm nozzle and stay on it rather than swapping back and forth.
Filament
For fine detail, PLA and PLA+ are the default choice. PLA has a low layer bonding requirement, which matters because a thin part has less material to hold itself together, and it machines beautifully after printing. Check the spool diameter before loading: filament with a dimensional tolerance of plus or minus 0.03 mm or better flows predictably and gives clean corners. Anything visibly inconsistent in diameter shows up directly on the part as surface lines.
Slicer
PrusaSlicer, OrcaSlicer, and Cura all expose the settings that matter here: minimum layer time, per-feature speeds, wall order, and seam placement. Use whichever your printer’s profiles support best, and check the advanced or expert options, since several of the detail controls are hidden there.
Measuring and inspection tools
A caliper for wall thickness and hole diameter, a cheap 10x loupe or a USB microscope for inspecting layer consistency, and a pair of flush cutters and a craft knife for support removal. A test coupon of the part you actually care about takes about ten minutes to print and tells you more than an hour of speculation.
Safety gear if you use resin
If the part is small enough that resin makes sense, add nitrile gloves, a face shield or splash goggles, and a wash station with dedicated tools. Resin parts stay tacky and can hold uncured liquid against your skin, so gloves are not optional.
Step-by-Step: How to Print Small Parts With Fine Detail
Seven steps, in the order that wastes the least material if something is wrong. Steps one through three are cheap; by step four you have already printed a ten-minute test.
How do you know if your printer can handle small parts?
Compare the smallest feature in your model against your nozzle diameter. The extrusion width is roughly equal to the nozzle diameter at standard settings, so anything narrower than that will be blended into its neighbour or disappear entirely. A 0.4 mm nozzle cannot produce a clean 0.3 mm rib, and a 0.2 mm nozzle will still struggle with a 0.15 mm gap.
Layer height is the other half of the resolution picture. It controls how visible the stepping is on a curved surface, while the nozzle controls how sharp the shape is in plan view. A small layer height on a large nozzle gives you a smooth top but a blurry silhouette, which is why nozzle choice matters more than people expect.
| Nozzle size | Smallest reliable feature | Layer height range | Trade-off |
|---|---|---|---|
| 0.2 mm | About 0.4 mm | 0.08-0.16 mm | Slowest; frequent clogging; suited to display-scale detail |
| 0.25 mm | About 0.5 mm | 0.10-0.20 mm | Slower than the factory nozzle, much less fragile than 0.2 mm |
| 0.4 mm | About 0.8 mm | 0.12-0.28 mm | Factory default; fastest and easiest to maintain |
| 0.6 mm | About 1.2 mm | 0.18-0.36 mm | Faster and stronger; detail features are not realistic |
Run a test before committing. Print a small gauge with known features, a set of holes at increasing diameter, and a thin-wall section, then measure it. If the holes measure correct but the surface looks rough, that is a cooling or flow problem, not a resolution problem. If the holes are wrong, the machine or the model is the issue.
How do you orient a small part for better detail?
Orientation decides three things at once: how many supports you need, how much time each layer takes, and where the visible layer lines land. The general rule is to put the largest flat surface down, keep the part’s thinnest features pointing up or sideways rather than down, and avoid or hide the layer lines where the eye lands.
Orientation is the single biggest factor in detail quality, and it costs nothing to test. Vertical pins printed at 40 mm/s come out clean precisely because the wall is built continuously with no abrupt perimeters to catch on. Rotating a model 90 degrees can fix a detail problem that no slicer setting will.
Two orientation habits help most. Angling rather than flat-laying a round part lets you bridge small unsupported sections instead of printing them as overhangs. And keeping a tall or thin footprint off the plate entirely, using a raft or tree layout, prevents one tiny part from being knocked loose by the nozzle returning to the build plate.
How do you prepare and slice a model for fine detail?
Most lost detail happens before the printer is involved. Check the mesh first: any non-manifold geometry, internal voids, or self-intersections will slice into broken walls or gaps. Repair the mesh in your CAD tool or a mesh repair utility, then confirm the model is solid with the slicer’s analysis tool.
Next, check wall thickness against your nozzle. Two extrusion lines is the practical floor on a tiny detail feature. One line has too little cross-section to bond reliably to the layer below, and it snaps the moment you handle it.
| Nozzle | Detail layer height | Maximum layer height | Notes |
|---|---|---|---|
| 0.2 mm | 0.08-0.12 mm | 0.16 mm | 0.1 mm is the balance point for most miniatures |
| 0.25 mm | 0.10-0.14 mm | 0.20 mm | Good sharpness without constant clogging |
| 0.4 mm | 0.12-0.20 mm | 0.28 mm | 0.16 mm suits most detailed FDM parts |
The ceiling is roughly 80% of nozzle diameter. Exceeding it is not automatically a failure, but adhesion between layers weakens and the surface gets ridged where the nozzle drags through partially-set plastic. At 0.28 mm layer height on a 0.4 mm nozzle you are still inside the limit, though at the very top of it.
Speeds are not one number. Different features can carry different limits, and that is where most of the detail gain comes from.
| Feature | Speed | Why |
|---|---|---|
| Outer wall | 20-25 mm/s | This is the finished surface; slow travel preserves the corner |
| Inner wall | 30-40 mm/s | Hidden but structural; faster is fine once the first layer is down |
| Small details and infill | 15-20 mm/s | Short segments need time to settle before the nozzle returns |
| First layer | 15-20 mm/s | A slow first layer gives you time to catch a lift |
Overall PLA speeds of 20-40 mm/s suit miniature work. Below that you gain little detail and lose hours.
Set minimum layer time next. This tells the slicer to slow a layer down rather than let it finish before the previous one has cooled. Small detail circles are the classic case: the nozzle reaches the next segment before the current one has set, and the corner smears. Raising minimum layer time to around 6-8 seconds fixes most of it. If you have access to adaptive layers, that setting solves the same problem automatically by varying layer height across the part.
Cooling is a balance with a genuine trade-off. Too little fan and small features slump and soften, which is the single most common answer on printing forums when details come out mushy. Too much fan and layer bonding weakens, and the part becomes fragile in exactly the places you are trying to sharpen. Start the part fan at 100% once the first few layers are down and lower the minimum layer time instead of cutting the fan.
Retraction and temperature both matter more at small scale. Drop the nozzle temperature toward the low end of the filament’s recommended range to cut ooze, then raise it slightly if layers separate. Recheck retraction after any temperature change, since filament expands when hot and the optimum moves with it.
Wall order, seam placement, and flow rate finish the slice. Print walls before infill so the outer surface stays clean. Move the seam to a back edge or inside the part. Set flow rate with a measured flow test rather than guessing, because an over-extruded corner is one of the main causes of blobs.
How do you print the part and preserve its details?
Bed adhesion has its own rule for tiny parts: a small footprint has little area to grip. Clean the bed, set the bed to 50-60 C for PLA, and use a brim of 3 to 5 lines so the first layer has something to spread into. A raft works too, and on an enclosed or well-bedded machine it is the more predictable of the two.
Watch the first layer. If the outline looks like a single fat line instead of separate bead lines, your flow is too high or your first-layer height is too tall. Fix that before anything else, because a bad first layer guarantees a bad part.
During the print, the failures to catch early are ooze and vibration. If a corner has built up enough material to touch the nozzle, the print is over. Watching for that means keeping the nozzle within reach during the first detail layer. For ringing, which shows as ripples after sharp corners, the cure is input shaping, a firmer frame, and slower travel on the outer wall.
When the part finishes, leave the bed alone for a minute before you touch it. A small part cools fast, and peeling it while it is still warm invites the edges to snap.
How do you remove supports and finish a small part?
Support removal is where fine features usually die, so plan for it in the slice. Set the support contact point small, use an organic or tree-style support where your slicer offers one, and orient the part so supports attach to surfaces you will sand anyway.
Remove them in the same order every time. Break the support off at the contact point with flush cutters rather than levering against the part. Soak PLA parts in warm water for a few minutes if the supports are stubborn, then work outward from the contact point with flush cutters, keeping your tool motion pointing away from the feature. A craft knife works for cutting the support body once it is detached. Finish by reaming any support scar with a small round file or a 0.4 mm drill bit turned by hand, so a support nub becomes a hole rather than a chip in the surrounding surface.
Then smooth, if you need to. Progress through 400 to 800 grit wet sandpaper on the areas that will be handled or painted, always sanding along the layer lines rather than across them. For gaps and small surface pits, a filler primer followed by a light sanding pass gives a much better base than more sanding alone.
Inspect under magnification before you commit to finishing. Checking dimensions with calipers at this stage tells you whether the print actually holds tolerance; if it does not, filler and paint only hide the problem.
How do you troubleshoot fine-detail prints that fail?
Match the symptom to the cause. Most fine-detail problems are one of a short list, and each has a specific fix rather than a general one. If you are still working out how to print small parts with fine detail, the table below is the fastest way to narrow it down.
| Symptom | Likely cause | Fix |
|---|---|---|
| Details soft or rounded | Insufficient cooling, or feature below extrusion width | Raise part fan, raise minimum layer time, or fit a smaller nozzle |
| Blob on a corner, nozzle crash | Ooze from too high a temperature or over-retraction | Lower nozzle temperature 5 C, re-tune retraction, add a wipe or coasting |
| Strings between features | Ooze, usually from wet filament or high temperature | Dry the spool, lower temperature, increase retraction, enable combing |
| Missing extrusion right after a detail | Retraction not retracting enough, or a partial clog | Test retraction at the new temperature, cold-pull the nozzle, replace if worn |
| Feature snaps when handled | Wall below two extrusion lines, or too much cooling | Raise wall thickness to two lines, lower the fan, slow the outer wall |
| Wavy corners after sharp edges | Ringing from acceleration or resonance | Enable input shaping, stiffen the frame, lower outer-wall speed |
| Surface lines, rough finish | Filament diameter variation or wet filament | Dry the filament, check spool tolerance, re-run flow calibration |
| Part lifts or corners warp | Insufficient bed adhesion for a small footprint | Clean the bed, add a brim, raise bed temperature slightly |
Two failures deserve their own note. Extrusion skip immediately after printing small details almost always means the retraction is not retracting far enough at the current temperature, or the nozzle has a partial clog that leaves it dragging. And a worn nozzle is a hidden cause of small-detail trouble: it squashes bead shapes unevenly, so corners lose definition and the first layer sticks poorly.
Common Mistakes
These are the ones I see most, and each has a fix you can apply the same day.
Swapping the nozzle and keeping the factory profile. A 0.2 mm nozzle on settings tuned for 0.4 mm will under-extrude and clog, usually within the first hour. Re-run the flow and retraction tests after any nozzle change, and set the layer height range to match the new diameter.
Pushing layer height past the nozzle diameter. Once you exceed roughly 80%, the nozzle is riding on top of partially set plastic and the surface goes ridged. Drop the layer height instead of blaming the filament.
Treating cooling as an on-off switch. Cranking the fan to 100% from layer one fixes mushy details and creates fragile ones. Set minimum layer time or adaptive layers to handle the cooling window, and leave the fan high.
Printing single-line walls on tiny features. One extrusion line on a 0.4 mm nozzle is a 0.4 mm rib with very little to hold onto. Two lines is the practical minimum that survives handling.
Running supports straight into the details you care about. Support contact points placed on a claw or a blade tip will take that feature with them. Reorient the part, shrink the contact area, or print light supports separately and cut them down to size.
Ignoring filament condition. Wet filament foams at the nozzle, causes repeated blobbing, and leaves surface lines on small parts. A dry box or a dryer takes an hour and removes a whole category of problems.
Printing the full part before the test coupon. Ten minutes on a small gauge tells you whether layer height, flow, and cooling are right. Ten hours on a failed miniature teaches you the same thing at a much higher cost.
Beyond those, three habits keep a printer detail-ready: run a flow and pressure advance calibration after any filament change, keep the nozzle clean, and wipe the nozzle tip with a damp cloth at the start of every print. Most of the fine-detail problems people chase for hours trace back to one of those three being skipped.
Frequently Asked Questions
Can I print 0.1 mm layer height with a 0.4 mm nozzle?
You can, and the layer lines will be thinner. The catch is adhesion: at 0.1 mm on a 0.4 mm nozzle the ratio is well under the 80% guideline, so each layer sits on a thin bead and vertical strength drops. It works for display pieces printed on a well-adjusted machine with plenty of cooling, but for anything you will handle repeatedly, 0.16 mm on the same nozzle is the more dependable choice.
Does layer height have to match nozzle size?
No, but it should stay well below it. The common rule is to keep layer height under roughly 80% of nozzle diameter, which gives a 0.12 to 0.28 mm range on a 0.4 mm nozzle and 0.08 to 0.16 mm on a 0.2 mm. Exceeding that range is possible and often prints, but layer adhesion weakens and the nozzle drags through plastic that has not finished setting.
Is resin printing stronger than FDM?
It depends on geometry more than material. Resin parts are harder and hold very fine detail, but they are brittle in thin sections, which is exactly where a small part lives. FDM prints with two extrusion lines are tough but cannot resolve features below the extrusion width. For display-scale detail choose resin; for a part that must survive being used or dropped, stay with FDM and a thicker wall.
Should I remove resin supports before or after curing?
Remove them before curing. Supports left on during the cure can block UV light from reaching shadowed surfaces, leaving those areas soft or under-cured even when the exposed parts feel hard. Break supports off after a wash and before the final cure, then check the contact areas for remaining soft spots and cure them separately.
What is the minimum wall thickness for a printable part?
Two extrusion lines is the practical minimum on a detail feature, so 0.4 mm on a 0.2 mm nozzle and 0.8 mm on a 0.4 mm nozzle. A single line does technically slice, but it has too little cross-section to bond reliably and will snap during handling or cleanup. For load-bearing parts, three lines is a better floor.
Why are my small details not printing?
Usually one of four causes: the feature is narrower than your extrusion width and physically cannot exist, cooling is too weak so the detail slumps, the outer wall is travelling too fast for the nozzle to place a sharp corner, or ooze from a corner has already blocked the nozzle. Check feature width against nozzle diameter first, since that one no setting can fix.
Conclusion
Start by measuring your smallest feature against the nozzle diameter, since that is the only limit no setting can move. Fit a smaller nozzle if the features fall below about 0.8 mm, pick PLA with tight diameter tolerance, and orient the part so its thinnest features point up and its layer lines land out of sight. Then print a small test coupon at 0.1 to 0.16 mm layer height with the outer wall at 20-25 mm/s before you commit to the full part. Get those four settings right and how to print small parts with fine detail stops being a guessing game.