If you have never opened the calibration menu, mesh bed leveling explained for beginners comes down to one process: your printer measures the height of its build plate at a grid of points, saves those readings as a digital height map, and then moves the Z-axis during printing so the nozzle stays one consistent distance from the plate. This guide breaks that down into plain steps you can follow on your first session.
Most first-layer problems come down to one of two things: a nozzle sitting too far from the bed, or a nozzle sitting at slightly different distances depending on where it is across the plate. Mesh leveling addresses the second one automatically.
By the end you’ll know what the mesh actually does, which knob fixes which symptom, and how to tell whether the result is good. Everything here assumes a desktop FDM printer and no brand loyalty.
Table of Contents
- What Is Mesh Bed Leveling?
- Why Does the First Layer Matter So Much?
- What Is the Difference Between Leveling and Tramming?
- What Do You Need Before You Start?
- How to Level a 3D Printer Mesh Bed
- How to Use a Paper Test Correctly
- How Does Automatic Bed Leveling Work?
- Mesh bed leveling explained in Marlin and Klipper firmware
- How to Check That the Bed Is Level
- Common Mesh Bed Leveling Mistakes
- Frequently Asked Questions
- Do you need to do mesh bed leveling every print?
- Can you use a bed mesh in Klipper?
- How close should the nozzle be to the bed?
- What do the Z-values on my mesh map mean?
- Does automatic bed leveling replace manual bed leveling?
- Why is my first layer good on one side and bad on the other?
- What Should You Do First?
What Is Mesh Bed Leveling?
Mesh bed leveling measures your build plate at a grid of points and stores those heights as a map, then applies tiny Z-axis corrections as the nozzle travels so the gap under the nozzle stays even. It corrects the shape of the bed, not the height of the nozzle.
Think of it as a topographic map of your build plate. Each grid point is a recorded height, and the firmware treats the space between points as a gently sloping surface rather than one flat plane.
That map only handles bed shape. It does not fix a nozzle that is 0.5mm too high across the entire plate, and it does not fix a plate that is physically bent or cracked.
Why Does the First Layer Matter So Much?
Every layer sticks to the one below it, so the whole print is anchored to the first one. If the first layer is thin in places, those areas have weak contact and the corners lift later in the print.
With a 0.4mm nozzle printing at 0.2mm layer height, you want the nozzle roughly 0.1mm above the plate. Close enough that the deposited line flattens and fuses into a continuous sheet, far enough that the nozzle does not drag or click into the plastic.
Too high and you get separate rounded lines with visible gaps between them. Too low and you get a thin, translucent smear with the nozzle clicking as it crosses the bed.
What Is the Difference Between Leveling and Tramming?
Tramming and mesh leveling fix different problems, and beginners constantly confuse them. Tramming physically adjusts the bed so its surface is parallel to the motion of the print head. Mesh leveling measures that surface and corrects the remaining error in software.
| Adjustment | What it corrects | How it is set | Symptom it fixes |
|---|---|---|---|
| Tramming | Tilt across the bed surface | Bed screws or springs by hand | Nozzle angle changing across the plate |
| Mesh leveling | Flatness error and residual shape | Probe cycle, stored in firmware | First layer thin on one side, squished on the other |
| Z-offset | Nozzle height above the surface | Paper test or probe, saved as an offset | Whole first layer too high or too low |
The order matters more than most guides admit. Set your Z-offset first, then generate the mesh. A mesh built on an unknown nozzle height records a shape that is measured from the wrong starting point.
What Do You Need Before You Start?
Gather these four things before touching a single screw. Having the printer’s manual open saves more time than any tutorial will.
- A clean build plate, wiped with isopropyl alcohol and left to dry fully.
- A clean, unclogged nozzle. A blob of old plastic on the tip ruins any reading.
- A plain sheet of printer paper or a 0.1mm feeler gauge.
- A single-layer test file for verification, plus your printer’s manual.
Heat the bed and the nozzle to your normal print temperature before you measure anything. Metal expands, and a mesh generated on a cold plate will be wrong the moment it heats up.
How to Level a 3D Printer Mesh Bed
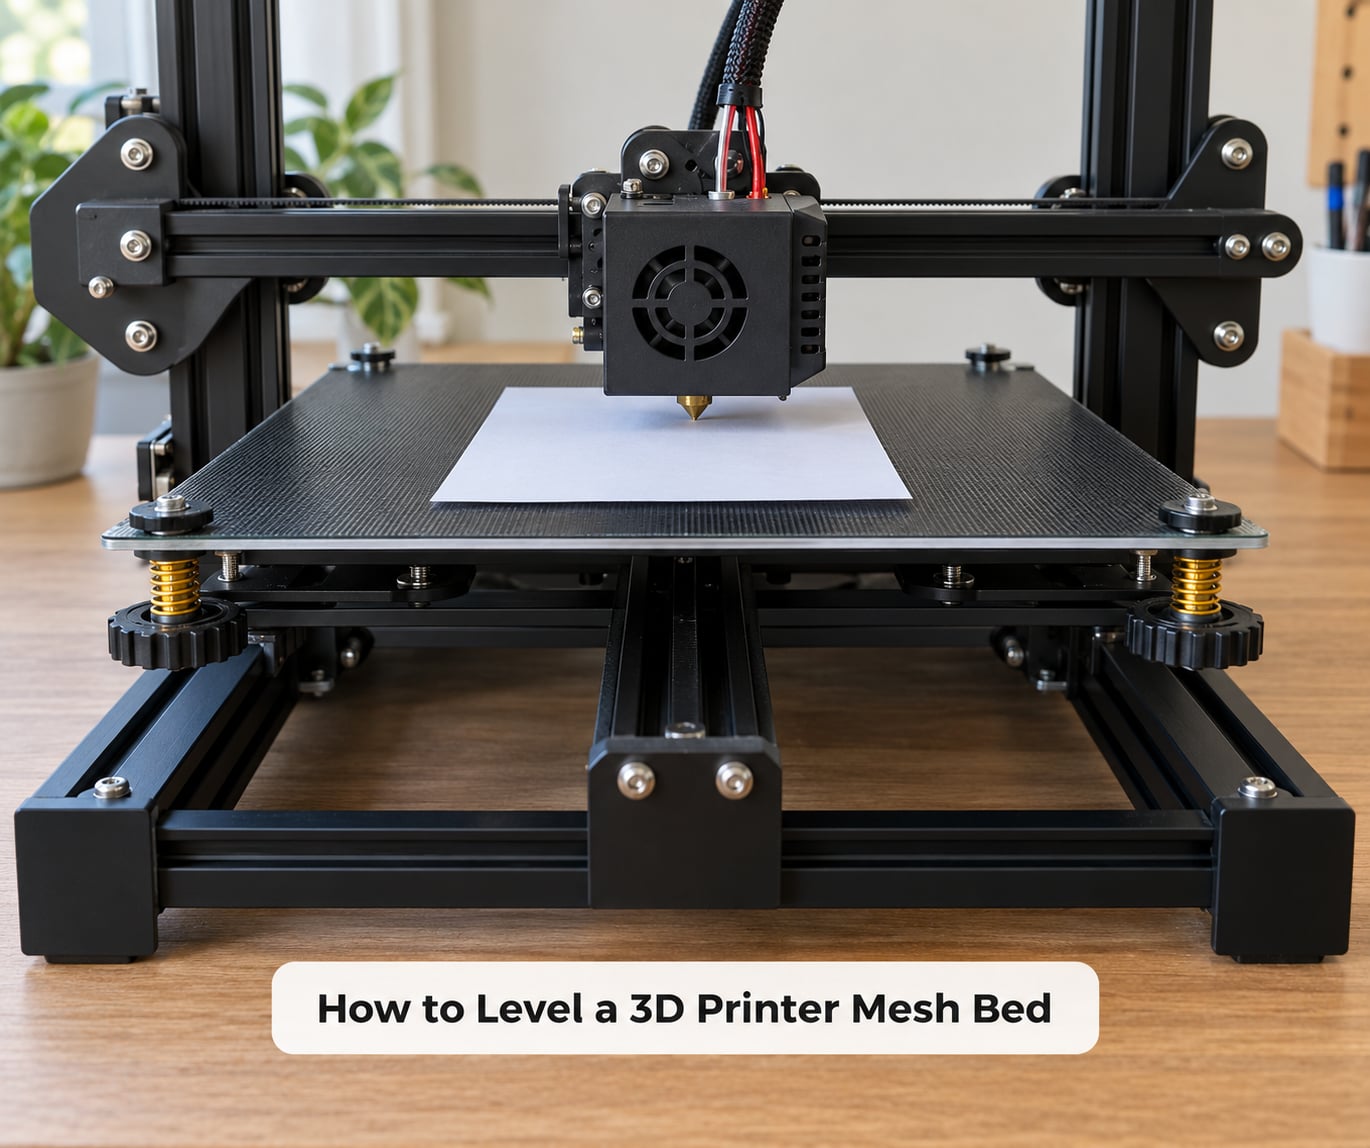
Run through this sequence in order and do not skip ahead. The heat-and-soak step is what makes the readings hold still.
- Clean the plate. Fingerprints and glue residue change the surface. Wipe with isopropyl alcohol and let it evaporate.
- Heat and soak. Set the bed and nozzle to your usual print temperature and wait 10 to 15 minutes so everything stops moving.
- Home the printer. Let the normal start-up routine finish before you adjust anything.
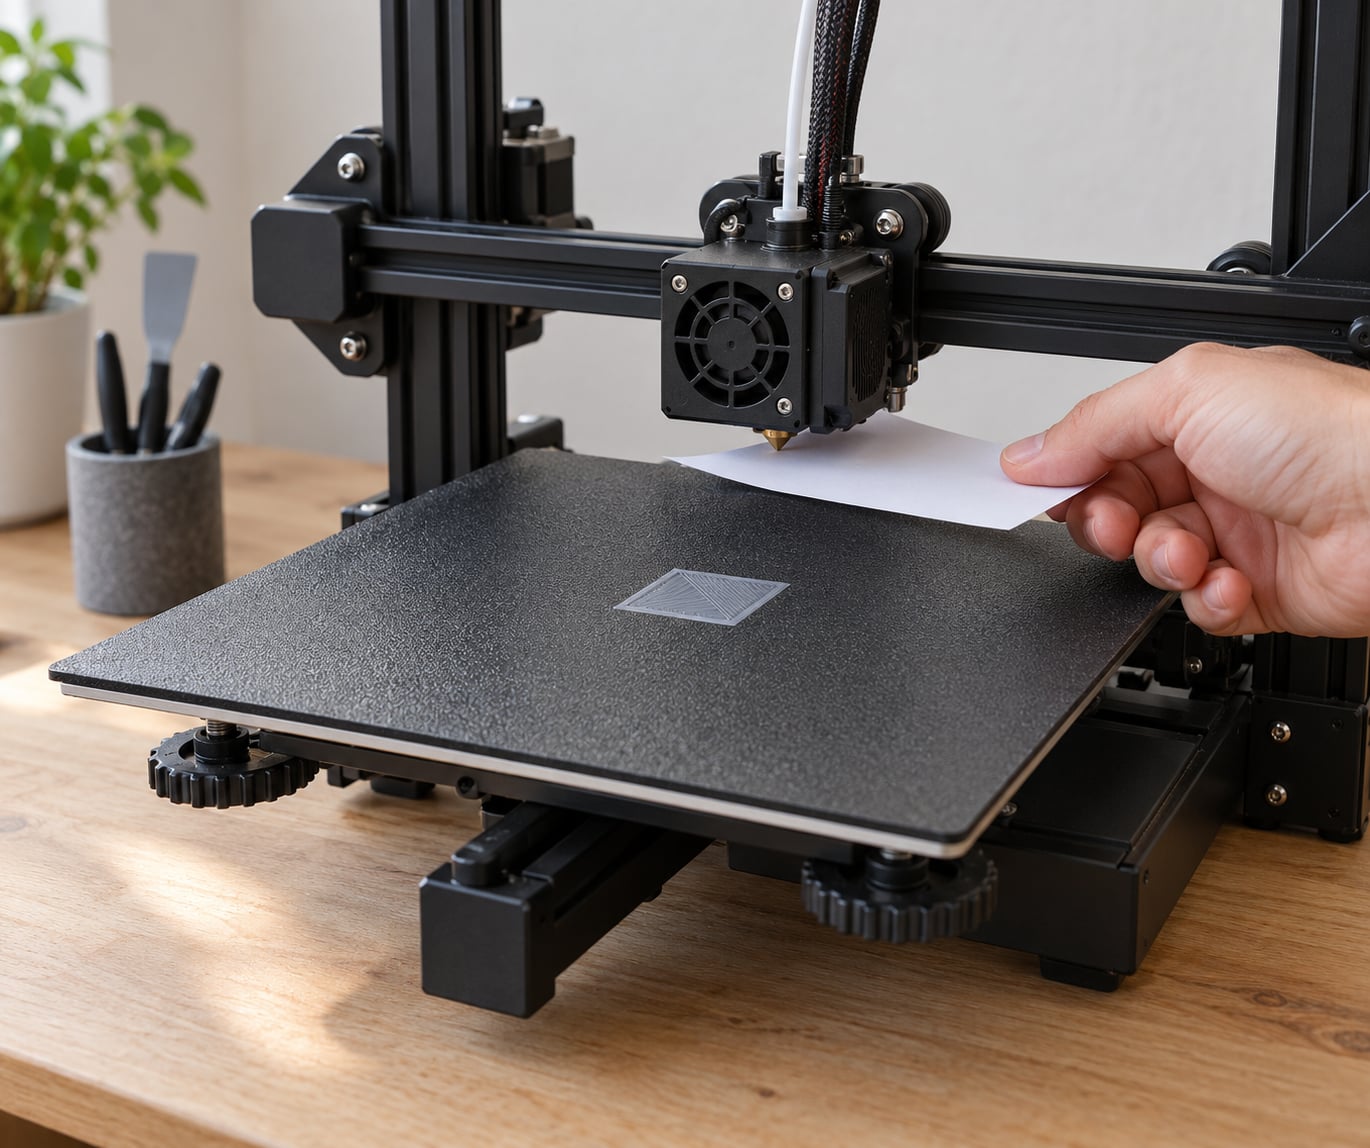
- Set Z-offset. Slide paper under the nozzle at the centre of the bed, lower the nozzle until it just catches, then raise it one small step and save that value.
- Adjust the bed. Turn each corner screw or spring until the nozzle just touches the paper at that corner. Work in a cross pattern, front then back, and turn less than a quarter of a turn each time.
- Check the centre. Most printers are bowed or dished in the middle, which no corner adjustment can fix. This is exactly what the mesh is for.
- Generate and save the mesh. Run the leveling routine from your printer’s menu or console. Save the result so it is loaded at the start of the next print.
- Verify. Print a single-layer test and look at it before starting a real job.
Over-tightening the corner screws is the most common beginner mistake. They only need enough tension to stay put, and forcing them makes the plate bow downward, which is harder to fix than the tilt you were correcting.
How to Use a Paper Test Correctly
The paper test is a feel gauge, not a precision instrument. Slide a clean sheet under the nozzle and lower the nozzle until it barely grips the paper as you move it back and forth.
You want light continuous resistance, like dragging a sheet across a table with your fingertips. Zero resistance means too far away, and hard resistance means you will crush the paper and come out too close.
Paper thickness varies between brands and changes with humidity and handling. Treat the result as approximate, and confirm everything with a printed test.
Repeat the paper test at each grid point, not just the four corners. Moving the bed a few millimetres each time lets you map the middle of the plate, which is usually where the error is largest.
How Does Automatic Bed Leveling Work?
Automatic bed leveling replaces your judgement with a sensor. The printer lowers the nozzle at each grid point until the sensor reports contact, records that Z value, and repeats across the whole grid.
Probe types differ more in reliability than in results. Mechanical touch probes like the BLTouch and CR Touch physically deploy and push against the plate, so they tolerate flexible sheets but need repeatability. Inductive and capacitive probes read the metal surface without touching it, which means no nozzle contact at all, but they cannot read a coated or plastic build surface and need a fixed reference trigger height.
Most firmware fades the compensation out after the first several millimetres of print, since the bed is only usually stable near the start. This setting is called fade height, and a value around 10mm is a reasonable starting point.
Mesh bed leveling explained in Marlin and Klipper firmware
Marlin runs the probe sequence with the command G29 and stores the result with M500. You can add G29 P5 to home first and G29 S1 to probe a single point while adjusting, which makes the paper-style workflow much easier.
Klipper does the same job through its own configuration. Add probe_count under the [bed_mesh] section of printer.cfg, then run BED_MESH_CALIBRATE from the console or web interface and finish with SAVE_CONFIG. Klipper saves the mesh automatically, so there is no separate store command to remember.
Consumer printers from Bambu Lab, Elegoo Neptune and Qidi hide both of these behind menu buttons labelled leveling, calibration or bed mesh. The order is the same on all of them.
How to Check That the Bed Is Level
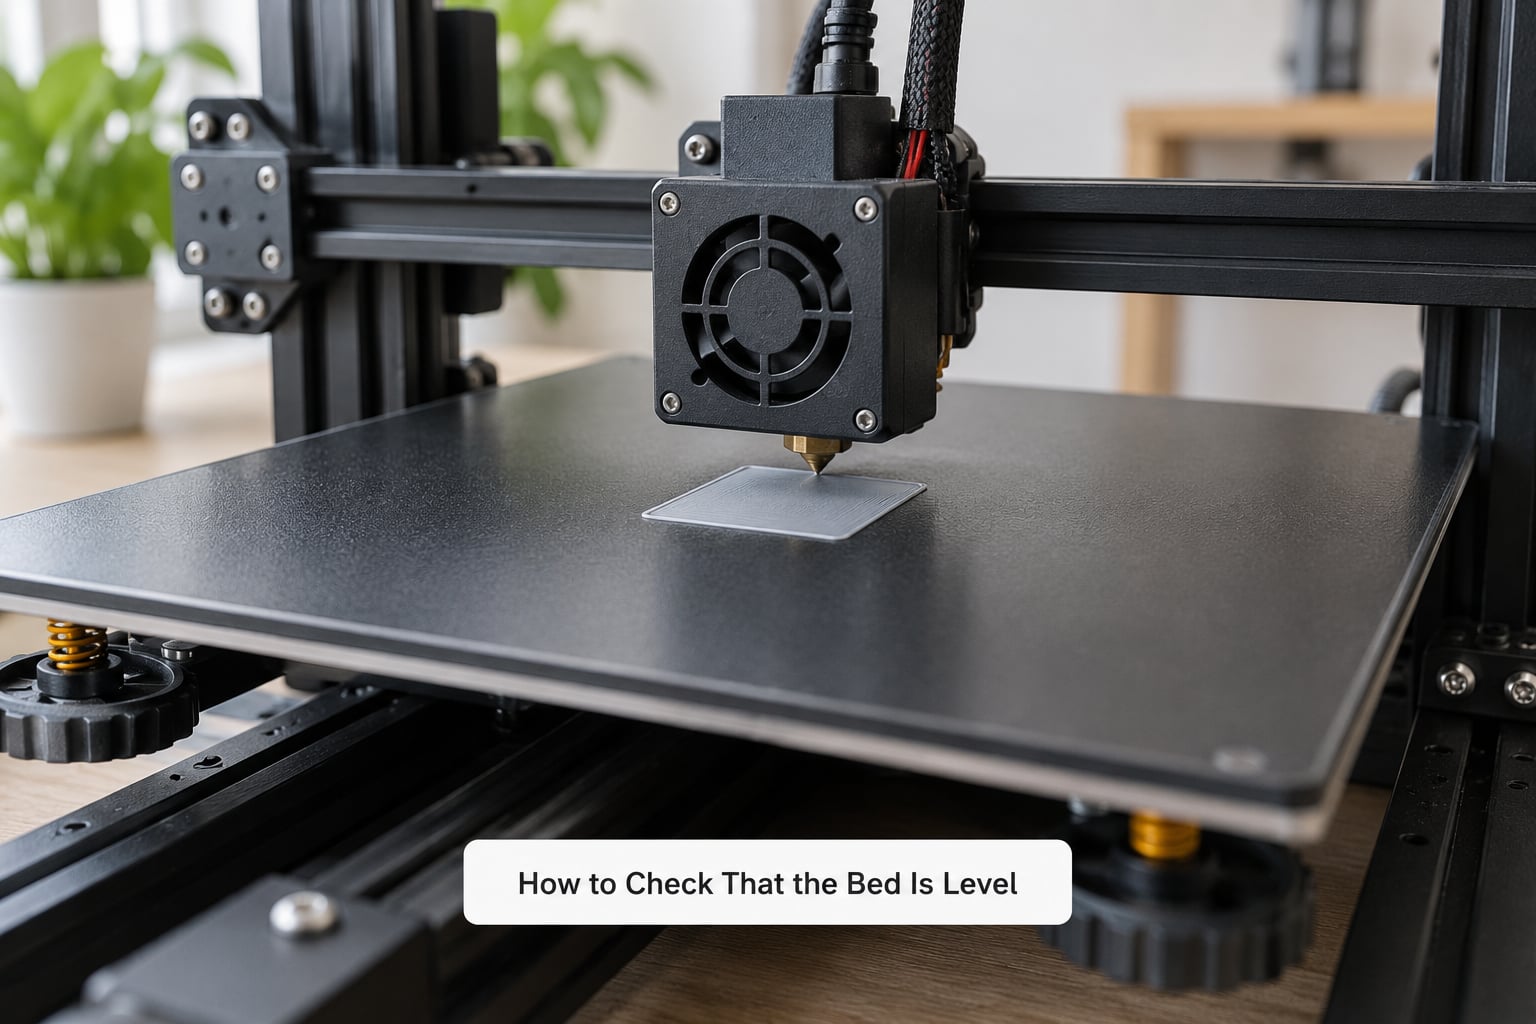
Numbers on a screen are not verification. A single-layer test print is, because it shows you the gap under the nozzle across the whole plate at once.
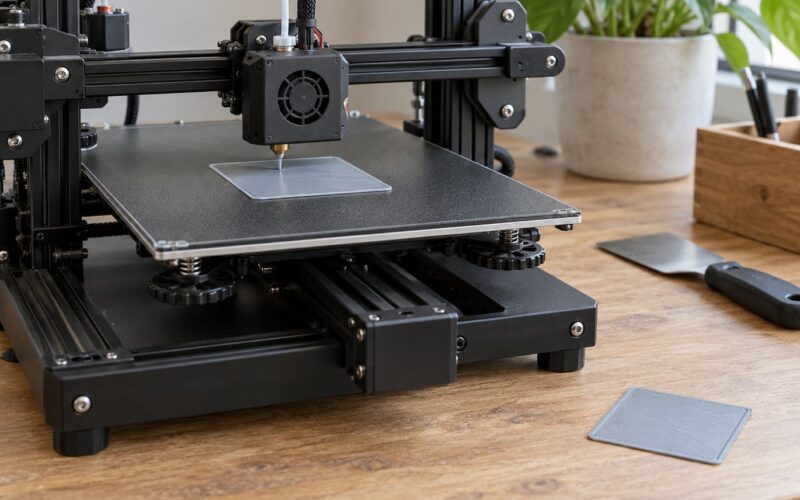
Print a small square or a 100mm line test at your normal first-layer height and speed. Judge three things: whether every line touches the one beside it, whether the surface looks evenly matte rather than glossy, and whether the square separates from the plate cleanly when you tug it.
If the corners lift but the centre holds, the gap is too wide at the corners. If the whole square sticks and looks wet and shiny, the nozzle is too close everywhere and you should raise Z-offset.
If the mesh looks fine on screen but the test still fails, check for mechanical causes before re-running the calibration. A binding Z-axis, a loose belt or a warped frame produces symptoms that look exactly like a bad mesh.
Common Mesh Bed Leveling Mistakes
Almost every repeated problem traces back to one of these. Work down the list before you start changing settings.
- Probing a cold bed. The mesh is measured correctly and immediately invalidated when the plate expands.
- Building the mesh before setting Z-offset. This is the single most repeated error on beginner forums, and the mesh appears to do nothing.
- Checking with a hot nozzle. A cool nozzle and a hot one sit at different heights. Measure at temperature or adjust for it.
- Turning adjustment screws too far. Quarter turns, and stop when contact is felt.
- Skipping the test print. The saved mesh is only a claim. The printed layer is evidence.
- Using a coarse grid on a warped plate. A 3×3 grid maps the corners and centre; it will miss a dip in between. Denser grids catch more shape error.
- Chasing a mechanical fault with calibration. Binding, loose belts and a warped frame produce repeatable bad results that no mesh can correct.
- Assuming a perfect-looking mesh means a good print. Check the actual first layer every time you change something.
Frequently Asked Questions
Do you need to do mesh bed leveling every print?
No, not on a stable printer. A saved mesh loads automatically at the start of each print. Re-run the calibration after moving the printer, after a crash or a knocked bed, after swapping the build plate, after changing the probe or firmware, or whenever the first layer changes suddenly. On a well-behaved machine, every few months is plenty.
Can you use a bed mesh in Klipper?
Yes. Klipper supports bed mesh as a built-in module. Set probe_count in the [bed_mesh] section of printer.cfg, run BED_MESH_CALIBRATE from the console, then SAVE_CONFIG. Fade height is controlled by the fade_start and fade_end settings. Klipper saves the mesh itself, so there is no separate store command like Marlin’s M500.
How close should the nozzle be to the bed?
About 0.1mm with a 0.4mm nozzle printing at 0.2mm layer height. That gap lets the deposited line squash slightly and bond into a solid sheet. Closer than that and the nozzle drags, clicks and gouges. Further away and lines stay round with gaps between them. Change this with Z-offset, not by re-tramming the bed.
What do the Z-values on my mesh map mean?
Each number is the Z-axis position the nozzle used when the probe registered contact at that point. The gap between the highest and lowest number tells you how uneven the plate is across the grid. A spread of a few hundredths of a millimetre is normal. A spread approaching a tenth of a millimetre points at a warped or mechanically loose bed.
Does automatic bed leveling replace manual bed leveling?
It replaces most of it. Mesh leveling corrects flatness and residual tilt in software, which is why a badly set bed still needs its screws roughly even first. The screws establish a sane baseline; the mesh cleans up everything the screws cannot reach, including the middle of the plate.
Why is my first layer good on one side and bad on the other?
That pattern almost always means tilt or a bow in the build plate rather than a bad Z-offset. A Z-offset problem makes the whole layer uniformly too high or too low. Check whether the plate is dished or domed by running a single-layer test, then re-tram and move to a denser grid if the plate is warped.
What Should You Do First?
Start with these four steps in order, and give it a full session rather than rushing between prints.
- Clean the plate and the nozzle tip.
- Heat the printer to your normal print temperature and let it sit for 10 to 15 minutes.
- Set Z-offset at the centre of the bed, then even out the corner screws or springs.
- Run the mesh calibration, save it, and confirm the result with a single-layer test print.
Once that first-layer square comes off the plate clean, with lines fused edge to edge and no gaps, mesh bed leveling explained for beginners is basically done. From then on it is a re-check every few months, not a ritual before every print.