A hot, dirty build plate steals the first layer, and a first layer that fails takes the whole print with it. Here is how to clean a 3D printer bed properly: let the bed cool, brush off debris, then wipe smooth PEI, satin PEI and glass with 90% isopropyl alcohol on a lint-free cloth, while textured PEI gets warm water and unscented dish soap because alcohol only smears grease into the powder coating. Most jobs take 10 minutes.
The reason people get this wrong is that the advice is usually written for one plate and applied to all of them. Isopropyl alcohol is genuinely the right call on smooth PEI and glass, and genuinely the wrong call on textured PEI, where it drives oil deeper into the texture instead of lifting it out.
Skin oils from your hands, dust from a shop vac running in the next room, and a rim of leaked plastic around the edge are usually enough to make a first layer go from clean and flat to corner-lifted and warped. That gets misdiagnosed as a slicer problem or a leveling problem, and people recalibrate for weeks before someone wipes the plate.
So before you start swapping slicer profiles to chase a lifting first layer, rule out the cheapest cause on the machine.
Table of Contents
- What You Need
- How to Clean a 3D Printer Bed Properly: Step by Step
- How to Clean a 3D Printer Bed Properly by Surface Type
- Step 1: Cool and Disconnect the Printer Safely
- Step 2: Remove Loose Filament, Dust, and Debris
- Step 3: Wash the Bed with the Right Cleaner
- Step 4: Remove Stubborn Residue Without Scratching
- Step 5: Dry and Inspect the Build Surface
- Step 6: Reinstall and Test Print Adhesion
- Common Mistakes
- How often should you clean, and how deep?
- Frequently Asked Questions
- Can I clean a heated 3D printer bed while it is hot?
- What is the safest way to clean a glass or PEI build plate?
- Should I use isopropyl alcohol to clean a 3D printer bed?
- How often should I clean a 3D printer bed?
- Why do my prints stop sticking after cleaning the bed?
- What should I do if the build plate is scratched or greasy?
- Conclusion
What You Need
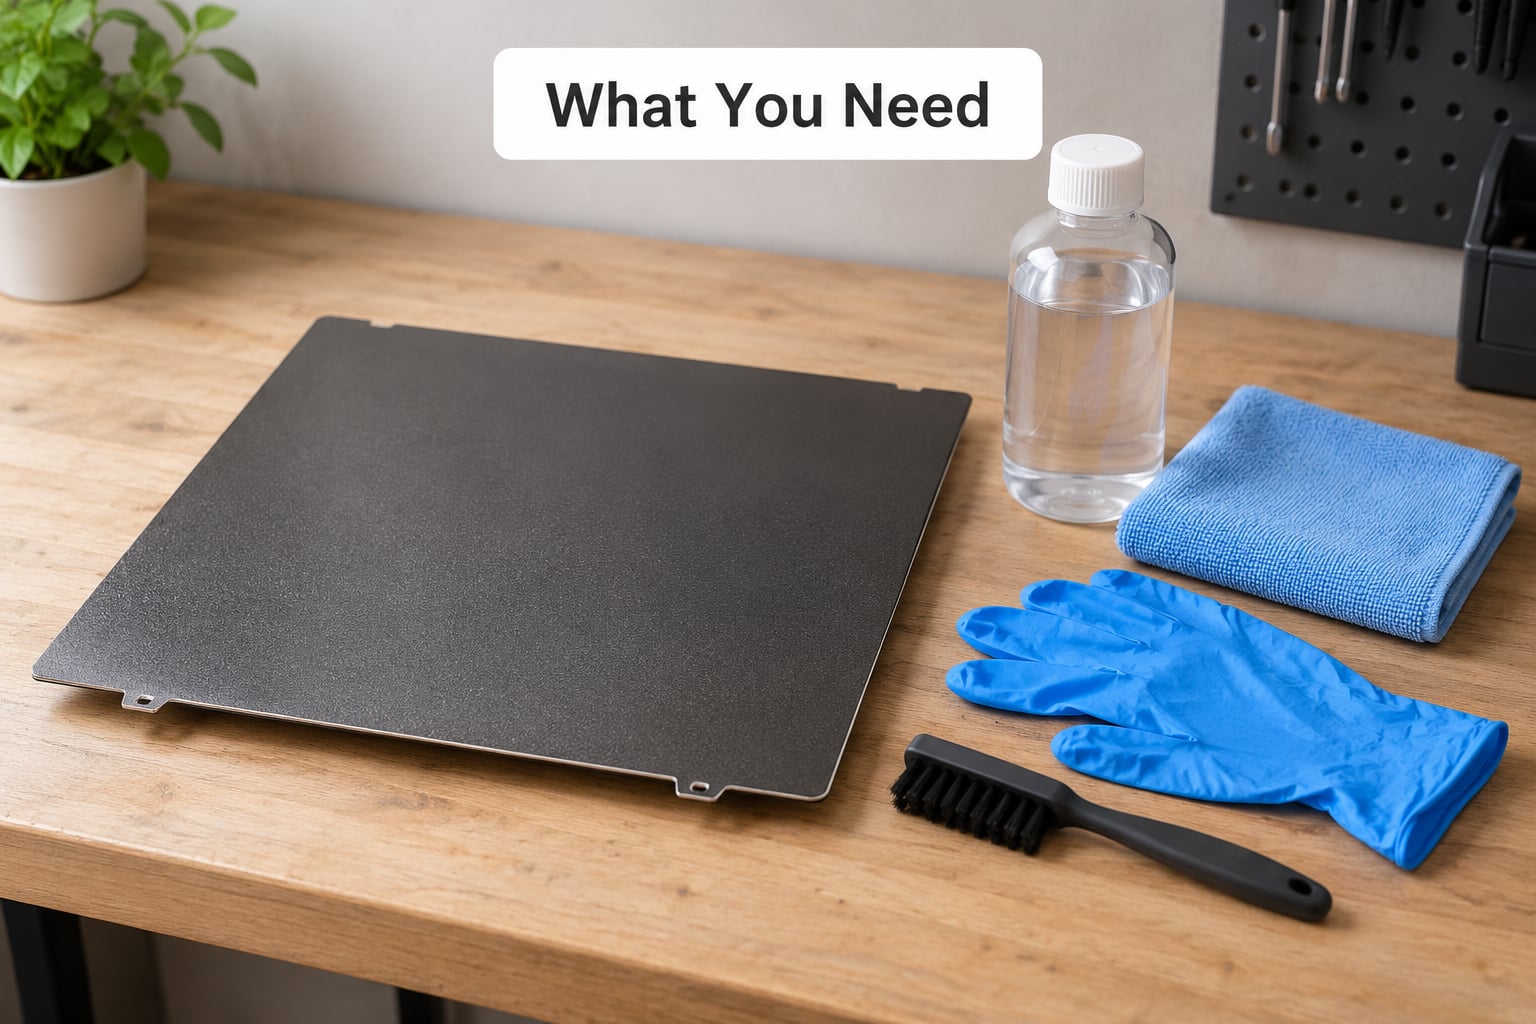
Before anything else, open your printer’s manual. Bed designs differ enough that a rigid glass plate on a heated bed and a flexible spring steel sheet on a magnetic mount are not the same job, and the removal steps are not interchangeable.
- Your printer’s manual for how the plate comes off and whether it can be rinsed.
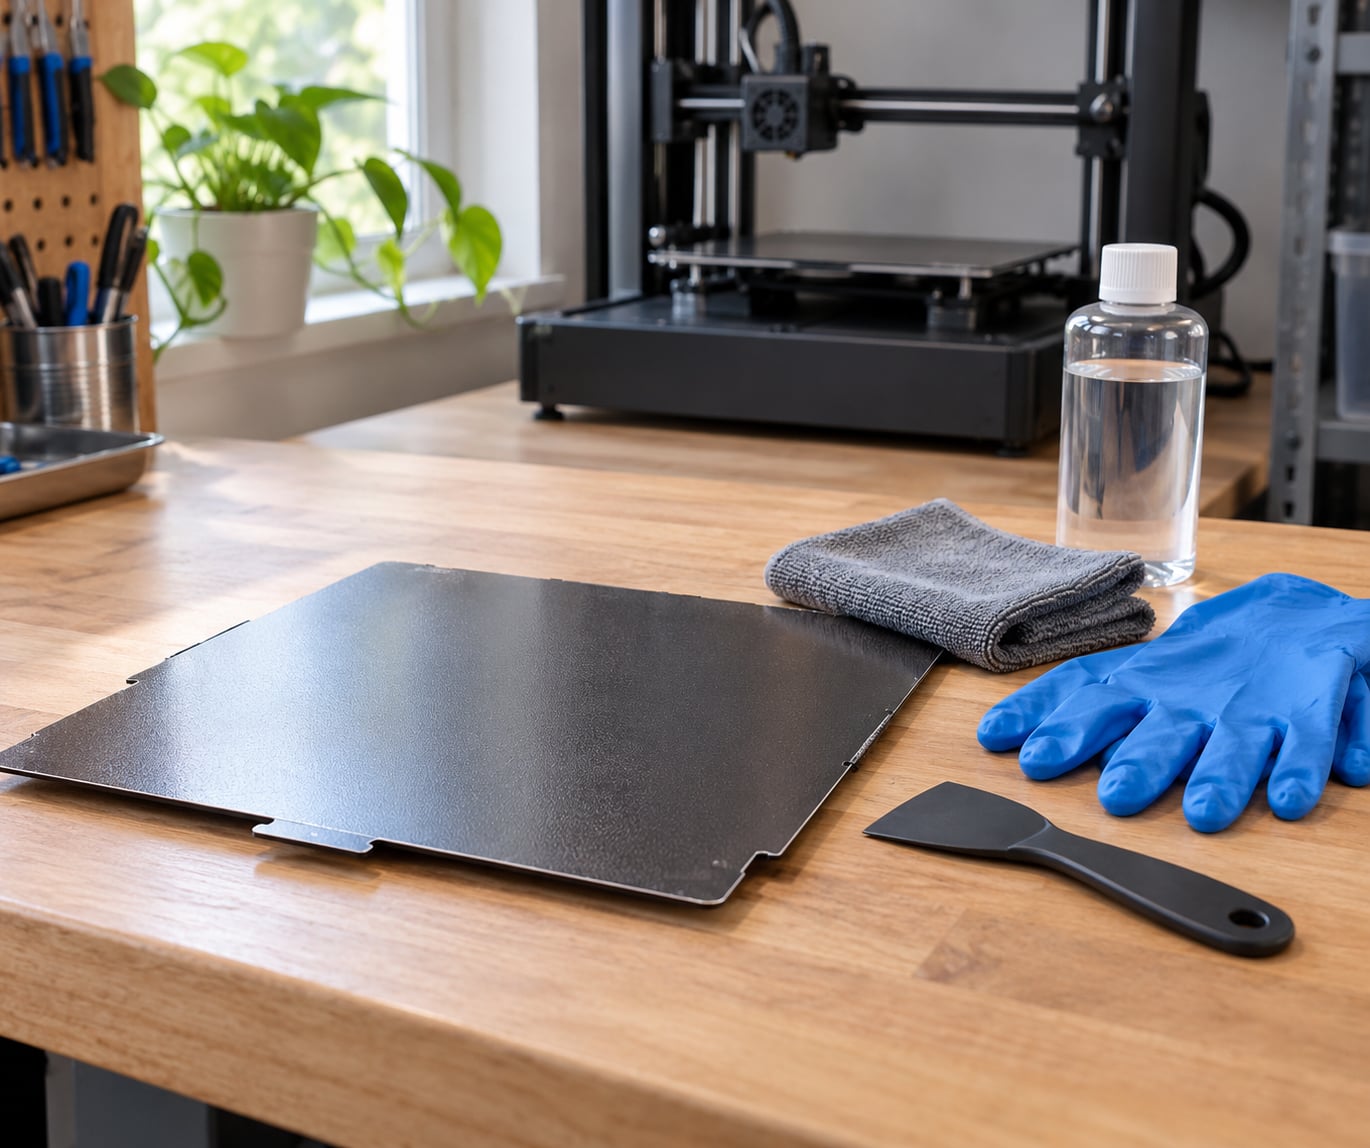
- Isopropyl alcohol at 90% or higher for smooth PEI, satin PEI, and glass. Higher concentration evaporates faster and leaves less water behind.
- Unscented dish soap for textured PEI and for washing any plate under a tap. Scented versions leave a residue you will fight for months.
- Two or three lint-free cloths or a microfiber towel. Use one dirty and one clean, and keep bed cloths separate from kitchen towels.
- A soft plastic scraper or a plastic spatula for lifted filament edges.
- A soft brush, a clean nylon-bristle toothbrush works, for texture grooves.
- Compressed air or a vacuum for dust and powder.
- Nitrile gloves if you have them, so you are not re-depositing the oils you just removed.
The r/3Dprinting habit worth copying is keeping dedicated cleaning supplies that never touch food. Food grease, cooking oil, and detergent residue all contaminate a build surface faster than printer filament does.
How to Clean a 3D Printer Bed Properly: Step by Step
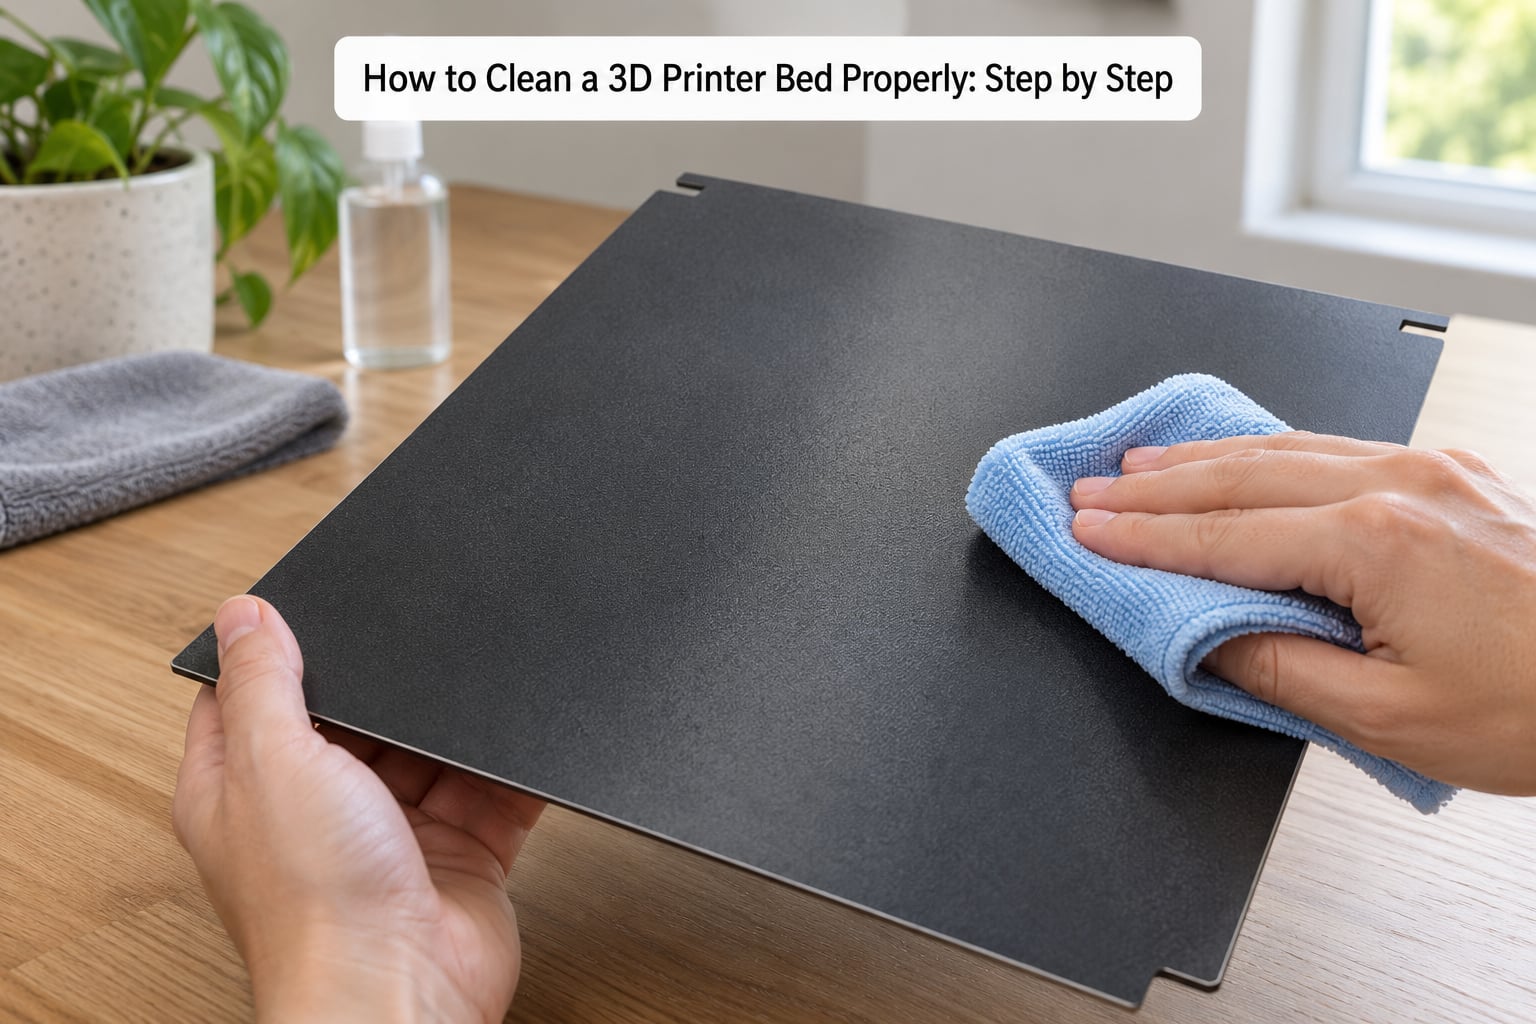
Work in this order every time. The order is what makes the process safe, not the products you buy.
How to Clean a 3D Printer Bed Properly by Surface Type
The plate decides the product, and every surface has one thing you must never put near it.
| Surface | Routine clean | Deep clean | Never use |
|---|---|---|---|
| Textured PEI | Warm water, soft brush, dish soap | Soak 10 to 15 minutes, non-scratch sponge, rinse, air dry | Isopropyl alcohol, acetone, metal scrapers, steel wool on a new plate |
| Smooth PEI | 90%+ isopropyl alcohol, lint-free cloth | Alcohol wipe, wait 30 seconds, second wipe | Water under a tap on a heated mount, abrasive pads |
| Satin PEI | 90%+ isopropyl alcohol, lint-free cloth | Alcohol wipe twice, dry fully before handling | Household glass cleaner, ammonia products |
| Glass | 90%+ isopropyl alcohol or warm soapy water | Soapy water and non-scratch sponge, then alcohol to cut the streaks | Metal scrapers, grit-containing glass cleaner, thermal shock |
| Spring steel and removable magnetic sheets | Warm soapy water and a soft brush | Wash under a tap, dry fully before refitting | Isopropyl alcohol on a coated sheet, bending against the mount while hot |
The surfactant mechanism behind the textured PEI row is the whole argument. Dish soap molecules have one end that grabs grease and one end that likes water, so water rinses the oil away. Alcohol has no such split; it dissolves oil and then spreads it across the whole textured surface as it evaporates, which is why the plate looks clean and grips worse than before.
Step 1: Cool and Disconnect the Printer Safely
Turn the printer off, let it sit, and unplug it at the wall. Heat and water together are how people crack glass and how moisture gets into a heater cable. Wait until the plate is cool to the touch, not just warm, and treat the heated bed as the hottest part of the machine during this window.
Now check the manual for removal. A magnetic flexible sheet lifts straight off. A rigid glass plate usually has clips you release before sliding it out.
Step 2: Remove Loose Filament, Dust, and Debris
Brush and blow off everything loose before any liquid goes near the surface. Dry grit dragged around by a cloth is what turns a wipe into a scratch, so this step is the one people skip and regret.
Pop lifted brim edges and stringing with a plastic scraper held at a shallow angle, working from the outside inward. You are lifting a deposit off the surface, not planing the surface itself. Debris that has been sitting on a warm plate can usually be flicked off cold.
Step 3: Wash the Bed with the Right Cleaner
For glass, smooth PEI, and satin PEI: put a small amount of 90% or higher isopropyl alcohol on the cloth rather than spraying the plate, and wipe in one direction. Spraying liquid onto an open machine gets it on the heater insulation, the linear rails, and the electronics, where it causes problems that look nothing like a dirty bed.
For textured PEI: soak the plate in warm water with a drop of unscented dish soap, leave it 10 to 15 minutes, and work the surface with a basic non-scratch sponge. Detergent needs time to loosen skin oils, so a fast scrub under a cold tap just moves grease around.
This is the answer to the question forum users argue about most. Yes, you can use Dawn dish soap on a build plate, and on textured PEI it is the better product. Keep it unscented, keep the water warm rather than hot, and rinse until the sheet stops feeling slippery.
Step 4: Remove Stubborn Residue Without Scratching
Glue residue from a glue stick, or a build-up where filament ran hot and welded to the surface, needs softening before it needs scrubbing. Soak glue in warm soapy water, then push it off with a plastic scraper edge held flat.
One case deserves its own rule: a hot plate that has just been printed with a separation layer will stick again as it cools. Let it cool fully before you touch it, then clean it normally.
Avoid metal blades, razor scrapers, green Scotch-Brite, and abrasive pads on anything except a plate you already accept as damaged. On textured PEI that is finished and no longer gripping, very fine steel wool or 1000-grit wet sanding can renew the powder coating, and that is the only place it belongs. On glass and smooth PEI it is pure damage.
Step 5: Dry and Inspect the Build Surface
Let air drying do the work. Set the plate on a clean dry towel and give it a few minutes. Heat from the reattached bed will finish the job.
Run a finger across it and look. Residual grease shows as a milky smear or a rainbow sheen, and one objective check beats guessing: drop a few drops of water on the surface. Clean PEI and glass hold a spread film. A beaded, raised droplet means oil is still there. Wipe again and retest.
While it is out, check for scratches, worn texture, a cracked or chipped corner, loose spring steel mounting screws, and grime or adhesive on the underside of a removable plate and around the bed frame. Then clean the plate itself once more before you put it back, so your fingerprints land on the back.
Step 6: Reinstall and Test Print Adhesion
Refit the plate dry and handle it by the edges or with gloves. This is where a perfect clean gets quietly undone, because the reinstall is the moment most people touch the center with bare fingers.
If you removed the plate, re-level the bed and re-check your Z offset. A thin glass plate, a spring steel sheet, and a thick cast plate do not sit at the same height, and calibration does not survive a plate swap.
Then print something small and flat: a 20 to 40 mm square, a single layer or two, a bed at 60 C for PLA. Look at the corners. Corners sticking while the center looks fine means a leveling or Z offset problem, not a cleanliness problem. If the whole square bonds without prompting you to peel it, you are back to normal printing.
Common Mistakes
Almost every ruined build plate traces back to one of these.
- Cleaning a hot plate. Water on hot glass causes thermal shock, and steam pushes moisture into the heater cable. Cool it fully and unplug first.
- Using isopropyl alcohol on textured PEI. It cleans the look and smears the oil. Use detergent and water.
- Reaching for acetone. Acetone is for removing glue, and it will dissolve or haze a textured coating and can craze plastics. Use it on glass only, sparingly, and only on glue residue.
- Using metal tools. A razor blade leaves scratches that become the seed of future delamination and a permanent low-adhesion spot.
- Spraying cleaner directly onto the printer. Liquid runs under the plate and onto the heater, rails, and electronics. Always put the cleaner on the cloth.
- Wiping in circles and spreading grease. Straight strokes, then a fresh section of cloth for a second pass.
- Reinstalling with bare hands. The cleanest plate is undone in two seconds by the oils in your fingertips.
- Cleaning the plate but not the frame. Popped-off debris around the mount redistributes onto the next print.
- Skipping the level and Z offset after a plate swap. Re-level every time a plate comes off, even if the new one is identical.
One more that deserves naming: putting a plate back slightly out of square. Skewed plates are why a first layer lifts at one corner and nowhere else, and no amount of cleaning fixes it.
How often should you clean, and how deep?
Frequency is a decision, not a calendar. Wipe when the first layer looks worse than it should, wash when the wipe comes back dirty.
| When | What to do | Time |
|---|---|---|
| Before every print | Lint-free cloth with 90%+ isopropyl alcohol, one straight pass | Under a minute |
| After a failed first layer | Full debris removal, then the matching cleaner for your surface | 5 to 10 minutes |
| Weekly | Brush out grooves and edges, drop the water test, re-wipe | 10 minutes |
| Monthly | Full deep clean: soak and sponge textured PEI, or a complete alcohol wipe on glass and smooth PEI | 20 to 30 minutes |
| After carbon fibre, glow-in-the-dark, or other abrasive filament | Deep clean plus an inspection for micro-gouging, and expect the surface to wear faster | 20 minutes |
Abrasive filaments work like fine sandpaper. Nothing you do prevents gradual wear of the coating, so keep a spare sheet on hand and swap when adhesion fades on a plate you can see is clean.
And if a spot still will not hold after a clean plate, a water test that comes back clear, and a fresh test square, stop cleaning. Check the plate is level and square, raise bed temperature for the material, add a brim or a raft for warping-prone filaments, and confirm the first layer is being sliced at a proper height. A clean bed does not fix a bad Z offset, and no solvent will.
Frequently Asked Questions
Can I clean a heated 3D printer bed while it is hot?
No. Turn the printer off, unplug it, and wait until the plate is cool to the touch. Water or alcohol on a hot plate risks thermal shock in glass, drives moisture into the heater cable, and releases fumes. The ten minutes of waiting is cheaper than a cracked plate or a heater that reads wrong forever.
What is the safest way to clean a glass or PEI build plate?
Cool and unplug the printer, brush off loose debris, then put 90% or higher isopropyl alcohol on a lint-free cloth rather than spraying the plate. Wipe in one direction, let it dry fully, and handle the plate by the edges. Glass also responds well to warm water and unscented dish soap, followed by an alcohol pass to cut streaks.
Should I use isopropyl alcohol to clean a 3D printer bed?
It depends on the surface. Isopropyl alcohol is the right routine cleaner for smooth PEI, satin PEI, and glass. On textured PEI it is the wrong choice: alcohol dissolves skin oils and spreads them through the powder coating as it dries, so the plate looks cleaner and grips worse. Use warm water and unscented dish soap there instead.
How often should I clean a 3D printer bed?
A quick alcohol wipe before every print takes under a minute and prevents most adhesion problems. Do a deeper clean weekly, and a full wash monthly, or immediately after a failed first layer, glue use, or a run of carbon fibre or glow-in-the-dark filament. The real test is simple: if your wipe comes back dirty, clean deeper.
Why do my prints stop sticking after cleaning the bed?
Usually it is not the bed. Residual moisture left on the surface, a Z offset that is too high after a plate swap, a plate that sits out of square, or bed temperature that is too low all cause first-layer failure and look identical from the slicer. Re-level after removing the plate, print a small test square, and judge the corners.
What should I do if the build plate is scratched or greasy?
Grease comes off with the right cleaner for the surface, then confirm with a water test: a spread film means clean, a beaded droplet means still oily. Scratches cannot be cleaned away. On textured PEI that has worn smooth, very fine steel wool or wet sanding can renew the coating; on glass and smooth PEI, replace the sheet.
Conclusion
Start with the safest action, not the strongest product: turn the printer off, unplug it, and let the bed cool completely before a cloth touches it. Then match the cleaner to the surface, because isopropyl alcohol and dish soap are not interchangeable and swapping them explains a lot of lost adhesion.
Dry the plate completely, refit it by the edges, re-level if it came out, and print one small test square before you commit to a twelve-hour job. If a clean, dry, level plate still will not hold, the problem lives in the Z offset or the bed temperature, not the build plate.