Measuring your hand for printed prosthetics takes about fifteen minutes with a flexible tape, a ruler and a pen. You need four numbers to start: hand width across the knuckles, hand length from wrist crease to the longest fingertip, palm width, and wrist circumference. Everything else you record helps whoever designs or fits the device. Those numbers are preliminary data for a clinician, prosthetist or maker, not a fitting in themselves.
The printed prosthetics most people mean are open-source hand devices like the e-NABLE Phoenix hand, which are sized from two core dimensions and then scaled to fit the wearer. Get those two right and everything downstream gets easier. Get them wrong and the device is either painful or simply will not close around the hand.
One safety note before you start. If the device will actually be worn, work with a prosthetist, an occupational therapist or a physical therapist. This guide covers careful measurement and clean record-keeping, not diagnosis, fitting or a recommendation that any specific device suits a particular person. This guide is current as of 2026.
Table of Contents
- What You Need
- Step-by-Step: How to Measure Your Hand for Printed Prosthetics
- How to Measure Your Hand for Printed Prosthetics: The 8-Step Checklist
- Step 1: Prepare the Hand and Choose a Repeatable Position
- Step 2: Measure the Wrist and Palm Circumferences
- Step 3: Record Hand Length, Width, and Finger Measurements
- Step 4: Document Landmarks, Movement, and Side Differences
- Step 5: Repeat, Check, and Share the Measurements Safely
- Common Mistakes
- Frequently Asked Questions
- Can I measure my hand at home before getting a printed prosthetic?
- Should I measure my hand in centimeters or inches?
- Is a 3D scanner better than a measuring tape for a printed prosthetic?
- What hand measurements are usually needed for a custom device?
- Which hand should I measure for a printed prosthetic?
- How do I know what scale to print a printed prosthetic hand at?
- Conclusion
What You Need
You can do the whole measurement on a kitchen table. The tools matter less than doing the measurement the same way twice.
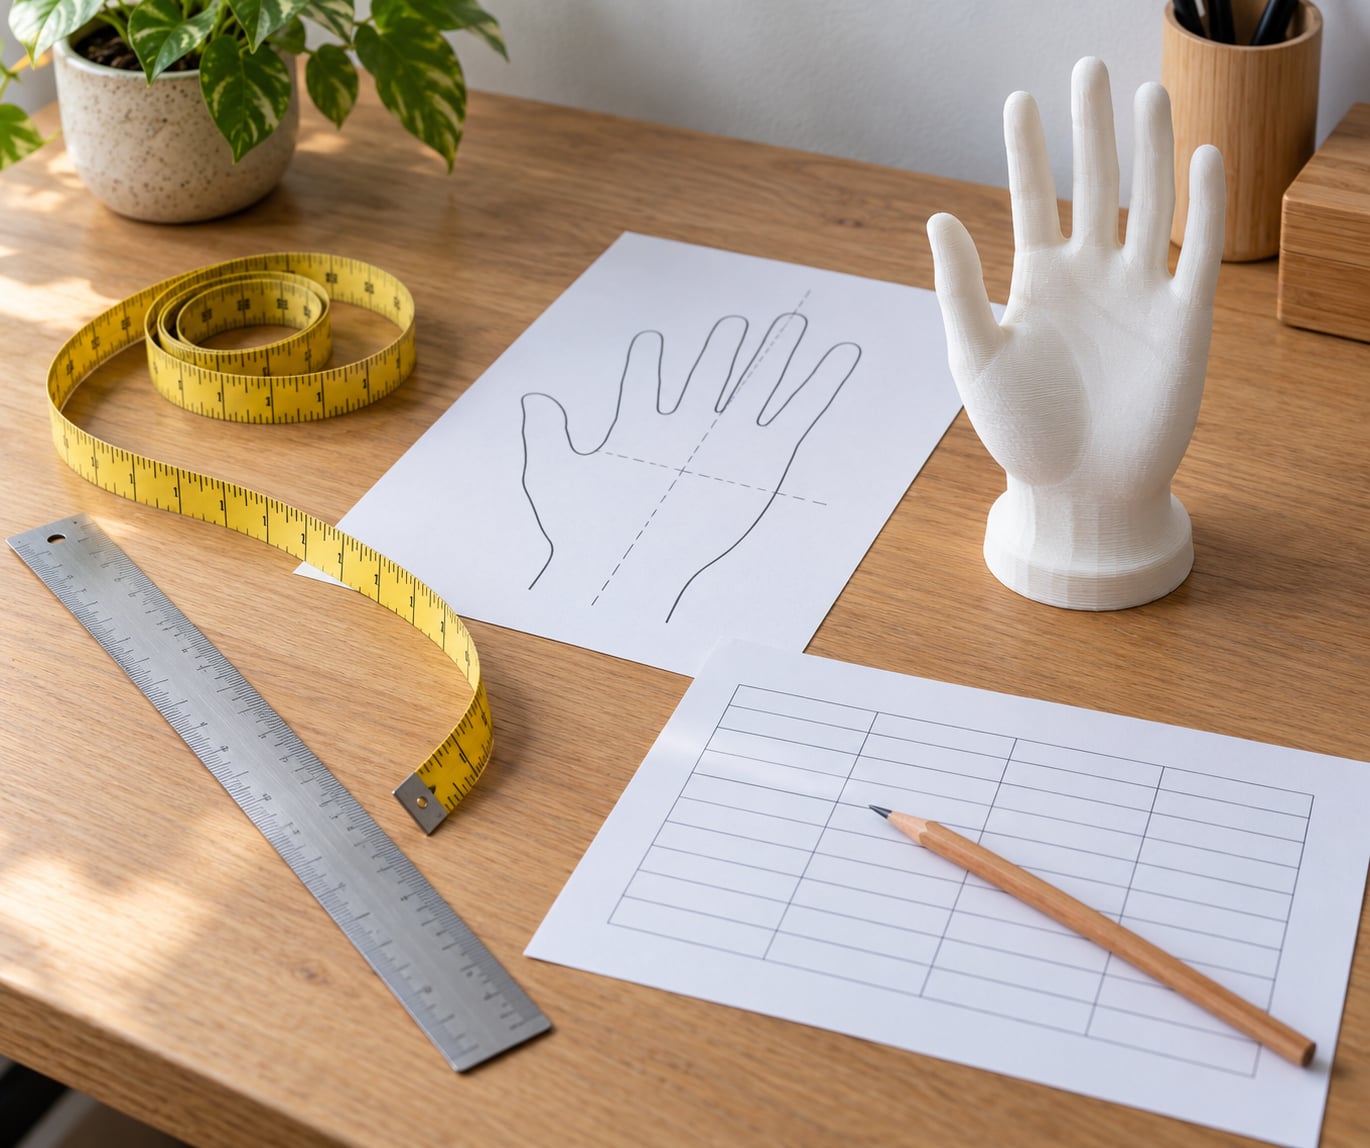
- A flexible tape measure, ideally the soft metric tailor’s kind that stays flat and does not stretch. A rigid plastic tape is fine for hand length but frustrating for circumferences.
- A metal ruler or a straight rigid card for hand length, palm width and finger lengths, where a tape sags or curves.
- A bank card or playing card as a scale reference for photos. Standard bank cards are 85.6 mm long, which lets a designer or a photogrammetry app work out real-world size from an image.
- A phone camera for straight-on palm, dorsum and side views, taken in even light with the card in frame.
- A pen and a printed or drawn measurement sheet. Write down every number as you take it. Memory is worse than you think, especially twenty minutes later.
- A hand-positioning reference. A printed outline or simple diagram of a relaxed hand with the tape path marked keeps your measurements repeatable.
Before the tape comes out, warm the hand. Cold fingers are stiff, and stiffness quietly shrinks your range of motion and changes how the palm sits. Take off rings, a watch, a brace and anything else that crosses the wrist or fingers, and roll up tight sleeves.
Decide in advance who receives these numbers and in which format. Design files and most sizing matrices are specified in millimetres, so work in millimetres and label every value. If a design team asks for inches instead, convert once at the end rather than rounding twice.
Step-by-Step: How to Measure Your Hand for Printed Prosthetics
How to Measure Your Hand for Printed Prosthetics: The 8-Step Checklist
Warm the hand and remove rings, watches and sleeves. Flatten the palm naturally, without clenching or stretching. Measure hand width across the knuckles at the widest point, then hand length from wrist crease to the longest fingertip. Measure palm width and palm depth, then wrist circumference. Check thumb position and finger lengths. Take each measurement twice, write down both readings, and send the sheet with clear units to your prosthetist or maker.
The detail under each step explains where the tape goes and how you know the reading was clean.
Step 1: Prepare the Hand and Choose a Repeatable Position
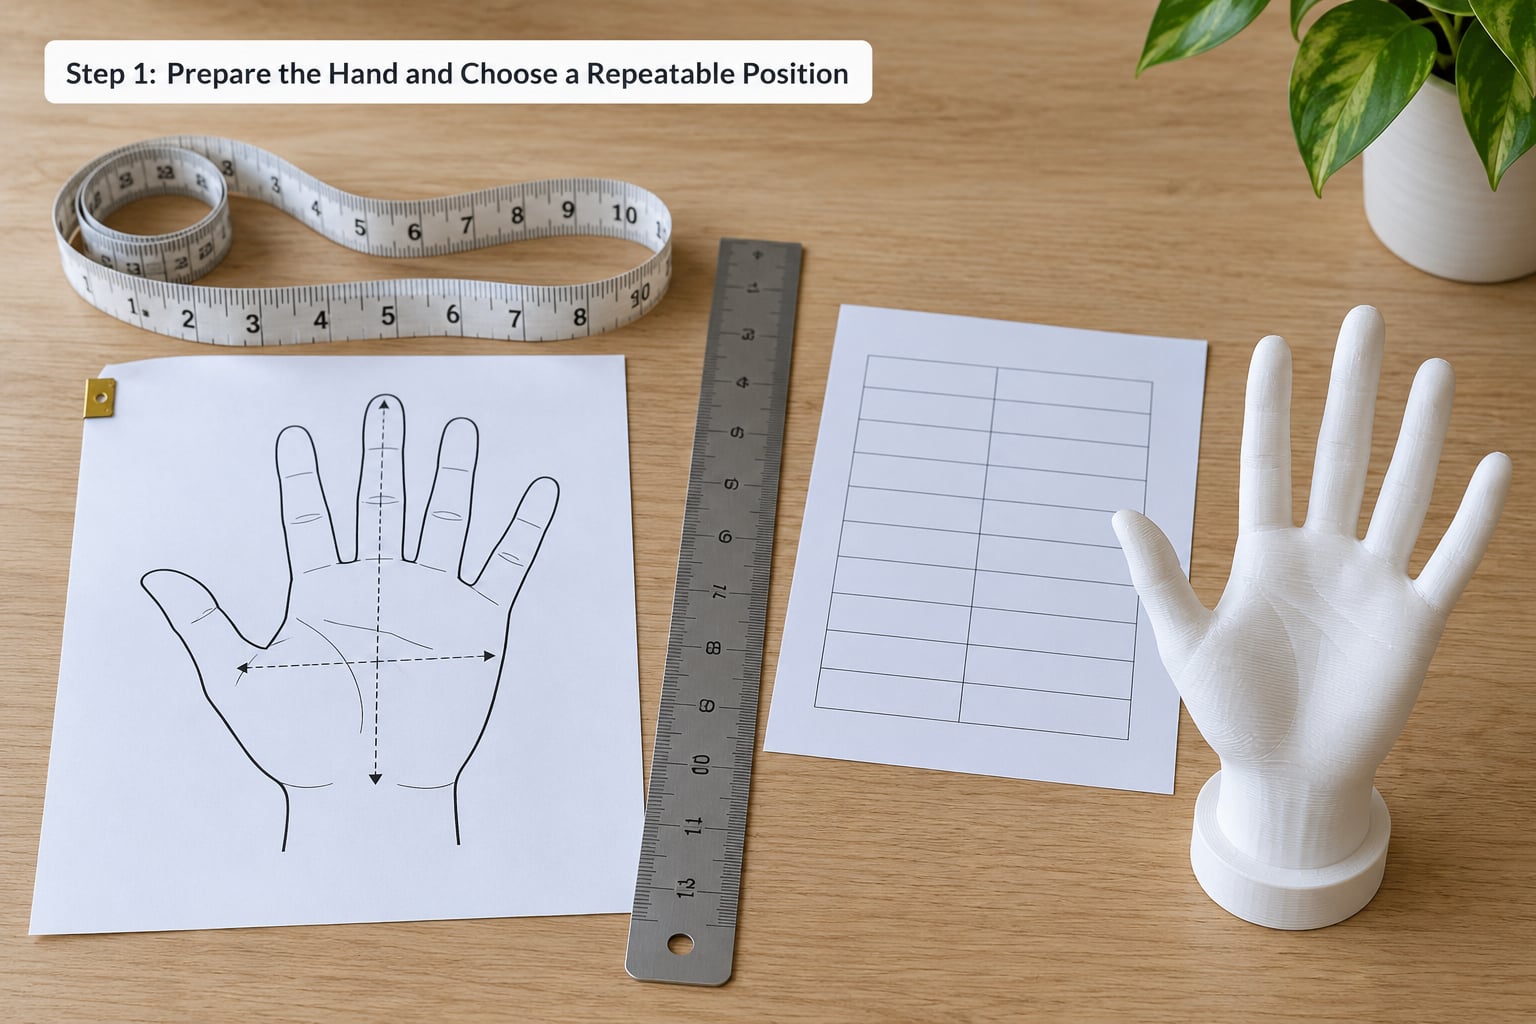
Sit or stand with the forearm supported and the elbow at a comfortable angle, roughly 20 to 30 degrees from the body. Do not measure with the arm hanging straight down, because gravity pulls the tissue and changes both the wrist circumference and the palm depth.
Set the hand in one repeatable position and keep it there: palm down and flat for length and width, palm facing up for the palm side, thumb relaxed and slightly abducted rather than pushed tight against the palm or flared out. Ask someone to hold the position if you are measuring your own hand, because the moment you look down, the hand changes shape.
Keep the fingers naturally relaxed, not spread like a fan and not curled into a fist. A gentle, loose curve is what a printed device has to sit against, so that is the shape you are measuring. If you are working from a photograph, the same rules apply to the person in the picture.
Step 2: Measure the Wrist and Palm Circumferences
For wrist circumference, wrap the tape just above the wrist bone on the thumb side, not around the narrowest point of the forearm. Bring it back to where it started and read it without pressing the skin. Adult readings usually land somewhere between 150 and 200 mm, so if you get 120, you have almost certainly measured the forearm.
Take two more wrist readings: one with the hand flat and relaxed, one with the fingers gently curled. Open-source wrist-driven devices use that movement to open the hand, and the difference between the two readings tells a designer how much travel the mechanism has to work with.
For palm circumference, loop the tape around the palm across the knuckles, following the same path every time. This is the number that decides whether the device closes at all, so take it three times. Then measure palm depth: the distance from the flat of the palm to the base of the fingers when the hand is relaxed, usually between 25 and 35 mm.
Keep the tape flat against the skin. If it twists or stands on edge, your reading is off by more than you would guess. Adults measuring their own wrist usually need to hold the tape end in the teeth or against a door handle, which is why a second pair of hands makes the whole job faster.
Step 3: Record Hand Length, Width, and Finger Measurements
Hand width is the first number most sizing matrices ask for. Place the ruler across the knuckles of the four fingers, from the outside edge of the index finger’s knuckle to the outside edge of the little finger’s knuckle, and read the distance. Adult hands commonly measure 75 to 95 mm across. Measure at the knuckles, not across the flat of the fingers and not across the palm below them.
Hand length runs from the distal wrist crease, where the hand meets the forearm, to the tip of the middle finger, with the fingers straight. Adults usually measure 165 to 200 mm. Keep the ruler flat and in line with the middle finger; measuring along a bent finger or to the tip of the longest finger at an angle both shorten the result.
Palm width is the flat distance across the fleshy part of the palm, just below the knuckles, roughly 70 to 95 mm in adults. Note it separately from hand width because the two numbers control different things. Hand width sets the device scale. Palm width tells the designer whether the body of the device clears the palm without pinching it.
For fingers, record each digit length from the crease at the base of the finger to its tip: thumb 50 to 70 mm, index 70 to 95 mm for most adults. Also note the width of each finger at the knuckle if the device has separate finger segments. Do not press the ruler into the joints; measure along the top of the finger, not across the joint creases.
Step 4: Document Landmarks, Movement, and Side Differences
Numbers tell a designer the size. Notes tell them whether the device will work. Most hand devices are body-powered or wrist-driven: they open when the wearer extends the wrist against a resistance band, and close when the hand relaxes. That mechanism only functions if there is enough wrist travel and a thumb positioned where the cable can reach it.
Write down what you can feel and see. Note any scars, healed fractures, skin grafts or sensitive areas. Note whether the thumb can oppose the fingertips, whether it sits rotated or tucked in, and how far it abducts away from the palm. Note tendon shape at the back of the hand and any swelling that changes through the day.
Movement belongs on the sheet too. How far does the wrist extend and flex in degrees if you can estimate it, or simply describe it as limited, moderate or full? Can each finger curl independently? Which joints have full, partial or no motion? A device built for a hand that cannot oppose the thumb will be useless no matter how accurately it was measured.
If the two hands differ, record both and say which one is intended to be measured. Record differences in hand length, width, skin thickness and thumb position, not just the numbers. Different is not a problem; different and undocumented is.
Step 5: Repeat, Check, and Share the Measurements Safely
Measure everything a second time, ideally after a minute of rest. Compare the two sets. If a number moves by more than a couple of millimetres between attempts, the tape slipped or the hand shifted, so take a third reading and note the spread. Two consistent numbers you can trust are worth more than five you cannot reconcile.
Convert to millimetres once, at the end, and label every value with its unit. If you measured in inches, one inch is 25.4 mm, so multiply rather than round by eye. Include a written note of anything unusual on the sheet, because a handwritten sentence often explains a measurement that looks wrong.
Photos help when a designer or clinician needs to see shape rather than just size. Take four: palm flat from directly above, back of the hand from directly above, a side view with the hand at rest, and one with the thumb abducted. Put the bank card in the same plane as the hand, use flat even lighting with no shadows across the palm, and avoid a wide-angle phone lens close to the subject, which stretches the edges. Skip photos entirely if sharing images of your limb is not something you want to do; a careful written measurement sheet is a legitimate substitute, and so is a scan taken by someone qualified.
Send the sheet to the prosthetist, occupational therapist, the scanning service, or the maker who requested it, with the date and your units in the subject line. Ask what format they want: some sizing tools want two numbers in millimetres, while a 3D print workflow wants a scan file. If your numbers fall between rows of a sizing matrix, say so and ask which way to round rather than guessing silently. The e-NABLE sizing guidance is explicit that extra length in a device is workable but a device that is too narrow is not, so when a choice is forced, err long.
Know where the measurement ends. Open-source printed hand designs generally expect a functional wrist or elbow; there are no community designs for above-elbow differences, and people with very little palm are usually steered toward elbow-driven arms instead. For small children, e-NABLE guidance is to wait until around three to four years old because of small-part choking risks. If any of that applies to you, the conversation belongs with your clinical team first.
Common Mistakes
Almost every bad fit traces back to one of these. Each has a quick fix.
1. Pulling the tape tight. A tape pressed into the skin reads low, and a loose tape reads high. Lay it against the hand with no tension, and take two readings.
2. Measuring the wrist on the forearm. The narrowest forearm point is not the wrist. Move the tape up until it sits on the wrist bone, just above it on the thumb side.
3. Measuring hand width across the palm. Hand width is the knuckle-to-knuckle span of the four fingers. Measure palm width separately and label it separately.
4. Measuring length to a bent fingertip. Straighten the fingers and run the ruler along the middle finger from the wrist crease. A bent finger reads short and quietly downsizes the device.
5. Inconsistent units. Values in inches and millimetres mixed down a single sheet are the most common reason a scaling step goes wrong. Convert once, at the end, and write the unit next to every number.
6. Clenching, fanning or collapsing the hand. All three change the shape being fitted. Measure the relaxed, gently curved hand, and describe that position in your notes.
7. Forgetting the scale reference in photos. A photo with no card in frame cannot be measured by anyone, including a photogrammetry app. Put a bank card in the same plane as the hand.
8. Measuring the wrong hand and skipping the difference. If you have a congenital limb difference or an amputation on one side, measure the sound hand and tell the designer you want the model mirrored. One published soft-hand build log does exactly this: it scans the unaffected hand and mirrors the mesh in modelling software for the affected side. Document any way the two hands are not identical, because mirroring without that note produces a device that does not sit straight.
9. Treating a home measurement as a finished fit. A measurement sheet sizes a device. Only a fit trial tells you whether the device is right, and that is the clinician’s step, not yours.
A few habits help more than any single technique. Photograph the hand beside the ruler as you measure, so you have a visual record to compare against later. Keep the sheet in the same units for every person you measure for, whether that is your own hand or your child’s. And write the date on it, because hands change and a child grows fast enough that last year’s numbers are already wrong.
Frequently Asked Questions
Can I measure my hand at home before getting a printed prosthetic?
Yes. Home measurements are useful and expected, because they save a clinic visit and give the clinician something to work from. They are preliminary data, not a finished fitting. Record each value twice, label every unit, note anything unusual about the hand, and bring the sheet plus photos to the appointment. The professional fitting is what confirms whether the device actually works.
Should I measure my hand in centimeters or inches?
Use the unit the clinician or design team asked for, and label it clearly on every line. Most printable design files and sizing matrices are specified in millimetres, so millimetres is the safest default. If you measure in inches, convert at the end: one inch is 25.4 mm. Convert once, never round twice, and never leave a bare number without its unit.
Is a 3D scanner better than a measuring tape for a printed prosthetic?
A 3D scanner captures shape and geometry in one pass, which is what you want for a device moulded to the hand. A tape measure is faster, free, and enough for the two core sizing numbers, hand width and hand length. Many workflows use both: a tape first, then a scan if the design needs surface detail. Neither replaces professional assessment and fitting.
What hand measurements are usually needed for a custom device?
The list depends on the design, but the common set is hand width across the knuckles, hand length from wrist crease to middle fingertip, palm width, palm depth, wrist circumference in two hand positions, thumb position and rotation, and finger lengths. Movement notes matter too, especially wrist extension for a wrist-driven device. Anything unusual on the hand should be written down, not just measured.
Which hand should I measure for a printed prosthetic?
If the difference or amputation is on one side, measure the sound hand and ask for the model or scan to be mirrored for the affected side. That is the standard approach in published open-source hand builds. If both sides are intended to be measured, record both sets separately and describe any differences in length, width, thumb position and movement. Never mirror silently.
How do I know what scale to print a printed prosthetic hand at?
Enter your hand width and hand length into the sizing tool the community provides, and it returns a scale percentage you apply to the model before printing. The published example of 80 mm by 80 mm lands in one specific device size. If your numbers sit between two rows, ask rather than guess, and remember the rule of thumb: extra length is workable, extra narrowness is not.
Conclusion
Start with the two numbers that decide everything: hand width across the knuckles and hand length from wrist crease to middle fingertip, both in millimetres. Repeat both, add wrist circumference and palm dimensions, then write down thumb position, wrist movement and anything unusual about the hand.
That is the whole of how to measure your hand for printed prosthetics. Send the sheet, with a bank card in frame if you include photos, to the prosthetist, occupational therapist or maker who will build or fit the device. Your numbers size the model; their fit trial decides whether it works.