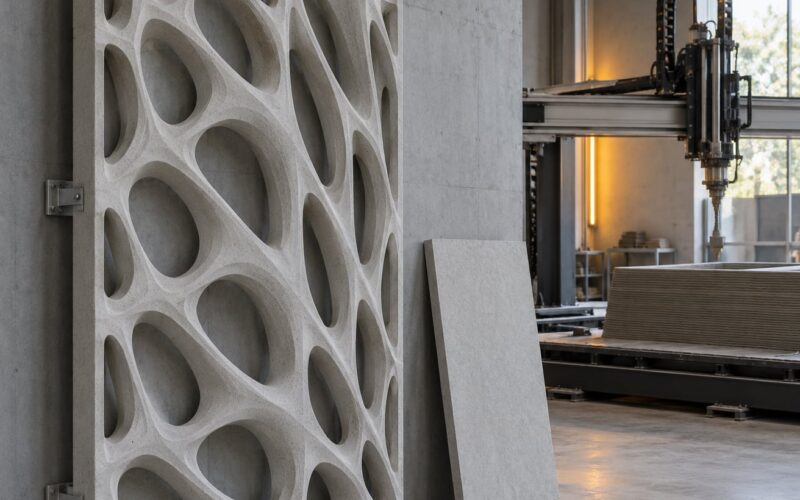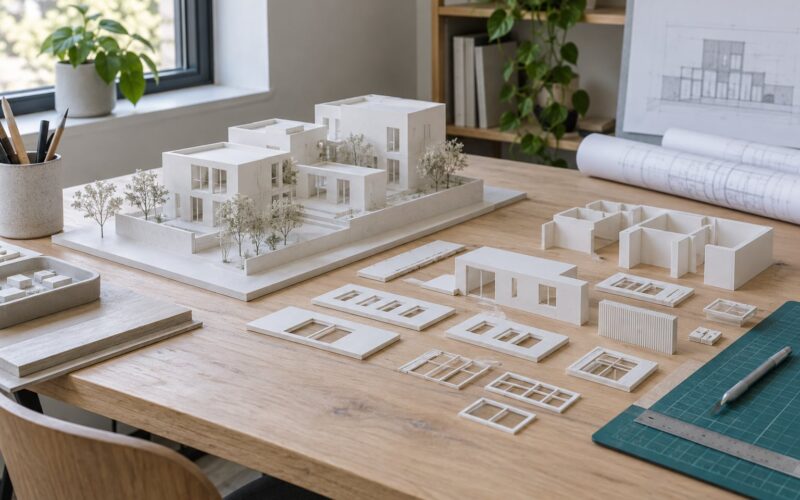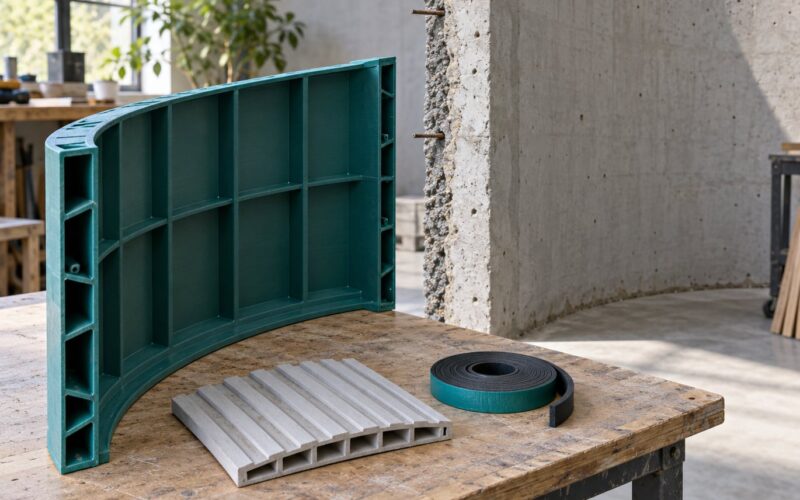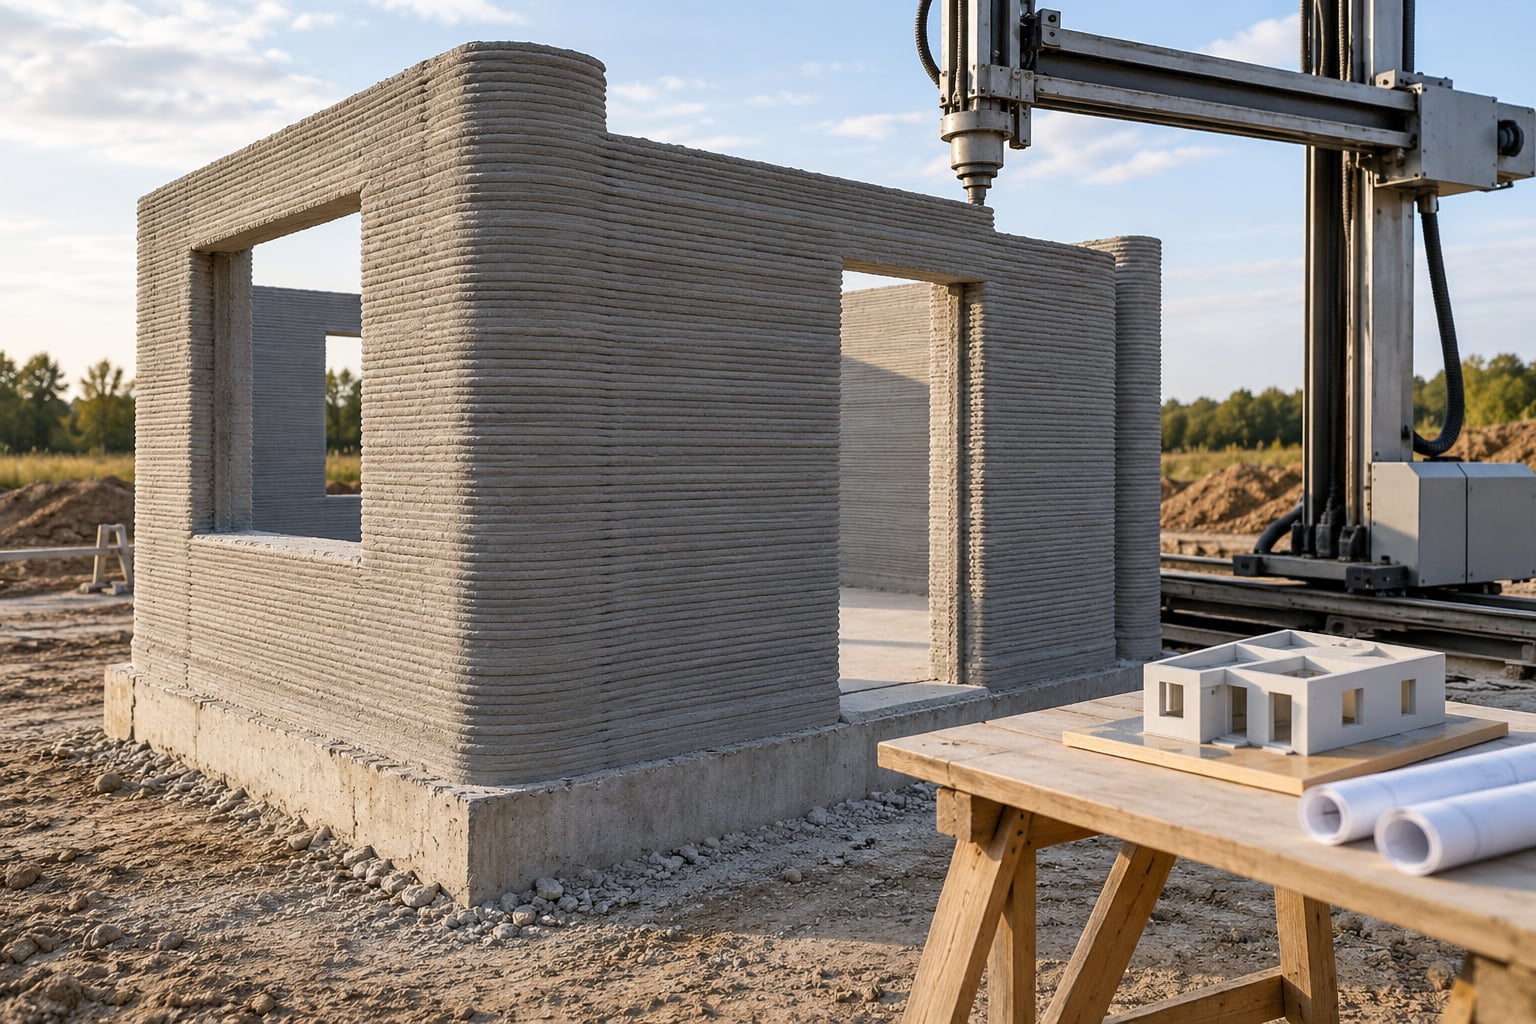
A 3D printed house is built on site by a large robotic gantry system or a robotic arm that extrudes a fast-hardening concrete or mortar mix layer by layer, following a digital 3D model. Only the wall shell gets printed. The foundation, roof, windows, utilities, insulation and finishes are still conventional construction work, and understanding that split explains most of the hype-versus-reality gap around the topic.
What follows is the process as it actually runs on a site: the design, the mix design, the machine, the print days, the reinforcement decision and everything that happens after the walls come off the machine.
Table of Contents
- How 3D Printed Houses Are Built
- What Materials Are Used to 3D Print a House?
- What makes a concrete mix printable
- How 3D Printed House Walls Are Designed
- What Is the 3D Printing Process for a House?
- What a print day actually looks like
- How 3D Printed Houses Are Reinforced and Finished
- How 3D Printed Houses Are Built: Core Workflow
- What Are the Advantages and Limitations of 3D Printed Houses?
- Cracking, durability and the sustainability claim
- How to check whether a marketed printed home was really printed
- Frequently Asked Questions
- How does 3D concrete printing work?
- What are 3D printed houses made of?
- Do 3D printed houses have rebar?
- Is it normal for 3D printed houses to crack?
- How long does it take to build a 3D printed house?
- What is the downside of a 3D printed house?
- Conclusion
How 3D Printed Houses Are Built
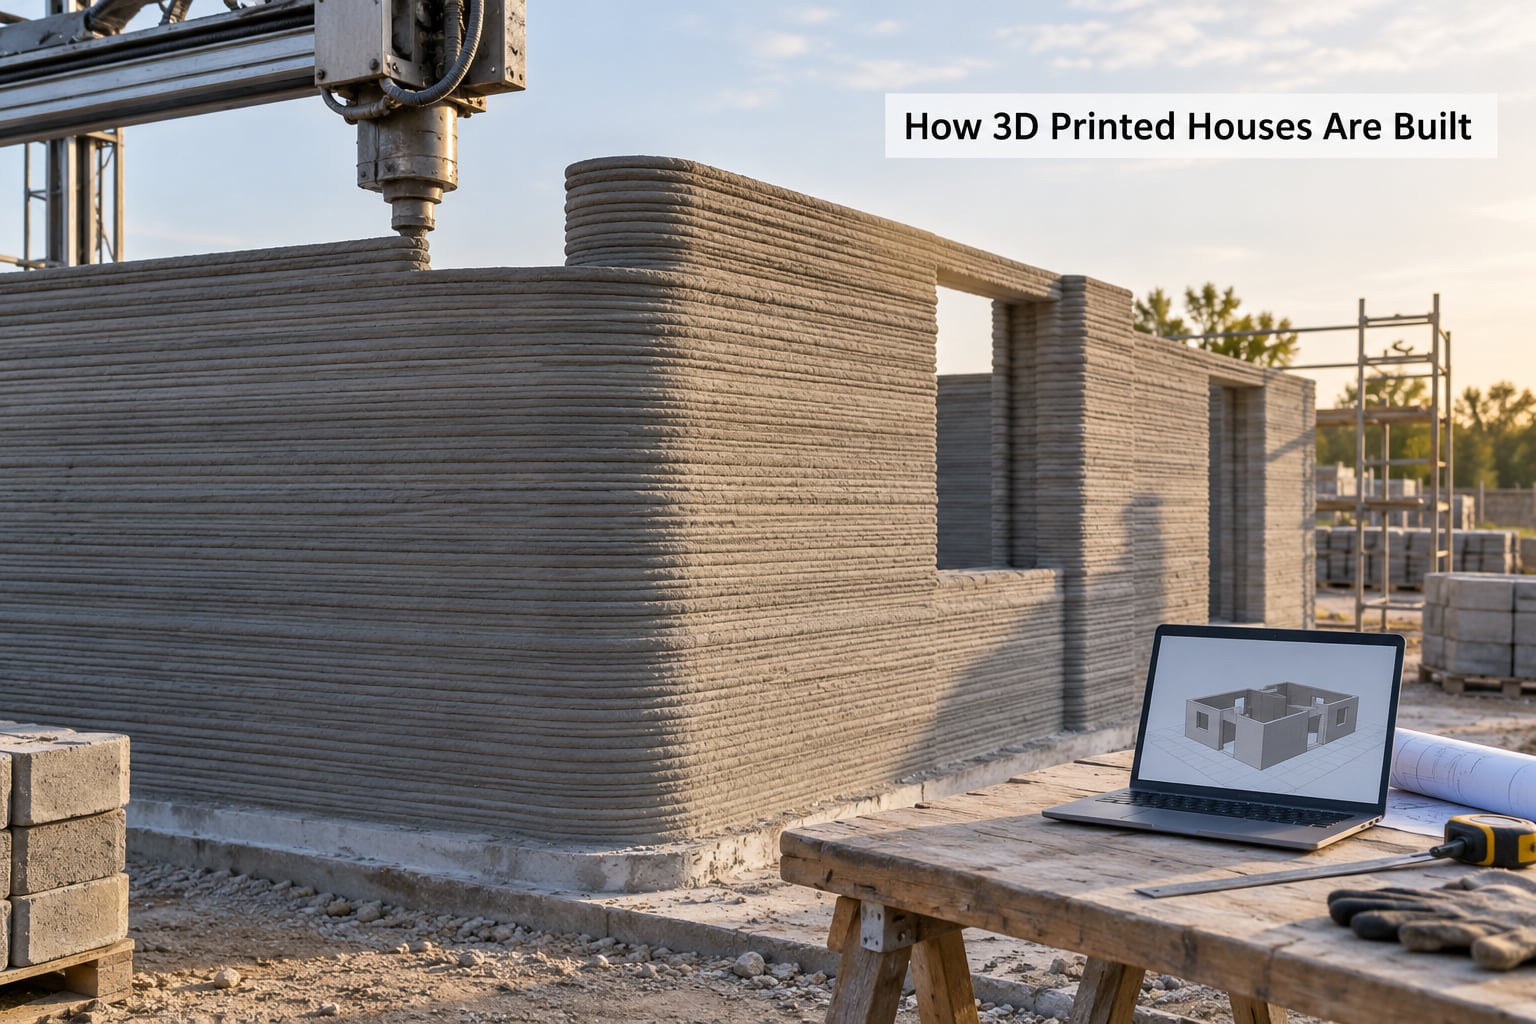
The short version: the building is designed in 3D, the design is converted into toolpaths, a normal concrete foundation is poured and levelled, the printer is set up on rails over that foundation, and a specially engineered mix is pumped through a nozzle and laid down as continuous beads. Each new bead sits on the one below until the wall reaches full height.
Because the material has to hold its own weight while it is still fresh, this is not ordinary concrete pumped through a hose. The mix is designed around four properties that engineers call pumpability, printability, buildability and open time. More on those a couple of sections down.
There are two machine layouts, and the choice shapes everything from print speed to what the building can look like.
| Printer type | How it moves | Design freedom | Typical project | Strengths | Trade-offs |
|---|---|---|---|---|---|
| Gantry system | A bridge on rails straddles the whole footprint and travels in X and Y | Constrained by the gantry envelope; very few true overhangs | Single-family homes, small developments, wall-by-wall shells | Large build volume, repeatable, printhead stays a fixed height | Needs a levelled, prepared base and a lot of space around the site |
| Robotic arm | A jointed arm, usually on a fixed base or a track | Higher; better reach and freer angles, some curved walls | Feature walls, bridges, on-site structures in tight sites | Compact footprint, cheaper to mobilise, handles complex geometry | Slower per pass, smaller build volume, payload limits the nozzle size |
The second thing worth pinning down early is scope. Vendors and news coverage blur these three categories constantly, and that is where the 24-hour house claim comes from.
| Printed by the machine | Engineered into the walls | Completed as conventional construction work |
|---|---|---|
| Exterior and interior load-bearing and non-load-bearing wall shells, usually in stacked beads to a constant wall thickness | Reinforcement strategy, layer thickness, chamfers and fillets, service channels, connections to the foundation, tolerances the printer can actually hold | Foundation and slab, roof structure, windows and doors, insulation, waterproofing, plumbing, electrical and mechanical systems, plaster and finishes, approvals |
What Materials Are Used to 3D Print a House?
Cementitious mixes dominate full-scale building printing, but they are not the only option and the differences are not cosmetic. They change how fast you can print, what the wall can carry, and how much post-processing sits between the print and move-in.
| Material family | Typical base | Strength and layer behaviour | Curing and setting | Best suited to |
|---|---|---|---|---|
| Concrete mortar | Portland cement, sand, water, sometimes a small coarse fraction | High compressive strength; good when reinforcement is added; layer bond depends heavily on the mix and the timing | Days to weeks for full strength; needs moisture control | Most permanent single-family and multi-unit homes |
| Quick-setting and fine-aggregate mixes | Fast-setting binders, sand, very little or no coarse aggregate | Clean bead definition and high early strength; the small nozzle sizes most printers use | Gain strength within hours, but early strength can outrun curing | Fast shell delivery, cold or dry climates where waiting is costly |
| Geopolymer and slag-based blends | Industrial by-products activated by an alkali solution | Comparable or higher compressive strength with less clinker; more variable batch to batch | Ambient set, sensitive to mix consistency and ambient temperature | Projects where local aggregate or lower embodied carbon is a goal |
| Clay and soil | Local earth, water, stabiliser, sometimes straw or rice-husk fibre | Low strength; thick wall geometries and domed or vaulted forms; not code-equivalent to concrete walls | Dries rather than cures; very sensitive to moisture | Low-cost, low-rise, remote and demonstration housing |
| Gypsum and fibre-based panels | Gypsum binder or bio-based resin, cellulose or wood fibre reinforcement | Light, dimensionally accurate, suited to panel-scale printing rather than full wall shells | Dries quickly indoors; no wet-weather site work | Off-site panels, interior partitions, formwork and finished elements |
Two mixes deserve their own note. The Tecla prototype in Italy was printed in local soil with rice-husk fibre over roughly 200 print hours, and the University of Maine printed a small house in 2022 using wood by-product panels. Both are honest answers to the question, but neither is a load-bearing concrete wall built to the same code as a stick-framed house.
Back to concrete. A standard ready-mix concrete batch generally fails on site, because a conventional mix with large aggregate cannot pass a small nozzle without segregating, and it will slump under the weight of the layers above it. A printable mix is normally self-compacting, with no need for vibration, and is tuned to the specific sand, cement and aggregate available near the site.
What makes a concrete mix printable
- Pumpability — the mix moves through the hose and nozzle at the right flow rate without segregating or blocking.
- Printability — the deposited bead holds its shape and the layers below it, with a consistent width and height.
- Buildability — the growing structure stands up under its own weight and under the weight of the layers going on top of it.
- Open time — the window during which the material can still be placed and bonded before it stiffens past use.
These four pull against each other. More open time helps the crew handle stoppages and does less to fight shrinkage; less open time gets the wall up fast and raises the penalty for a pause in the middle of a wall.
How 3D Printed House Walls Are Designed
The design stage is where printed buildings diverge most from conventional ones, and the design-and-slice handoff is exactly where printed projects get into trouble.
Someone models the building in CAD, usually with the structural geometry and the wall thickness defined as data rather than drawn by hand. A slicer then converts that solid into printable geometry. The common approach is constant-thickness slicing, where each layer is a contour of the wall plus an internal infill pattern. A newer method, tangential continuity, generates a path that keeps the nozzle in constant contact with the growing surface, which suits geometries the contour method handles badly.
Those layers become a toolpath: where the printhead travels, how fast, and how much material flows per second. Flow and travel speed have to match, and where they do not match you get either a sagging bead or a torn one.
Designers then work around real limits. Overhangs are expensive because material droops off anything it cannot sit on, so window and door openings usually get chamfered or angled rather than cut square after the fact. Utilities get resolved as channels and voids in the wall geometry while the model is still editable, because chasing a penetration with a hole saw through a cured wall is a different job. Wall thickness, corner details and the connection back to the foundation slab are all set for the process, not adapted after it.
This is the trap: handing an architectural team a conventional set of drawings and asking them to print it. A plan that works as a stud wall rarely works as an extruded wall, and the adaptation has to happen in the model.
What Is the 3D Printing Process for a House?
Here is the sequence as it runs, from the first drawing to the point where the shell is handed over to the rest of the trades.
1. Architectural and structural design
- Building modelled in CAD as geometry with a defined wall thickness
- Structural engineer sizes the shell and fixes the reinforcement strategy
2. Slicing the model into machine instructions
- Constant-thickness or tangential-continuity path generation
- Toolpath exports with travel speed and volumetric flow per segment
3. Site preparation and foundation
- Ground levelled, conventional concrete slab or strip foundation poured
- Surface tolerance checked, because unevenness at the base carries up through every layer
4. Printer setup, calibration and a test print
- Gantry set on rails or arm positioned and levelled
- Slugs test, flow calibration and a small coupon printed before real work starts
5. Batching and testing the printable mix
- Sand, cement and aggregate batched on site to the tested recipe
- Slump and flow verified per batch before it goes into the machine
6. Printing the wall system
- Nozzle tracks the programmed path, depositing one continuous bead per pass
- Layer height and width set by the nozzle; QA pauses to check the build against the model
7. Post-processing, services, roof and finishes
- Curing or environmental protection, then surface preparation and any waterproofing
- Roof, windows, doors, insulation, MEP, plaster and finishes completed conventionally
What a print day actually looks like
Nobody films the unglamorous part. Before a wall goes down there is a calibration print to confirm the flow, a test to confirm the material delivers through the hose without blocking, and a check of weather and temperature, because a quick-setting mix behaves very differently in a cold morning than at midday in summer. Then the crew prints, watches bead consistency, pauses when a line or a dimension drifts, and resumes. The first layer is the one everybody watches, since every tolerance error above it compounds.
Print hours and total build time are not the same number, and conflating them is the most repeated distortion in this topic. COBOD’s Guatemala project is a clean example: a 49 square metre house with walls printed to three metres took 26 printing hours spread across seven days. Vertico puts a realistic total build time for a comparable home at two to six weeks once foundation, curing, roof, services and finishes are counted.
| Stage | Typical duration | Who does the work |
|---|---|---|
| Design, engineering, slicing and approvals | Longest single phase, often longer than the print | Design team, structural engineer, permitting authority |
| Site prep, foundation and printer setup | Days to a couple of weeks | General contractor, concrete crew |
| Calibration and mix testing | A day or two, repeatable per mix change | Printer crew and materials engineer |
| Printing the wall shell | Dozens of hours, spread over a week or more with stops | Printer crew, usually in short shifts |
| Curing and surface preparation | Days, and weather-dependent | Concrete crew |
| Roof, envelope, services and finishes | Weeks | Conventional trades |
There is a second delivery model worth knowing about. Some firms print wall panels in a factory and crane them onto a prepared foundation, which is how projects such as Wolf Ranch and a Riverhead, New York house were delivered. The printed result looks the same, but the working conditions, the weather exposure and the transport constraints are completely different, and the two models are routinely described with the same words.
How 3D Printed Houses Are Reinforced and Finished
The first question anyone asks is the rebar question, and it deserves a straight answer rather than a reassurance.
Many printed walls genuinely do not contain conventional rebar. The reason is mechanical and geometric at once: a printed wall is a continuous, curved or chamfered section with a fixed thickness, and steel bars running through it would have to pass through a nozzle that is laying material a few millimetres thick. A long, thin, slightly curved wall is a good compression member, and the curves and thickness changes at openings are deliberate features rather than printing artefacts. That is the design argument, and for a single-storey house it holds up.
It is a design decision, not a property of the machine. Once a wall gets tall, gets openings close together, or has to resist substantial lateral load in a seismic zone, plain geometry stops being enough and reinforcement comes back in. A structural engineer quoted by Vertico put it plainly: the idea that reinforcement is never needed is a myth, and the best projects integrate both.
| Reinforcement approach | What it is | When it is used |
|---|---|---|
| Geometry only | No steel; strength from wall shape, thickness and curvature | Low, small, single-storey buildings in low-seismic areas |
| Vertical cages | Steel bars placed in ducts or pockets and grouted after printing | Taller walls, openings, lateral load paths |
| Horizontal reinforcement | Bars in bed joints between printed courses | Long walls, bond and crack control |
| Fibre reinforcement | Steel or synthetic fibres in the mix itself | Toughness and crack distribution, not primary tensile steel |
| Pre- or post-tensioning | Tendons tensioned through the wall | Large spans and floors, multi-storey work |
| Hybrid construction | Printed shell combined with conventional concrete, steel or timber elements | Most current real projects, including whole floors and roofs |
On seismic performance, the strongest published data point comes from COBOD’s Guatemala project, where the three-metre printed walls of a 49 square metre home were rated for 9.0-magnitude earthquake conditions. Treat that as the company’s own claim, which is how every performance claim in this field should be read. The regulatory side is thinner but real: the COBOD Building on Demand project was the first printed building in Europe to go through a full permit and municipal approval process, and the XtreeE project in Reims worked under a CSTB ATEx technical approval. Readers on r/StructuralEngineering and r/3Dprinting have largely converged on the same answer, which is that it comes down to scale. The rebar question matters far more for larger buildings than for a single-storey home.
Once the shell is up, the sequence looks much more familiar than the printing did.
- Curing and protection. Environmental curing matters more than most people expect. Research published in 2025 found that poor curing conditions can cost a printed wall up to roughly 30 percent of its strength.
- Surface preparation and waterproofing. The bead texture is ground or filled, then the wall is sealed and waterproofed by conventional methods.
- Insulation. Added externally, internally or as a cavity, with attention to thermal bridging at the printed nodes.
- Connections and roof. The roof is conventionally framed or cast and tied into the printed walls, which is where hybrid construction usually shows up first.
- Openings and services. Windows, doors, exterior insulation, plumbing, electrical and mechanical runs installed by normal trades.
- Finishes and inspection. Plaster, render or lining, then the code inspections that treat this as a concrete structure with non-standard reinforcement.
How 3D Printed Houses Are Built: Core Workflow
Model the building, engineer the structure, prepare the site and foundation, calibrate the machine and test the mix, print the wall paths layer by layer, cure and protect the shell, install the reinforcement the design calls for, fit the roof, services and openings, inspect, then finish.
What Are the Advantages and Limitations of 3D Printed Houses?
The advantages are real but narrower than the marketing usually suggests.
- No formwork. The wall supports itself as it is built, so the timber or steel shuttering a conventional pour needs is gone.
- Less material waste. Wikipedia’s lifecycle figures put a printed structure at 608.55 kg CO2e global warming potential against 1154.20 kg for the equivalent conventional build, with a reported 78 percent capital cost reduction.
- Design freedom. Curved walls, integrated service channels and geometry that formwork cannot economically make.
- Faster shell construction. The wall stands in days rather than the weeks a stick or block wall takes.
- Less labour on the shell. A small crew runs the machine, which matters most where labour is scarce or expensive.
The limitations are just as real, and a fair number of them sit outside the printing itself.
- Code approval. Most jurisdictions have no prescriptive path for a printed wall system, so every project effectively becomes a case-by-case engineering approval. That is slow and expensive.
- Equipment size. A gantry printer needs level ground and a clear footprint. A single misaligned base throws off the first layer and every layer above it.
- Material consistency. The mix depends on local sand and aggregate, so a recipe tested in one region is not automatically valid in another.
- Curing environment. Wind, temperature and humidity all affect the print and the strength that follows it.
- Overhangs and openings. The process resists cantilevers and large unsupported spans, which is a design constraint before it is a machine one.
- Multi-storey limits. Going above a single storey brings floors, vertical reinforcement and conventional structure back into the project.
- Repairs and resale. Modifying a printed wall later is harder than opening a stud wall, and that shows up in insurance and resale conversations.
Cracking, durability and the sustainability claim
Cracking in a printed wall comes from three mechanisms, and understanding them is more useful than asking whether it is normal. Drying shrinkage stresses the wall as the mix loses water, thermal cycling moves the outer surface relative to the core, and the bond interface between layers is the weakest plane in the section. All three are managed by mix design, layer geometry, curing and reinforcement, which is why the same wall can perform very well or very badly.
On lifespan, the honest position is that a printed wall is a concrete wall. With proper curing and reinforcement, concrete is one of the more durable building materials in use, and printed structures are designed to the same durability concepts. The evidence base is young, though, and long-term field data covers a small number of completed buildings.
On sustainability, the CO2e comparison above is real and comes from published lifecycle work. The pushback is also real: a widely shared Medium piece argued that rapid-set mixes used in Portland are only marginally greener than conventional concrete, and the high cement content of many printable mixes is the reason. The waste saving is unambiguous; the carbon story depends on the mix.
How to check whether a marketed printed home was really printed
Buyers keep raising the same worry, and the recurring one is why so few people seem to live in the houses that get filmed. A few things to look for. On-site printed walls usually show a continuous bead pattern running right up to the base slab, including around corners, with the layer lines carrying around openings. Factory-printed panels usually show flat panel edges, visible joints and lifting points. Ask for the print schedule and the machine bill, and compare the claimed print hours against the construction timeline. Request the structural engineer’s reinforcement details and the permit file. If a home is genuinely on-site printed, those documents are easy to produce.
There is no single cost figure worth quoting for a 3D printed house, and any number without a scope label is a headline rather than a budget. Vendors publish complete-home bands, shell-only figures and per-square-metre rates in the same article, and the gap between them is the entire story. The variables that actually move cost are reinforcement strategy, wall thickness and geometry, code approval time, how much of the fit-out is conventional, and whether the design was adapted for printing or copied from a conventional set of drawings.
Frequently Asked Questions
How does 3D concrete printing work?
A 3D building is modelled in CAD, and slicing software converts the model into a toolpath that controls the printhead’s route, speed and material flow. After a conventional concrete foundation is poured and levelled, a pump pushes a fast-hardening, self-compacting mix through a hose and nozzle, depositing one continuous bead after another along the programmed wall paths until the wall shell reaches full height. Each layer bonds to the one beneath it, and the geometry itself supports the structure as it rises.
What are 3D printed houses made of?
Almost all full-scale printed houses use a cementitious mix based on Portland cement, sand, water and sometimes a small amount of coarse aggregate, tuned to be pumpable through a small nozzle and strong enough to hold its shape between layers. Some projects use quick-setting or geopolymer blends, and experimental buildings have been printed in local soil with rice-husk fibre or in wood-fibre and gypsum panels. The dry materials are batched on site and mixed with water just before printing.
Do 3D printed houses have rebar?
Some do and some do not, and the decision belongs to the structural engineer, not the machine. A single-storey house can often rely on wall geometry, thickness and curvature alone, which is why printed walls are shaped with chamfers and curved returns. Taller buildings, large openings and seismic zones need reinforcement back, delivered as vertical cages, horizontal bars, fibre reinforcement, post-tensioning or a hybrid of printed and conventional structure.
Is it normal for 3D printed houses to crack?
Some cracking is expected in any concrete structure, and printed walls have specific weak points: drying shrinkage, thermal cycling, and the bond interface between layers. None of these is automatic, because mix design, layer geometry, curing and reinforcement all manage them. Poor environmental curing is the most cited culprit, with 2025 research reporting strength losses of up to roughly 30 percent. A qualified engineer should be able to explain what was done about cracking on your specific build.
How long does it take to build a 3D printed house?
The wall shell is genuinely quick. COBOD printed the three-metre walls of a 49 square metre house in 26 printing hours spread across seven days, and vendors regularly quote total build times of two to six weeks. That figure excludes design, engineering, permits, foundation, curing, roof, services and finishes, all of which are conventional work. The honest answer is that printing compresses the shell, not the whole house.
What is the downside of a 3D printed house?
The main downsides sit outside the printing. Most jurisdictions have no prescriptive code path, so each project needs individual engineering approval, which adds time and cost. Printed walls resist overhangs and unsupported spans, which limits design freedom in practice. The mix depends on local sand and aggregate, curing depends on weather, and modifying a cured printed wall later is harder than opening a stud wall. Claims of speed and cost usually describe the shell only.
Conclusion
So, how 3D printed houses are built: a digital model becomes a toolpath, a tested fast-hardening mix is extruded in layers over a conventional foundation, the wall shell cures, reinforcement is added where the engineering calls for it, and every other trade finishes the building normally.
If you are evaluating a specific printed home, look at the structural design and reinforcement details first, then the mix testing records, then the permit and code approvals, then the completed envelope performance. Printing speed is the least informative number on the list.