Over-extrusion is usually a settings problem, not a broken machine. To fix over extrusion quickly, work through four checks in order: confirm the symptom, drop the slicer flow setting by 5%, verify the filament diameter, then inspect the nozzle and filament path. Most prints go back to normal inside ten minutes, with no parts replaced.
That order matters. People often change three settings at once, the part looks slightly better, and nobody knows which change did it. I have made that mistake plenty, and the fix is always the same: one variable, one test print, one small change.
Table of Contents
- What You Need
- Step-by-Step: How to Fix Over Extrusion Quickly
- Step 1: Confirm the Symptom Before Changing Anything
- Step 2: How to Fix Over Extrusion in the Slicer Flow Settings
- Step 3: Verify Filament Temperature and Calibration
- Step 4: Inspect the Filament Path and Nozzle
- Step 5: Retest and Save the Corrected Profile
- Common Mistakes
- Frequently Asked Questions
- Can I fix over extrusion in the slicer without changing my printer?
- How much should I reduce the extrusion multiplier for over extrusion?
- Does lowering the nozzle temperature fix over extrusion?
- How can I tell the difference between over extrusion and stringing?
- Should I replace the nozzle if the walls are too thick?
- Why does my first layer look correct but later layers have too much plastic?
- Conclusion
What You Need
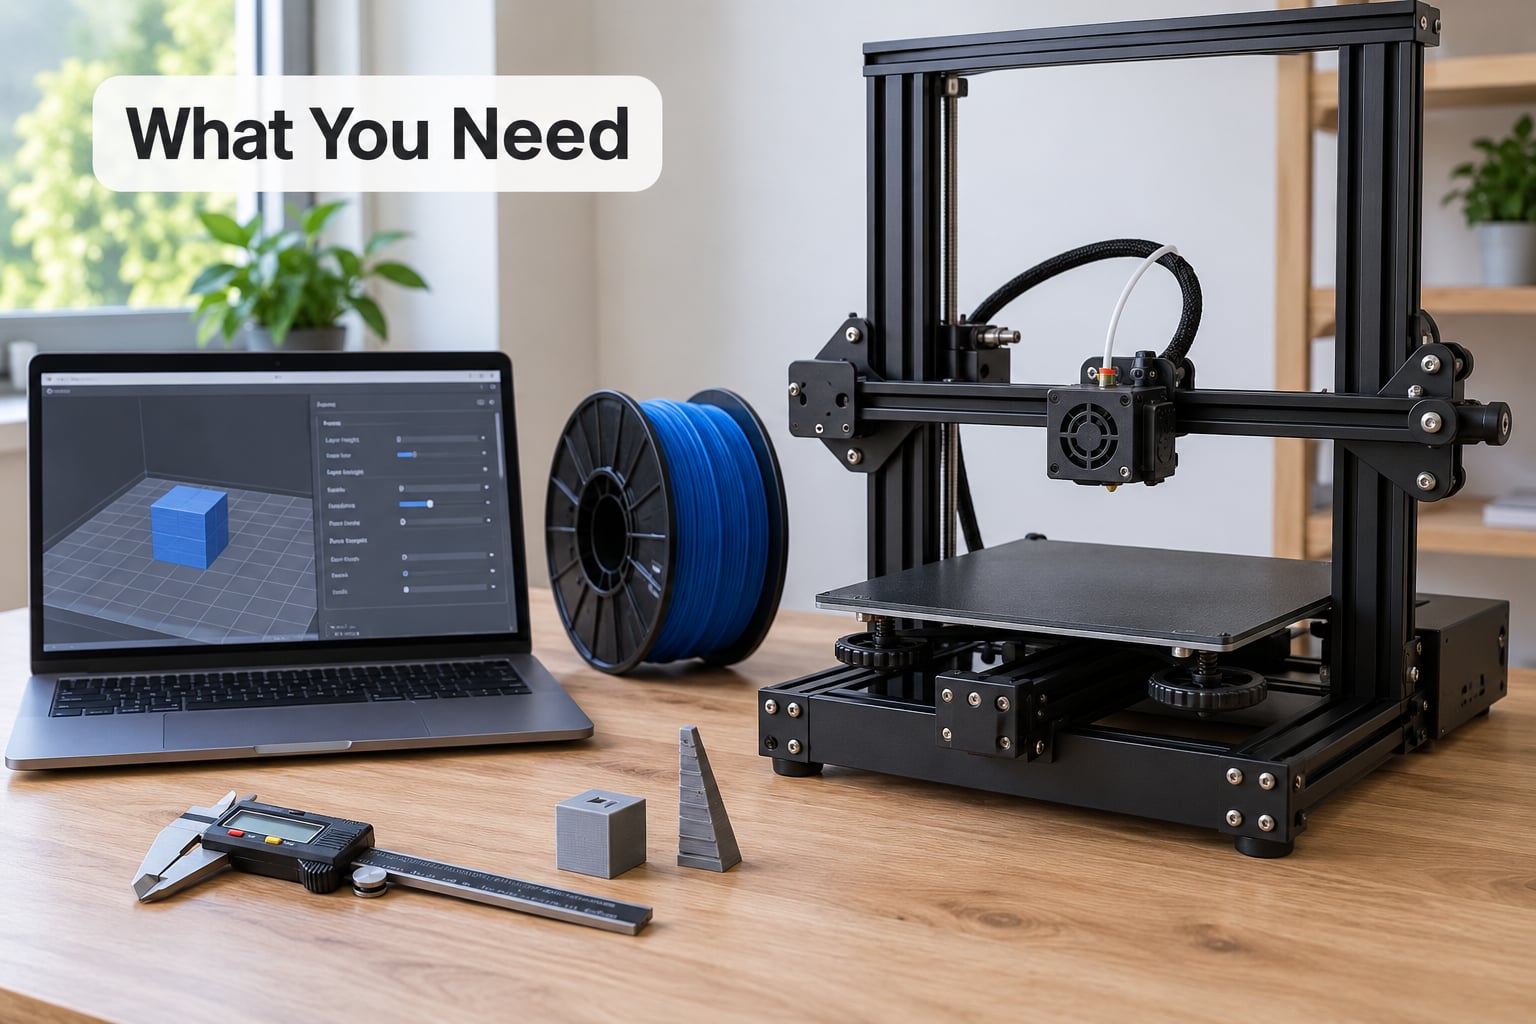
You do not need a parts kit for this. Almost every cause is caught with software plus a caliper.
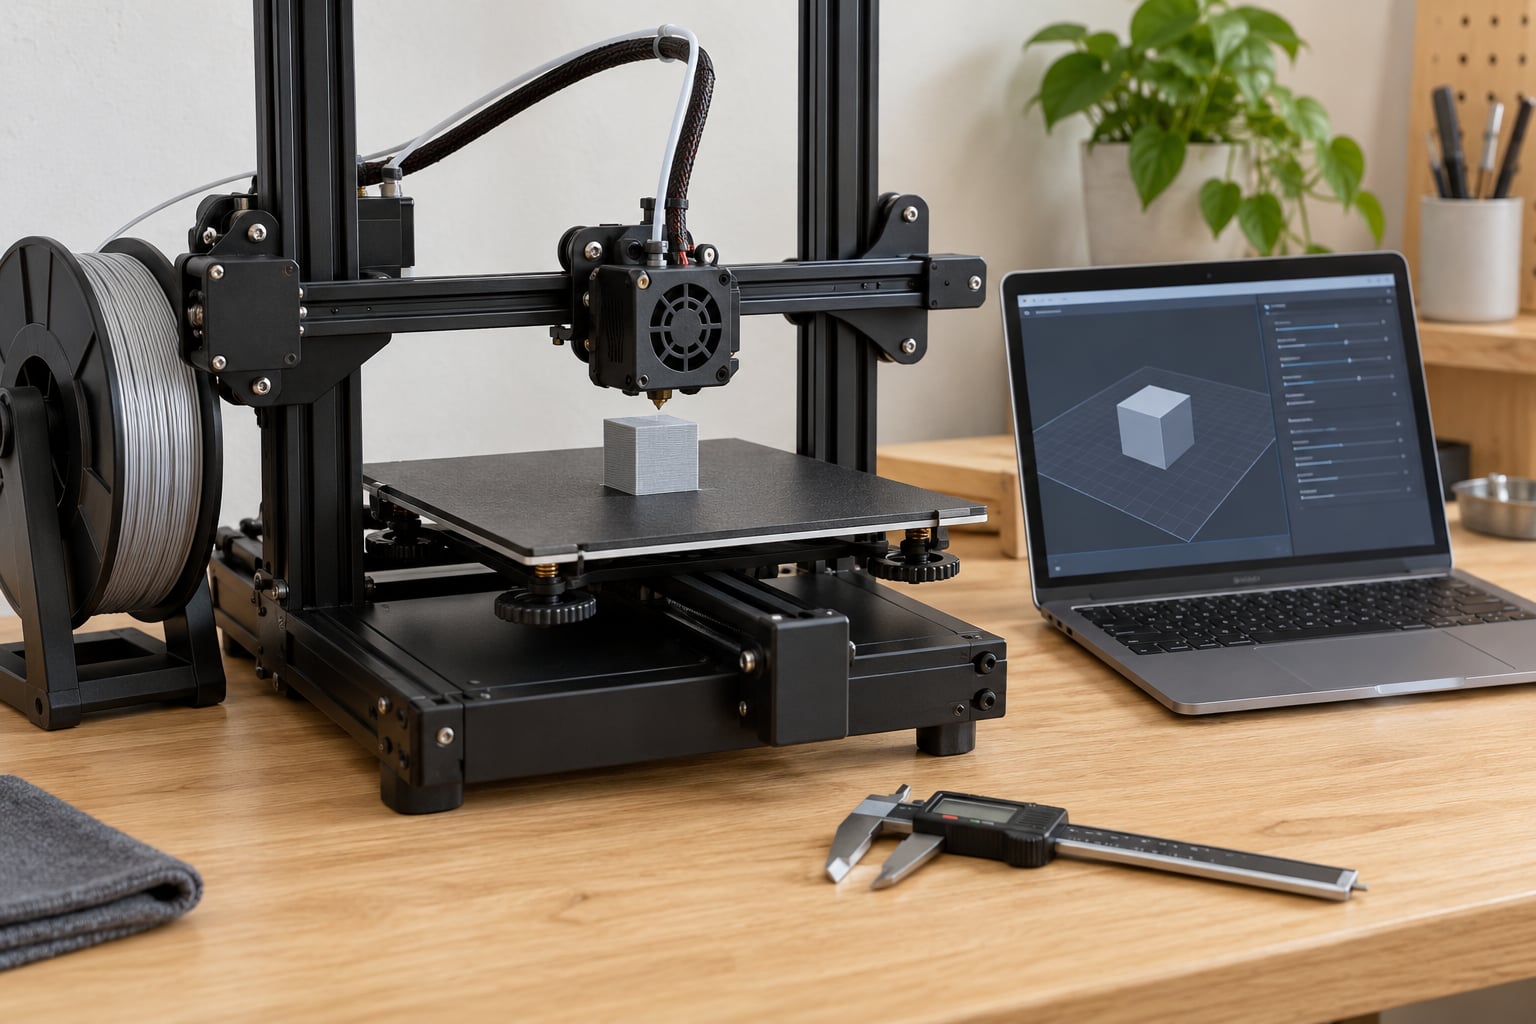
- A caliper. Digital is easiest, but a manual caliper marked in 0.1 mm increments works fine. You are measuring filament, not parts.
- Your slicer. PrusaSlicer, OrcaSlicer, Bambu Studio and Cura all expose the same flow control under different names.
- The filament spool. Check the diameter printed on the label, usually 1.75 mm or 2.85 mm.
- A clean build plate. Glass or textured PEI sheet, cleaned with dish soap and water and dried fully.
- A small test model. A single-wall cube or a 20 mm calibration cube prints in a few minutes and shows the problem clearly.
- Access to the printer menu or terminal. For e-steps and rotation distance you need the printer console, not just the slicer.
If you cannot tell whether the problem is flow or Z-height, start with a first-layer test. A squashed first layer is often a nozzle too close to the bed, and no flow change will fix it.
Step-by-Step: How to Fix Over Extrusion Quickly
Step 1: Confirm the Symptom Before Changing Anything
Stop the print first. There is no point finishing 200 layers of a part you already know is wrong. Pause and inspect what is on the plate.
Over-extrusion looks like thick walls, a bumpy or lumpy top surface, bulging corners, a blob at the start of a line, or a first layer that spreads flat like it has been smeared. Layers that measure more than the design width are the giveaway. If you set a 0.4 mm line width and the wall measures 0.48 mm on your calipers, that is flow, not a dirty plate.
Now rule out lookalikes:
- Under-extrusion shows gaps between infill lines, holes in top surfaces, and thin, weak walls. You see daylight through the part.
- Stringing is thin hairs between points that should be in mid-air, like between legs of a mini. The surfaces themselves are correct. Users on r/3Dprinting constantly chase stringing by dropping flow, which fixes nothing and leaves the real cause (retraction, temperature, or ooze) untouched.
- Warping lifts corners off the bed. It is a temperature and bed-adhesion problem, not a volume problem.
- A dirty or uneven plate causes first-layer ripples that later layers partly cover.
If the surface texture is right but the measurements are wrong, keep going. That is true flow error.
Step 2: How to Fix Over Extrusion in the Slicer Flow Settings
This is the fastest real fix and where most cases end. In PrusaSlicer and OrcaSlicer it is the Flow Rate slider in Calibration. In Cura it is Material Flow Percentage under Printer Settings. In Bambu Studio it is the flow ratio on the filament profile.
Lower it by 5% and reprint the same test model. That is a deliberate starting point rather than a magic number. If the walls were 8% too thick, a 5% cut will not finish the job, but it will confirm the direction and leave you one more step to go.
Change one setting at a time. If you move flow rate and temperature in the same print, you learn nothing from the result. Over-extrusion 3D printing faults usually respond to flow within one or two iterations, which is why learning how to fix over extrusion quickly starts in the slicer rather than on the printer.
While you are in the slicer, check filament diameter is set to match the label. If the profile assumes 1.75 mm and your spool says 2.85 mm, every calculation downstream is wrong. Then confirm line width and layer height are sane: with a 0.4 mm nozzle, a 0.4 mm line width at 0.2 mm layer height is the common baseline. A line width wider than your nozzle can produce genuinely uneven flow, because the nozzle has to stretch plastic sideways.
Step 3: Verify Filament Temperature and Calibration
Hot plastic flows. If your nozzle temperature sits above what the filament needs, the same commanded length of filament leaves the nozzle as a longer, thinner, runnier line, and your walls read thicker because the material spreads.
Compare your slicer profile against the manufacturer range. PLA commonly prints around 190 to 220 C, PETG around 230 to 250 C, ABS and ASA around 240 to 260 C. TPU behaves differently and usually wants a slower feed rate rather than a temperature drop. Use the spool, not a forum post, as the reference.
Three practical checks here:
- Drop the nozzle temperature 5 C at a time, never 20 C at once. Too large a change causes layer splitting, which people then misread as under-extrusion.
- Confirm bed temperature. A cold bed slows the first layer and makes the plastic sit longer, which can look like extra material squeezed sideways.
- Watch for drift. A heater block that has loosened, a failing thermistor, or a clogged nozzle that never reaches temperature all push more or less plastic through the same command.
A temperature tower settles the question faster than guessing. Print a tower with each 5 C step from low to high and see which section has the cleanest corners and the truest dimensions. Use that temperature as your new baseline.
Step 4: Inspect the Filament Path and Nozzle
If flow and temperature changes do nothing, you are looking at hardware. Work from the spool down to the tip.
- Spool and supports. Free the filament so it can unwind without dragging. A tangled or loosely wound spool stalls and then releases in a burst.
- Feeder gears. Look for shiny, flat, or chewed filament at the gear teeth. That is grinding, and it usually shows up as erratic, sometimes excessive flow on random layers.
- PTFE tube or Bowden path. Check for a kink, a tight bend, or filament that has been cut by the tube over time. Users on forum.prusa3d.com have traced random layer bulges to a frayed PTFE inner surface.
- Hotend throat. Cold pull or heat creep leaves a whitish plug around the cold side of the heater block. Remove it, clean the throat, and refit the nozzle while the block is warm.
- Nozzle tip. Hold a fingertip near it, never on it, while the printer extrudes. A sharp, consistent stream means clear. A sputtering or split stream means partial clog. Run the nozzle cleaning needle through the tip, then do a purge line.
On a direct drive extruder, retraction is normally short, around 1 to 2 mm. On a Bowden setup it is closer to 3 to 7 mm. Setting a Bowden value on a direct drive machine grinds the filament inside the drive gears, and the resulting uneven feed often reads as over-extrusion.
For machines running Klipper, the equivalent of e-steps is rotation distance in printer.cfg. For Marlin firmware it is the E value set with M92 and saved with M500. The same logic applies in both cases: tell the firmware how many millimetres of filament it should push when it thinks it is pushing a millimetre.
Step 5: Retest and Save the Corrected Profile
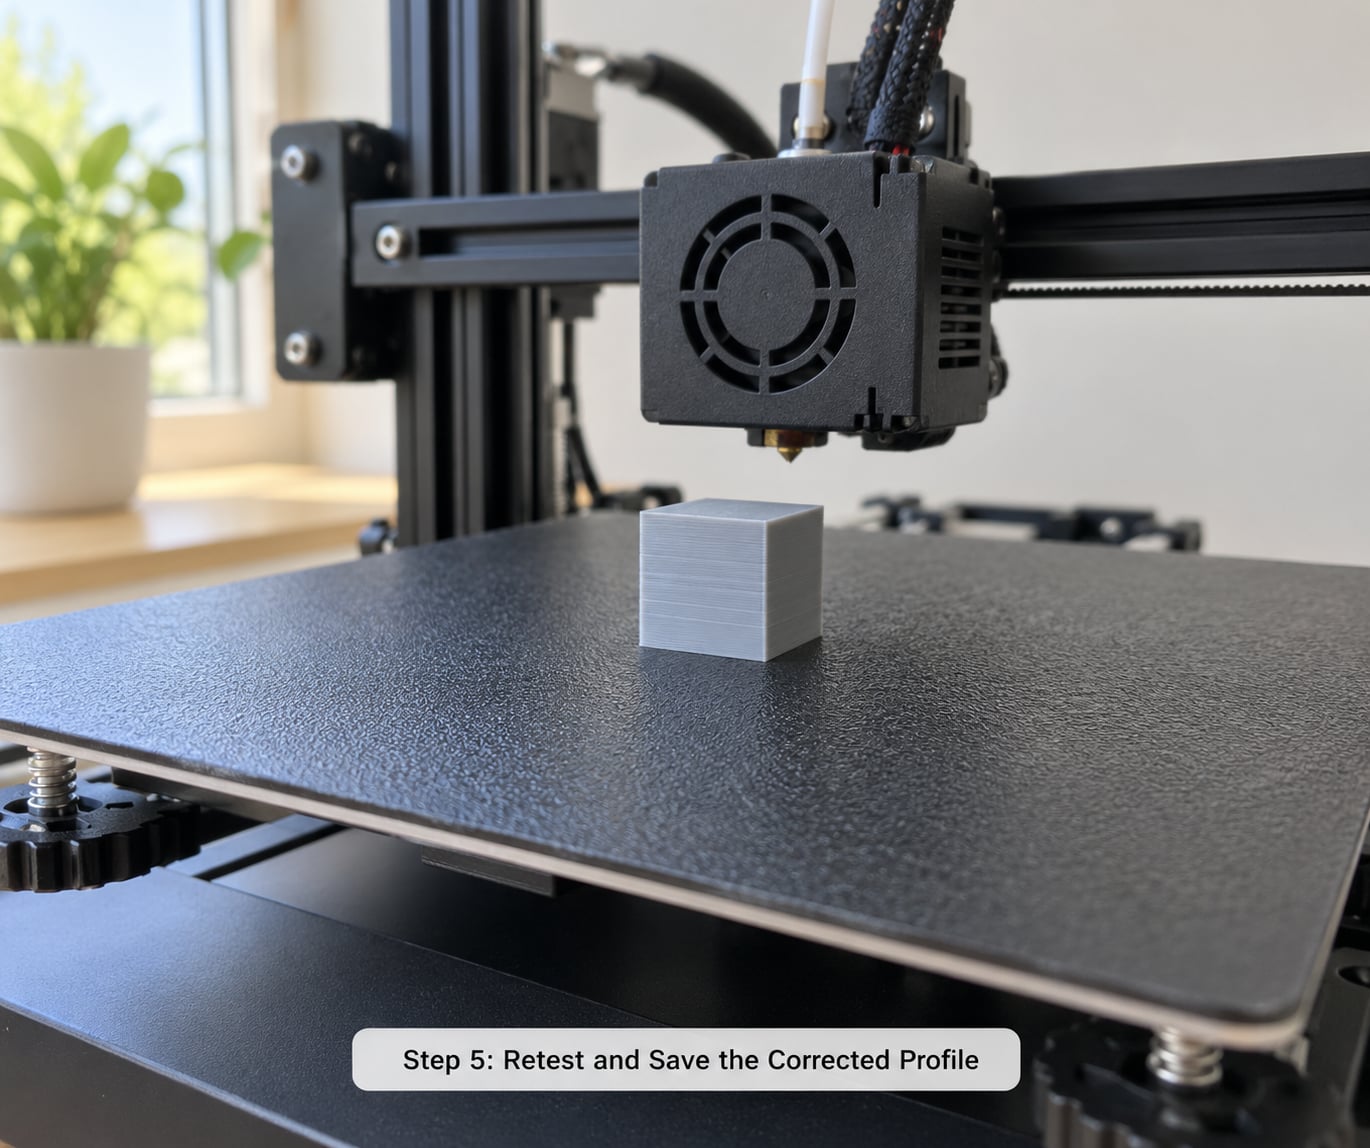
Run a single-wall cube or the small model you sliced earlier. Single wall is better than a solid calibration cube here because it gives you one continuous extrusion you can measure directly, which is what the single wall test is for.
Measure the wall with calipers. Compare to the line width you set. Two or three percent off is normal; most people leave it there because further gains need the machine tuned too far for the gain to matter.
Then save the settings as a named profile with the filament brand and nozzle size in the name. That one habit saves you the whole diagnostic next time you change spools, and it means you always have a known-good profile to fall back to.
If the correction overshoots into under-extrusion, back the flow rate up by the same amount you lowered it. You have found the value between too much and too little. Do the same with temperature: split the difference, print once more, and stop when the surfaces are right.
Common Mistakes
Almost every over-extrusion job that drags on for hours has one of these six causes underneath it.
Dropping flow by 20% on the first try. You will fix the symptom and create a new problem. Change it by 5% and read the result.
Adjusting the slicer and the temperature in the same print. This is the big time-waster. You cannot attribute the outcome to either change, so you learn nothing and repeat the process.
Treating stringing as over-extrusion. Stringing is ooze and retraction, not volume. Lowering flow for stringing makes parts thinner without removing a single hair.
Skipping the filament diameter check. If the profile and the spool disagree, every number downstream is off. Confirming the diameter takes ten seconds and rules out a whole branch of causes.
Running a line width wider than the nozzle can lay cleanly. A 0.4 mm nozzle asked to lay a 0.7 mm line produces stretched plastic and inconsistent flow. Bring the width in line with the nozzle.
Expecting a software fix to clear a blockage. If the filament path is clogged, ground, or the tip is damaged, no flow setting helps. Clean the path or replace the nozzle, then recalibrate.
Changing the filament diameter in the slicer to make a number look right. The real diameter is a physical property of the spool. Measure it if you doubt the label.
Frequently Asked Questions
Can I fix over extrusion in the slicer without changing my printer?
Most cases, yes. Roughly the majority of over-extrusion comes down to flow rate, filament diameter, line width or temperature, all of which live in the slicer profile. Lower the flow rate by 5%, confirm the diameter matches the spool label, and print a test model. If those changes move the result, the hardware was never at fault. Only go deeper into e-steps or the nozzle when the slicer changes do nothing.
How much should I reduce the extrusion multiplier for over extrusion?
Start at 5% and measure. Take the wall thickness from the part, compare it to your target line width, and divide the difference by the target to get your percentage error. A wall at 0.44 mm against a 0.40 mm target is 10% high, so drop flow by about 10%. Going in small steps keeps you from undershooting into gaps in the infill.
Does lowering the nozzle temperature fix over extrusion?
Sometimes. Hotter filament has lower viscosity and spreads more when it leaves the nozzle, so dropping temperature 5 C at a time can clean up lumpy top surfaces and bulging corners. It will not fix over-extrusion caused by flow settings or a damaged feed path, so treat temperature as the second adjustment after flow rate, not the first. Stay inside the manufacturer range for your filament.
How can I tell the difference between over extrusion and stringing?
Over-extrusion changes the surface and the dimensions: walls are thick, tops are bumpy, corners bulge, and the part measures larger than designed. Stringing leaves surfaces and dimensions correct and adds thin hairs of plastic between points that should be floating in air. If a caliper says your wall is oversized, it is flow. If the wall is the right size and there are hairs, it is retraction, temperature or ooze.
Should I replace the nozzle if the walls are too thick?
Not first. Walls come out thick far more often because of flow rate, filament diameter or temperature. Replace the nozzle only when the flow is verified correct and the stream still splitters or the tip shows wear on the opening. If you do replace it, recheck the filament path for cold pull and rerun your e-steps or rotation distance, because the new tip will not extrude identically to the worn one.
Why does my first layer look correct but later layers have too much plastic?
The nozzle is usually too close to the bed on that first layer, hiding the extra flow, or heat creep is plugging the cold side of the hotend partway into the print. Check Z-offset first by watching the first line, then inspect the heater block and throat for a plug after several hours of printing. Flow rate problems usually show up on every layer, so a late or random onset points at hardware or heat creep.
Conclusion
Start here: stop the print, drop the slicer flow rate 5%, and run a single-wall cube. Measure the wall before and after so you have a real number instead of an impression. If nothing changes, check the filament diameter on the spool, then walk the filament path from spool to nozzle tip.
That is the whole routine for how to fix over extrusion quickly: one setting, one test print, one measurement, repeated until the numbers land. Save the working settings under a named profile. The next spool will over-extrude at some point, and you will have answered the question in five minutes instead of an evening.