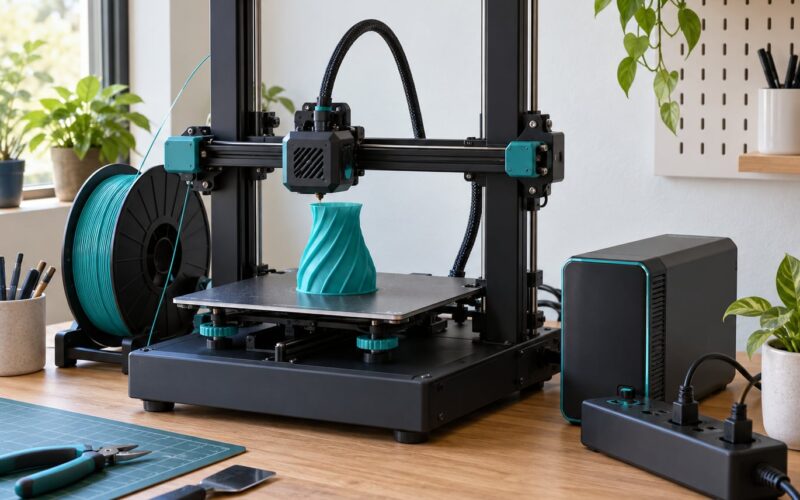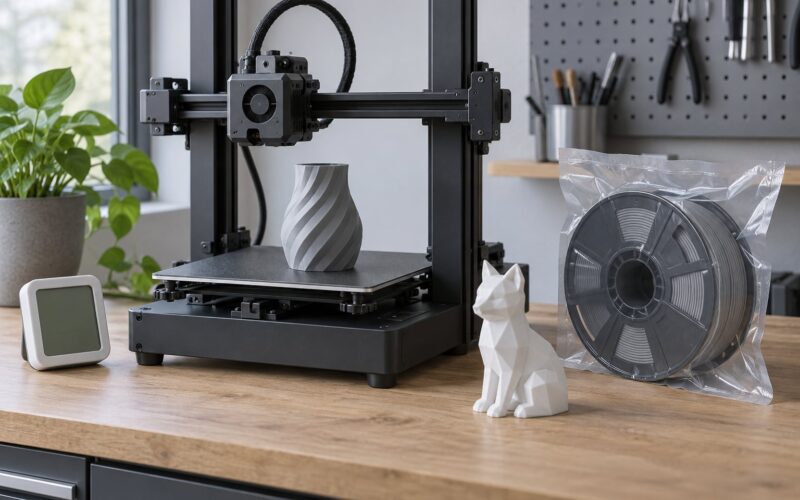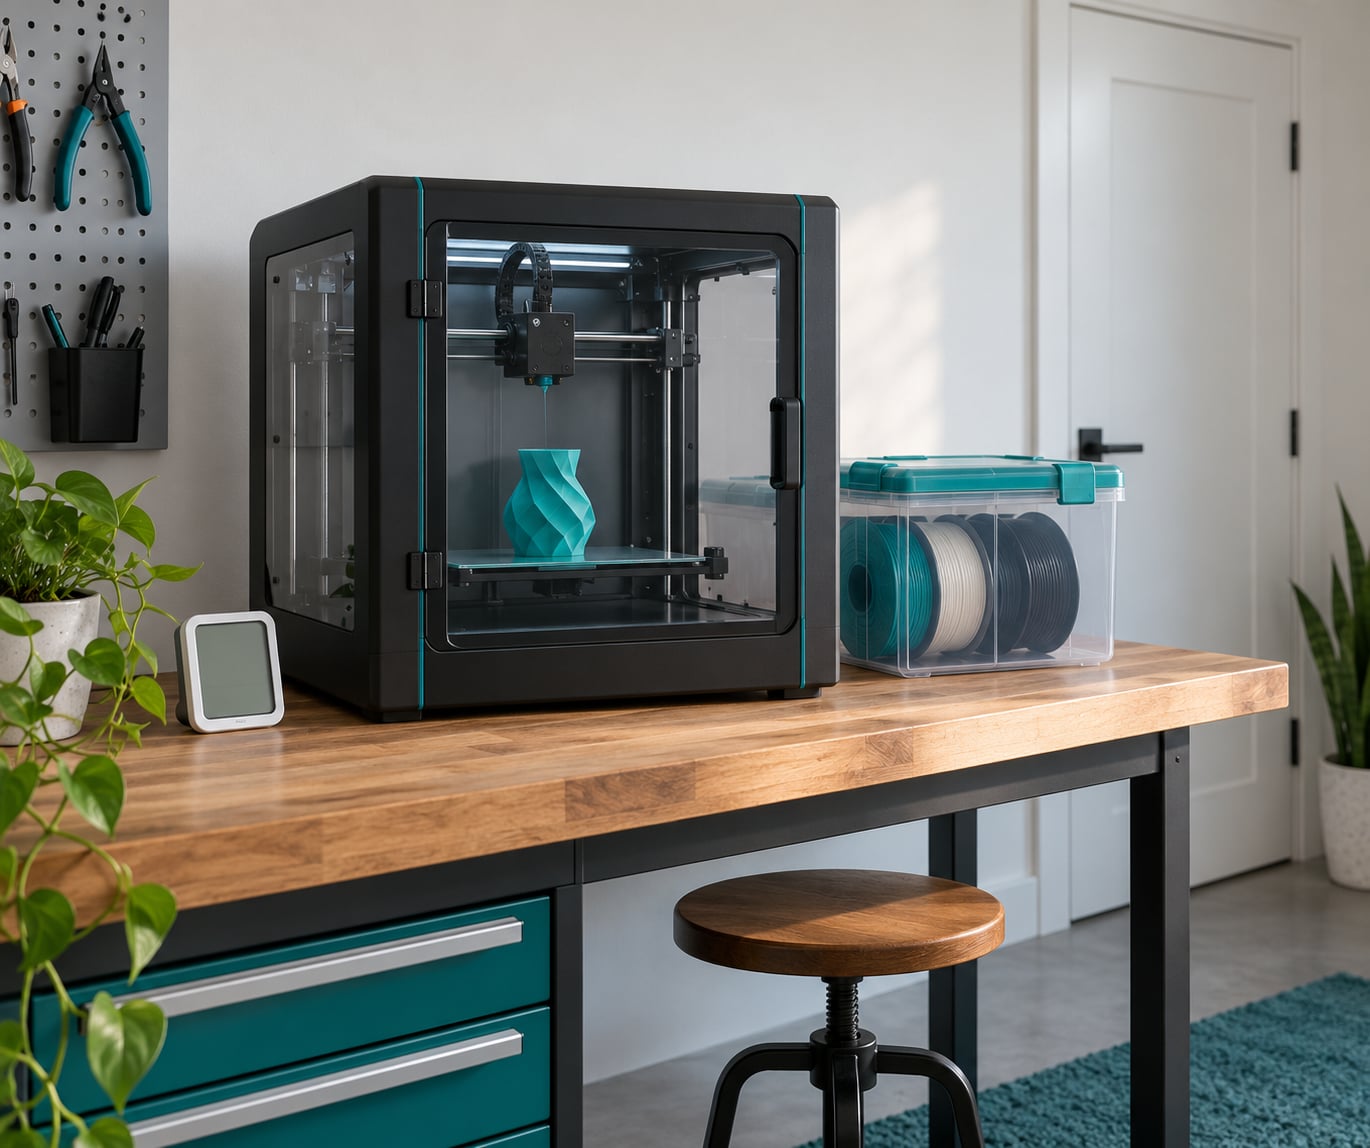
Good 3D printing happens in a room that holds steady around 65-75°F (18-24°C) and 30-50% relative humidity, with no drafts, minimal dust, and a surface that does not wobble. Stability matters more than hitting an exact number, because most failed prints trace back to a room that changed while the machine was running.
Best room conditions for 3D printing explained, in short: control temperature swings, keep humidity moderate, move air without creating drafts, keep particles out, and give the machine a solid base. Below I break down each factor and show how to check your own space.
Table of Contents
- Best Room Conditions for 3D Printing Explained: Quick Guide
- What Temperature Should a 3D Printing Room Be?
- Why consistency beats an exact number
- Room temperature is not nozzle temperature
- Warning signs that your room is swinging
- What Humidity Level Is Best for 3D Printing?
- When a dehumidifier or humidifier is worth it
- How Much Airflow and Ventilation Does a Printer Room Need?
- Circulation versus draft control
- How Do Dust and Particles Affect Print Quality?
- Practical measures
- Why Does Floor Vibration or an Unstable Bench Matter?
- What to look for
- Do Different 3D Printing Technologies Need Different Rooms?
- How to Prepare and Test Your Printing Space
- 1. Measure where the machine actually sits
- 2. Check the surface and clear the traffic path
- 3. Tune the room
- 4. Set the machine to your conditions
- 5. Run a calibration print, then a test print
- 6. Use symptoms to find the environmental cause
- Frequently Asked Questions
- Do I need a separate room to 3D print?
- Is an enclosed 3D printer better for stable room conditions?
- Does air conditioning make 3D printing more reliable?
- Can I safely use a 3D printer in a garage or shed?
- What room humidity is best for PLA and ABS filament?
- Conclusion
Best Room Conditions for 3D Printing Explained: Quick Guide
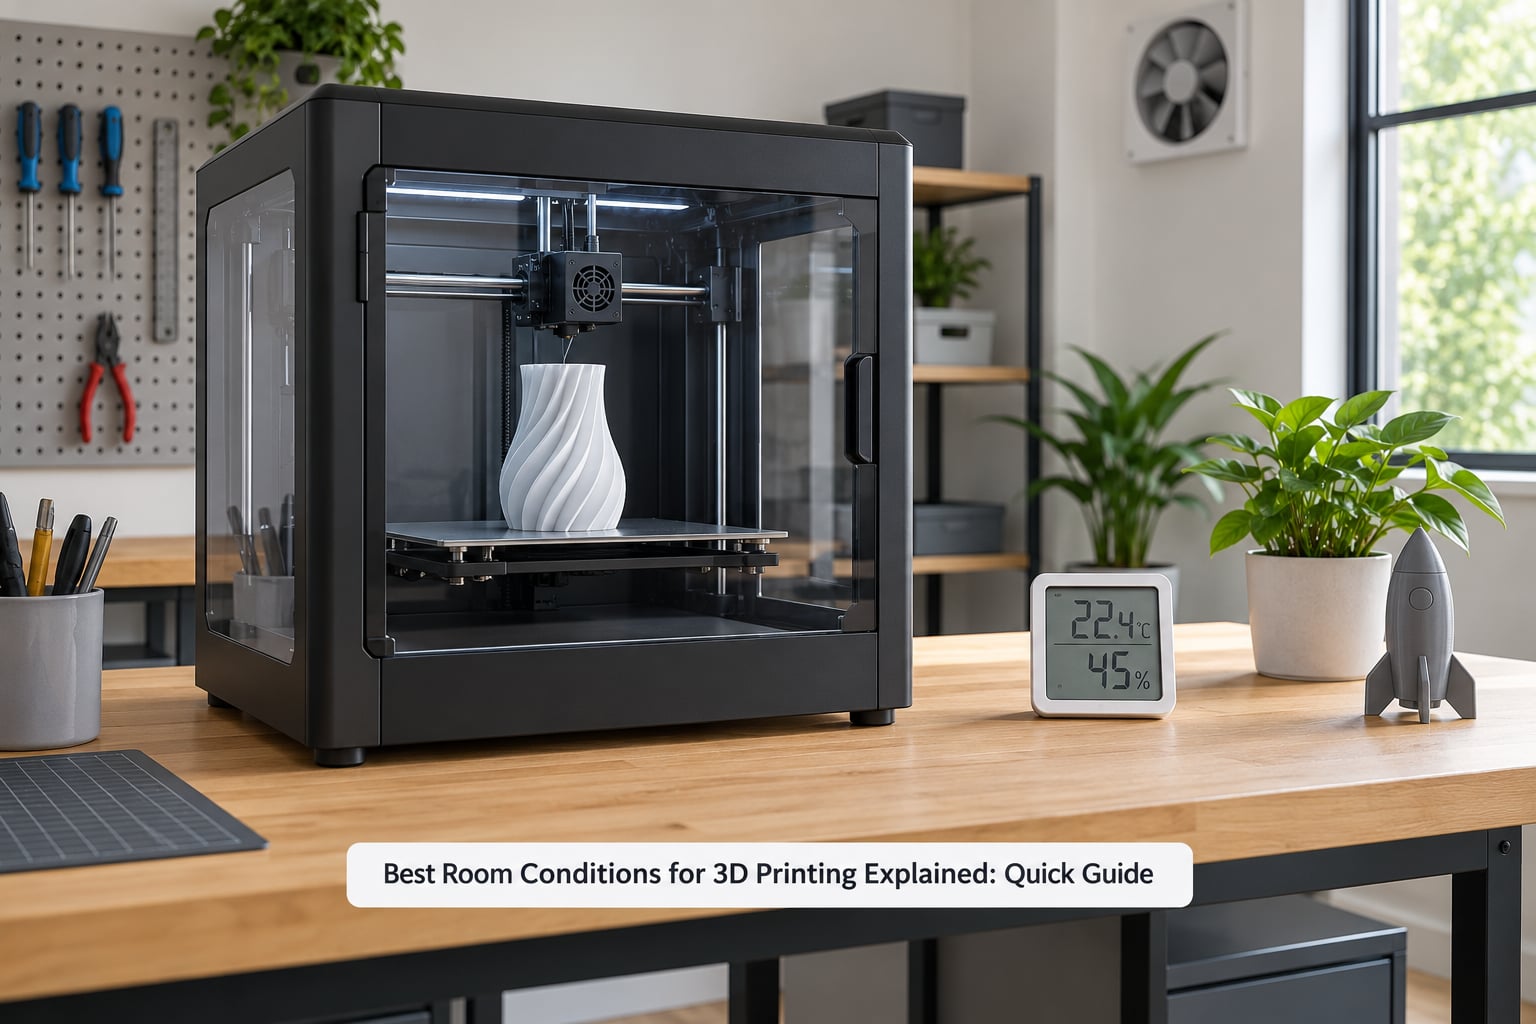
The table below is the short version. Each row lists a recommended range, the amount of drift you can tolerate, the failure it prevents, and which printers or materials care most.
| Condition | Recommended range | Acceptable variation | Problem it prevents | Most affected |
|---|---|---|---|---|
| Room temperature | 65-75°F (18-24°C) | Within 5°F (3°C) over a print | Warping, layer separation | ABS, ASA, nylon, polycarbonate FDM |
| Relative humidity | 30-50% RH | Within 10% RH over a print | Bubbling, stringing, rough surfaces | Nylon, PETG, TPU, resin |
| Air movement | Gentle circulation | No direct draft at the bed | Draft-related lifting, cooling inconsistency | All FDM printers, especially open frames |
| Dust and particles | Low, actively filtered | No visible dust on nearby surfaces | Nozzle clogs, first layer failure, dirty build plate | All printers; resin areas in particular |
| Surface stability | No visible movement under load | Zero movement during a print | Layer shift, ringing artifacts | All printers |
| Ventilation and fumes | Filtered exhaust to outside or a safe outlet | Air exchanged several times an hour | Build-up of ultrafine particles and VOCs | Resin washing, ABS and ASA printing |
Two numbers matter more than the rest for most people. If you only track one thing, track temperature at machine height with a cheap logger, because overnight drops are the single most common cause of a print that failed near the end.
What Temperature Should a 3D Printing Room Be?
Stay between 65°F and 75°F, and keep the room from moving more than about 5°F while a print runs. The tolerance is not about comfort. It is about keeping the difference between the hot end, the bed, and the surrounding air predictable from the first layer to the last.
Why consistency beats an exact number
A 70°F room that stays at 70°F all night will outperform a 72°F room that drops to 55°F before breakfast. Filament contracts as it cools, and the part contracts as it does. When different parts of the part cool at different rates, internal stress builds up and the piece lifts at the corners or cracks between layers.
Overheating is a different failure. A room sitting near 90°F makes the cooling fan fight a warm chamber, so layers stop setting before the nozzle reaches them, and you get poor bonding along with longer print times. Testers have reported PLA deforming inside chambers pushed past roughly 60°C (140°F).
Room temperature is not nozzle temperature
Nozzle and bed temperatures come from your slicer profile and the manufacturer’s filament guidance. Room temperature sets the floor under those settings, not the settings themselves. If the air is cold, a bed set to 60°C may never reach 60°C at the surface in a drafty room, which is why the first layer often suffers before anything else fails.
Warning signs that your room is swinging
Look for condensation on the build plate or window glass, filament that is brittle or cracking as it feeds, layers that separate in the same place every time, and a machine whose first layer behaves differently on a cold morning than on a warm evening. A temperature logger clipped near the printer, not at the wall, tells you the truth in a day.
What Humidity Level Is Best for 3D Printing?
Aim for 30-50% relative humidity and keep the reading at the printer, not on a phone weather app for your city. Outdoor humidity tells you very little about a closed room with a dehumidifier running or a sunlit window.
High humidity is the more common problem. Nylon, PETG, TPU, and some other filaments absorb moisture from the air, and that moisture turns into steam inside the hot end. The result is popping noise, bubbles in the wall, heavy stringing, and a rough or pitted surface on the outside of the part. Above roughly 70% RH you can expect these problems with hygroscopic materials, and first layer adhesion on smooth or glossy beds often becomes unreliable too.
Low humidity causes a different set of problems. Very dry air, especially with heated dry boxes or desiccants left closed too long, can make some spools brittle and can turn static a problem as filament unspools. Static attracts dust, and dust finds the nozzle. Keeping desiccant in the enclosure rather than the room is the better habit.
When a dehumidifier or humidifier is worth it
A dehumidifier earns its place in a basement, a coastal house in summer, or anywhere with a hygrometer reading above 55% RH for more than a few days. A small desiccant-based unit inside the printer’s enclosure handles a narrow range, while a room dehumidifier handles the whole space and protects filament on the shelf too. Run a humidifier only if readings drop under 30% RH consistently, and never aim it at the printer, since a misting humidifier near an open machine is how you get water on an electronics board.
Remember that the room dehumidifier and sealed filament storage do different jobs. A room dehumidifier keeps the space comfortable for the machine; it does not protect a spool sitting open on a shelf for three weeks.
How Much Airflow and Ventilation Does a Printer Room Need?
You want moving air in the room and no draft on the machine. Those two goals pull in opposite directions, which is why ventilation is the part of room setup people get wrong most often.
Gentle circulation does useful things: it removes heat that builds up around the electronics, thins out fumes, and helps resin wash areas dry. A draft blowing straight across a build plate does the opposite. It cools one side of the print faster than the other, cools the filament before it reaches the hot end, and on some machines nudges the bed surface just enough to ruin adhesion.
Circulation versus draft control
Position a fan in the room rather than aimed at the printer, and run it at low speed. Keep doors and windows closed while a print is running so the room does not refill with outside air every time someone walks through. If you need extraction for fumes, take it from behind the machine or from a canopy arm, not from the front where the air crosses the bed.
A sealed enclosure does two jobs at once, and this is where drafts stop being a problem. Inside a closed box, the chamber warms to a steady temperature and the outside air never touches the part. That is why ABS and ASA printing works reliably inside an enclosure and poorly on an open frame. The same box needs its own filtered exhaust, because sealing it in also seals in the fumes.
How Do Dust and Particles Affect Print Quality?
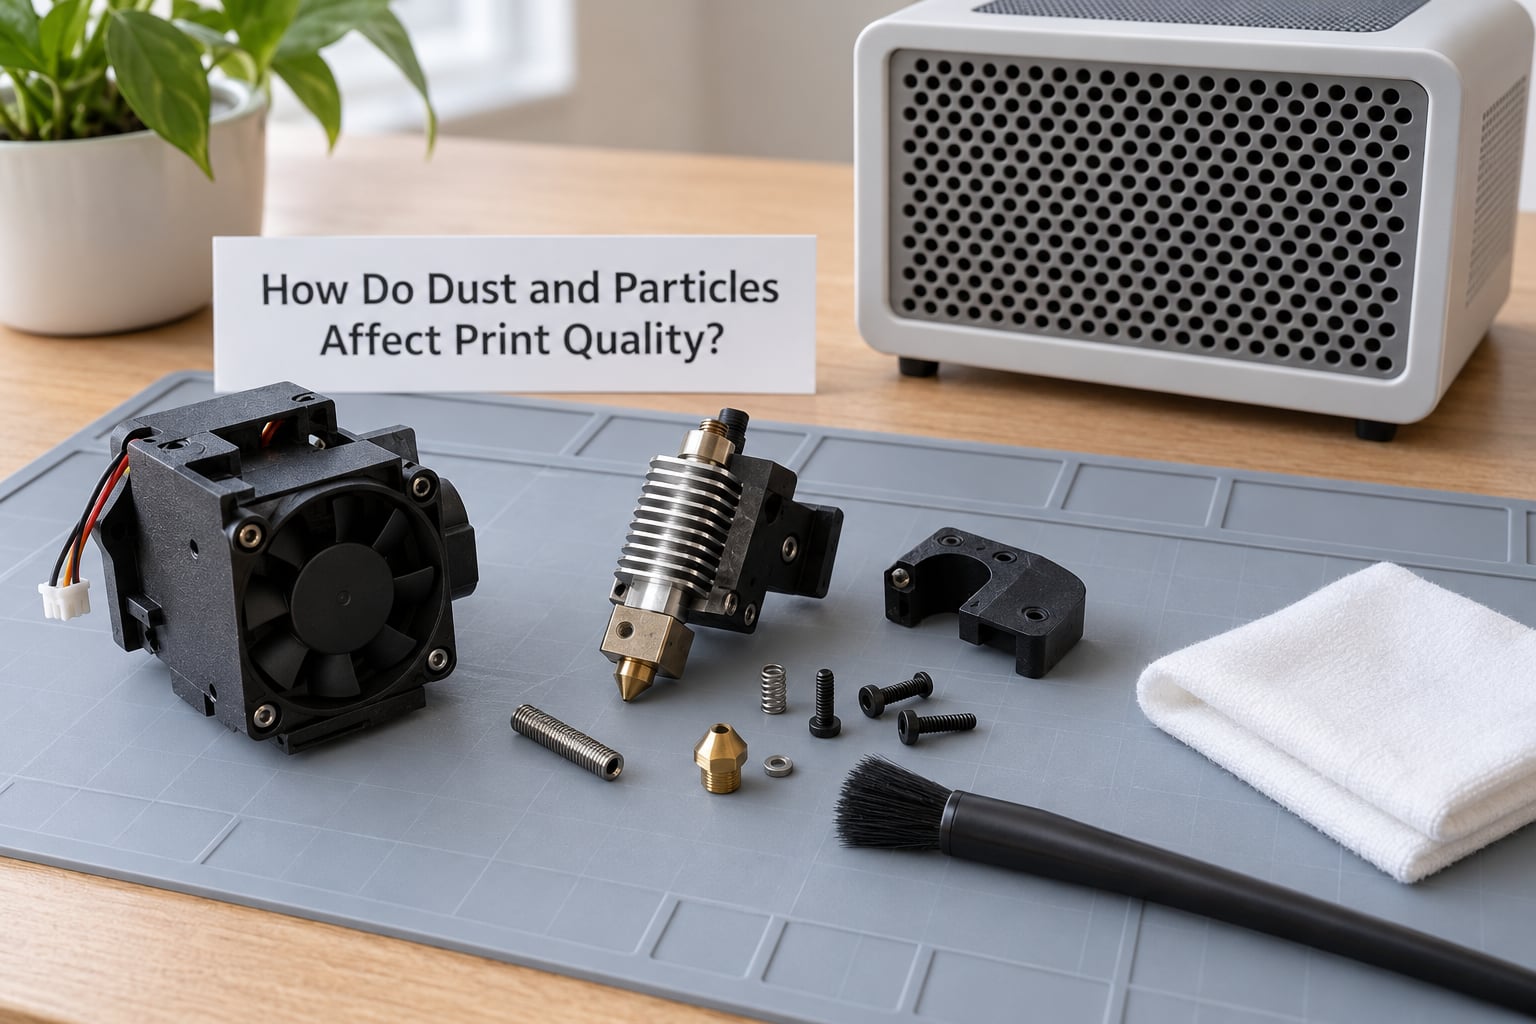
Dust is the quietest problem in the room. A speck that survives the extruder path lodges in a nozzle and turns into a repeating blob of plastic across every layer after it, and the usual first reaction is blaming the slicer or the filament. Rough, sandpaper-like outer walls and gaps that never quite close also trace back to particles that melt into the extrusion and spit back out.
Particles settle on the build plate too. On a smooth or glass bed, one speck of dust becomes the reason the first layer lifts at that point. If you have moved the plate recently, a fingerprint or a fine layer of dust is often the whole explanation.
Resin rooms add their own dust problem. Filled resin is sticky and holds onto whatever it touches, so a workbench near a wash station accumulates cured dust and bits of partially cured part. That dust then spreads to filaments, tools, and the printer itself. Wipe surfaces wet rather than dry, keep lids on containers, and never sweep resin dust into the air.
Practical measures
Keep filament in sealed dry boxes or dry cabinets, covered bins, or a closed cabinet away from the printer. Put a mat under the machine so dust does not migrate across the desk. Run a small filtered air unit or a HEPA-filtered fan in the room, positioned so it does not blow at the bed. Clean the extruder path and wipe the bed on a schedule, and keep resin work on a separate surface with its own cleanup kit.
Why Does Floor Vibration or an Unstable Bench Matter?
Movement in the machine shows up as layer shift, where one or more layers jump sideways, or as ringing, a repeating wave pattern on curved vertical surfaces. Both are mechanical problems, but the cause is often in the room rather than in the printer.
Most home desks were not built for a machine that steps rapidly back and forth thousands of times per hour. A hollow MDF desktop, a desk on a chair arm or a gaming riser, and a printer on a rolling cart all flex slightly, and the printer interprets that flex as its own frame moving. If you can nudge the surface and see or hear the machine shift, it is too loose.
What to look for
Put the printer on the floor of the room in a low-traffic spot, or on a solid piece of furniture with legs planted and a top thick enough not to flex. Keep it away from doorways, washing machines, dishwashers, freezers, and stairs. Repeatedly closing a nearby door creates pulses that travel a surprising distance through a floor, and appliances cycle their compressors on their own schedules rather than yours.
A vibration-isolating base, such as a heavy plate or a purpose-built mat, helps when the surface itself is fine but the floor carries vibration from a busy hallway. In a quiet room on a solid desk it makes almost no measurable difference, so it is not the first thing to change.
Do Different 3D Printing Technologies Need Different Rooms?
Yes, and the differences are large enough to matter if you run more than one type of machine.
FDM printers are the most forgiving on temperature and the most sensitive to drafts and dust. A desk in a spare room with a closed door handles PLA and PETG without any modification. Moving up to ABS, ASA, nylon, or polycarbonate pushes you toward a heated or insulated enclosure, which is a technology problem as much as a room problem.
Resin printers care less about temperature and more about ventilation and handling. The room needs somewhere to wash parts safely, somewhere to cure them with a stable temperature, and a way to move fumes and dust out. Isopropyl alcohol storage and washing adds its own ventilation load, so resin setups often need more thought about air exchange than filament printers do.
Powder-bed systems run hotter than filament printers and often include their own heated build chamber. Their room still needs ventilation for the powder handling and the bind agent, and the room temperature still sets whether the build area can hold its setpoint.
High-temperature industrial materials, including engineering polymers, can demand chamber temperatures well above what a home room provides, and insulation panels are often needed to reach them without melting the outer skin of the enclosure. No number in this article overrides your printer’s documentation; when a manufacturer specifies a chamber temperature, ambient range, or filtration class, that specification wins.
How to Prepare and Test Your Printing Space
Set up the room in this order, then confirm with a test print before buying anything.
1. Measure where the machine actually sits
Put a thermometer and hygrometer at printer height, not on the wall and not in the corner of the room. Leave them there for at least 24 hours, including overnight, because the interesting reading is always the one that happens while you are asleep. Note the lowest and highest values, and compute the swing rather than the average.
2. Check the surface and clear the traffic path
Push firmly on each corner of the table. Any movement means the base is inadequate, so level the legs or move the machine. Then find out whether the spot sits in a walking path, near a door, or beside an appliance that cycles on its own.
3. Tune the room
If humidity runs high, add a room dehumidifier and see how far the reading falls overnight before adjusting anything else. If airflow is absent, add low-speed circulation away from the bed. If fumes are a concern, plan the exhaust path first, then close the door while printing.
4. Set the machine to your conditions
Leave the printer running with the bed heated for a while before starting a print, so it reaches temperature instead of chasing a room that is still cooling. Store filament sealed and let it sit out for the time your spool needs before feeding, because a cold spool of nylon straight from a dry box can still bring condensation into the chamber.
5. Run a calibration print, then a test print
Start with a first-layer test so you know the nozzle-to-bed distance is right in the actual conditions. Then run something with a large flat top surface and thin vertical walls, since those show warping and adhesion problems fastest.
6. Use symptoms to find the environmental cause
The table maps what you see to what to check in the room.
| Symptom | Likely environmental cause | First thing to check |
|---|---|---|
| Corners lifting, first layer peels | Draft or large temperature swings | Log temperature at the bed for a full night |
| Layers separate near the top of a tall print | Room cooled during a long print | Lowest reading, and time of day it occurred |
| Bubbling, popping, heavy stringing | Humidity too high for the filament | RH reading, and how long the spool was open |
| Rough or pitted outer wall | Moisture or dust in the melt zone | Humidity plus extruder path cleanliness |
| First layer fails only on one side of the plate | Dust, fingerprint, or uneven bed surface | Clean plate and re-level |
| Layer shift at one specific height | Vibration or a knock against the machine | Table rigidity and nearby doors or appliances |
| Prints stick, smear, or slump before finishing | Chamber too hot for the material | Peak room temperature during the print |
| Odors hang in the room for hours | Insufficient extraction or filtration | Where the exhaust actually discharges |
| Resin parts stay tacky after curing | Underside exposure or cool curing area | Rotation during cure and room temperature there |
Frequently Asked Questions
Do I need a separate room to 3D print?
No. A spare room, a closed home office, or even a corner of a workshop works well if you can control drafts, humidity, and surface stability. The exceptions are resin printing, which needs washing and curing space plus real ventilation, and high-temperature materials, which often need an insulated enclosure rather than a different room.
Is an enclosed 3D printer better for stable room conditions?
Yes, an enclosure buffers your room from your printer. It blocks drafts, lets the chamber settle at a steady temperature, and protects the part from dust. It also traps fumes, so pair it with filtered exhaust. An enclosure is essential for ABS, ASA, nylon, and polycarbonate, and helpful for any printer in a room with uneven temperatures.
Does air conditioning make 3D printing more reliable?
It helps, mostly because most air conditioning units also control humidity, and a dry, steady room is exactly what you want. Two cautions. Constant cooling can push the chamber below the setpoint and leave you fighting a heater inside the enclosure. And a vented supply register blowing directly at an open-frame printer causes the drafts the room was meant to avoid.
Can I safely use a 3D printer in a garage or shed?
You can, but only with an enclosure for anything beyond PLA and PETG, and only if you control the extremes. Unheated spaces lose heat overnight, and printers with a heated chamber and heated bed handle that better than open-frame machines. Shed and garage floors also carry vibration, so put the printer on a rigid surface, not the bare slab.
What room humidity is best for PLA and ABS filament?
Keep the room between 30 and 50% relative humidity for both. At that range PLA is mostly trouble-free during printing and ABS prints cleanly inside an enclosure. Above roughly 55% you will see more stringing and popping with PETG and nylon, while very dry air can make some spools brittle and encourages static that pulls dust toward the nozzle.
Conclusion
The conditions that matter most are unremarkable: 65-75°F, 30-50% relative humidity, air that moves without drafting, a surface that does not shift, and an exhaust path for fumes. Hold the temperature swing under about 5°F during a print and you solve most of what people blame on their slicer.
Start with measurement. Put a thermometer and hygrometer at machine height, leave them overnight, and write down the highest and lowest readings rather than the average. Then secure a stable surface away from doors and appliances, and run a first-layer test followed by a flat-topped print. Only once you know what your room actually does should you add an enclosure, a dehumidifier, or a filtration unit, because each one solves a problem you should be able to name.