Learning how to print glow in the dark parts comes down to three things: fit a hardened steel nozzle, run the filament 5 to 10C hotter than you are used to, and give the part thick walls with very little infill. Those three changes solve most of the clogging, stringing and dim-glow complaints people hit on a first print.
The pigment is what makes glow filament different from the base plastic. It is an additive powder mixed into the filament, so it grinds down nozzle internals and behaves a little fussy at the hotend. Get the hardware right and the rest is a settings tweak. This guide walks through the whole process for anyone who already prints plain PLA, from picking a spool to charging the finished piece under a UV lamp.
Allow about 20 minutes of prep before the first layer starts. The actual print takes however long your part takes, and glow filament prints a little slower than standard material because most people drop the speed to keep the nozzle from dragging on corners.
Table of Contents
- What You Need
- Step-by-Step
- Choose the Right Glow-in-the-Dark Filament
- Prepare the Printer and Print Surface
- Set the Slicer for a Smooth Glow Layer
- Print the Part and Let It Cool
- Charge the Part in Light
- Finish and Maintain the Glow Effect
- Common Mistakes
- Frequently Asked Questions
- Can you print glow-in-the-dark filament on any 3D printer?
- Why does my glow-in-the-dark print glow weakly?
- Does glow-in-the-dark filament need a UV light to charge?
- What layer height is best for glow-in-the-dark 3D prints?
- Can I paint or clear-coat a glow-in-the-dark printed part?
- How long does a glow-in-the-dark print usually glow?
- The Short Version for Your First Print
What You Need
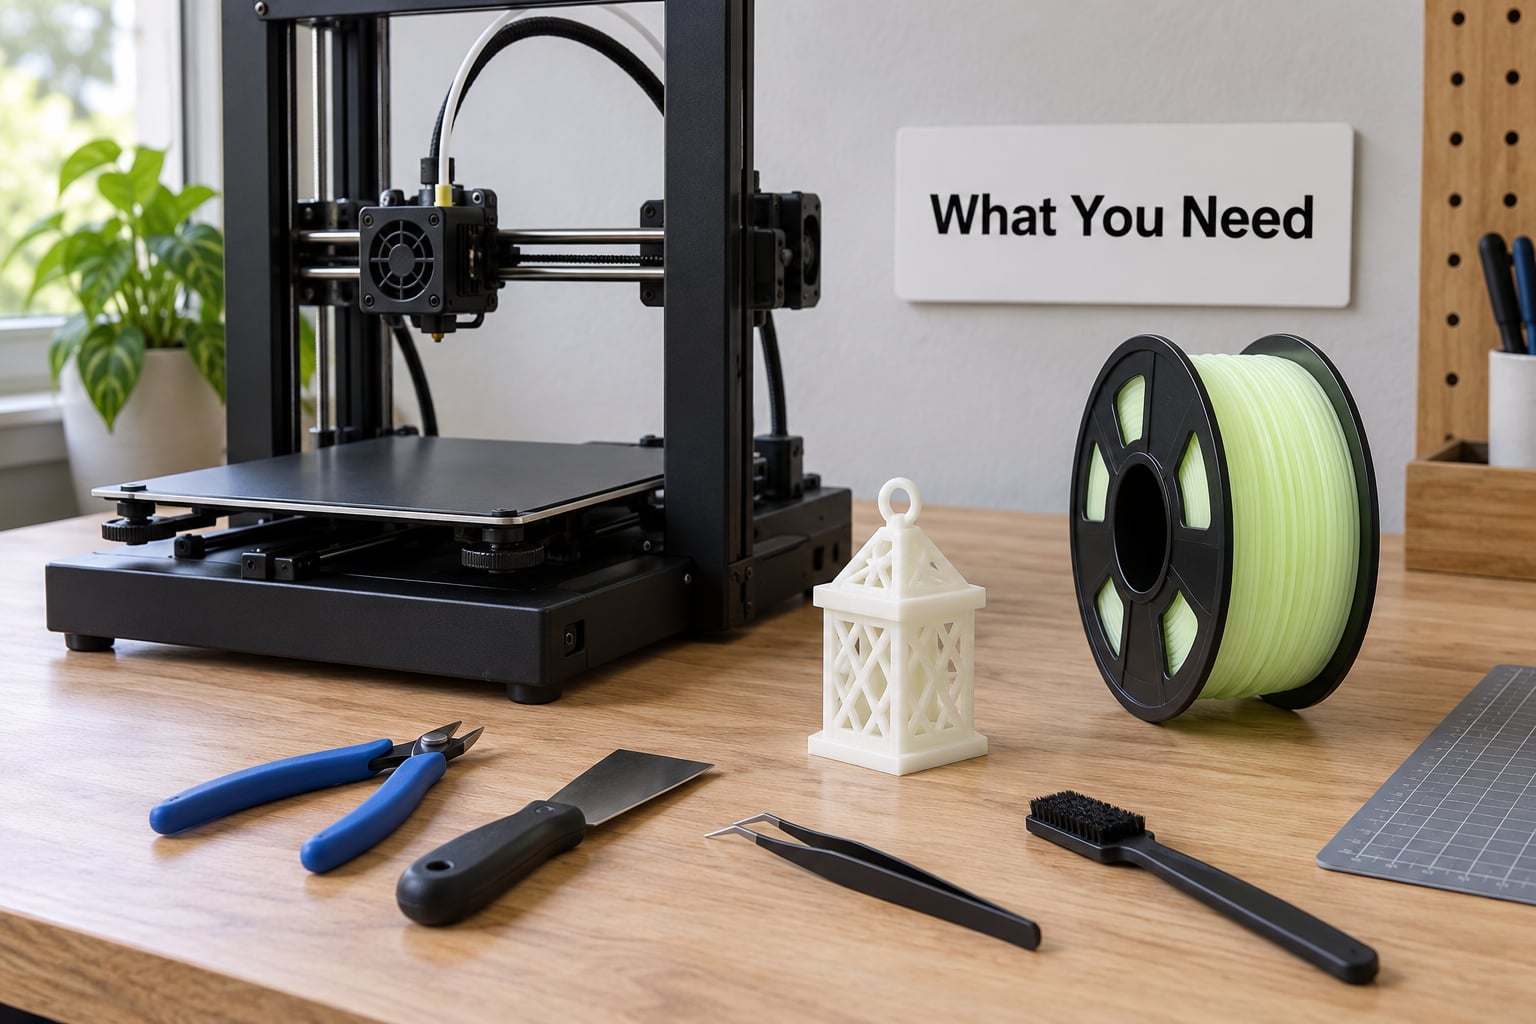
You need glow-in-the-dark filament in a diameter your printer accepts, most often 1.75 mm with a tolerance around plus or minus 0.03 mm, a hardened nozzle, a slicer you already know, and a light source bright enough to charge the finished part.
- Glow filament. PLA base is the easiest starting point. PETG and ABS versions exist and print harder, mostly because the base polymer does.
- Hardened steel nozzle. Ruby and tungsten carbide are also options. This is the one piece of hardware worth spending money on.
- Slicer software. Cura, PrusaSlicer, OrcaSlicer or Bambu Studio all handle it. Nothing special is required, just wall count and infill changes.
- A good build surface. A textured or smooth PEI sheet holds better than bare glass for this material.
- Filament dryer or a warm dry box. Phosphorescent powder mixes in hygroscopic bases, so moisture makes stringing worse.
- A UV blacklight or a sunny window. Charging light is the last step, not an optional extra.
Before you print, check the spool diameter against your extruder, confirm your printer accepts a hardened nozzle in that size, and read the maker’s own temperature range. Community reports differ widely on brands, so the sheet in the box beats any generic setting table, including the one below.
Step-by-Step
Choose the Right Glow-in-the-Dark Filament
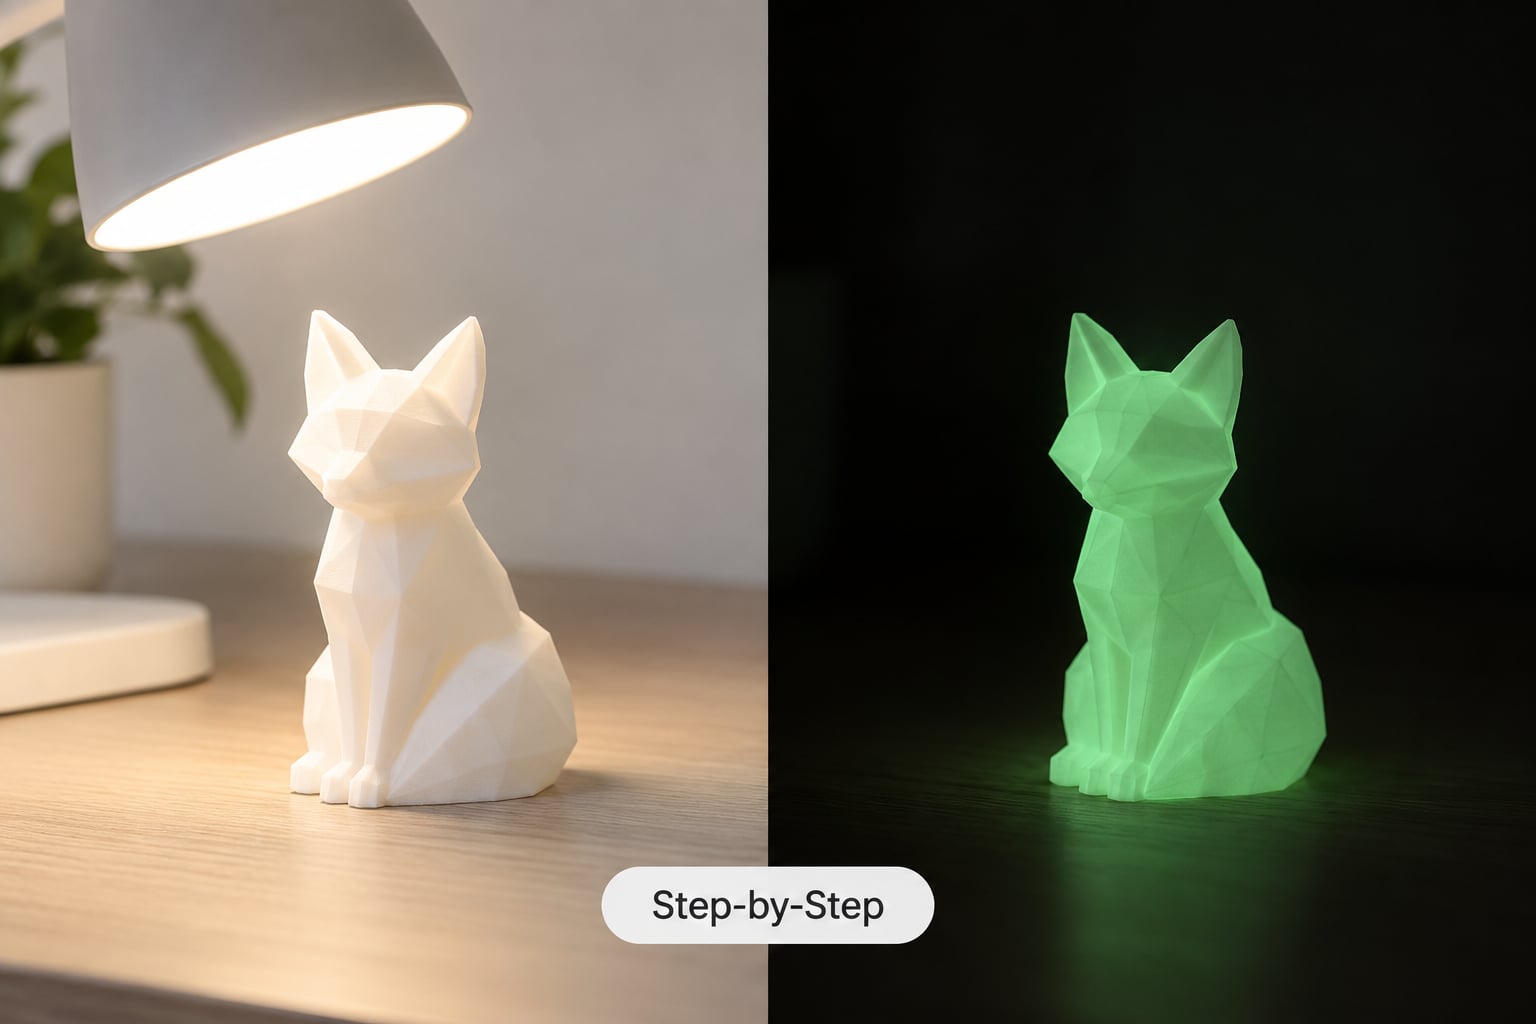
Glow filament is a normal plastic with a phosphorescent powder mixed in, usually strontium aluminate. The powder absorbs light energy, stores it, and releases it as visible light once you remove the light source. Older zinc sulfide pigments are cheaper and noticeably weaker, so a spool that glows barely at all is usually a zinc sulfide one.
Glow is not the same as fluorescent color. A filament can look bright white or green in daylight and still underperform, because color comes from reflected light while the glow comes from stored energy. Green and blue usually charge brightest and fade slowest. White filament looks white all day and then reveals its real color in the dark, which surprises people.
Check three things on the spool listing: the base plastic, the glow color, and whether the maker publishes a charging time and decay duration. If they do, use those numbers. If they do not, start with the settings here and adjust from there.
Prepare the Printer and Print Surface
Fit a hardened steel nozzle before the first print, not after the first clog. Brass wears faster than most people expect with abrasive powder, and a throat that has opened up from 0.4 mm to 0.5 mm will under-extrude on every layer after that.
Dry the filament first if your dryer has a PLA or PETG profile that covers 45 to 55C for four to six hours. Wet glow filament strings badly and leaves a rough, wet-looking surface that scatters the glow instead of passing it through.
Level the bed and clean the sheet with soap and water. Glow parts often need more adhesion than ordinary PLA because the pigment changes surface texture, so set bed temperature around 60C for PLA and 70 to 80C for PETG, and add a thin adhesive layer if the first layer slides.
Set the Slicer for a Smooth Glow Layer
Set 0.2 to 0.3 mm layer height, three or four walls, and 10 to 20% infill. Wall thickness is the single biggest lever on how bright a part glows, because more plastic means more pigment in the path of your eye. Low infill saves material and speeds the print without hurting brightness at all.
| Setting | PLA glow | PETG glow | ABS glow |
|---|---|---|---|
| Nozzle temperature | 205 to 215C | 235 to 250C | 240 to 260C |
| Bed temperature | 55 to 60C | 70 to 80C | 90 to 100C |
| Cooling fan | 100% | 30 to 50% | 0% |
| Print speed | 40 to 60 mm/s | 30 to 45 mm/s | 40 to 60 mm/s |
| Walls / infill | 3 to 4 / 10 to 20% | 3 to 4 / 10 to 20% | 3 to 4 / 10 to 20% |
| Nozzle size | 0.5 or 0.6 mm | 0.5 or 0.6 mm | 0.5 or 0.6 mm |
A larger nozzle helps in two ways here. Less travel time through the hotend means less chance of a clog, and a wider bead lays down pigment in a more even line, which reads as a smoother glow. Drop speed to roughly half your normal PLA speed if you see stringing or the nozzle catching on corners. A Prusa forum user printed Inland Luminescent PLA at a constant 215C with speed cut to 33% and got clean layers; others run near stock speed on brands that behave.
Add supports the usual way. Anything with an overhang past about 50 degrees will droop, and a sagging surface diffuses light instead of glowing evenly.
Print the Part and Let It Cool
Load the filament, let the hotend purge until the old color is fully gone, and watch the first two layers closely. Bed adhesion problems show up early and waste an hour if you ignore them.
If you see heavy stringing, the material is likely wet or the temperature is too low for this blend. Going hotter is the common fix. One Prusa user resolved a failing blue glow PLA at 235C for the first layer and 230C after, with a 60C bed, which cleared both stringing and nozzle dragging.
Let the part cool on the bed before you remove it. Glow plastic is often a little more brittle than plain PLA, and pulling a warm part off the sheet is a good way to snap a thin wall or a small protrusion.
Charge the Part in Light
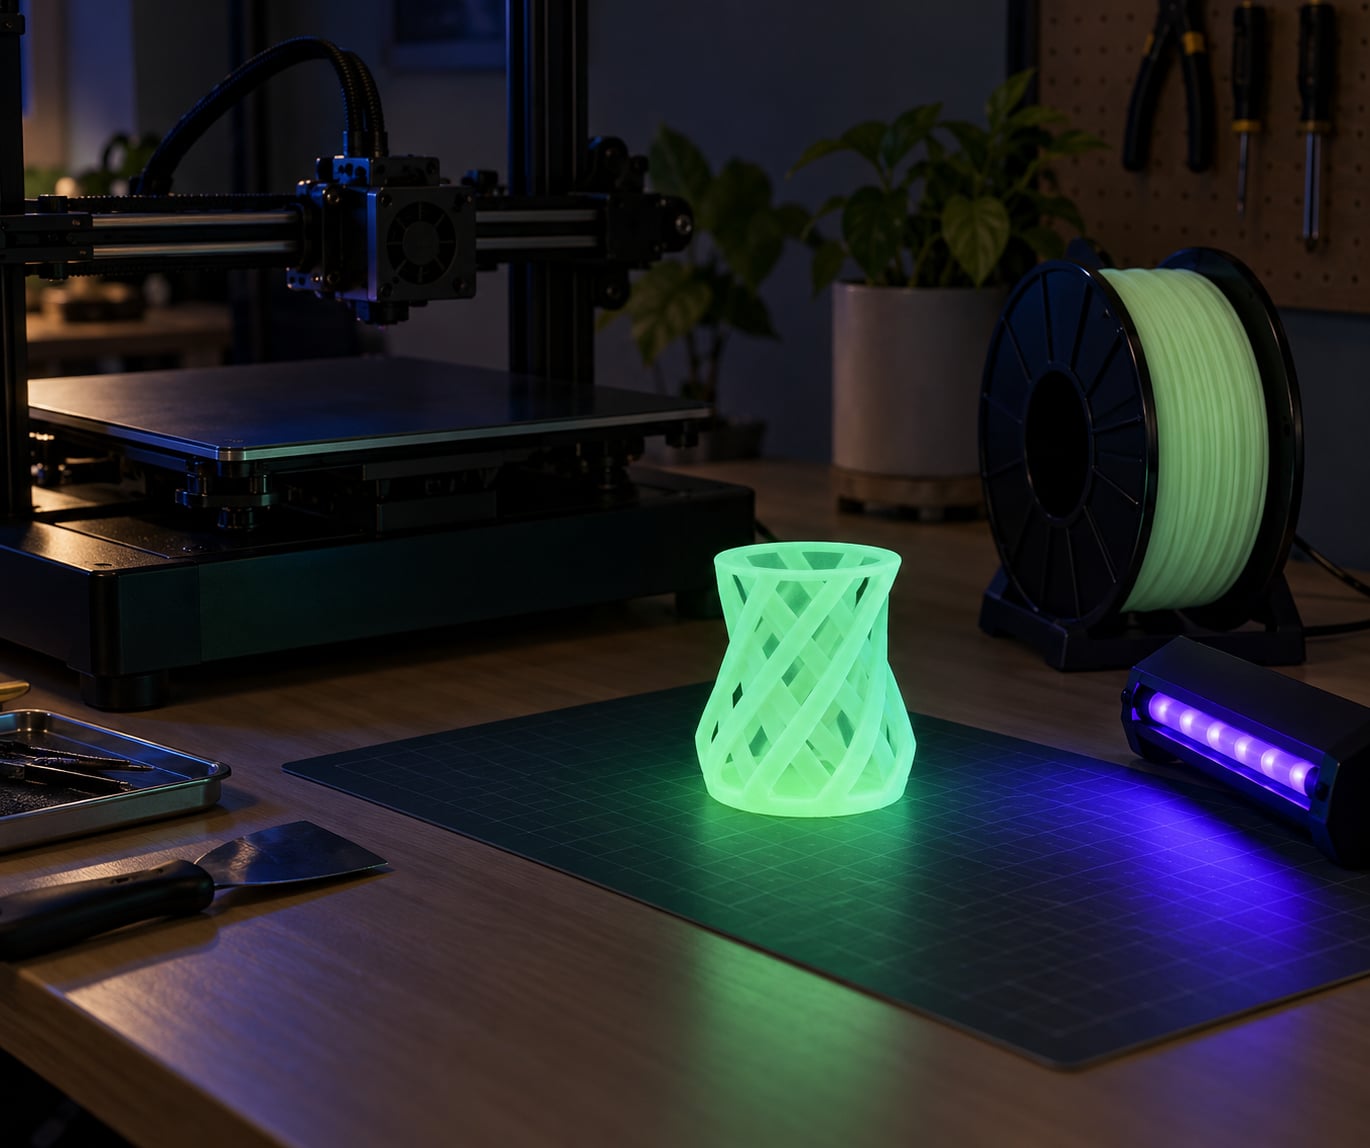
Charging is just storing light energy in the pigment. Sunlight is strong, a UV blacklight is stronger in the UV band the pigment likes best, and a bright indoor lamp or a phone flashlight will work for a quick check. Give it a few minutes under a good source rather than a few seconds.
Then judge it in real darkness. A part that looks weak under a room ceiling light is often fine, because your eyes are comparing it against an overlit background. Turn the lights off, wait for your eyes to adjust, and the same part will look dramatically better.
Glow fades fast at first and then settles into a slow decay. The first five minutes carry most of the brightness, the half hour mark still shows clearly in a dark room, and after that you are usually reading it in a room with the lights off rather than in total darkness.
Finish and Maintain the Glow Effect
Glow PLA sands and glues well, so you can build a part in sections and bond them, then post-process the joint. A light pass of filler primer followed by fine sanding leaves the pigment visible under the surface.
Clear coats are the risk. A thick UV-reactive top coat can brighten the first few minutes but then absorbs energy into the coating, and some coatings make the plastic noticeably more brittle. Paint only the non-glowing areas, or paint the whole part and accept a much shorter glow.
Common Mistakes
Most failures on this material come back to one of five things, and all five have a straight fix.
- Weak or short glow. Usually undercharging or too few walls. Charge longer under a UV lamp, add a wall, and check whether the pigment is strontium aluminate or the weaker zinc sulfide.
- Repeated clogs. Almost always a 0.4 mm nozzle plus a narrow channel. Fit a hardened nozzle and move to 0.6 mm if the problem persists.
- Heavy stringing and ooze. Wet filament or a cool hotend. Dry the spool and add 10 to 15C, or hold a higher temperature for the whole print instead of only the first layer.
- Layer separation and brittle parts. Slow the print down, raise the nozzle temperature, and keep the chamber above about 30C for PETG and ABS so layers fuse properly.
- First layer pops off the bed. Clean the sheet, raise the bed temperature, and add adhesive. Glow pigment changes surface energy enough that bare glass often will not hold.
One more that deserves a mention: nozzle wear. Reports range from a 0.4 mm opening widening to 0.5 mm after a few hundred grams, to users who printed 0.5 to 0.75 kg on brass with no measurable change. Both accounts are real. Treat a hardened nozzle as cheap insurance and stop worrying about it.
Frequently Asked Questions
Can you print glow-in-the-dark filament on any 3D printer?
Yes, as long as it runs hotend temperatures this material needs. Most PLA and PETG printers qualify, and open-frame machines work fine. The real limits are wear and throughput: a 0.4 mm brass nozzle clogs more often with abrasive glow filament, and multi-material units add wear inside themselves, so many makers feed glow filament from an external spool.
Why does my glow-in-the-dark print glow weakly?
Four causes cover almost every case: not enough charge time, too few walls, a weak pigment, or a rough surface. Charge under a UV blacklight for several minutes rather than a quick flash, print three or four walls at 10 to 20% infill, and sand the surface lightly. If it still looks dull, the filament likely uses zinc sulfide instead of strontium aluminate.
Does glow-in-the-dark filament need a UV light to charge?
No, but UV works best. Sunlight contains plenty of UV and will charge a part well, and a bright indoor lamp will do for a quick check. A UV blacklight stores energy faster in the band the pigment responds to most strongly, which means a longer, brighter glow afterward. Any light source charges it; the strongest one you have wins.
What layer height is best for glow-in-the-dark 3D prints?
Go with 0.2 to 0.3 mm. Fine layers pack more pigment into the surface and give a more even glow, and slower speeds at those heights help the nozzle avoid dragging on fresh corners. Thicker layers are not wrong, but they tend to look patchier under low light. If the print keeps clogging, raise the layer height slightly before you lower the print speed.
Can I paint or clear-coat a glow-in-the-dark printed part?
You can, with caveats. Paint the non-glowing sections freely, and expect the glow to fade if you cover the whole part, since many coatings absorb the energy you want the pigment to hold. Thick clear coats also make the plastic more brittle, which matters for thin wall prints. If you want protection, keep the coat thin and matte.
How long does a glow-in-the-dark print usually glow?
Expect a strong glow for the first few minutes, a clearly visible one for around half an hour in a dark room, and a faint trace for a couple of hours after that. Wall thickness, filament color, charge strength and pigment quality all shift that. Green and blue hold up best, and a well-charged part with four walls will outlast a thin white one by a wide margin.
The Short Version for Your First Print
Start with a hardened steel nozzle, dry the filament, run it 5 to 10C hotter than your normal PLA profile, and print three or four walls at 10 to 20% infill with 0.2 to 0.3 mm layers. Print something small, charge it under a UV lamp, and compare it in a dark room before you scale up.
If that first part clogs or strings, the fix is usually temperature and nozzle size rather than a different brand. Learn how to print glow in the dark parts, and the hardest part of this material is really just the first hour of setup.