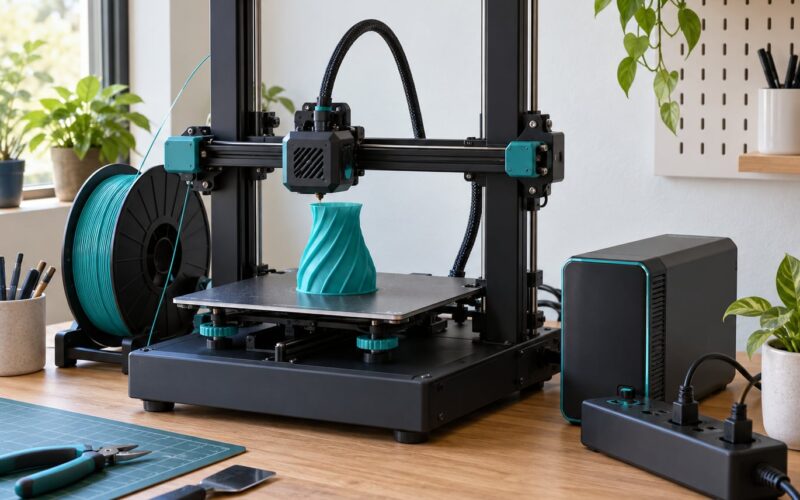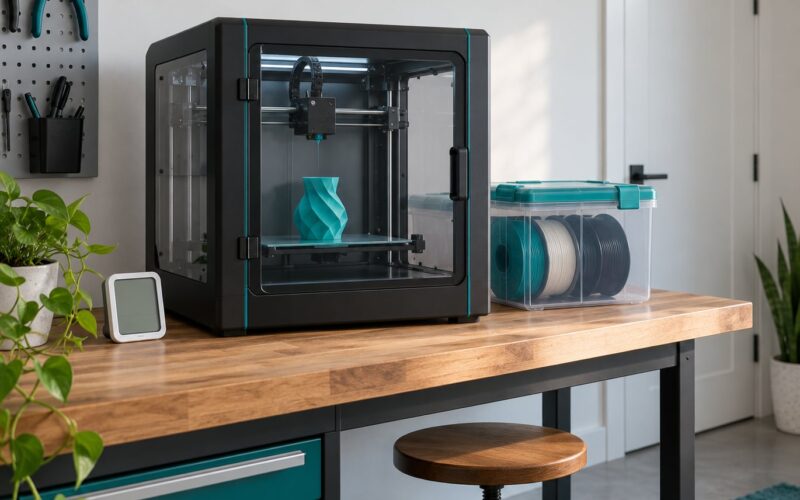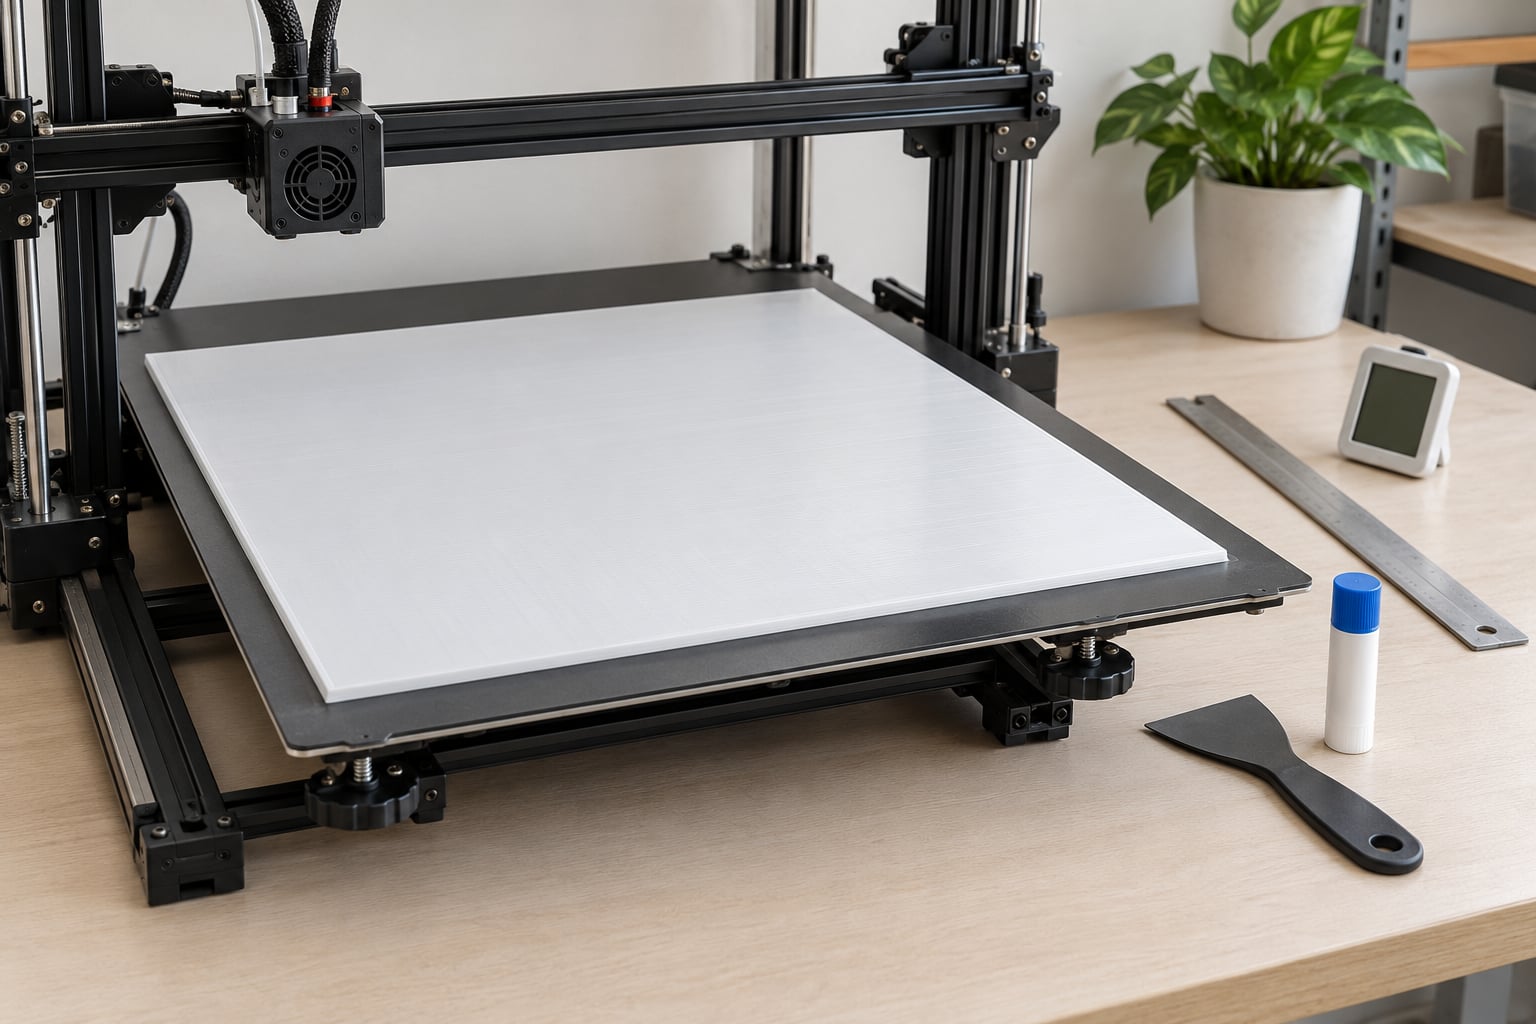
If you are wondering how to fix warping on large prints, start by reading the shape of the failure. Warping happens when a part cools unevenly, so the edges and corners contract faster than the middle and curl upward off the build plate. The mechanism is differential shrinkage: the bottom layers sit on a warm bed while the upper layers cool against room air, and the corners, being the least constrained, are the first to lift. Work the fixes in a fixed order — drafts, then bed adhesion, then the first layer, then cooling, then geometry — and change one variable per test print.
Large footprints make the problem worse because there is more material to shrink out of alignment and the print lasts long enough for stress to build over many hours. That is also why the failure is expensive: a 20-hour job that lifts at hour 14 is a real loss of filament and machine time.
Table of Contents
- What You Need
- Step-by-Step: Fix Warping on Large Prints in Order
- Identify the Warping Pattern
- Improve Bed Adhesion
- Control Temperature and Enclosure Conditions
- Adjust Slicing and Orientation
- What to Do When a Large Print Is Already Lifting
- How to Flatten a Print That Already Warped
- Retest and Document the Fix
- Common Mistakes
- Frequently Asked Questions
- Why are the corners of my large 3D prints lifting?
- Why does my large print only start warping after several hours?
- Do I really need an enclosure if I only print PLA?
- Should I turn off the cooling fan for the whole print?
- Is a brim enough or do I need mouse ears?
- How do you flatten a warped print after it comes off the bed?
- Conclusion
What You Need
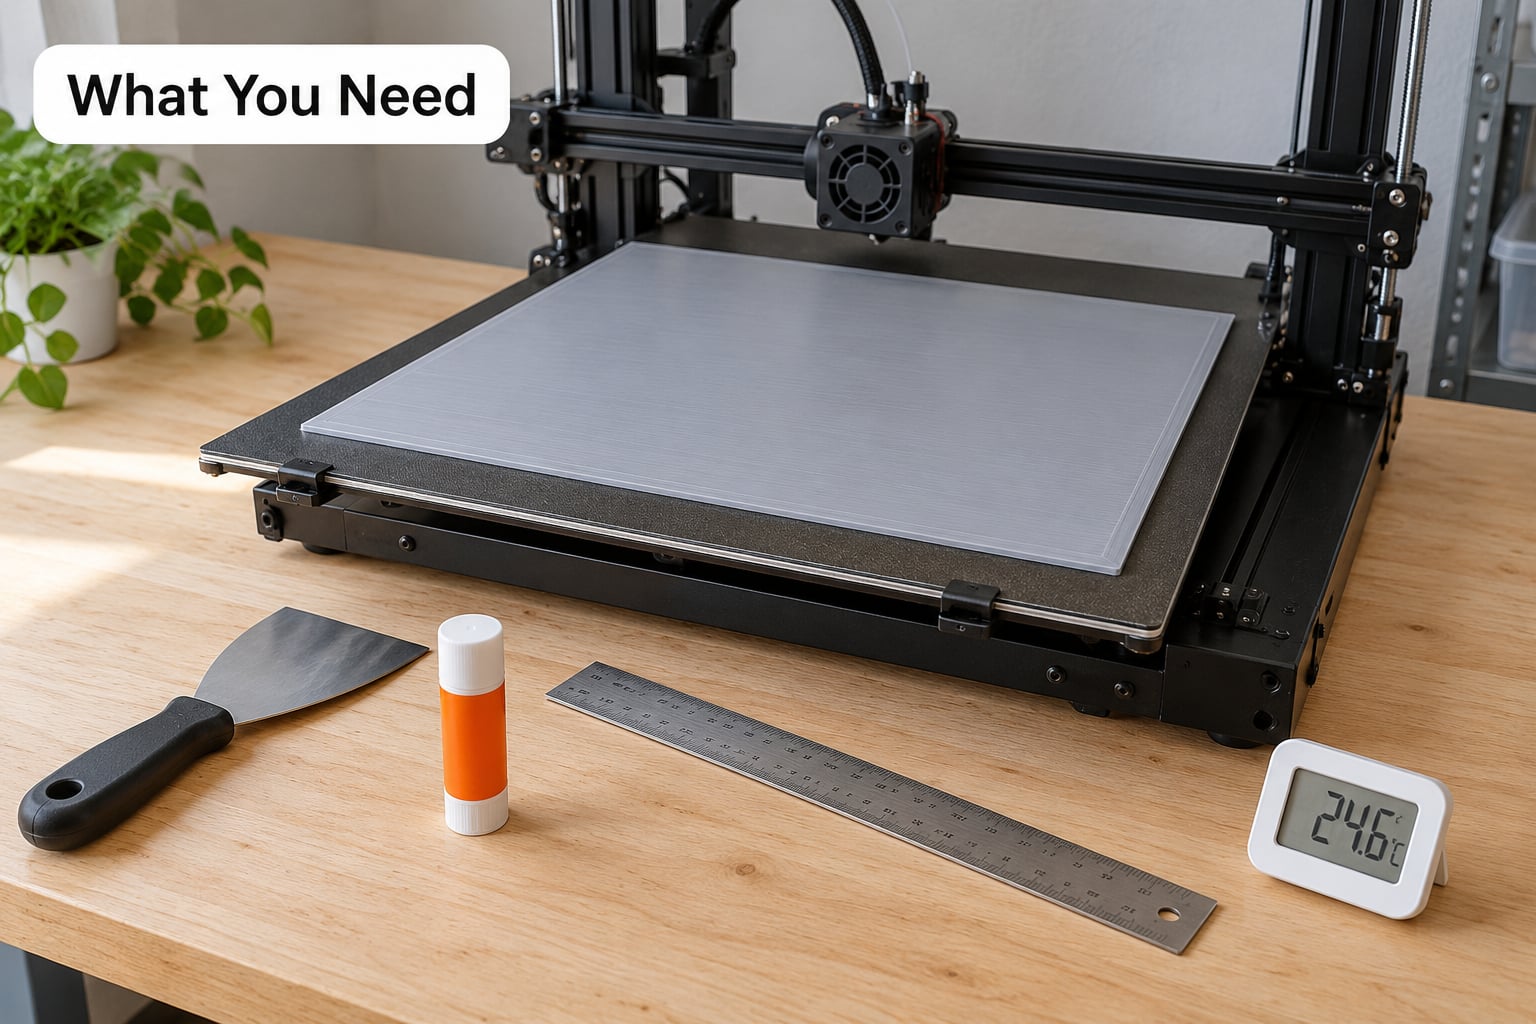
None of this is specialised equipment, and most of it costs almost nothing. What matters is having it on hand so a test cycle takes minutes rather than a trip to the shop.
- Cleaning kit: warm water, dish soap, a lint-free cloth or paper towel, and 90% or higher isopropyl alcohol.
- Levelling tools: a feeler gauge set, plus a straightedge or precision ruler for checking large plate flatness.
- Adhesion options: a PVA glue stick, a clean glass or smooth PEI plate, and a textured PEI or spring steel plate. If you only own one, textured PEI is the safer default for large flat parts.
- Edge insulation for large plates: a strip of ceramic felt or a Garolite composite sheet to insulate the exposed bed edge, where heat escapes fastest.
- Draft control: a cardboard or acrylic draft shield, a door gasket, or simply a way to keep the machine away from windows, air conditioning vents and radiators.
- A thermometer to check room temperature and to spot cold spots near your machine.
- Slicer access to Cura, PrusaSlicer, Bambu Studio or OrcaSlicer, since most of the useful fixes live in settings rather than hardware.
One thing you do not need: a second machine full of different build plates. Swapping plates mid-diagnosis is the fastest way to confuse yourself, as makers on the forums report again and again.
Step-by-Step: Fix Warping on Large Prints in Order
Work through these steps in sequence and stop as soon as the test print comes off flat. Each step targets a different cause, and jumping ahead to the most talked-about fix — cranking bed temperature or re-gluing — is the single most common reason people never solve it.
Identify the Warping Pattern
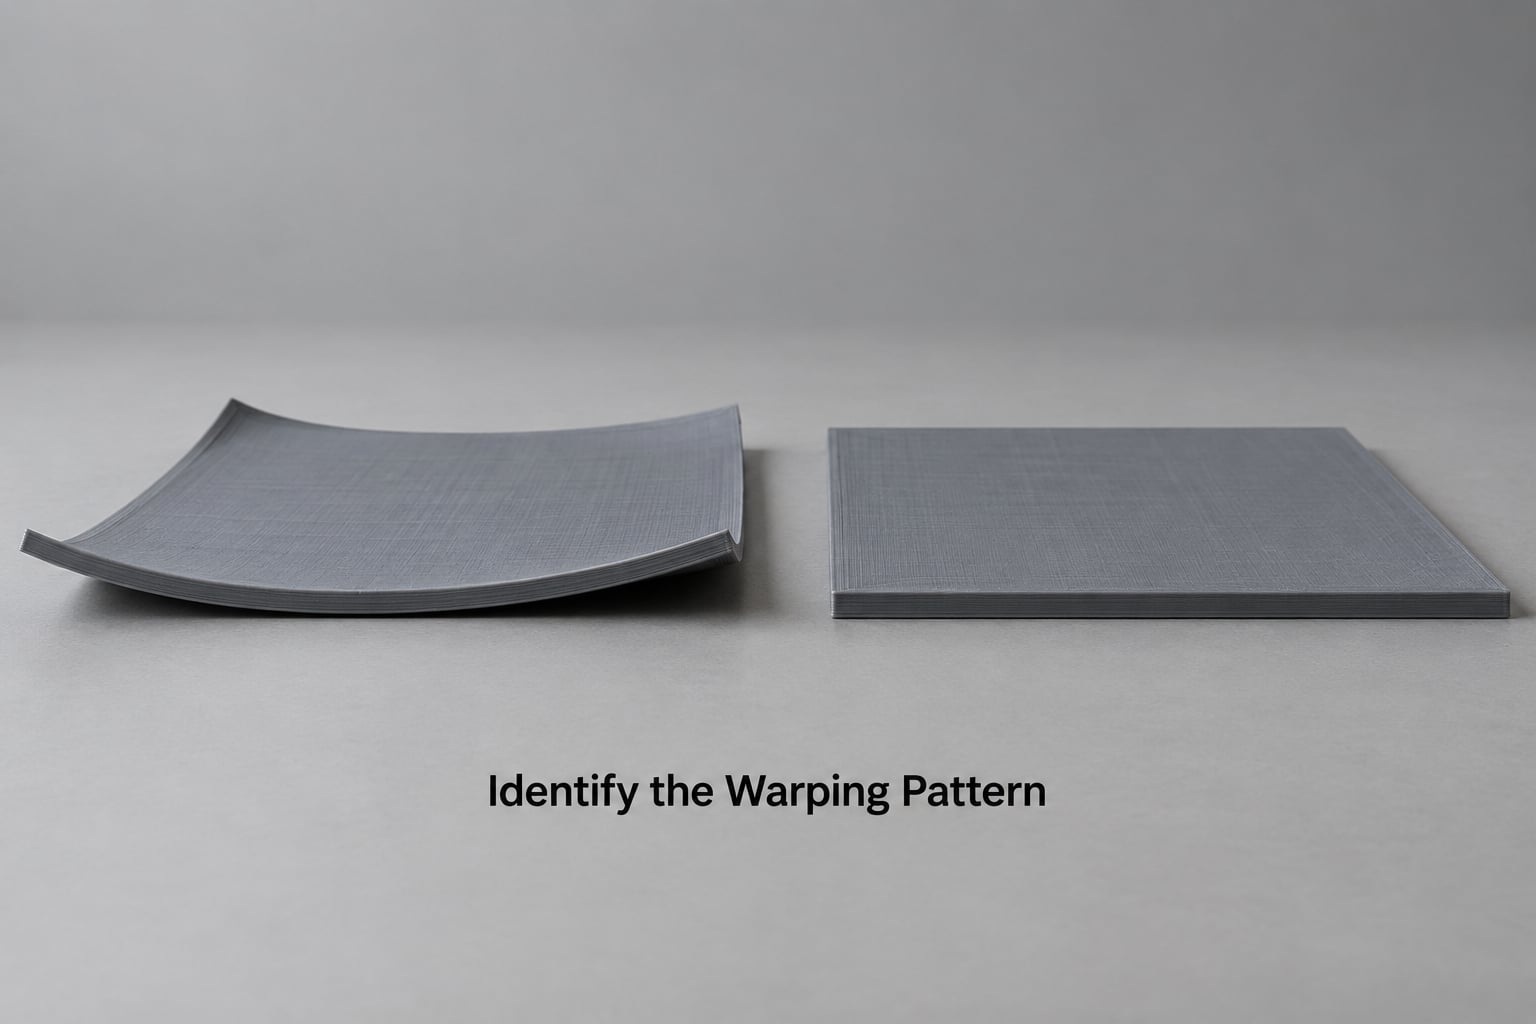
The pattern tells you where to look, so spend two minutes on it before touching any settings. Compare what you see against the table below, then jump to the matching step.
| What you see | Likely cause | Where to start |
|---|---|---|
| One corner lifts, the rest is fine | A draft, a door gap, or an auxiliary fan aimed at that side | Step 3 — find and block the airflow |
| All four corners lift equally | Differential shrinkage across the footprint | Step 4 — brim, mouse ears, discs |
| Perfect for an hour, then the corners curl | Accumulated thermal stress as the bed cools or the room changes | Step 3 — bed and room stability |
| Edges curl and layers separate as you handle it | Poor first layer adhesion, not shrinkage | Step 2 — clean, level, first layer |
| The print bows up like a dish | The centre is printing too hot and shrinking more than the rim | Step 3 — nozzle temperature and fan |
| Looks flat on the bed, warps after removal | Elastic release of stress held by the plate | Step 3, then the flattening section below |
A single corner that repeatedly lifts is almost never a material problem. It is airflow, and no amount of glue will fix it.
Improve Bed Adhesion
Clean the sheet with warm water and dish soap first, dry it, then wipe with 90% or higher isopropyl alcohol. Users on r/3Dprinting and the Prusa forum consistently warn against alcohol-only cleaning: it dissolves and spreads the oily film that builds up over weeks instead of removing it. Go over the same spot twice and let the plate dry fully before printing.
Next, level the bed and check flatness. On a large plate, a straightedge laid across the surface can reveal a dip in the middle or a high corner that a feeler gauge at three points will miss. If the middle is lower than the edges, print a sacrificial square in the same region before committing to a long job.
Set the Z-offset so the first layer is slightly squished. On most printers that is 0.8 mm nozzle at 0.2 mm layer height, or 0.6 mm at 0.15 mm. Check it with a single line test rather than a full sheet, and remember that a sheet change invalidates the setting.
Slow the first layer down. A first layer speed around 20 to 25 mm/s lets the plastic sit and bond instead of being dragged across the surface. Widen the first layer extrusion to 120 to 150 percent of normal if your nozzle can lay it down without clogging.
Test adhesion with a small footprint in the same corner where the warp appeared. If a 30 mm square sticks there, the plate is doing its job and you have a thermal problem, not an adhesion one.
Control Temperature and Enclosure Conditions
Here is where warping on large prints is usually won. PLA softens around 60 °C and ABS and ASA around 100 °C, and a part that stays above that softening point long enough while the rest of it cools has nowhere to shrink except upward.
Keep the bed temperature stable for the whole print. Large plates cool slowly and unevenly, and the exposed edge pulls heat out of the first layers faster than the centre. Insulate that edge with ceramic felt or a Garolite strip, and reject bed temperatures high enough to soften the bottom of the part — for PLA, 55 to 65 °C is the working band, and pushing to 80 °C solves nothing while making the warping worse.
| Material | Enclosure or draft shield | Part fan | Bed temperature | Adhesion |
|---|---|---|---|---|
| PLA | Draft shield is enough; a stable room is fine | Off for the first 3 layers, then 100 percent | 55 to 65 °C | Textured PEI or clean glass |
| PETG | Draft shield strongly recommended | Off for the first 4 or 5 layers, then 40 to 60 percent | 70 to 85 °C | Textured PEI; glue on smooth PEI only |
| ABS | Full enclosure, ideally with a heated chamber | Off for the first 5 layers, then 20 to 40 percent | 90 to 110 °C | Enclosure and brim are the main tools |
| ASA | Full enclosure, ideally with a heated chamber | Off for the first 5 layers, then 20 to 40 percent | 90 to 110 °C | Enclosure, brim and a rough surface |
Find your drafts deliberately. Run a tissue near each side of the machine at bed height and watch which way it moves, or start a short print and check which corner lifts first. An auxiliary fan pointed at the bed, an open window, a door that does not close, and a heating vent are the usual suspects.
Let the machine and the material stabilise. Preheat the bed and the nozzle to the print temperature, wait a few minutes for the chamber to even out, and start only then. If your room swings with the heating season, run the bed a few degrees above the low point rather than chasing it during the job.
One safety note. ABS and ASA give off styrene fumes. Print those in an enclosure with a filtered exhaust, and never in a bedroom or a shared room without ventilation. A warp-free print is not worth the fumes.
Adjust Slicing and Orientation
Once the environment is stable and the first layer is solid, add geometry. Pick the least invasive option that works, and move up the list only if the previous one failed.
- Brim: a flat band around the base, easy to remove, and the right first choice for a large flat panel. A brim height of 8 to 10 mm gives the corner somewhere to grip without a lot of extra time.
- Mouse ears: small disc-shaped brim islands at the corners only, generated automatically by most slicers. They add material exactly where the stress concentrates and cost very little time. Look for “Enable mouse ears” in Cura, “Mouse Ears” under Brim settings in PrusaSlicer, and “Mice” or “Corner mouse ears” in Bambu Studio and OrcaSlicer.
- Discs: an island along an edge, again generated by the slicer, used when one long edge lifts rather than the corners.
- Raft: several full layers under the part. It works, but on a large footprint it adds hours and removes a lot of surface afterwards, so save it for cases where adhesion aids are not allowed.
Delay the part cooling fan. Three layers is the common rule of thumb, and Ultimaker community members add that dropping print speed, acceleration and maximum jerk helps large parts settle as well. Slower layers bond to the layer below for longer.
Change orientation where you can. Printing a flat panel on edge reduces the footprint that has to stay bonded, at the cost of stability and support material. In the model itself, corner radii instead of sharp corners, a few ribs across a wide span, or splitting a big shell into two parts printed separately and bolted together all reduce the stress the print has to carry.
What to Do When a Large Print Is Already Lifting
Do not panic and do not stop the print. If one corner has lifted a millimetre or two while the rest is still attached, the part often recovers on its own as more material lands on top and cools back down.
- Turn the part fan down rather than off, so the new layers bond without shocking the layer below.
- Raise the bed temperature by 5 to 10 °C in the slicer and restart from the layer before the lift, if your printer supports resuming.
- Keep the door closed. Opening it to inspect dumps room air onto the print and makes the gradient worse.
- Resist the urge to push the corner back down with your finger. It will re-lift and you may crease the layer.
If the whole edge has separated from the bed, the job is usually already lost. Save the settings and the orientation, and treat it as a failed test print that just happened to be expensive.
How to Flatten a Print That Already Warped
A mildly warped PLA or PETG part can often be straightened, and this is the question almost no guide answers.
- Warm the part gently. For PLA, put it in an oven at around 70 °C for 15 to 20 minutes, or hold it with a heat gun in slow passes, moving constantly. Stay well below the nozzle temperature you print at.
- While warm, press it against a flat glass or aluminium plate and clamp it lightly, or set it under weights on a flat surface.
- Leave it clamped until it cools completely. Cooling under constraint is what locks the new shape in.
ABS and ASA can be heat treated properly for dimensional stability, but they need a controlled soak and are unforgiving of heat guns. Do not use a flame or a hot plate without a thermometer. If the warp is more than a couple of degrees out, re-slicing with mouse ears usually beats fighting the part.
Retest and Document the Fix
Print the same geometry, in the same orientation, from the same material, in the same spot on the bed. Change one variable per run and keep the filament spool and room conditions as steady as you can. If the plate changed, say so in your notes, because that invalidates the comparison.
Write down what worked. A small log of layer count, fan delay, brim type, bed temperature and outcome turns an hour of guessing into a repeatable preset for every future large job, and it is the only way to roll a successful test back onto a multi-day print with any confidence.
Common Mistakes
- Cleaning only with alcohol. It spreads grease instead of removing it. Wash with warm water and dish soap, dry, then finish with 90 percent or higher isopropyl alcohol.
- Raising bed temperature first. This is the most repeated mistake in the forums. A hotter bed softens the bottom of the part and can warp a large print that was previously fine. Fix drafts and adhesion before heat.
- Re-gluing a plate that is not the problem. Adhesive solves adhesion, not airflow or thermal gradient. If the same corner keeps lifting, it is the air hitting that corner.
- Swapping plates constantly. Every change invalidates your levelling and your notes. Pick the surface that suits the material and stay with it.
- Ignoring the exposed bed edge. On a large plate the bare edge is the biggest heat sink. Insulate it.
- Changing five things at once. You lose the ability to attribute the result. One variable, one test print.
- Running the fan off for the entire print. It helps the first layers and causes stringing and layer separation afterwards. Delay the fan, do not disable it.
- Starting a 30-hour job on a warm morning. If the room cools through the night, the thermal gradient arrives hours in. Test the conditions the job will actually run in.
Two more worth naming: printing a full-size panel as the first adhesion test, and assuming the silicone sock on the hotend is the cause. A sock holds heat near the nozzle and slightly reduces cooling, which is usually helpful, not harmful.
Frequently Asked Questions
Why are the corners of my large 3D prints lifting?
Corners are the least constrained part of a footprint, so when a print contracts unevenly they lift first. On a large part there is more material shrinking at slightly different rates, and the corners have no neighbouring material to pull them flat. Common triggers are a draft hitting one corner, an uneven bed, or a first layer that bonded only in the middle. Mouse ears and a wider brim give those corners more material to grip.
Why does my large print only start warping after several hours?
Because stress accumulates. The print looks fine while the bottom layers stay hot and supported, then it starts curling as the bed temperature drops, the room cools, or the part has grown tall enough that the top layers have pulled on the base. Multi-day jobs are most at risk because a stable room in the afternoon is not a stable room at four in the morning. Keep bed temperature steady, insulate the bed edge, and test overnight before trusting a long print.
Do I really need an enclosure if I only print PLA?
Usually not. A stable, moderately warm room is enough for PLA, and a simple draft shield around the machine handles most airflow problems. ABS and ASA are the materials that genuinely need a full enclosure, ideally with a heated chamber, because their glass transition point sits near 100 °C. If you only print PLA, a cardboard surround and a routine habit of closing the door will take you most of the way there.
Should I turn off the cooling fan for the whole print?
No. Turning the fan off for the first three layers is the common rule of thumb, because early layers need to bond without being shocked. Leave it off for the whole print and you get stringy overhangs, poor bridges and layers that separate from each other, which is a different kind of failure from warping. For PETG, extend the delay to four or five layers and run the fan at 40 to 60 percent afterwards.
Is a brim enough or do I need mouse ears?
A brim is usually enough on its own, and it is the least invasive option, so start there. Mouse ears add small disc-shaped islands at the corners only, which is exactly where stress concentrates on a large flat part. If a wide brim of 8 to 10 mm still leaves corners curling, switch to mouse ears or add them alongside the brim. A raft adds several full layers and hours of print time, so it is a last resort.
How do you flatten a warped print after it comes off the bed?
Warm it gently and clamp it flat while it cools. PLA can go in an oven at around 70 °C for 15 to 20 minutes, or be warmed slowly with a heat gun that you keep moving. Press the part against a flat plate, clamp or weight it, and leave it until it is completely cold. Cooling under constraint is what holds the new shape. If the warp is severe, re-slicing with mouse ears is usually faster.
Conclusion
Start by looking at the pattern, not the settings. Then clean the plate with soap and water before alcohol, level it and check flatness on the large surface, remove any draft aimed at the corner that lifts, and hold the bed temperature steady with the edge insulated. After that, add a brim or mouse ears and delay the fan for the first few layers.
Print the same part again, changing one variable only, and write down what changed. That single habit is what separates people who fix warping on large prints from people who keep buying glue.