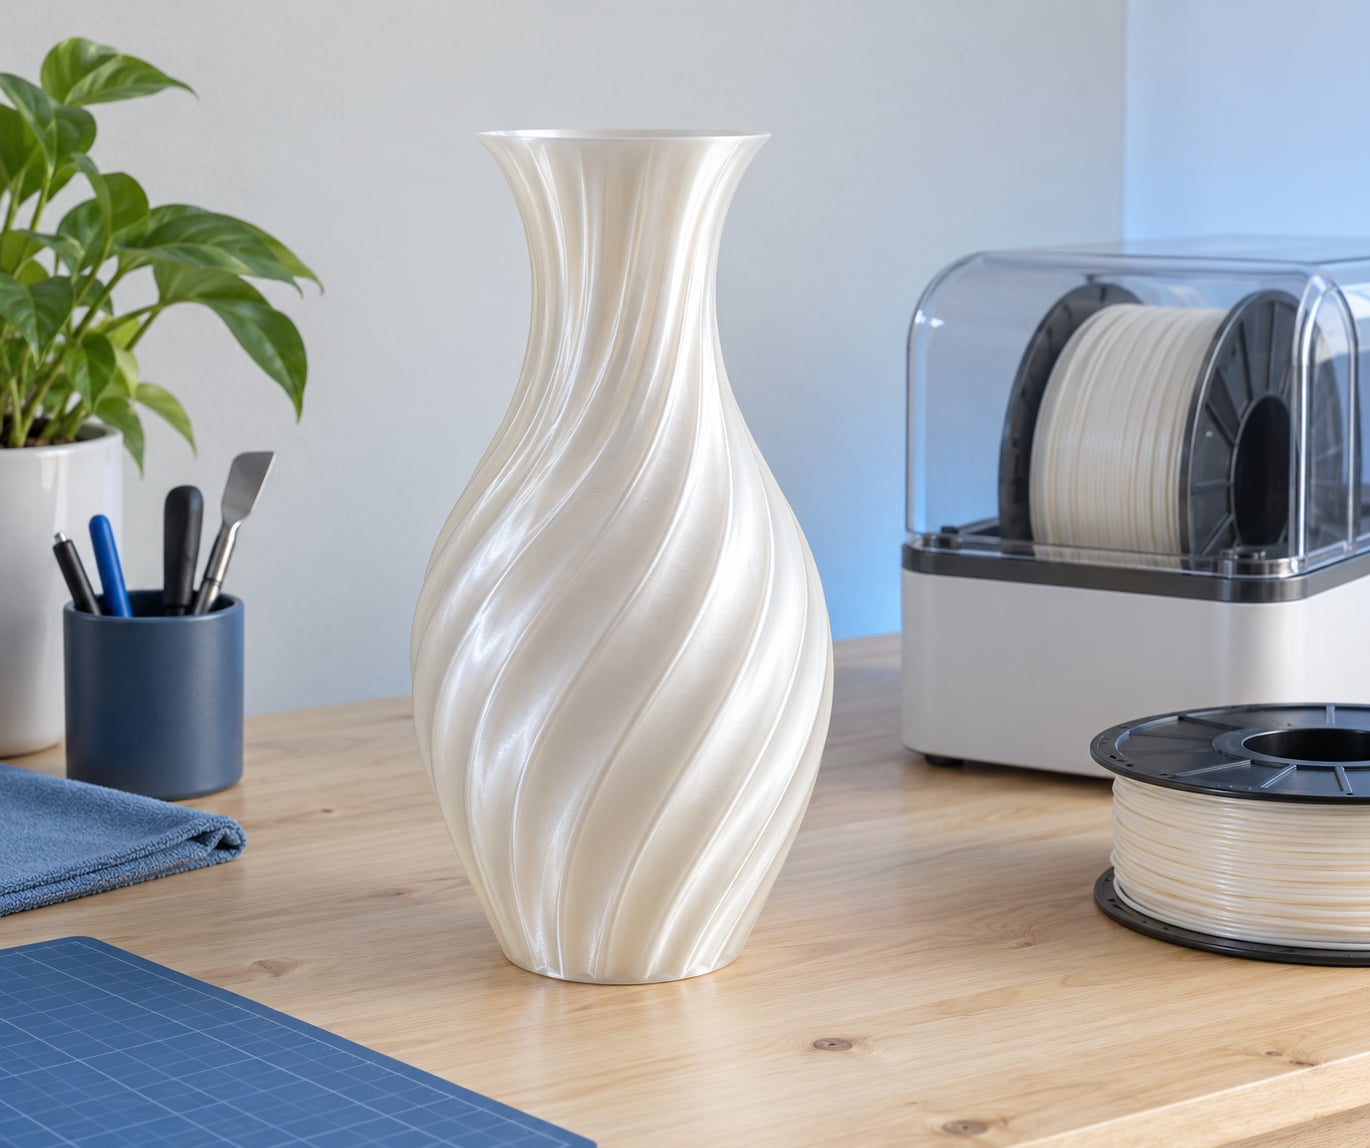
Silk filament prints like standard PLA with a slower, steadier hand and a nozzle running a little hotter. These silk filament printing tips cover the handful of settings that decide whether a part comes out glossy or dull: drying, nozzle temperature, first-layer speed, wall speed and retraction. Set them once, about half an hour of work, and most silk failures stop happening.
Quick note on the name: silk PLA contains no silk fibre at all. It is standard PLA loaded with light-diffusing pearlescent particles, which is why the same filament can look mirror-bright on the spool and blotchy on the bed.
Updated October 2026. Every number below comes from a published vendor guide or a named community report, and your spool’s own label always outranks all of them.
Table of Contents
- What You Need
- Step-by-Step: How to Print Silk Filament Successfully
- Dry the Filament Before Printing
- Set the Nozzle Temperature for Silk PLA
- Prepare a Clean and Flat Build Plate
- Tune First-Layer Adhesion and Speed
- Silk Filament Printing Settings for Retraction, Cooling, and Flow
- Silk Filament Printing Tips at a Glance
- Common Mistakes and How to Fix Them
- Frequently Asked Questions
- What temperature should I use for silk filament printing?
- Do I need to dry silk PLA before every print?
- Why is my silk filament stringing and popping?
- How do I stop silk filament from lifting off the bed?
- Can I use silk filament for outdoor or food-contact prints?
- Do silk filament printers need different retraction and cooling settings?
- Conclusion
What You Need
A short list, and most of it you already own:
- An FDM printer whose nozzle can hold roughly 235-240C. Check the machine’s spec sheet, because a hotend capped at 240C gives you the whole silk range while a 240-250C cap leaves you guessing.
- A filament dryer, an AMS-style multi-unit, or a food dehydrator with a temperature control you trust.
- A spare 0.4 mm brass nozzle. Silk is abrasive-loaded enough that a worn nozzle dulls the gloss, and 0.4 mm remains the size that gives the smoothest surfaces.
- Isopropyl alcohol and lint-free wipes for the build plate.
- A smooth PEI build sheet. Textured plates scatter light and kill the finish, and Bambu Lab’s own silk guide steers you away from its Cool Plate SuperTack surface for the same reason.
- A small calibration model, something the size of a benchy or a 20 mm cube, so you are not diagnosing a 6-hour print.
One thing to sort before anything else: brands disagree on silk temperatures. Bambu Lab’s wiki puts silk at about 210-240C for interlayer adhesion, while a vendor guide I read recommends 215-230C extruder and 60-70C bed. The spool label beats both.
Step-by-Step: How to Print Silk Filament Successfully
Work through these in order. Changing three things at once is how people end up worse off than when they started.
Dry the Filament Before Printing
Moisture is the single most common cause of silk problems, and it shows up in ways that look like a broken printer: popping and crackling in the feed tube, bubbles at the start of an extrusion, heavy ooze, blotchy gloss, and layer lines that separate when you pull a part off its supports.
Dry the spool fresh from a sealed bag, and dry it again after every print that leaves the filament sitting open. Reference drying times, from Bambu Lab’s silk guide:
| Method | Temperature | Time |
|---|---|---|
| Blast drying oven | 55C | 8 hours |
| Heated build plate | 65-75C | 12 hours |
| AMS or enclosed dryer | 45-55C | 8-12 hours |
Print straight away if you can, and store spools sealed with desiccant below 20% relative humidity. PLA starts pulling moisture back out of the air within hours in a humid room. You will know the dry worked when the popping stops and the first 20 mm of extrusion comes out clean instead of bubbling.
Set the Nozzle Temperature for Silk PLA
Start in the middle of your spool’s recommended range, near 220C for most silk PLA, and change it by 5C at a time. That middle number is the compromise most people never hear explained: heat improves how well a layer sticks to the one below it, and heat also thins the melt, so more of it makes silk ooze and string harder.
| Source | Nozzle | Bed | Note |
|---|---|---|---|
| Bambu Lab silk guide | 210-240C | not stated | Higher end recommended for layer adhesion |
| Numakers vendor guide | 215-230C | 60-70C | Speed at or below 50 mm/s for best looks |
| r/FixMyPrint | 210C | 50C | Max volumetric speed capped at 7.5 mm/s |
| r/BambuLab | 230C first layers, 225C after | not stated | Inner wall 100 mm/s, infill 200 mm/s |
| r/AnycubicKobraS1 | 215C, flow ratio lowered | 60C | Normal PLA profile, slower speeds |
Notice the community is split, and the split is real. Someone on r/Sovol prints silk 5-10C cooler than plain PLA for better layer adhesion, while someone on r/en_der3 says pushing the extruder to 215C helped them. Both are describing different filaments with different additive loads.
Reading the symptoms is faster than theory. Stringy blobs and clean-up chaos mean go 5C cooler. Parts snapping at the layer line when you remove supports mean go 5C hotter or slower. Gaps in thin walls mean your maximum volumetric speed is set too low, not that the temperature is wrong. And 250C is past the useful end of this range; it buys you no adhesion and costs you the surface finish.
Prepare a Clean and Flat Build Plate
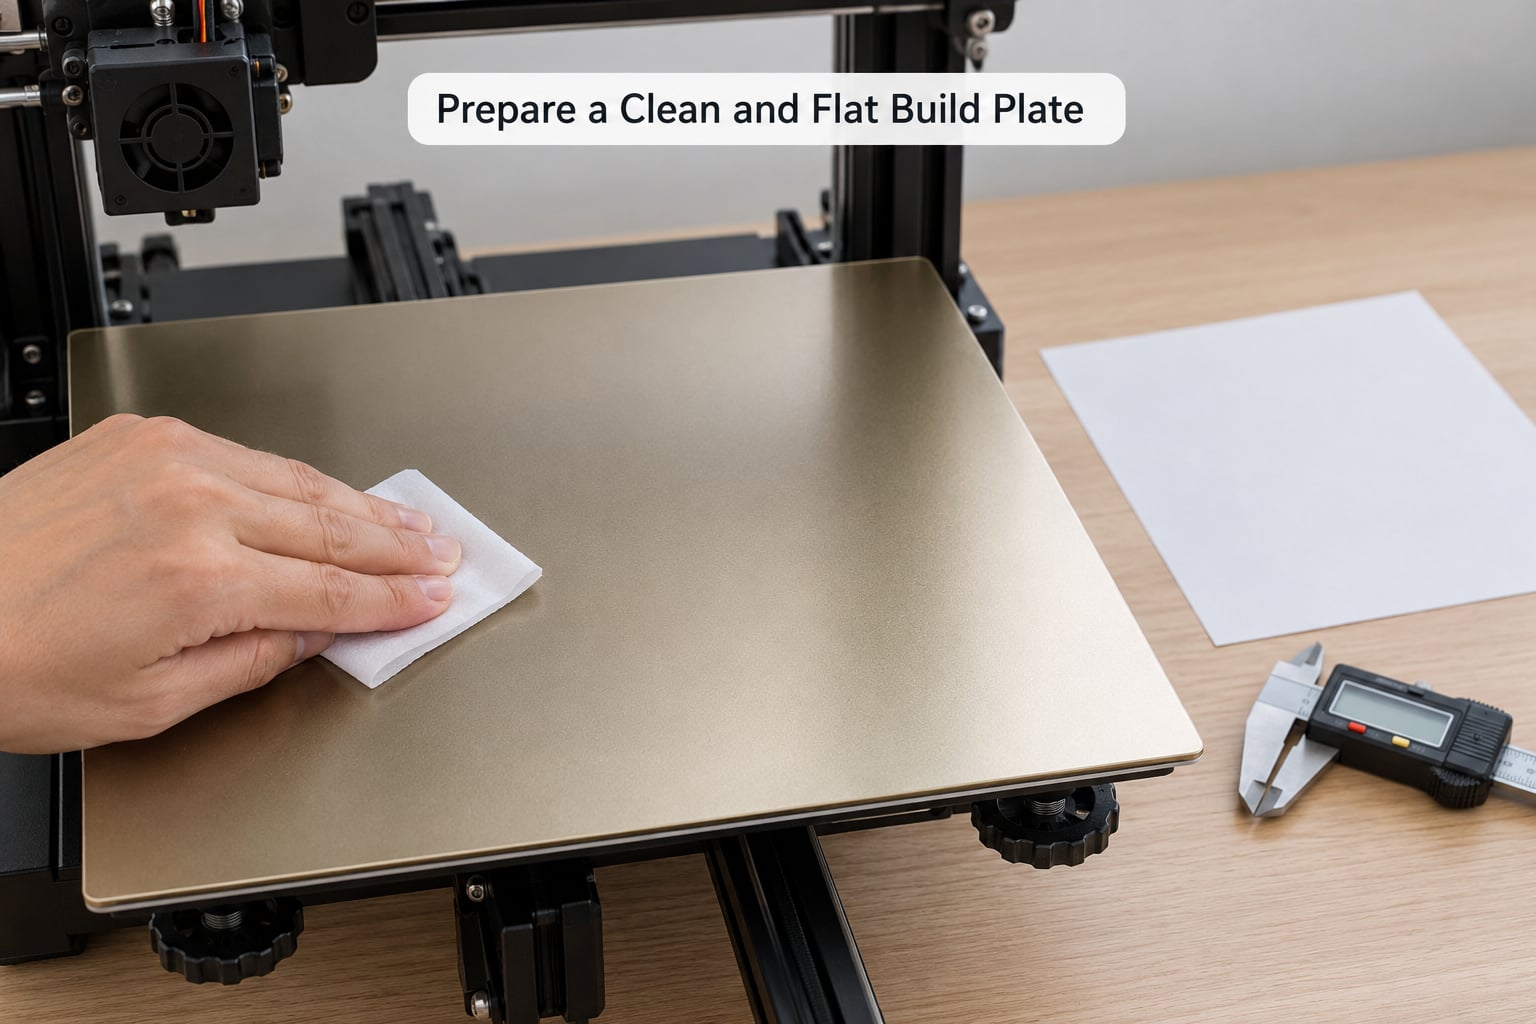
Silk has one of the slipperiest surfaces going, so a plate that would hold plain PLA often will not hold silk. Wipe the sheet with isopropyl alcohol, level the bed, then confirm Z offset with a paper test or a first-layer calibration print. Grease, dust, a hair, a slightly high nozzle and a warped sheet all fail the same way: corners lift first.
If the surface itself is the problem, change the surface rather than the temperature. A textured or powder-coated sheet scatters light across the whole print and leaves you with a matte object you paid glossy money for. Glue stick works as a release layer when you must keep a stubborn surface.
Tune First-Layer Adhesion and Speed
Drop the first layer to 15-25 mm/s. Slow is good; squashed is not. If you push the Z offset too low you squeeze the line flat, the nozzle skids, and you trade one failure for a rougher one.
Add a brim when the footprint is small or the model has a tall thin section, and reach for a raft only when the bed is genuinely unreliable. Keep the bed inside the 55-70C band your spool recommends, and resist the urge to solve adhesion by cranking heat past it. If corners still lift on a large flat part, an enclosure that holds steady warmth is the real fix.
The healthy first layer looks like a single continuous glossy line that comes away clean with the nozzle and leaves no ridges or gaps. That last part matters more than usual here, because first-layer texture prints straight through to the visible face.
Silk Filament Printing Settings for Retraction, Cooling, and Flow
Silk melts lower-viscosity than plain PLA, so it keeps flowing after the nozzle stops. That single fact drives retraction, cooling and speed all at once.
For retraction, keep your machine’s normal PLA distance as the starting point and add a few tenths of a millimetre on a Bowden setup, or half a millimetre on a direct drive. Then turn on retraction wipe, raise retraction speed moderately, and re-test every time you change nozzle temperature, because the ooze changes with it.
For cooling, run part cooling at 100 percent for the whole print and turn on the slicer’s consistent-surface option, which stops the tool from slowing down mid-wall. Bambu Lab’s guide also recommends enabling “Don’t slow down outer walls” and warns that both live behind the developer-mode toggle in Bambu Studio.
For speed, set the outer wall between 40 and 60 mm/s, matching the range used on r/3Dprinting, and keep inner walls and infill below their normal PLA values. Consistency matters as much as the number: a wall that glides smoothly reflects light, and a wall full of accelerations and stops scatters it.
Hold layer height at or below 0.16 mm, which is the figure Bambu Lab publishes for silk. Below 0.12 mm you gain very little gloss and pay for it in print time. Keep flow ratio at 0.98-1.00; the small reductions people post are usually compensating for a temperature that is a little too hot.
Silk Filament Printing Tips at a Glance
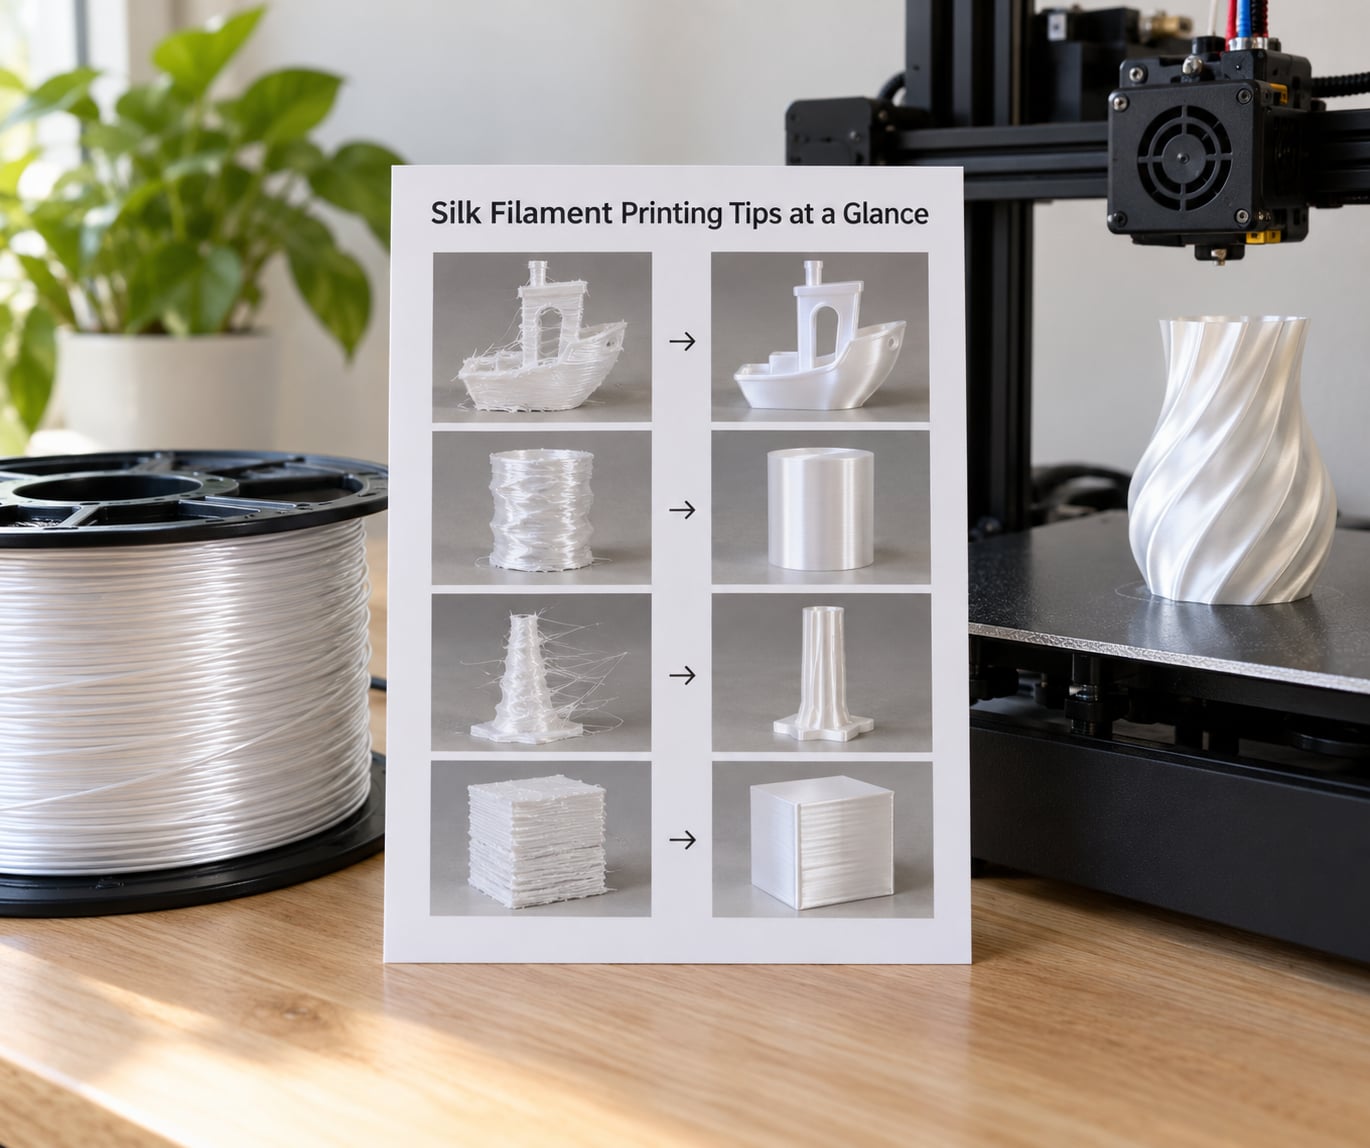
Find your symptom, then work down the table in order. Do not skip to the row you like best.
| Symptom | Likely cause | What to change |
|---|---|---|
| Stringy, constant ooze | Melt too fluid, retraction too weak | Nozzle down 5C, add 0.2-0.5 mm retraction, enable wipe, outer wall 40-60 mm/s |
| Popping and crackling in the feed tube | Wet filament | Dry the spool, print from the dryer, store below 20% RH |
| Dull or blotchy finish | Surface roughness from speed, tall layers or stray ooze | Layer height at or below 0.16 mm, slow outer wall, consistent-surface cooling on |
| Rough, pitted top surface | Bed adhesion and layer wobble, or a top surface pattern that fights the geometry | Clean and re-level the plate, check Z offset, switch top pattern to Archimedean chords or concentric |
| Corners lifting off the bed | Slippery surface, cold bed, fast first layer | Clean plate, first layer 15-25 mm/s, add a brim, bed at 55-70C, add an enclosure for large parts |
| Part snaps at the layer line | Layer adhesion too low, or printed too hot and cooled between passes | Nozzle up 5C, slow down, raise part cooling to 100 percent |
| Blobs and hairs around the seam | Oozing plus a poorly hidden seam | Retraction plus wipe, move the seam off the visible face, ironing pass at a light setting |
| Gaps and under-extrusion on thin walls | Maximum volumetric speed set too low | Raise max volumetric speed; one community profile runs 7.5 mm/s |
| Nozzle clogs repeatedly | Printing silk too fast for the melt | Drop infill speed, keep inner wall under 100 mm/s |
Work in this order and only one setting at a time: dry the filament, fix the first layer, set temperature, set speed, then tune retraction. Drying and first layer are free fixes that change the behaviour of everything downstream, so they go first.
Common Mistakes and How to Fix Them
Printing on the default PLA profile. This is the top mistake, and Bambu Lab’s own community forum says so directly: the default profiles are far from optimal for silk. Change the profile, do not just hit print.
Printing fast. A stock PLA speed makes silk matte and weak. The outer wall is where the finish lives, and it is the slowest wall on the part.
Skipping drying on an open spool. Gloss streaks and popping almost always trace back to water, not to the slicer.
Over-retracting. If stringing continues after you raise retraction, check for a kink in the PTFE tube and remember that direct drive needs far less travel than Bowden.
Chasing adhesion with heat. Bed temperature past the recommended range softens the lower layers and can make the part deform on the bed without ever bonding properly.
Using the wrong plate or nozzle. A textured surface, or a 0.6 or 0.8 mm nozzle, will not deliver the finish you paid for. Bambu Lab’s guide recommends against both for silk.
Once a print comes out right, save it as its own named profile with the filament brand in the name, and record the drying time alongside it. Silk varies enough between brands that one number never transfers, and future-you will not remember which spool produced the good vase.
Frequently Asked Questions
What temperature should I use for silk filament printing?
Start from the range printed on your spool. Most silk PLA vendors publish something around 210-235C, and Bambu Lab’s guide puts interlayer adhesion at roughly 210-240C, so 220-225C is a sensible first value on a home printer. Tune in 5C steps: cooler when it strings, hotter when layers split. Going past about 240C buys very little adhesion and costs you the surface finish.
Do I need to dry silk PLA before every print?
Yes if the spool has been sitting open in a humid room, and honestly yes anyway, because drying costs you nothing but time. Popping, bubbling ooze, blotchy gloss and a rough finish all point at moisture. Bake the spool at your manufacturer’s temperature and time, print from the dryer where your setup allows it, and store sealed with desiccant below 20% relative humidity.
Why is my silk filament stringing and popping?
Those are usually two separate faults. Popping and bubbling mean wet filament, so dry it first. Stringing that survives drying means the melt is too fluid or retraction is too weak: drop nozzle temperature 5C, add a few tenths of a millimetre of retraction, enable wipe, and slow the outer wall to 40-60 mm/s. Silk melts lower-viscosity than plain PLA, so it oozes more between moves by design.
How do I stop silk filament from lifting off the bed?
Clean the plate with isopropyl alcohol, re-level, then re-check Z offset, because a slippery surface fails where plain PLA would hold. Set first-layer speed to 15-25 mm/s, add a brim on small footprints, and keep the bed within the 55-70C band your spool recommends. On large flat parts where corners still lift, a steady-warmth enclosure solves it better than extra heat.
Can I use silk filament for outdoor or food-contact prints?
Treat silk as a decorative material. It is standard PLA with light-diffusing additives, so it behaves like PLA: it softens in a hot car or in direct sun, and it carries no UV resistance of its own. Unless the spool or supplier explicitly states food-contact or outdoor certification, keep prints away from drinks and direct sunlight and use it for display pieces.
Do silk filament printers need different retraction and cooling settings?
Usually yes, on both counts. Silk wants more part cooling than plain PLA because it keeps flowing while hot, and enabling consistent-surface cooling keeps the nozzle from slowing mid-wall, which protects the gloss. Retraction usually needs raising by a few tenths of a millimetre on a Bowden setup, less on direct drive, and it should be re-tested after every temperature change.
Conclusion
Dry the spool first, then set temperature to the middle of the range on the label, clean and level a smooth plate, and print one small calibration model before anything else. Read the symptom table, change a single setting, and run it again.
These silk filament printing tips come down to speed and consistency: slow outer walls at 40-60 mm/s, layer height at or below 0.16 mm, and a first layer that lands once and sticks. Save the profile that works and you will stop re-learning it every spool.