If the extruder motor clicks, grinds, or vibrates without feeding filament, the motor is rarely the first thing at fault. Diagnose a failing extruder motor by working from cheapest to most invasive: confirm what the fault sounds like, rule out a mechanical obstruction, command the axis by hand, check the connector and coils, then measure driver current before you buy anything. Most cases resolve in the first fifteen minutes with a manual, a screwdriver and a multimeter.
That order matters more than it sounds. The extruder stepper is an open-loop NEMA 17 — the board sends pulses and gets no position feedback, so a motor that cannot deliver enough torque just loses steps while the print keeps running. Nothing raises an error. People end up replacing a motor that was fine, or a driver that was fine, and the fault survives because it was three layers up.
Table of Contents
- What You Need
- Step-by-Step
- 1. Confirm the Extruder Symptom
- 2. Check for a Mechanical Obstruction
- 3. Test Motor Movement and Current
- 4. Inspect the Wiring and Connectors
- 5. Check the Stepper Driver and Firmware Settings
- 6. Rule Out Temperature and Power Problems
- 7. Isolate or Replace the Motor
- Common Mistakes
- Frequently Asked Questions
- How do I know whether my extruder motor or motor driver has failed?
- Why does the extruder motor move during manual commands but not while printing?
- Can a hotend or heated bed temperature error make the extruder motor move unexpectedly?
- How do I test an extruder motor without completing a full print?
- What specifications should I check before replacing an extruder motor?
- Should I increase the motor current to fix an extruder that is not moving?
- Conclusion
What You Need
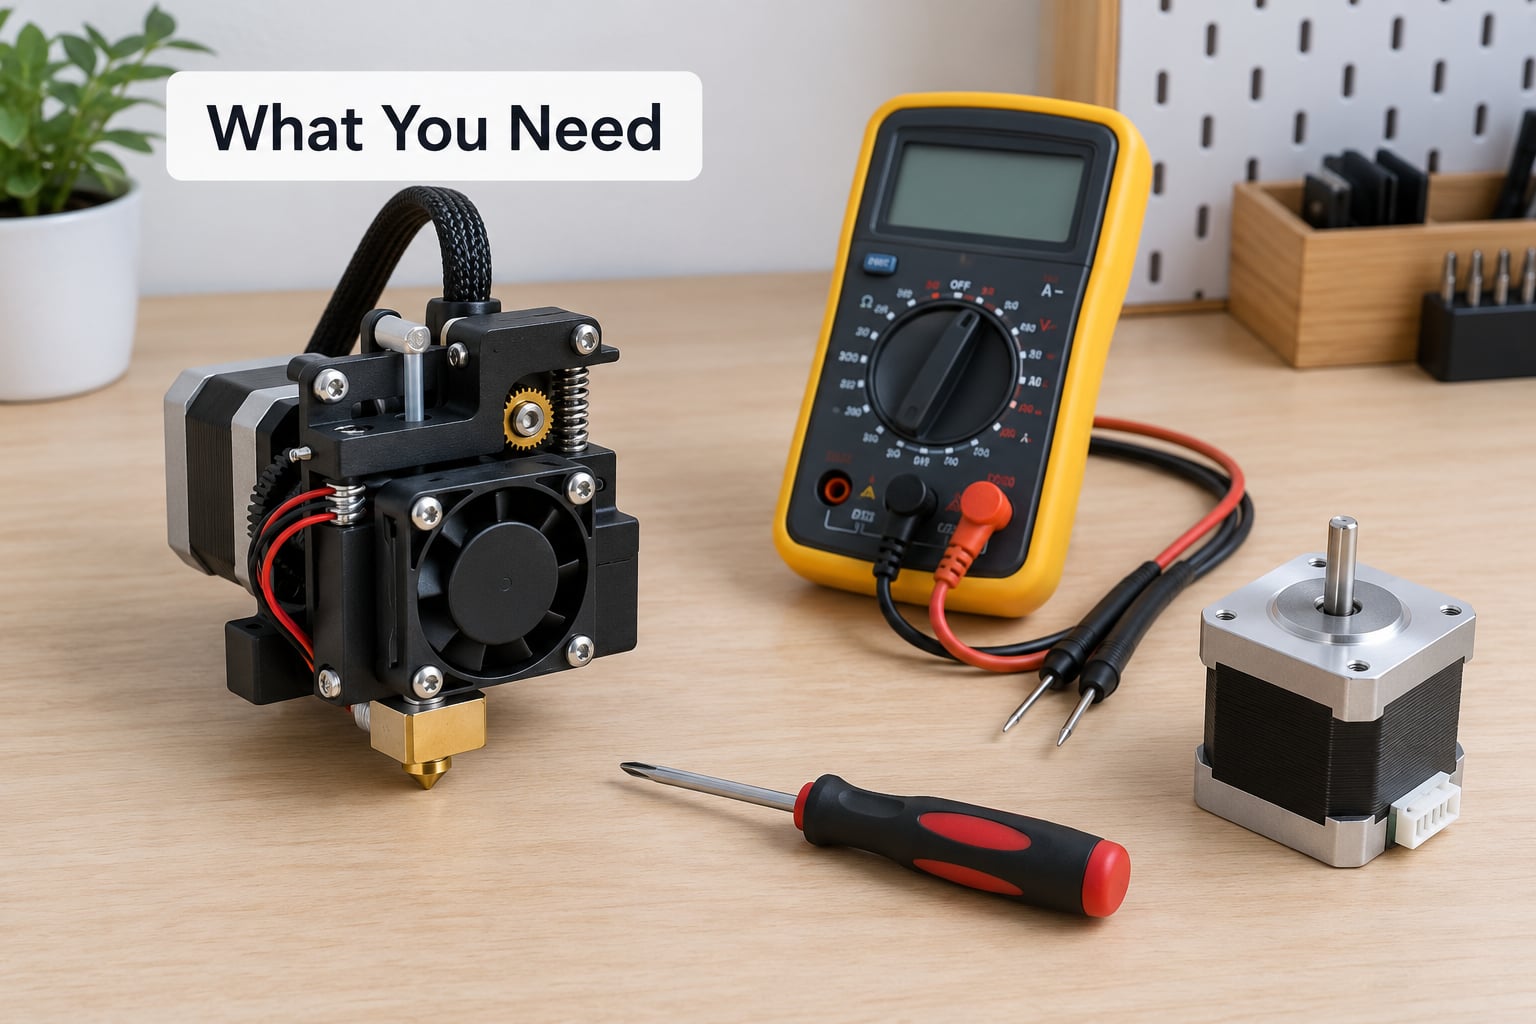
Start with the printer’s own documentation. You need the model, the control board revision, and the firmware in use, because current limits are set in different places on different platforms and the same symptom means different things on each.
- The printer manual, plus the firmware version and control board revision
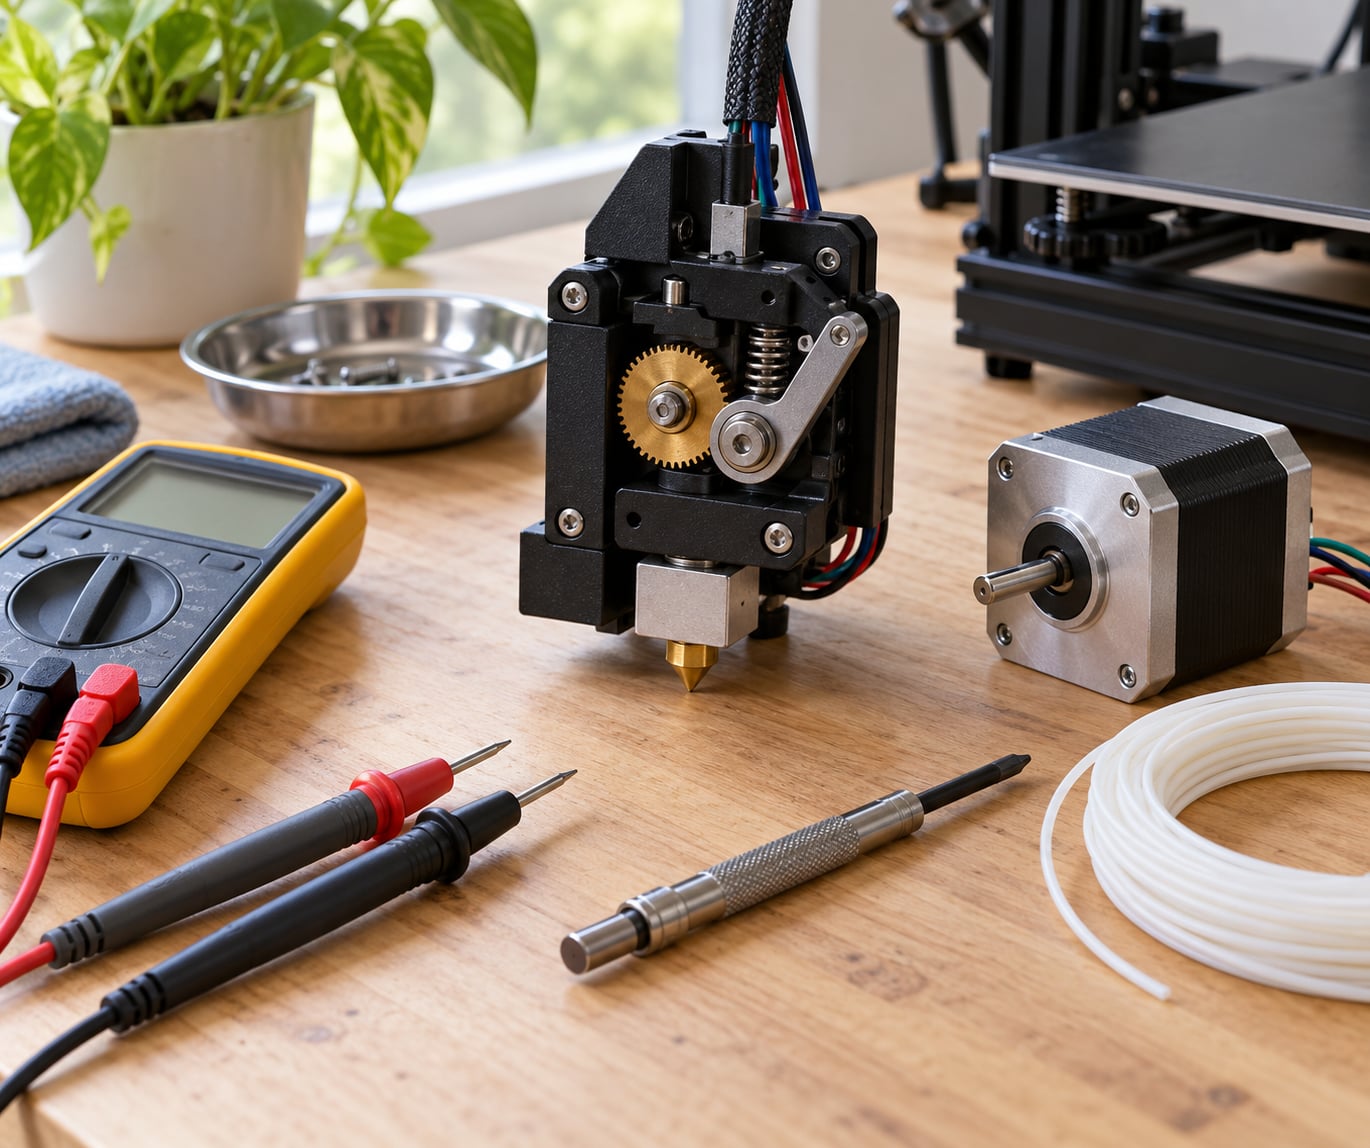
- A multimeter with continuity and DC voltage modes
- Precision screwdrivers, hex keys, and long-nose pliers
- Access to the printer’s manual axis-movement controls, whether that is a screen menu, an LCD panel, or a host software console
- Optional: a spare NEMA 17 of the same type, for comparison testing
Before anything else, unplug the machine at the wall and let the hotend cool to room temperature. Do not probe a driver or reseat a stepper module while the board is energized — you can short a driver out and take the whole mainboard with it. If you are working around a board, ground yourself or use a wrist strap, and keep metal tools off the PCB.
Step-by-Step
1. Confirm the Extruder Symptom
Start by naming the symptom precisely, because each one points somewhere different. Watch the motor during a print and during a manual extrude command, and note whether the fault appears while homing, at the start of a layer, or only deep into a long print.
The table below is the fastest way to narrow things down. Note the row that matches what your machine is doing, then run the matching first test.
| Symptom | Likely cause | First test |
|---|---|---|
| Silent, shaft never moves | Connector unseated, open coil, driver not energised | Reseat the connector, then coil continuity |
| Rhythmic clicking | Obstruction, low current, worn drive gear | Hand-turn the shaft cold and hot |
| Grinding | Drive gear teeth stripped, filament debris in the path | Inspect gear teeth under light |
| Vibrating but not turning | Coils paired wrongly, current too low, failing motor | Coil pairing test, then measure current |
| Shaft turns, filament does not move | Grub screw slipping, idler bearing seized, filament not gripped | Check the drive gear grub screw |
| Hot to touch, faint burnt or ozone smell | Shorted winding or driver overheating | Stop using it, check current and thermals |
| Works cold, fails once hot | Heat creep, cold-end restriction, fan failure | Test the hotend cooling fan airflow |
Thin, brittle layers, gaps between walls, and repeated bite marks on the filament all point at a feeder that is not gripping properly, which is a different fault from a dead motor. A motor that genuinely stops usually stops loudly.
2. Check for a Mechanical Obstruction
With the power unplugged, turn the extruder shaft by hand. On a healthy feeder the shaft turns with a light, even resistance that is slightly heavier toward the closed side of the drive gear. If it is gritty, binds at one point in the rotation, or will not move at all, the fault is mechanical.
Break the filament path into segments and check each one. Remove the idler and turn it by hand — a dry or seized idler bearing is the single most common mechanical cause. Check the drive gear teeth under a light for rounded, shiny, or missing teeth, especially if you have printed glow-in-the-dark, carbon fibre, or other abrasive filament. Confirm the grub screw locking the drive gear to the motor shaft is tight; a loose one lets the shaft spin freely while the filament stalls.
On Bowden machines, slide the filament through the whole path by hand. Any point where the 1.75 mm filament cannot pass smoothly will cause clicking under load even with a perfect motor. Check the PTFE tubing for kinks, tight bends, or internal debris, and check the extruder arm spring tension — too little grip causes skips, too much grinds the filament flat and raises the drag on the motor.
Users on r/3DprintingHelp consistently trace persistent clicking back to a broken plastic extruder arm or heat creep from heavy retraction, not the motor. If the shaft moves freely by hand and the path is clear, mechanical causes are mostly ruled out.
3. Test Motor Movement and Current
Command the extruder to move on its own — a fixed 20 mm or 50 mm — using the printer’s manual controls, with no print running. Watch the shaft directly, not the filament.
If the shaft turns smoothly and pushes the filament in at a steady rate, the motor and driver both work and the fault is mechanical or thermal. If the shaft vibrates and twitches but does not rotate, it is receiving current but not enough torque. If it does nothing at all, you have an electrical fault and steps 4 and 5 are where the answer is.
Then test resistance by hand. While a move is commanded, try to slow the shaft with your fingers. On a healthy motor you feel firm magnetic detent and can only just slow it. If it turns freely under your hand during a commanded move, the driver is not producing a field, and the problem is upstream of the motor. That single test separates a dead motor from a dead driver faster than almost anything else.
4. Inspect the Wiring and Connectors
Reseat the motor’s connector at both ends with the power unplugged. Push it in until it seats fully — a connector that looks plugged in but sits one pin short produces exactly the twitching you would expect. Look inside with a light for bent pins, and check the JST-XH style crimps for a wire pulled back out of the plastic housing.
A loose extruder connector, not a failed motor, has been the answer in more than one community thread. Cheap replacement cables fail in exactly the same way, so if the original cable has been routed tightly, kinked around a gantry, or snagged on a fan shroud, suspect it early.
Now check continuity. With power removed, identify the two coil pairs by touching two of the four wires together and turning the shaft by hand — you should feel a distinct magnetic pull. Those two wires are one pair. Repeat with the other combination to find the second pair, labelled 1A/1B and 2A/2B.
Measure resistance across each pair. A healthy NEMA 17 winding typically reads somewhere in the range of a few ohms up to around 20 ohms depending on the model; what matters most is that both pairs read similar and neither reads open or near zero. An open reading on one pair means a broken winding. A near-zero reading means a shorted winding. Record both numbers — comparing them side by side is far more informative than either alone.
5. Check the Stepper Driver and Firmware Settings
Current is set on the driver, not the board, and the method depends on which driver you have. These boards set current from a reference voltage on a trimmer potentiometer; silent boards usually read current over UART from firmware instead.
| Driver | How current is set | Reference formula |
|---|---|---|
| A4988 | Trimmer potentiometer, measured at the VREF pin | VREF = current in amps x 2.5 |
| DRV8825 | Trimmer potentiometer, measured at the VREF pin | VREF = current in amps x 2.0 |
| TMC2208 / TMC2209 | UART setting in firmware, with a trimmer fallback | Set the run current in firmware configuration |
For a 0.8 A motor on an A4988, that gives a VREF of about 2.0 V. On a DRV8825 the same motor gives about 1.6 V. Measure with the board powered and the motor at rest, and compare the reading against what the motor’s datasheet calls for. Too low a current is the most common cause of a motor that vibrates but will not break away from a standing start under load.
Microstepping jumpers on the driver, or the equivalent firmware setting, change torque and smoothness. Too few microsteps on a loaded extruder costs you the breakaway torque you need. Also confirm the rotation direction is not inverted in firmware — after a board upgrade, a direction inversion leaves the motor fighting itself in exactly the twitching pattern described above.
That scenario is common and well documented: users upgrading a Creality Ender 3 from a 4.2.2 to a 4.2.7 silent board report the extruder working immediately after the swap, or vibrating without turning. The motor is fine. The current setting or direction flag on the new board is wrong.
Watch the driver heatsink during a print. A driver that is hot enough to blister your fingertips is thermally saturating and will eventually fail, and it usually started as a motor running at too little current to move the load.
6. Rule Out Temperature and Power Problems
On Marlin-style firmware, including most Prusa and Creality machines, E-axis movement is blocked until the hotend reaches a temperature threshold. The motor will not move with a cold nozzle, and that is a safety feature, not a fault. If your manual extrude command does nothing before you preheat, preheat and try again before concluding anything about the motor.
The opposite symptom also points at temperature: the extruder works cold and fails once hot. That is heat creep — filament softening above the melt zone and jamming the cold end — or a failed hotend cooling fan. Check that the fan actually spins and that airflow reaches the heat break.
Check the power supply rails next. An E motor that browns out under load shows up as a dip on the 12 V or 24 V rail exactly when it struggles, and a sagging rail looks exactly like a weak motor. Measure the rail while commanding a long extruder move and watch whether it holds.
Finally, if the printer reports a hotend or bed temperature error, the firmware may be blocking the axis for safety reasons unrelated to the motor at all. Fix the thermistor or heater fault first and the extruder symptom often disappears with it.
7. Isolate or Replace the Motor
The decisive isolation test is to swap axes with the machine powered off. Unplug the extruder motor from the E header and plug it into an X or Y header, then move that axis manually. Keep in mind that firmware limits and direction flags apply per axis, so treat this as a motor-and-driver test rather than a full print test.
Three outcomes tell you where the fault lives.
| Result | Verdict |
|---|---|
| Motor works on another axis | Motor is good — the original driver or its header is at fault |
| Motor fails on every axis | Motor or its cable is faulty |
| Another motor fails on the E axis | Driver, header, or board is at fault |
Before replacing anything, match the motor on four specifications: rated voltage, holding torque, steps per revolution, and motor height. A 42 mm motor will not drop into a 40 mm mount, and swapping a lower-torque motor in simply recreates the symptom at a higher current limit.
Match the cable length and connector type too, and never force a pin arrangement that differs from the original. Changing the two wires in a coil pair reverses that coil, which produces vibration rather than rotation.
One warning before you swap: a motor that is stalling draws current and heat that a healthy motor never would, and that is how a struggling extruder motor burns out its stepper driver and takes a board with it. If the motor is grinding or overheating, stop running the printer until the fault is identified.
Common Mistakes
Replacing the motor first is the most expensive mistake, and it is usually the result of skipping step 2. A jam, a clogged nozzle, or a binding idler produces the same clicking as a failing motor.
- Testing with the machine in an unsafe state. Never reseat a driver or probe a header while the board is powered. Unplug at the wall every time.
- Skipping the connector. An unseated or one-pin-short connector jitters the motor while the driver and motor are both healthy. Always reseat both ends before anything else.
- Raising current with no specification. Turning a trimmer up because the motor will not start burns drivers and boards. Calculate the target from the driver formula, measure, and change in small steps.
- Replacing a motor when the driver is dead. A driver with a failed output stage accepts commands and does nothing, or twitches. Swap an axis first, and you save the cost of a new motor.
- Forgetting the cold-end lockout. On Marlin-style firmware the extruder simply will not move below the temperature threshold. Preheat before you diagnose anything.
- Blaming filament quality last. Wet or diameter-variable filament causes inconsistent feed. Dry the spool before you take anything apart.
- Adding vibration dampers to fix a vibration problem. They damp the motor, not the noise, and make skipping worse.
For prevention, a fifty-hour inspection habit catches a degrading feeder before it fails mid-print. Every fifty hours, check the drive gear teeth and the grub screw, turn the idler by hand, and run a short extrude test with the hotend at temperature. A clean every two hundred hours keeps debris out of the path.
Frequently Asked Questions
How do I know whether my extruder motor or motor driver has failed?
Swap the axes with the power off. Plug the extruder motor into an X or Y header and command that axis. If the motor turns there, the motor and its cable are good and the E driver or header is the fault. If it fails on every axis, the motor or cable is at fault. A dead driver also accepts commands without error, so this test is faster than any resistance measurement.
Why does the extruder motor move during manual commands but not while printing?
Usually the motor is moving but not gripping. A loose grub screw on the drive gear, a dull idler bearing, low spring tension, or a filament path with a kink in the PTFE tube all let the shaft turn while the filament stalls. If the shaft itself does not turn during the print but does during a manual move, suspect heat creep or a nozzle restriction that only appears once hot.
Can a hotend or heated bed temperature error make the extruder motor move unexpectedly?
Yes, indirectly. Most firmware blocks E-axis movement until the hotend reaches a temperature threshold, so a failed hotend thermistor or a heating fault can freeze the extruder entirely. That presents as a dead motor when the motor is perfectly healthy. Confirm the hotend is reaching and holding temperature before you test anything else.
How do I test an extruder motor without completing a full print?
Use the printer’s manual axis movement controls to command a fixed 20 mm or 50 mm extruder move with no job running. Then repeat it with the hotend at temperature, since firmware may block movement when cold. Watch the shaft directly rather than the filament, and try to slow it with your fingers during the move. Firm magnetic resistance means healthy; free turning means no field is being produced.
What specifications should I check before replacing an extruder motor?
Match rated voltage, holding torque, steps per revolution, and motor height before anything else — a 42 mm motor will not fit a 40 mm mount. Then check cable length and connector pin order, since mismatched pins can reverse a coil and cause vibration without rotation. Use the driver formula for your board to set current for the new motor rather than copying the old value.
Should I increase the motor current to fix an extruder that is not moving?
Only with a specification in hand. On an A4988 the target reference voltage is current in amps times 2.5; on a DRV8825 it is current times 2.0. Silent drivers usually set current over UART from firmware instead. Raising current blindly to force a stuck motor is a common way to burn a stepper driver and the mainboard, and it will not help at all if the real fault is a clog or a dead driver.
Conclusion
Reproduce the fault and name it, then remove mechanical resistance by hand before you touch anything electrical. Reseat both connector ends, check coil continuity and pairing, verify driver current against the formula for your board, and isolate the motor on another axis header. Only after that is a replacement justified — and if you do replace it, match voltage, torque, steps per revolution and height.
Most reports of a “dead extruder motor” turn out to be a cold-end firmware lockout, a clog, or a driver current setting changed by a board upgrade. Those three account for a large share of it, and each takes minutes to confirm.